The cost to paint vinyl siding depends on the type of paint, square footage, labor, and more. Check out this guide to help you budget for painting vinyl siding.
Cracks in your siding? Do a quick vinyl siding replacement.

Vinyl siding replacement becomes necessary when you spot moisture damage inside your home, loose or cracked panels, or warped and buckled sections.
Expect to pay $50 to $100 for basic DIY vinyl siding replacement supplies, including replacement panels and a vinyl siding removal tool.
Your vinyl siding replacement starts with carefully removing damaged panels using a vinyl siding removal tool, then pulling old nails and installing new pieces.
Hiring a local vinyl siding repair professional provides reliable support for matching discontinued siding colors and ensuring proper panel installation that prevents future water damage.
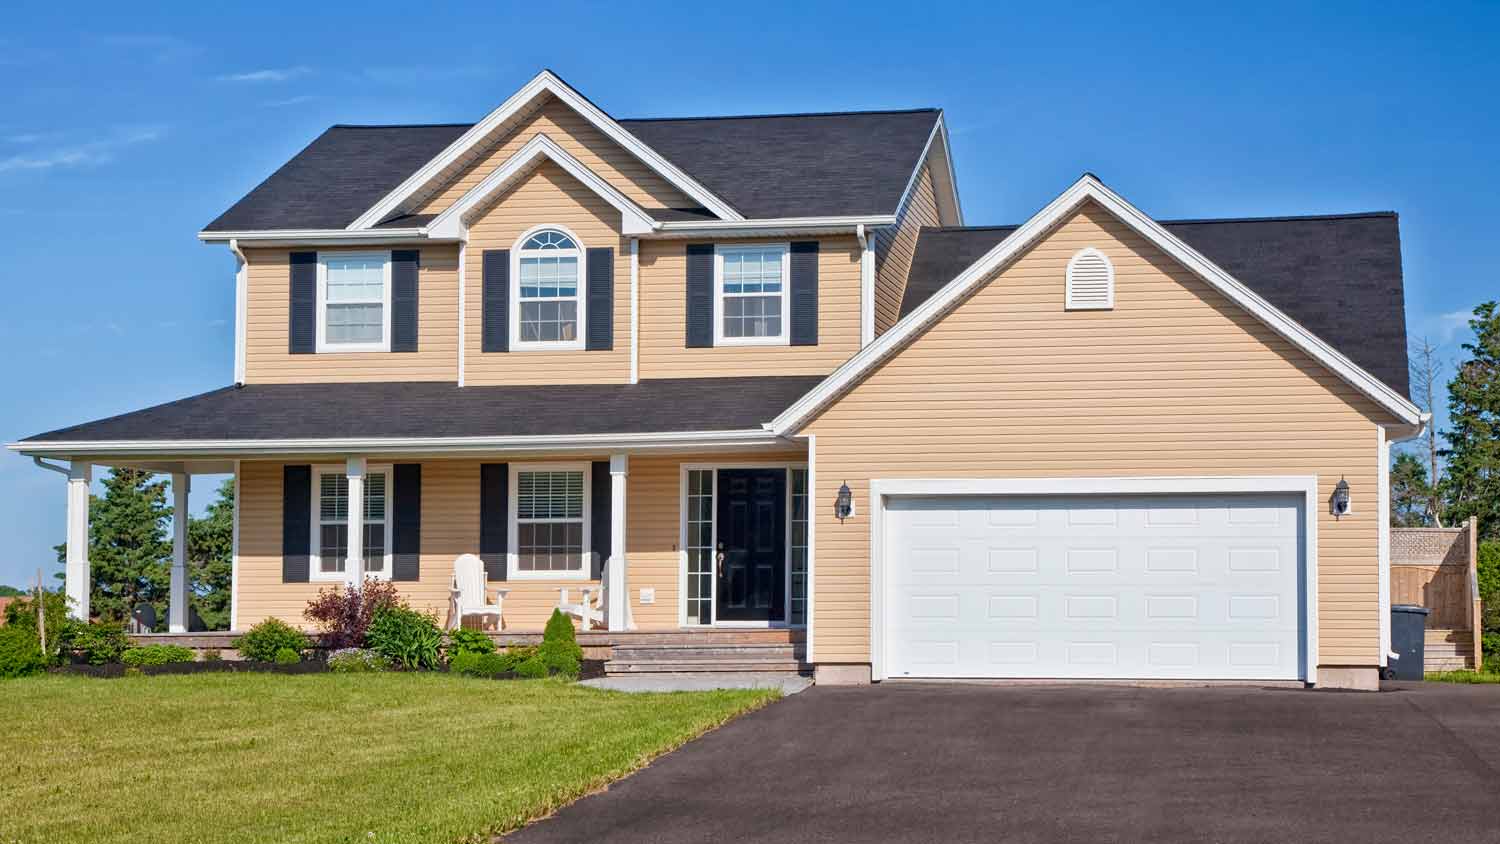
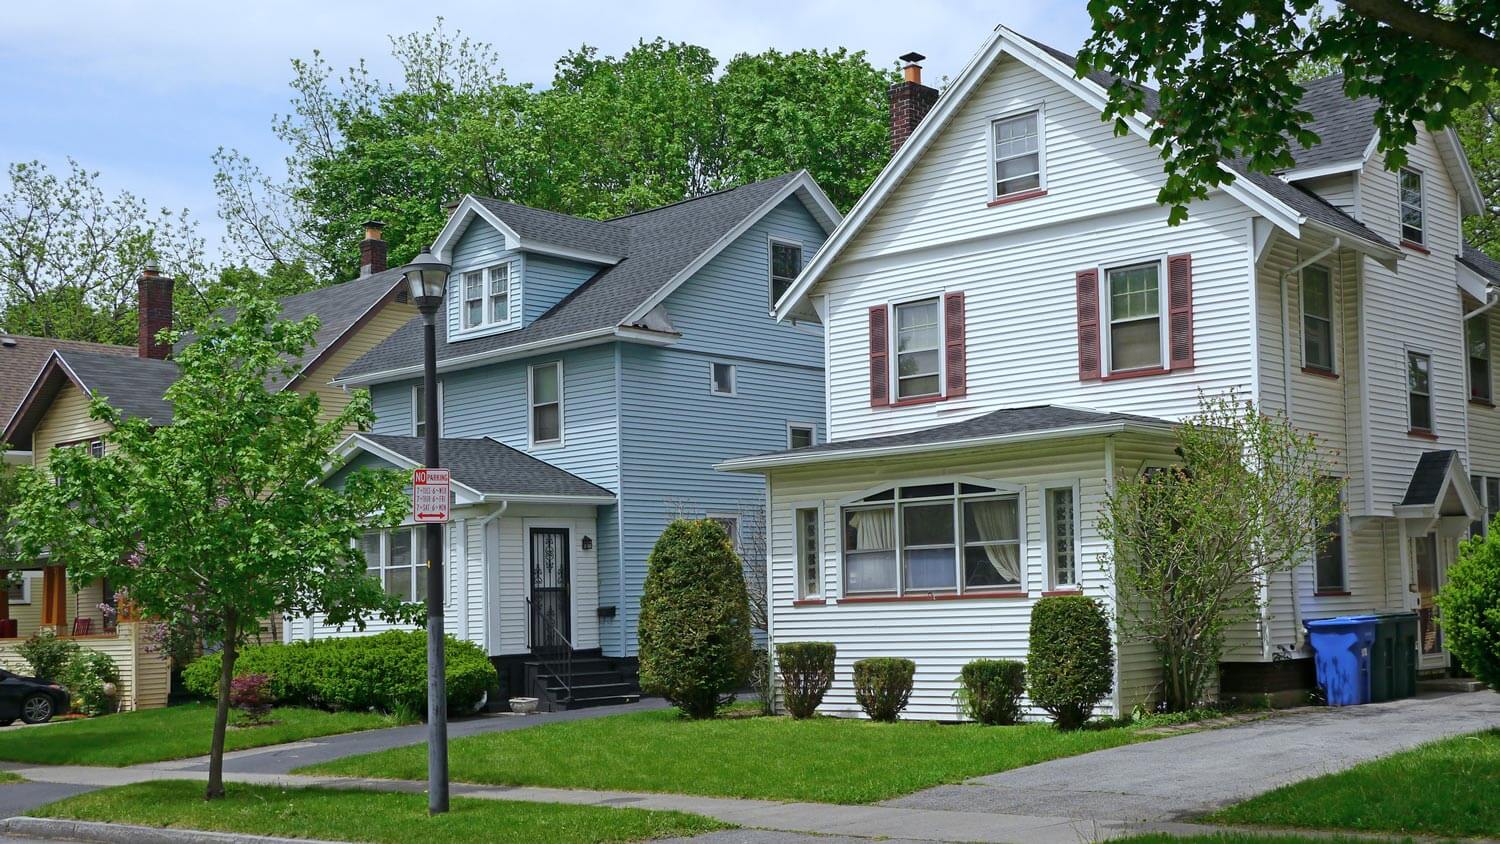
Vinyl siding is tough and long-lasting, but it still needs to be replaced occasionally. Whether it’s damaged from your kid’s wayward baseball or it’s just faded from the sun, here’s what you need to know before replacing your siding. The below explains how to replace vinyl panels, which is a relatively simple job for a confident DIY-er. If you need to replace entire walls of vinyl siding or corner pieces, it’s time to call in the siding professionals.

Vinyl siding is a durable material and most can last up to 40 years, though you may choose to replace yours sooner for aesthetic reasons or if it’s damaged. Knowing the year the siding was installed will give you a good timeline for replacement.
Here are a few signs it’s time to replace your siding.
If moisture leaks behind your vinyl siding, you may see evidence indoors. Peeling interior paint is a primary indicator that there is moisture behind your wall. Check the siding behind the paint damage for evidence of water. You may see mold, mildew, or moist spots on the siding and in the seams.
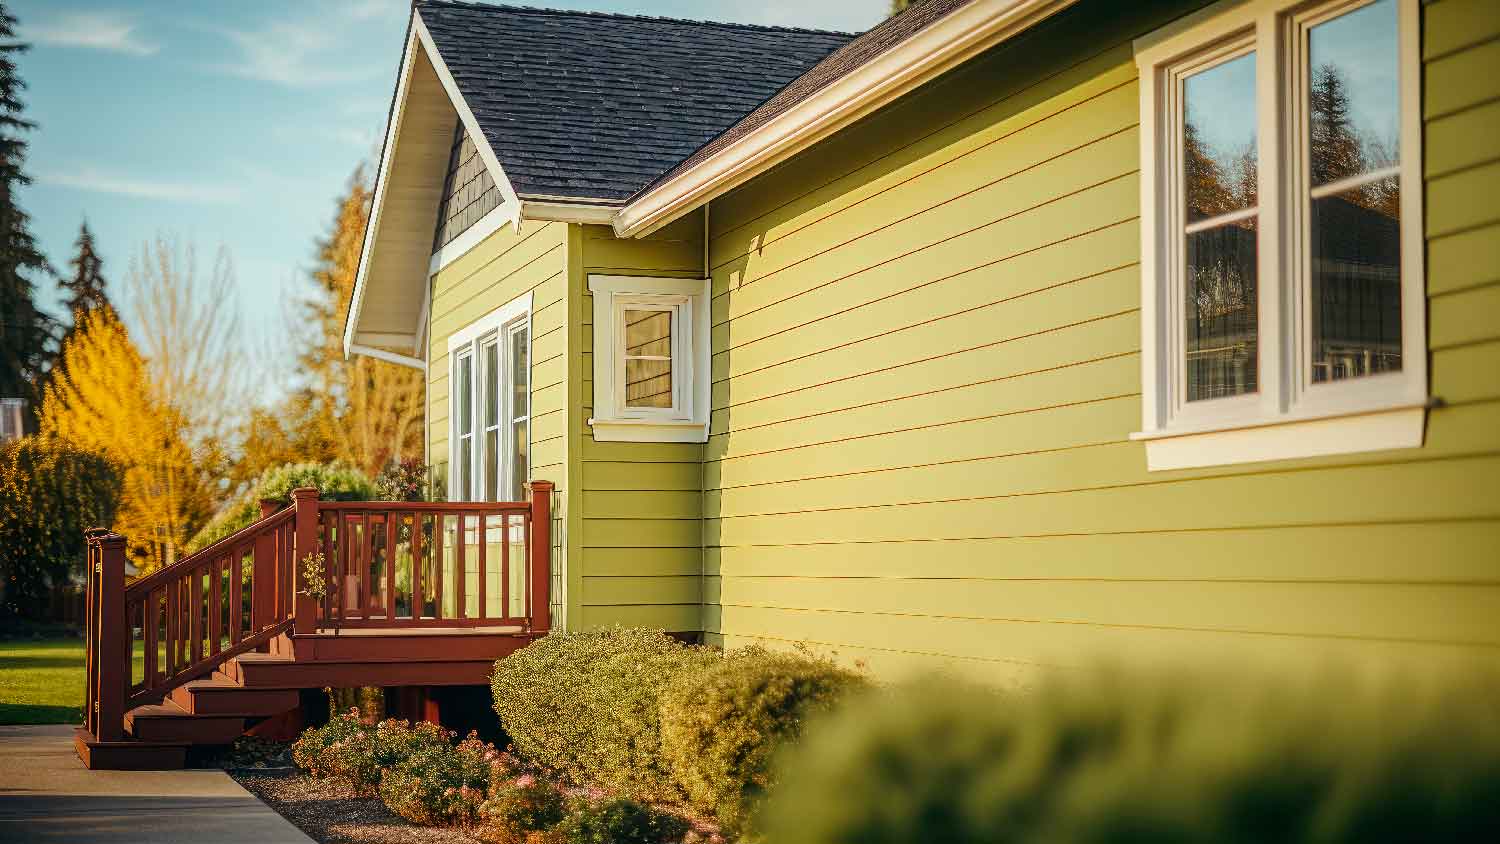
Though durable, vinyl siding isn’t indestructible. Damage from storms and high winds can dislodge or break pieces of siding. Displaced siding and sections with holes or cracks can allow moisture inside and damage your home.
As your home settles and temperature fluctuations cause the wood behind your siding to shrink and swell, your siding may be affected. The presence of bent, buckled, or warped siding is an indicator that your siding should be replaced.

When learning how to repair vinyl siding, the first step involves removing the damaged panels. If an entire panel has damage, pop out the old panel. If the damage is small, you may want to just cut out the section that has damage.
The easiest option is to replace the entire panel, rather than cutting out the damage. However, if you are trying to save money, just replacing a piece of vinyl siding may work better.
Before going any further, it’s important to mention that purchasing and using a vinyl siding removal tool will make this job significantly easier. You can find one at almost any hardware store for less than $10. This tool helps with installing the new piece of siding, too.
Start at one edge of the damaged vinyl piece. Slide your vinyl siding removal tool underneath the bottom of the piece of damaged siding until it hooks into the bottom lip. Pull downward to loosen the piece from the one below it. (Vinyl pieces fit together with a lip on one piece hooking into a channel on an adjacent piece.)
You now can slide the tool slowly lengthwise against the damaged piece, popping the lip out of the channel along the way. Continue until you reach the far end of the damaged panel. Repeat this process for the piece above the damaged piece.

The top of each vinyl siding panel has nails every 16 inches or so that attach the panel to the materials underneath, which are usually wood and insulation. Pull the nails loose with a flat pry bar. You’ll have to gently lift the upper vinyl piece that does not have damage so you can reach the nails on the damaged piece and pry them loose. Having a second person hold the undamaged piece is helpful.
If you are replacing the entire panel, pull all the nails. If you want to cut out a small piece of damage, just pull the nails along the piece where you want to cut out the vinyl. Then use a straightedge and utility knife to carefully cut out the piece of vinyl with damage.
Remove the panel piece or the entire panel after pulling the nails.

Move the new piece into place. The new piece should be an inch or two longer on both sides than the gap, creating an overlap to reduce the chance of water reaching the material underneath. If you need to cut the new piece to fit, use the utility knife and straightedge.
Use the hammer to drive nails about 16 inches apart along the length of the panel, whether it’s a full panel or a small piece. Drive the nails into the thin segment at the top with oval slots for the nails, called the nailing flange. Put the nail in the middle of the oval slot.
Do not place the new nails in the same holes where the old nails were in the material underneath, but they can be close to the old holes.
Do not pound the nails completely tight to the material underneath the vinyl siding. Leave a tiny fraction of an inch of gap, so the panel can slide slightly as it expands and contracts in different temperatures. (The holes in the nailing flange are oval shaped so the nail can slide inside them as the panel expands and contracts.)
Regardless of whether you are replacing a full panel or a small piece, be sure to place nails in the slots on both ends to secure the seam.
With the new piece nailed in, you now need to reattach the upper and lower pieces to it. Go in reverse order to how you removed the piece earlier, starting with the upper piece.
Use the vinyl siding removal tool on the far end of the newly installed panel to pull down the channel of the upper piece. Press on the upper piece just behind where you’re holding the tool to pop the channel into the lip on the lower piece. You may hear a snap as the two pieces connect.
Slide the tool slowly along the length of the piece, continuing to pull the channel down with the tool and continuing to press on the upper panel with your hand to pop the lip and channel together.
Repeat this process for the piece below the piece you replaced.
Vinyl siding is relatively simple to replace, but most homeowners choose to hire a local vinyl siding contractor to perform repairs and replacements. Any tiny mistake in installation could cause major problems down the road, so choosing a licensed contractor who guarantees their work is a safer choice than DIYing it.
Although the overall vinyl siding cost for supplies and installation will be higher by hiring a pro than by doing it yourself, the pro might save you some money on supplies. The pro may have an easier time tracking down perfect matches to your current siding. The pro probably has more potential outlets for finding panels, even discontinued models, which may drive down the siding replacement cost.
The guys at PaveWay are top notch. From the estimate to the job being completed,all was done in a timely and professional manner. I myself was a DOT Engineer Inspector(know what to look for) and got to talking with Cameron and he himself was a Contract inspector for a few years,same job as...
 All Star Paving and Sealing
I highly recommend KTM construction! I will look no where else for anything that needs to be done, in or out side of our property. The level of craftsmanship is 5 star service across the board! The level of detail, knowledge and professionalism is 5 star service across the board! Ken is a...
I purchased the "Big Deal": $199.00 for exterior pressure-washing of one- or two-story home up to 2,000 square feet. They cleaned the siding only. I wasn't aware when I bought the Big Deal that they would not do any other surfaces other than the siding (i.e. sides of the gutters or stucco). I...
 Complete Home Services
This brownstone is historical and the carpentry work is very detailed. I was very happy to secure a company in NY and living in OH to complete the request. Wood work on this brownstone has been existing since approximately 1888 and West side did a GREAT JOB. I will not be able to...
 Westside Home Improvement
Nice group of workers, very friendly. Day 1 covered everything before starting, seemed very organized. Things seemed to be going great. Day 2 they didn't show up until around 10:00a.m. and work crew was cut in half, was told they had another job. Day 3 they didn't show up until around...
 CertaPro Painters of Columbus
The work went great! Couldn't ask for better. Joel set a work start date. About the time of the storms that may have been associated with Sandy. He was half a day late. They set up on a Thursday. On Friday they had a full crew at work. By Monday they were finishing up. Now, the best...
 NJW Construction
A few months ago, a tree branch fell across my car, leaving a series of dents across the hood and driver's side fender. I took it to Rife's after reading the Angie's List reviews. Rife's did a great job! My car looks like new. And they made the process as easy as possible. When I came in...
 Rife's Autobody Inc
I received an email from Angie's List offering Car Detailing 4 U's services for $99. Coming from Angie's List, I expected this to be a highly dependable and qualified company that was known for doing exceptional work. I set the appointment for them to come to my home. They were arrive at...
We first had Mark fix the back patio and liked his work so much we had him make a brick patio on the side of the house. When we decided to change our concrete walkway to brick, we wanted Mark to do the job because his prices were fair and he did such good work on t he other two projects.
 Mark Monnette Masonry
I was very pleased with the cost and end result. I truly expected this job to cost me 50% more than it did. When you factor quality and cost, I would highly recommend Mark's services and plan to use him in the future. The best part was, I asked Mark to match the paint color in one section...
 Fresh Touch Custom Painting Inc.
From average costs to expert advice, get all the answers you need to get your job done.
The cost to paint vinyl siding depends on the type of paint, square footage, labor, and more. Check out this guide to help you budget for painting vinyl siding.
Aluminum siding costs between $4,500 and $19,000 on average, depending on the style, square footage, and local labor rates. Keep reading to estimate your budget.
Insulated vinyl siding costs are about double traditional vinyl siding—but the energy savings are more than worth the investment. Learn more in our guide.
When it comes to aluminum vs. vinyl siding, both are strong opponents. Vinyl is more low maintenance, while aluminum is more durable. Read on to learn more.
Cleaning your aluminum siding can give your home a fresh new look. Use this guide to learn exactly how to clean aluminum siding from start to finish.
Not sure you want to go with the standard siding material for your home? Learn about vinyl siding pros and cons to see if there’s a better option.