
Whether they’re covered in fresh or dried paint, learning how to clean paint rollers is easy for anyone to do.
It’s not too hard, but it does take technique

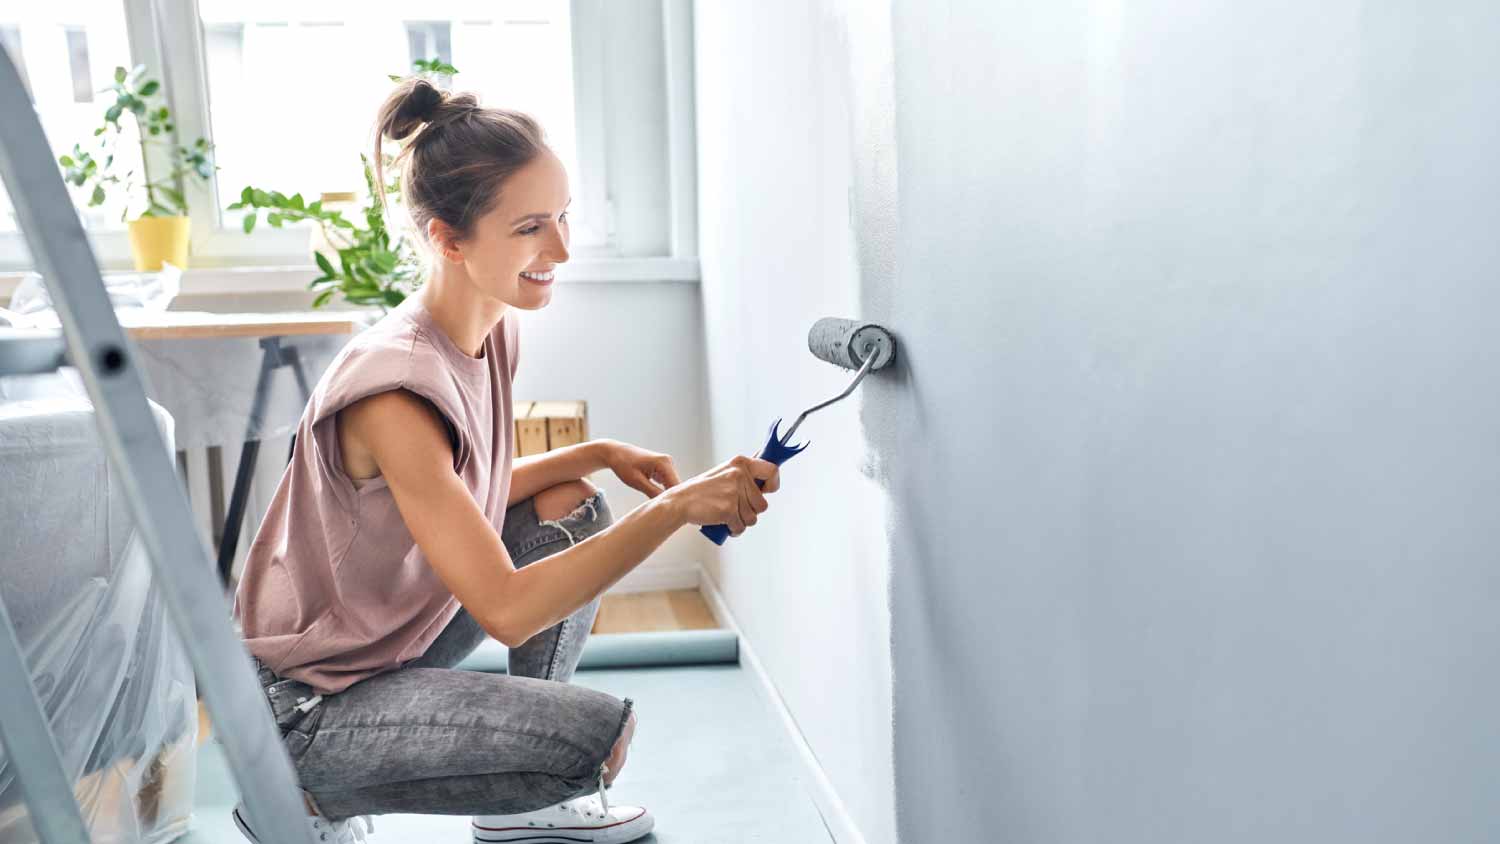
Using a paint roller becomes easier when you choose high-quality nap wool covers that resist fuzzing and apply paint evenly across your walls.
Pre-wetting your roller with water or mineral oil helps paint stick better to the cover, preventing uneven application and improving your final results.
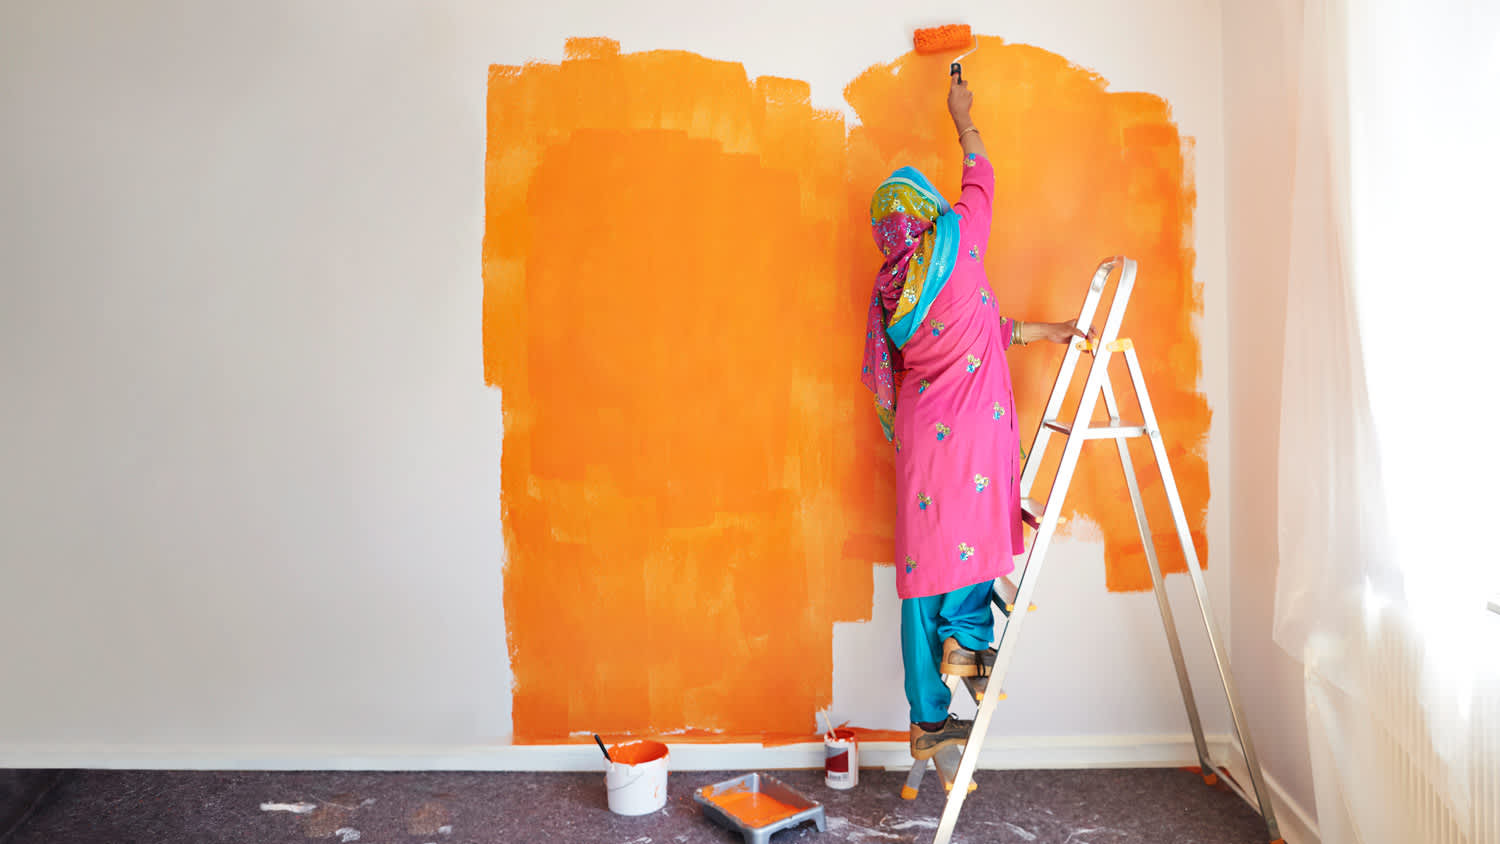
You should overlap each rolling stroke by two to three inches and keep a wet edge to avoid visible lines or dry spots in your finished wall.
Hiring a local interior painting professional provides reliable support with proper roller technique and complete coverage, helping your walls look smooth and professional.
Painting your own walls can be empowering and fun—not to mention it can save you money if you’re confident in your skills. However, having the right technique is crucial for a job well done and a paint job that’s gorgeous even after it dries. Here are our top 10 tips for using a paint roller like a pro.
Like any home project, a great paint job starts with the right tools—including not only high-quality paint, but a high-quality paint roller. While the roller handle itself is fairly interchangeable, the roller cover you choose can make a big difference. Budget-brand roller covers can lead to uneven coverage, fuzz getting into your paint, and other headaches.
Many pro painters choose nap wool covers, which are pricier but can be washed and reused.
No matter what kind of paint roller cover you choose, it’s likely got a few bits of lint and fluff to lose before its first use. One great hack: Wrap your lint roller cover in masking tape, and then pull it (and all the fuzzies it grabs) off. Repeat this process three times before starting.
Along with the masking tape trick, many painters also swear by rinsing or pre-wetting your roller before use. The method depends on what kind of paint you’re using: For water-based paints, you’ll want to rinse with water, whereas those using oil-based paints will want to use mineral oil.
Pre-wetting your roller can also help the paint stick better. Otherwise, it can get stuck in the roller cover nap and not apply properly to the wall or surface. However, you don’t want your roller to be dripping wet—just a little damp. Be sure to squeegee off as much of the excess moisture as possible before starting.

It can be tempting to load up your roller with as much paint as it can handle, but less paint is better because large amounts can more easily leave streaks or drips. And after all, you can always do another coat. It’s a lot harder to rectify an overly thick coat of paint than to simply lay down a new one.
While your mileage will vary, some experts suggest that loading a fresh roller takes about five or six dips into the paint tray, while new coats require only two or three. Be sure to tap off any excess. If your paint roller is dripping, your walls will look drippy, too.
No matter how unique you want your final look to be, chances are you don’t want to see the paint roller strokes. That’s why it’s important to overlap your strokes slightly and run the wet roller 2 or 3 inches over the existing stroke on the wall. (This is also known as keeping a wet edge.)
This is also why you should commit to finishing an entire coat of paint in one go. If you stop painting and come back later, the dry spot will likely show through in the finished wall when you put another wet stroke next to or on top of it. So if you know you need a coffee break, plan it out so that it’s between coats—or, if this sounds like too much work, hire an interior painter near you for an expert-level paint job.
Start each paint roller stroke toward the bottom of the wall, and never start with a full roller of paint on an edge, like a corner or against the molding. Make your first roller stroke 6 inches in from the edge.
Move the roller up as high as you can without touching the ceiling, then back down again to spread and blend the paint, using the “wet edges” technique. Some people also find it useful to paint in a W or N pattern, then fill in the space between those strokes.
While it may feel like pressing the paint roller hard into the wall will help the paint adhere better, the truth is, pushing too hard can lead to blobs and drips of paint coming off your roller—and nobody wants that. Apply a firm but gentle and even pressure with your roller, and move fairly quickly. You want to spread out that thin layer of paint while it’s still wet.

Ideally, you have a tarp down to protect your flooring, but this tip is about more than just avoiding messes. A paint roller that touches the floor can also become contaminated with dust and debris, which, of course, can end up in your paint job.
Even the most careful DIY painters will end up with at least a few lumps, bumps, and other imperfections at some point. The best way to handle them is to get at them before they dry and set.
It’s simpler than you think: Use a wet cloth (water for water-based paint or mineral oil for oil-based paint) to dab the spot. Once it’s dry, you can re-cover it with your next paint roller coat. For spots that are a little bigger or more noticeable, use a brush and then another layer of roller paint.

You’ll need at least two coats of paint to achieve full coverage, though for some colors, you’ll need three. Allow each coat to dry fully before your next coat. Oil-based paints take longer to dry (about 24 hours) than water-based ones (only two to four hours), but adequate ventilation can help speed the drying process for any paint type.
Before you tackle the bulk of your walls, you’ll want to start with those edges you can’t quite reach with the roller. This process is known as cutting in. Using a paint brush, get a thin, even layer of paint as close to the ceiling, molding, and other wall edges as possible. Then, you’ll use your paint roller to get as close to this portion as possible in order to get a matching texture throughout your wall.
Custom Paint Jobs LLC is the go-to choice for all your painting needs. They painted both the interior and exterior of my house flawlessly. Their work speaks for itself!
Beginning with the estimate, Larry and Peyton were super helpful in getting my new condo's interior re-painted. Not only was the job well done, but also done in a super timely manner as promised.
 Five Star Painting of Plain City and Powell
From average costs to expert advice, get all the answers you need to get your job done.
Whether they’re covered in fresh or dried paint, learning how to clean paint rollers is easy for anyone to do.
Different paint projects require different paint rollers. Learn how to choose the best paint roller for the best results.

Painting can be a tedious job, but it all comes down to the tools you use. Learn whether it’s better to use a paint sprayer or roller to get the job done.

Before you pick up that paint brush, check out these 11 must-know painting tips for your DIY interior painting project.
The truth to the question, “Is it better to spray or roll on exterior paint?” is that both have pros and cons, but a few factors will help you decide on one.

If your room is falling flat, learning how to texture walls will help bring dimension to your space. Get to know all the different options and how to do them yourself.