
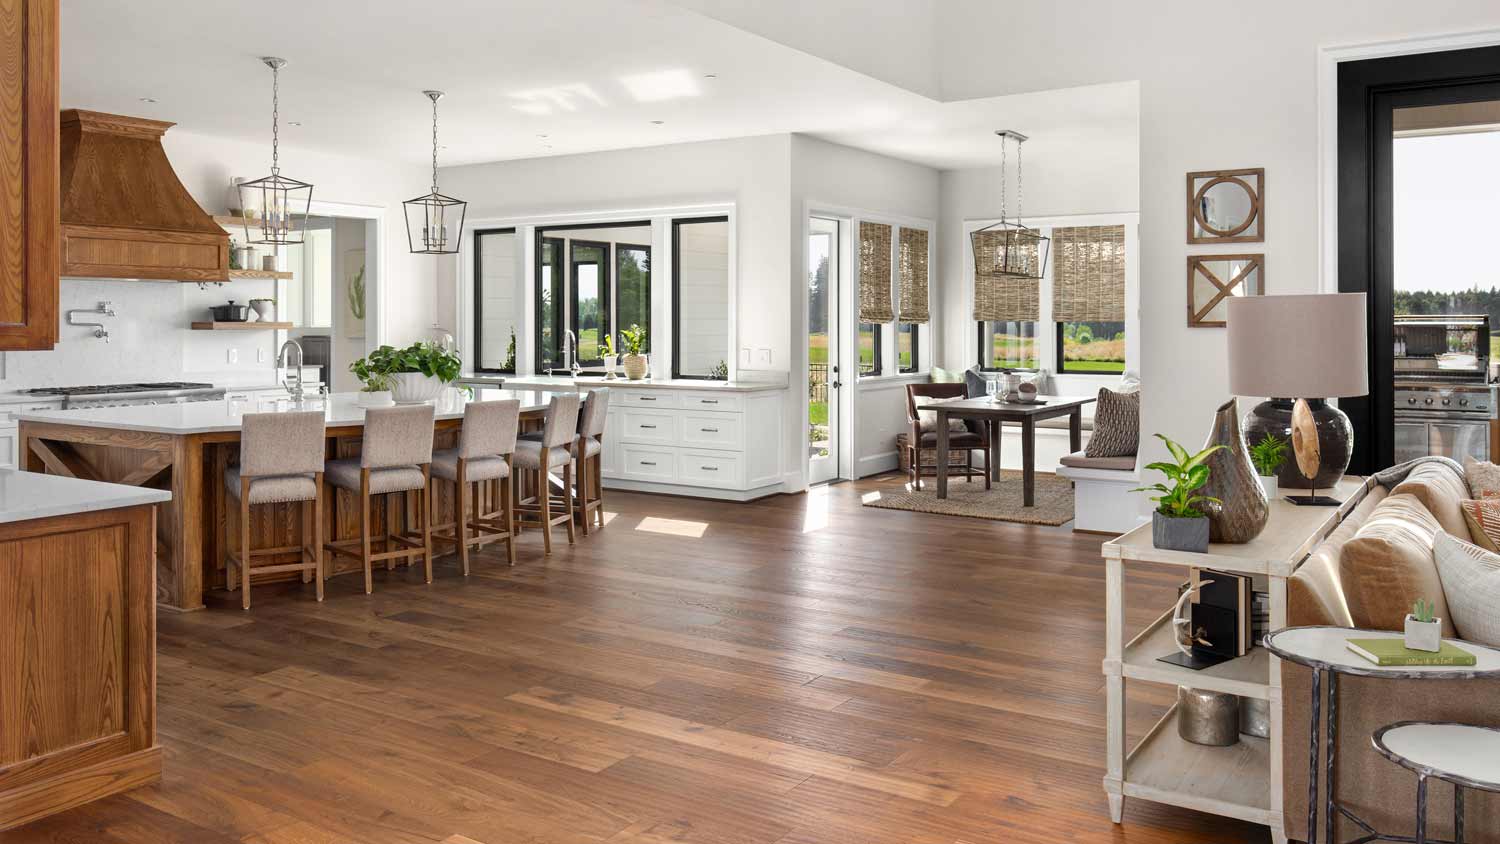
Hardwood floor repair costs depend on the problem. This guide breaks down common costs based on factors like the type of problem, repair method, and whether you hire a pro or DIY.
There are many types of hardwood flooring damage, and each requires a different strategy


Choosing between repairing and replacing hardwood floors depends on damage type, with surface scratches responding to DIY fixes while deep gouges require professional refinishing.
Water damage from leaks or flooding forces replacement when moisture warps planks beyond repair, but quick cleanup with dehumidifiers can reverse minor exposure in your home.
Cupping or crowning from subfloor moisture issues requires removing affected planks and sealing the subfloor properly, preventing future absorption problems that cause your floors to warp.
Hiring a local floor repair company provides expert guidance on refinishing versus replacement decisions and handles complex repairs like plank removal and subfloor sealing with precision.
Natural wood floors are sought-after for their long-lasting beauty and durability. However, even solid hardwood planks are susceptible to damage, whether from day-to-day wear and tear, UV radiation, water damage, or your pup’s zoomies.
Each type of damage requires a different game plan. Our guide can help you identify and deal with each source of damage and determine whether you can repair your floors or if they need to be replaced.
Every hardwood flooring issue comes with unique challenges. Find yours in the list of common hardwood flooring problems below.
Scratches are a common source of hardwood damage, caused by years of foot traffic, dragging heavy furniture, children’s toys, and pet nails. Before deciding whether to repair or replace your hardwood, determine whether the scratch is deep enough to compromise your floor’s integrity.
A minor surface scratch or scuff can often look worse than it is and may buff itself out over time with regular wear. It’s possible to try a DIY repair on a small scratch, but consult your floor’s manufacturer-provided maintenance guide first. You can often apply a wood putty from your local hardware store. Be sure to find one that closely matches the color of your planks.
If you have small scratches across your entire floor, or if you find a deep gouge that penetrates below the stain and sealant of a plank, consider refinishing or fully replacing your floor. Hardwood floor refinishing involves sanding the floors down to remove blemishes, then applying a new stain and sealant for a fresh look that’s protected from moisture and dirt.

UV radiation from excessive sun exposure or heavy foot traffic can change the color of hardwood floors over time. This process rarely occurs evenly and shows up as light or dark patches on your hardwood. Areas under rugs or furniture can be a drastically different color than the floors around them.
Once you’ve lost uniform color, it’s not easy to get back without sanding and refinishing the entire surface. Thankfully, refinishing is more cost-effective than a full replacement. Once your floors are repaired, prevent future discoloration with a durable hardwood finish, window treatments, and periodically rearranging furniture and area rugs for a more even sun exposure.
Any amount of water on the surface of your hardwood can cause damage. Natural wood absorbs moisture, expanding and warping as it does. This can cause a chain reaction as other nearby boards are pushed out of alignment. Spilling a cup of water and not noticing right away likely won’t destroy your floors, but long-term exposure to excessive moisture exposure could.
If you have a sink, dishwasher, bathtub, or washing machine leaking clean water or greywater on your hardwood, mop it up as soon as you detect it and use a dehumidifier to try to return the floors to normal. Depending on the amount of water that flooded and the length of time it stood, you may have irreversible damage that requires you to replace your hardwood floors.
“If the water damage is recent, such as in hours or days, you might be able to reverse the damage and not have to replace the flooring,” says Bob Tschudi, Angi Expert Review Board member and general contractor in Raleigh, NC. “There are companies that can come in with equipment to remove all moisture within days. They are not cheap, but could very well cost less than removing the damaged flooring and replacing and refinishing new flooring.”
You will also likely have to replace floors damaged by major flooding. The same goes for blackwater from a backed-up toilet or sewer, which contains harmful bacteria that can compromise your health and the health of your family. Remove and replace anything contaminated by blackwater from your home immediately.
Both of these issues start during installation, usually because your subfloor wasn’t properly sealed or a proper vapor barrier wasn’t installed. Planks can then absorb excess moisture from below, expanding at the edges and dipping in the middle in a phenomenon known as cupping.
Crowning is the opposite, in which planks lose excess moisture and shrink on the underside. This causes the edges of each plank to sink lower than the center.
To solve either issue, you’ll likely need to remove and replace all affected planks. Address excess moisture by properly sealing the subfloor to avoid experiencing the same issue again. Moisture issues can also be prevented by maintaining a consistent indoor climate, with a temperature of 60 to 80 degrees Fahrenheit and an indoor humidity of 35 to 55 percent.

Slight separation between individual floorboards can be the result of regular shifts in your home’s indoor climate from season to season. However, gaps visible year-round should be addressed to prevent dirt and moisture from causing long-term damage to the planks and the subflooring below.
DIY repair for small areas with a few narrow gaps can be done using wood filler or putty in a color that matches your floor’s stain. Start by vacuuming dirt out of the gap, then apply filler with a putty knife so it overflows a bit. Once dry, use fine-grit sandpaper to smooth out the surface.
Keep in mind that this may become an ongoing maintenance process. As your planks continue to expand and contract with changes in humidity, your chosen filler may be forced out of the gap. Wider gaps can sometimes be filled using narrow strips of wood called shims. The process is time-consuming and may require the expertise of a local flooring repair specialist.
If your contractor determines that your gaps are too wide to repair, you may need to replace the entire floor. Be sure to allow your new floors enough time to acclimate to your home’s climate before installation. Your floor’s manufacturer should provide guidelines.
While there are now many hardwood installation methods, nail-down planks are still common. Any installation involving nails comes with the risk of chips or cracks from improper nail gun pressure, though these issues can be corrected during installation if noticed in time.
If you are actively installing your hardwood floors, you may be able to simply replace the damaged board with a spare. If the plank is already surrounded by other planks, this may not be an option. As with damage from scratches, light refinishing may solve surface-level issues.
Though accidental, pet messes can damage hardwood floors over time. Unlike stains from water, urine stains tend to come with an odor that seeps into your floorboards. Like any spill, clean up pet accidents as soon as you find them to prevent absorption. If you have stains and don’t want to jump right to a more costly full replacement, try a DIY solution first.
If you’re just dealing with odor, deodorize the area with a homemade solution of the following:
1 cup water
1/3 cup distilled white vinegar
1/4 cup baking soda
1/4 cup mild dish soap
Mix your solution thoroughly in a spray bottle, then lightly rub it onto the stain with a clean cloth. Let it stand for 15 minutes, then rinse with a damp cloth.
For more challenging odors accompanied by a stain, directly apply hydrogen peroxide and cover the area with a clean cloth overnight. Note that both solutions should be tested on an inconspicuous area first, such as in a corner or under a rug. Note that hydrogen peroxide may lighten your floors, requiring you to sand and refinish them after dealing with the stain.
If you’d prefer not to take a risk with DIY cleaning solutions, call in a local floor cleaning professional.
This company does it right. Firstly, I want to say that Landan was a joy to work with. He was so kind, transparent, and had everything under control. His entire team showed up ready to work and they were all very respectful of the fact that we were in an office space. A little backstory – we...
 Krumlauf Floors
Terrible experience. Walls/trim/floors/cabinets/doors all have drip marks, overspray, etc. Tiling at the fireplace had to be redone by another vendor due to incorrect and shoddy install by Profect. Contractor had his children in our house while he was on site without prior authorization or...
 Profect painting & exteriors
**Would rate a 0 if i could** NEVER USE THIS COMPANY!!!!! They shattered my tv console and dresser, lost a mirror, and never finished the move. The broken furniture cost me over $600 to replace. They left me with 6+ hours of personal labor moving my 1BR apartment, when I was quoted a FULL...
 All My Sons Moving & Storage
Finished Basements Plus was wonderful from beginning to end! First, they came out quickly for an estimate. I had 4 estimates and theirs was by far the best. (2 of the estimates were more than $20K higher than for the exact same work). Beyond their fair pricing, the work was excellent. They...
 Finished Basements Plus Inc.
AFS was excellent from start to finish. Jess, the sales associate, was fantastic...very knowledgeable and very professional. The installation crew was excellent. I couldn't be more pleased with the process. Best of all, my new floor looks fantastic!
 America's Floor Source
It was wonderful working with Yordy and his team. They were very professional and are experts in what they do. They have completed the work on time, with better quality and with in fairly reasonable price. We just started with backsplash work , but liking his work, we went on to provide...
 Flooring Solutions
We were having 2”x 2” tile installed . There was a small installation error and the new additional replacement tile was from a different lot and the colors didn’t match. Joe assured us that he would rectify everything , which he did without hesitation. We decided to go with the 18” x 36” tile...
 CarifaTile
We hired Jim to replace our hardwood floors with new hardwood. He and his helper Jerry did a fantastic job. Their work ethic is impeccable!! We would highly recommend McColl Floors!
Description says they handle window repair including rotten hardwood - they called me back right away but didnâ t leave a voicemail. I followed up 3 days later and they said they donâ t do that kind of work.
 Window-Gurus
Chaz, the owner, was very responsive and he communicated with us throughout the entire process. The overall cost was in the middle compared to the three estimates we received. The installation crew was very professional. Chaz was considerate enough to send a crew back to our home to repair...
 Unique Hardwood Floor LLC
From average costs to expert advice, get all the answers you need to get your job done.
Hardwood floor repair costs depend on the problem. This guide breaks down common costs based on factors like the type of problem, repair method, and whether you hire a pro or DIY.

Both materials and labor determine hardwood floor installation costs. This guide breaks down all the prices you need to know before starting your new flooring project.

Get the look of hardwood at a fraction of the cost. This guide will help you understand the cost to install engineered hardwood floors in your home.
Wondering who to hire to repair hardwood floors? Learn which pros handle repairs, how they work, and how to choose the right contractor.
Before repairing or partially replacing flooring, make sure to discuss these hardwood floor repair questions with a pro.

Learn how to repair hardwood floors—no matter the type of damage. This guide will help you buff out scratches, fill cracks, and get rid of pesky water stains.