The cost to install a generator transfer switch depends on several factors. Our guide will help you understand all of the costs.
Transferring your family photos onto wood can add a unique, rustic look to your home that allows you to display your favorite memories.
Your photo transfer needs a laser jet printer because standard inkjet prints won't work, and the image will appear reversed on the wood.
Mod podge photo transfer works best when you apply a thick coating directly onto your printed photo before placing it face down on the wood.
You need to let your transferred photo sit for a full 24 hours before wiping away the paper with a damp cloth to reveal the image.
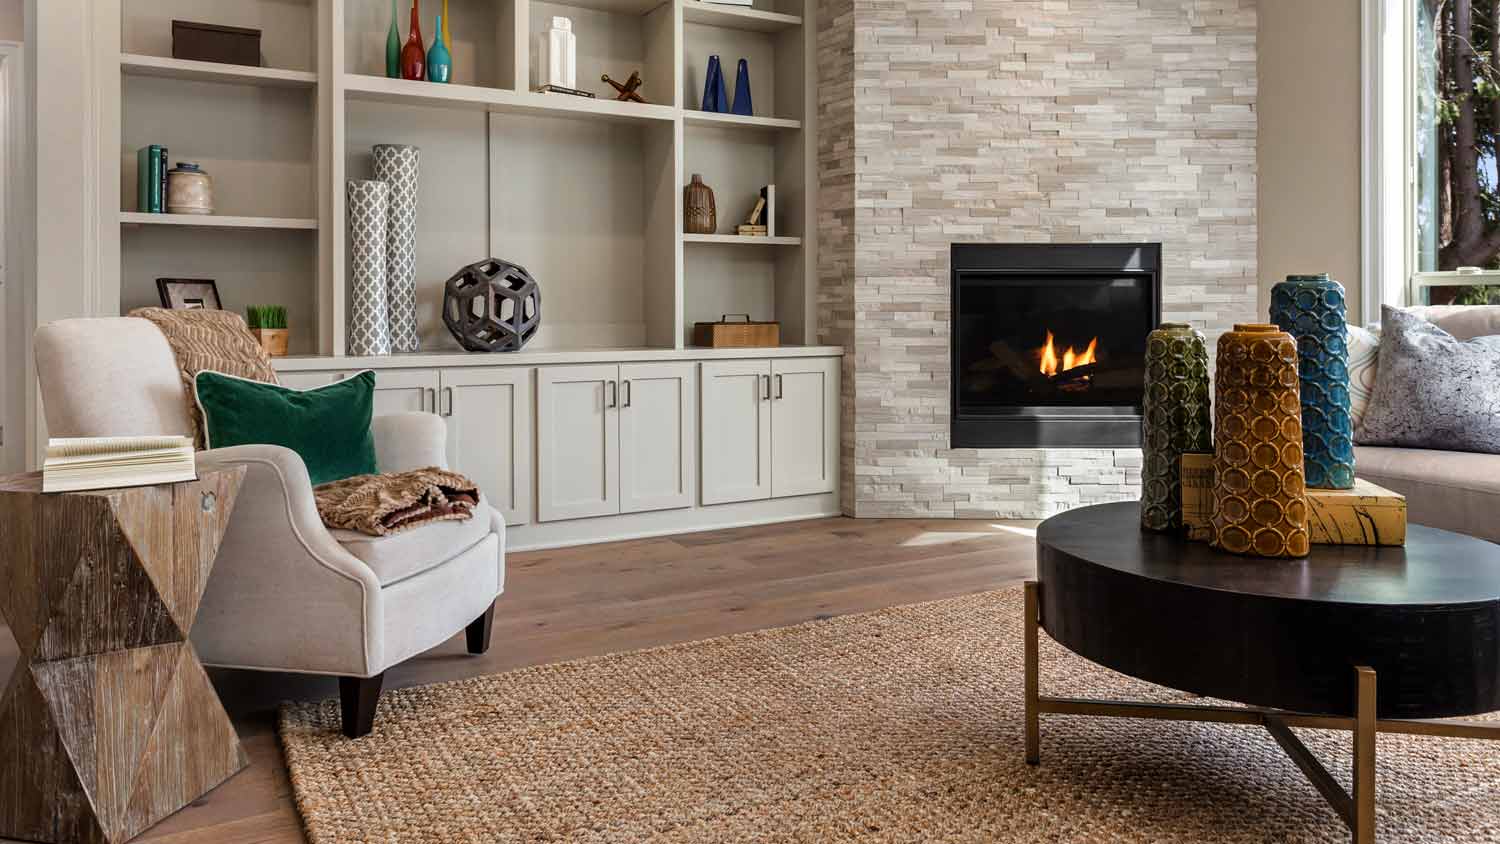
Hiring a local interior decorating professional provides creative guidance on displaying your photo transfers and coordinating them with your home's existing decor style.
Every year my family gets a variety of photos together. But often times, I find it hard to display my photos in anything other than the standard "photo in a frame" sort of way. In my own house, I like to think outside the box and show a new take on traditional decor. So today I'm sharing with you a new take on family photo decorating.
For this project you will need:
1 piece of wood (I used a board found in the wood section at Michael's)
1 bottle of mod podge photo transfer
A paintbrush
Laser print photo of your choice, cut down to the size you want
Decorations: ribbon and other decor ("hello" was from Michael's)

Start by printing off your photo on a laser jet printer. This will not work with a standard photo, so please be sure it's a laser jet printer (or even photocopier). Note that the image will be reversed for this project, so if it has words on it, you'll want to flip your image before you print so it goes onto the wood correctly.
Trim your paper to size.
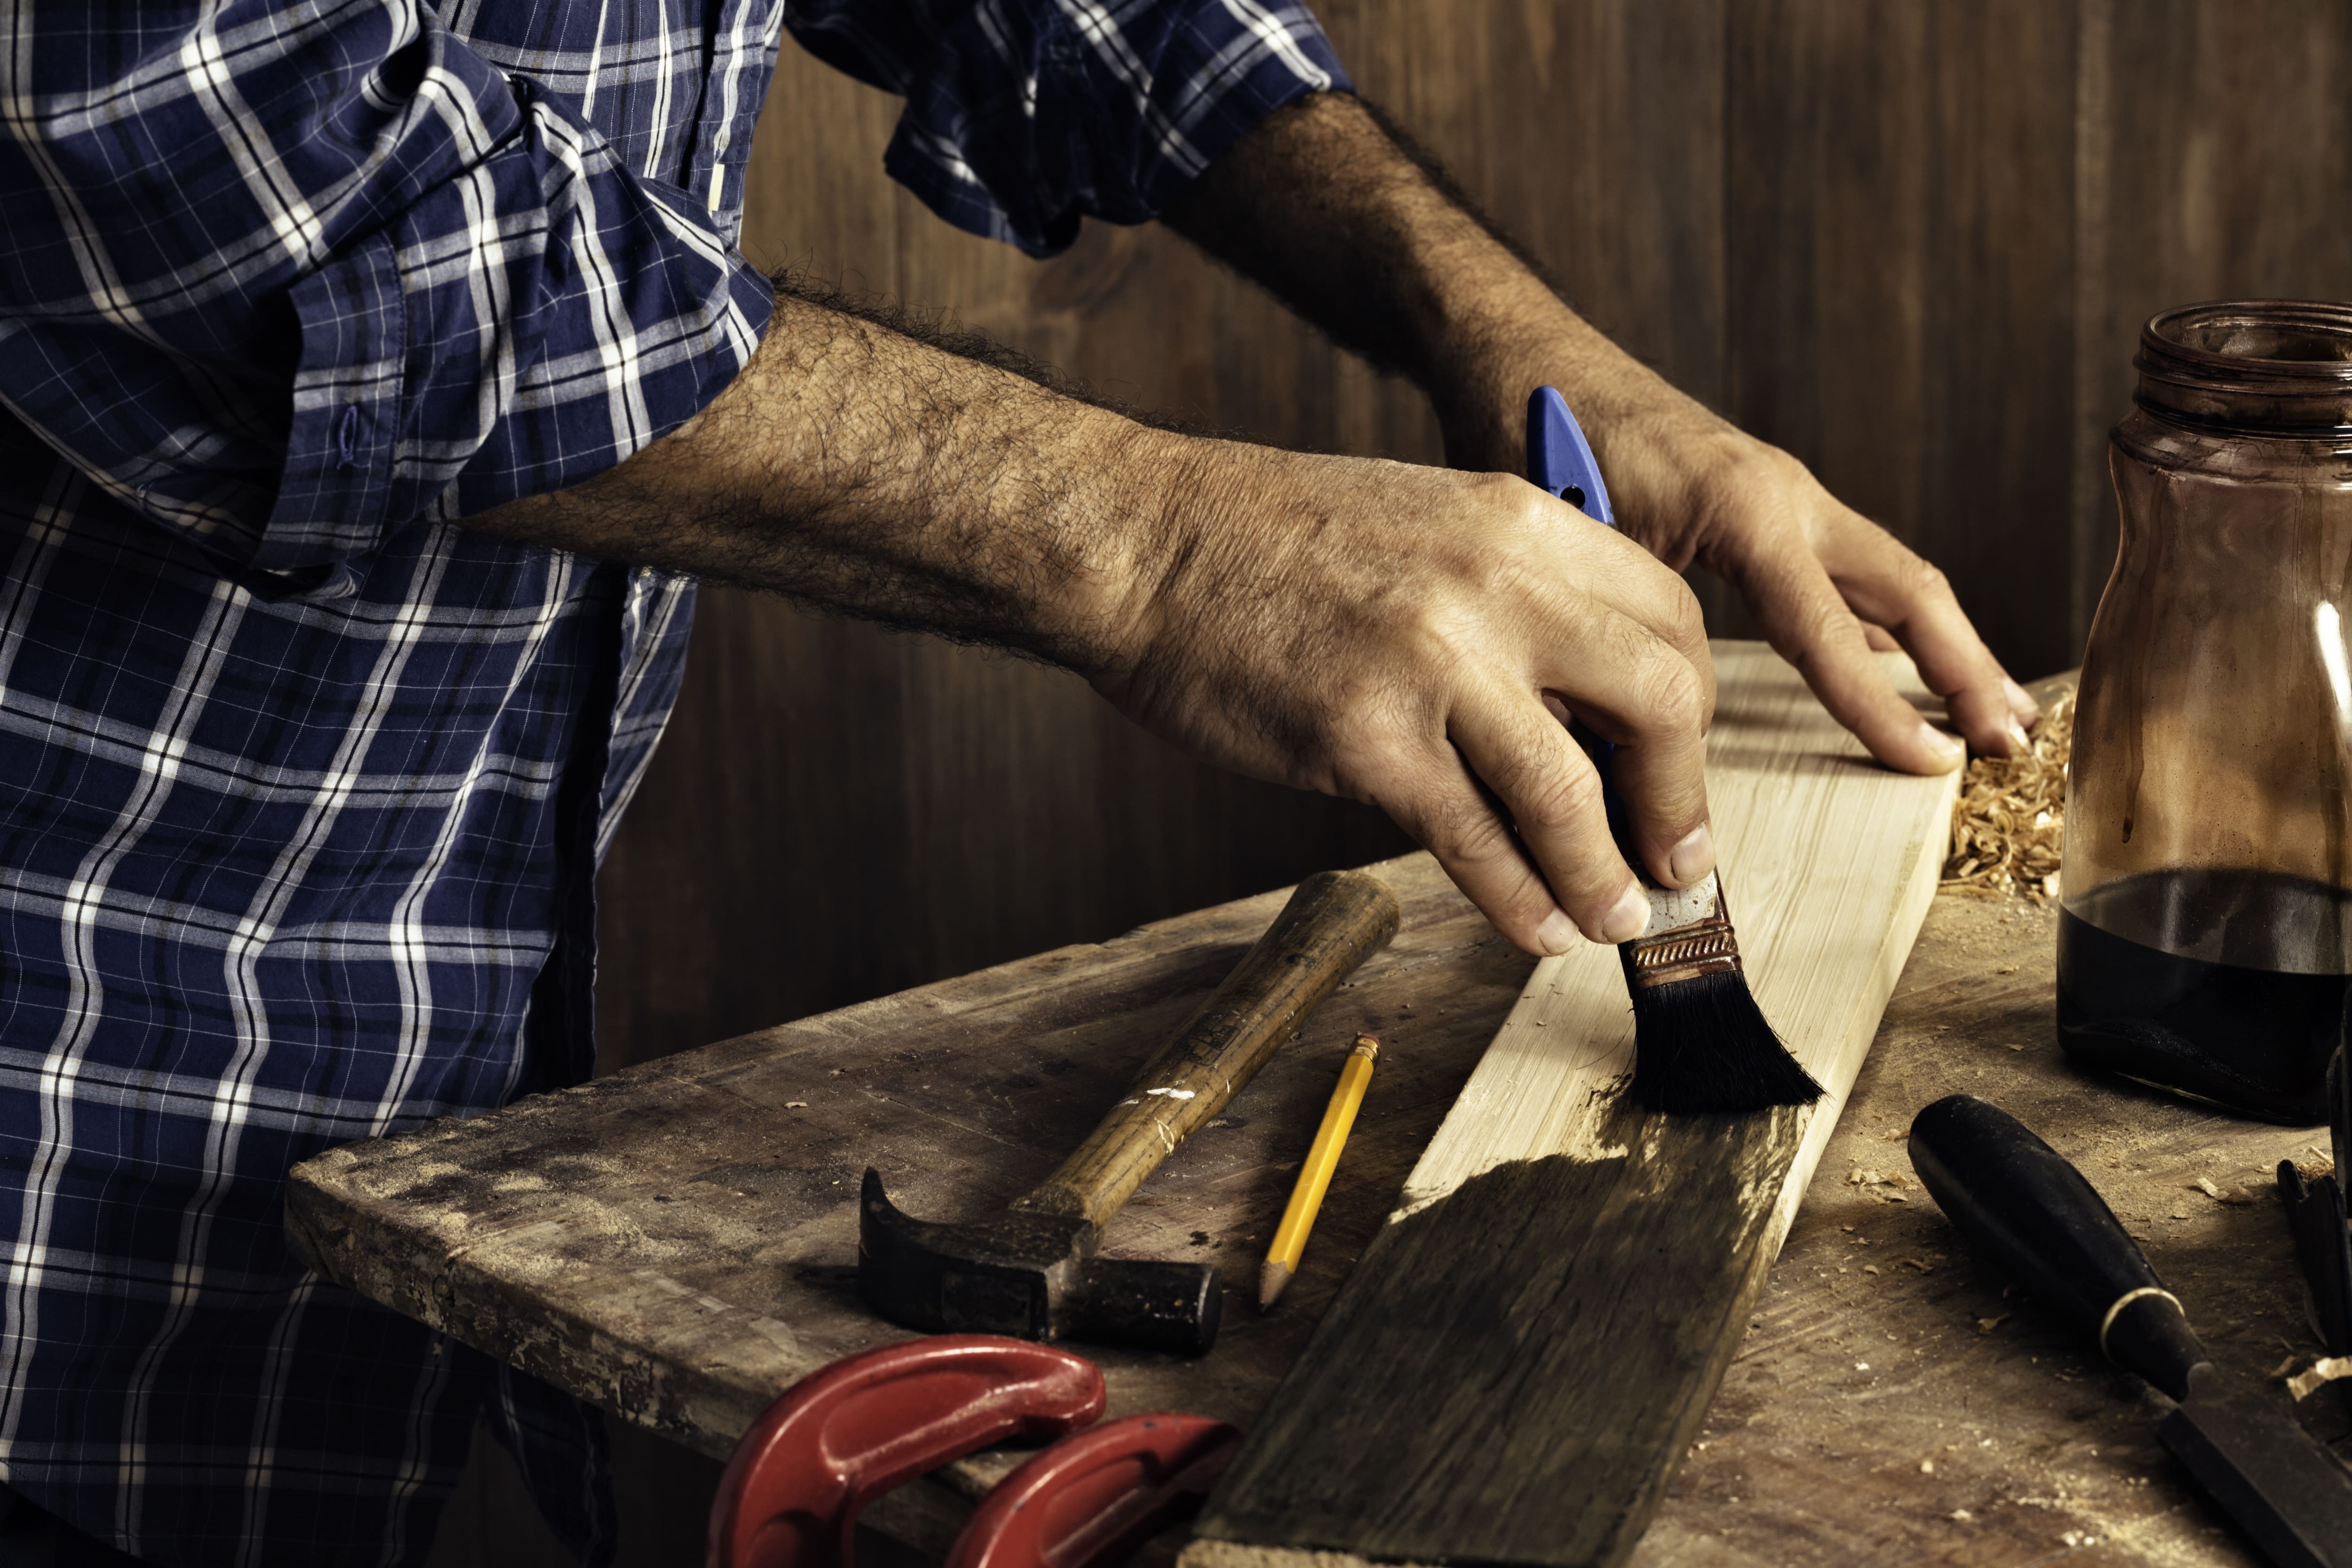
Next, apply a very thick coating of mod podge photo transfer onto the front of the photo. Yes, you read that right...directly onto your pretty little faces. You want to be very generous with the amount. I like to use the mod podge mat so that I can get mod podge on it and the paper won't stick like it will on other surfaces.

After the photo is covered, place it face down onto the wooden board you've chosen and smooth out any wrinkles.
Here's the important step...let it sit for a full 24 hours.
The final step in this process is to wipe off the paper. You'll take a damp rag and gently wipe away until the photo shows through. The paper will start coming off in clumps, but you'll see the image remain...like magic! You'll work away at it and let it dry. You may notice there's still a thin coating of paper on it. If so, wipe away again until clean.

After it dried, I added a little bow with gingham ribbon at the top (I swear, gingham makes everything cuter). I also added this little metal "hello" I found at Michael's. Then I placed it on top of my credenza for a fun and different way to display our new family photos in something other than a traditional frame.

So now you have tons of fun new options to share those family photos. Think of all the things you could transfer your photos to...it even works on fabric!

We have bought and sold numerous times over the past 50 years. Sherman Hall and Top Line are top notch. Thorough and detailed, he explains every possibility, probability, and eventuality. High class and pleasant. The best.
 Top Line Home Inspections, LLC
Supreme Brick & Chimney did a great job with a cleaning and inspection of the fireplace! He was efficient, on time, and very pleasant. The space was kept very clean, and the fireplace was spotless when he was done. He also performed a thorough inspection, and did a great job talking us...
 Supreme brick & chimney
Custom Paint Jobs LLC is the go-to choice for all your painting needs. They painted both the interior and exterior of my house flawlessly. Their work speaks for itself!
They were very helpful with design, very quick to respond, good quality work, and competitive pricing!
On time, clean and finished fast. Windows seem sturdy and the finish is good. Caulking was done with no smudges. Would recommend.
If I could give 10 stars for Kitchen Tune Up, I would. I cannot say enough good things about my experience with Kitchen Tune Up and the entire team involved in the process of my kitchen project. They went above and beyond as far as service and quality with my cabinets, paint, countertops, and...
Beginning with the estimate, Larry and Peyton were super helpful in getting my new condo's interior re-painted. Not only was the job well done, but also done in a super timely manner as promised.
 Five Star Painting of Plain City and Powell
Great job...edging and pre clean up went well with a great job with seal coat. Friendly, efficient and professional.
 All Star Paving and Sealing
We were having 2”x 2” tile installed . There was a small installation error and the new additional replacement tile was from a different lot and the colors didn’t match. Joe assured us that he would rectify everything , which he did without hesitation. We decided to go with the 18” x 36” tile...
 CarifaTile
We live in a condo and had space to add a tall cabinet. The problem was the space was already occupied by our catsâ litter box. We needed to still keep the litter box in that same corner. Beiler Custom Cabinets was able to work with our need and design request. What was created was an...
From average costs to expert advice, get all the answers you need to get your job done.
The cost to install a generator transfer switch depends on several factors. Our guide will help you understand all of the costs.

The pictures in your home can be high-value items—money- or sentimentality-wise. Learn how to pack pictures for moving to avoid frame or glazing damage.
Curious about what's under old coats of wall paint? Learn how to remove paint from wood with these tricks to bring the wall, table, or home siding back to life.
Thinking of repurposing a room or space in your home? A design board helps bring together the concepts and inspiration you envision for your space. In this article, you'll learn how to create one and have access to our free design board templates.
Smoke odors can be persistent and take months to get rid of, especially in hard, porous materials. Learn how to remove smoke smell from wood furniture.
Staining wood may seem like a simple DIY project, but there’s more to it than you may think. Learn how to stain wood like a pro with this easy-to-follow guide.