
•
Discover window security film installation costs. Learn about average prices, cost factors, and ways to save on your home security upgrade.
Unlock your inner tinting maestro with these simple steps


Are you looking to enhance the aesthetics and functionality of your home while increasing privacy and reducing energy costs? Look no further than window tinting. Use our guide on how to tint windows at home so you get the job done like a seasoned professional. From selecting a suitable window film to getting the hang of the application techniques, we share all the details.
Setting yourself up for success before embarking on your window tinting project is essential. Take note of the following considerations to ensure a smooth and satisfactory outcome.
There are many variations; some window films pack several of these features.
While you can purchase transparent window film, this one's superpower is obscuring the view from outside, providing enhanced privacy. It is available in various patterns, frosts, or tints, allowing you to choose the level of privacy you desire while allowing natural light to enter.
This type is designed to reduce heat and glare from the sun. It helps regulate the temperature inside your space and can contribute to energy savings by reducing the need for excessive air conditioning.
This film is similar to solar control film but boasts a UV-protective coating designed to block harmful rays, which can cause furniture, flooring, and other belongings to fade over time.
These films offer various design options to add style and visual interest to your windows. They come in a ton of patterns, textures, or stained glass designs, allowing you to customize the appearance of your windows while boosting privacy.
Keep your home safe from break-ins with this film specifically engineered to strengthen windows and protect against shattering. It holds broken glass together, making it more difficult for intruders to gain access, and minimizes the risk of injury from flying shards.
Anti-glare films help reduce glare caused by sunlight or harsh artificial lighting, making working, watching TV, or using electronic devices more comfortable.
Manufacturer warranties often come with specific terms and conditions regarding window modifications, including window film installation. Some warranties may restrict or invalidate coverage if an improper or incompatible film is applied. Therefore, it's essential to thoroughly read and understand the warranty to ensure you make an informed decision that aligns with its guidelines.
Similarly to measuring for replacement windows, you need to determine the right amount and size of window film to buy. Start by measuring the dimensions of each window you plan to tint. Take precise measurements of the width and height of the glass area you want to cover.
It's recommended to measure from the inside frame to ensure accuracy. Add a couple of extra inches to each measurement to allow for some margin of error and ensure proper coverage during installation.
Once you have the measurements for each window, multiply the width by the height to find the total square footage needed. Sum up the square footage for all the windows to obtain the total film required for your project.
The total cost of a window tinting project can vary significantly, ranging from a budget-friendly $100 for a straightforward DIY application using a basic film to a higher-end investment of up to $1,500, including labor. Simply put, home window tinting costs depend on the size of your window, the type of film you need, and if you work with a professional window tinter near you.
Additionally, if you can’t afford to replace your old windows, tinting is typically cheaper than window replacement costs, so you can enjoy a window upgrade without breaking the bank.

This is a crucial step for proper adherence. You can start by dusting the window with a dust cloth to remove loose particles. Then, we suggest using a glass cleaner and a micro cloth to cut through grime. It may take a few applications of glass cleaner to get things sparkling clean. Wait until the window is completely dry to continue to the next step.
First, it’s a good idea to thoroughly wash your hands so you don’t create smudges on the window-facing side of the film.
Lay the film flat on a clean cutting mat with the protective backing facing up. Grab a metal ruler and use a sharp utility knife to score the film using the measurements you took earlier. Apply gentle pressure to create a clean, straight line. Repeat this process for all sides of the film, ensuring uniformity.

What you use to wet the window depends on the manufacturer's instructions. Some films require only water applied with a spray bottle; others need a specialty window film solution.
Whatever you use, creating a slippery surface that allows you to position and adjust the film easily is important. Now go spray your window.
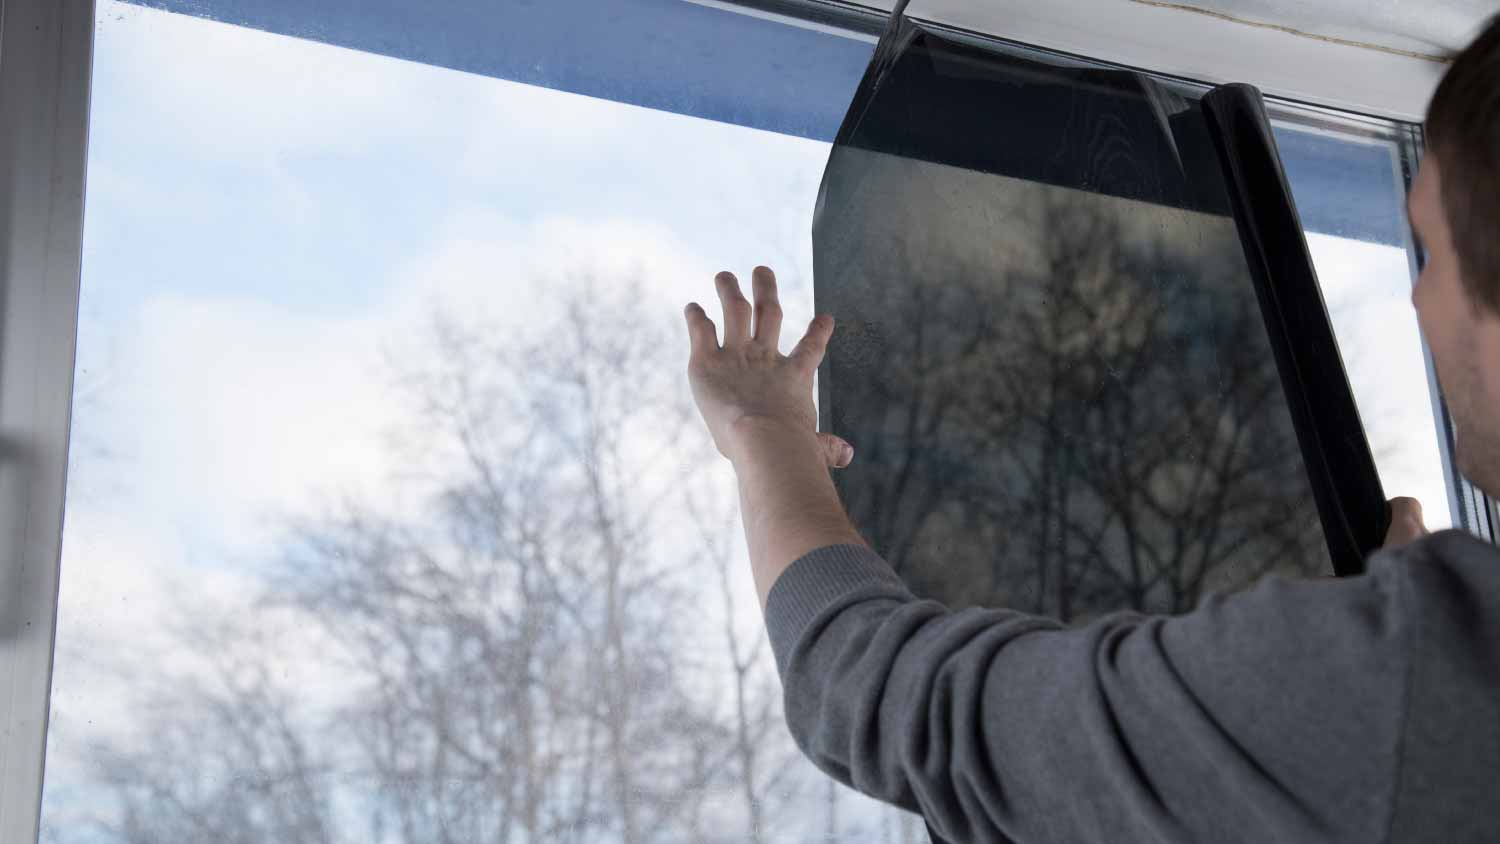
Window films can be tricky to apply. To apply the film smoothly to the window, start from one of the top corners. Press the corner down, then move sideways and use your finger to press the film’s top edge down. Then, slowly move downward while using your squeegee to flatten the film. Spray a small amount of water on the film surface to make the squeegee move smoothly and prevent scratching the film.
Start by washing your hands again. Then, peel the backing off the window film and carefully place it onto the wet glass surface. Gently position the film, starting from the top and gradually working your way down. Use a squeegee or a similar tool to press out air bubbles and smooth the film against the glass.
You will need to spend extra time smoothing out air bubbles. And it can be a bit maddening for first-timers—so stick with it until you get the hang of things.
Keep moving slowly from the top of the window to the bottom, flattening bubbles. You can also decide to work from the center of the window and then out. Remember, it is important to press the squeegee firmly in overlapping strokes.
Repeat this process, working into the sides and corners until you are happy with the results.

Take a step back and look at your work. You want to assess the film alignment before trimming, ensuring that the corners are flat and in place.
Make the cutting line with a sharp utility knife. You will need to carefully create the line along the edge of the window frame. A metal ruler can help. Ensure that you leave a small margin of the film beyond the frame to prevent gaps or inconsistencies.
Now it is time to start trimming with precision. Beginning in one corner, gently cut along the marked line. Apply light pressure and make smooth, steady cuts to avoid jagged or uneven edges. Take your time and follow the marked line closely for a neat result. Remember to exercise caution while trimming the excess window film to avoid accidental damage to the glass or the film itself.
After trimming, step back and examine the window film edges. Ensure that the cuts are clean and aligned with the window frame. Make any necessary adjustments or touch-ups if needed.
Once you’re satisfied with the trimmed edges, clean the window surface with a lint-free cloth to remove any debris or residue. Wipe the window film gently, being careful not to dislodge or damage the film.
Window film typically needs time to cure after installation. During the curing process, the adhesive on the film gradually sets and bonds with the glass surface. This allows the film to adhere securely and ensures optimal performance.
The curing time for window film can vary depending on factors such as the type of film, climate conditions, and the specific manufacturer's recommendations. In general, avoiding touching or cleaning the film for a certain period, from a few days to several weeks, is recommended.
From average costs to expert advice, get all the answers you need to get your job done.
Discover window security film installation costs. Learn about average prices, cost factors, and ways to save on your home security upgrade.

Did you know that you can tint your home windows and lower your utility bills in the process? Here's the cost of window tinting, no matter your window style.

When it comes to window film vs tinted glass, there are countless benefits to both options. Our guide compares them side by side for a clearer view.

Our guide walks you through how to remove window tint from home windows, including peeling the film and wiping away the adhesive.

Window tints can increase your home's privacy, efficiency, and comfort. Here are eight types of window tints and the pros and cons of each.

Can I tint my house windows? Home window tinting is a small upgrade that can yield major benefits. Here’s everything you need to know before taking the plunge.