

Explore the common types of oven repairs and how much they cost based on the problem, the part, and the type of oven. This guide will tell you the average cost to repair an oven.
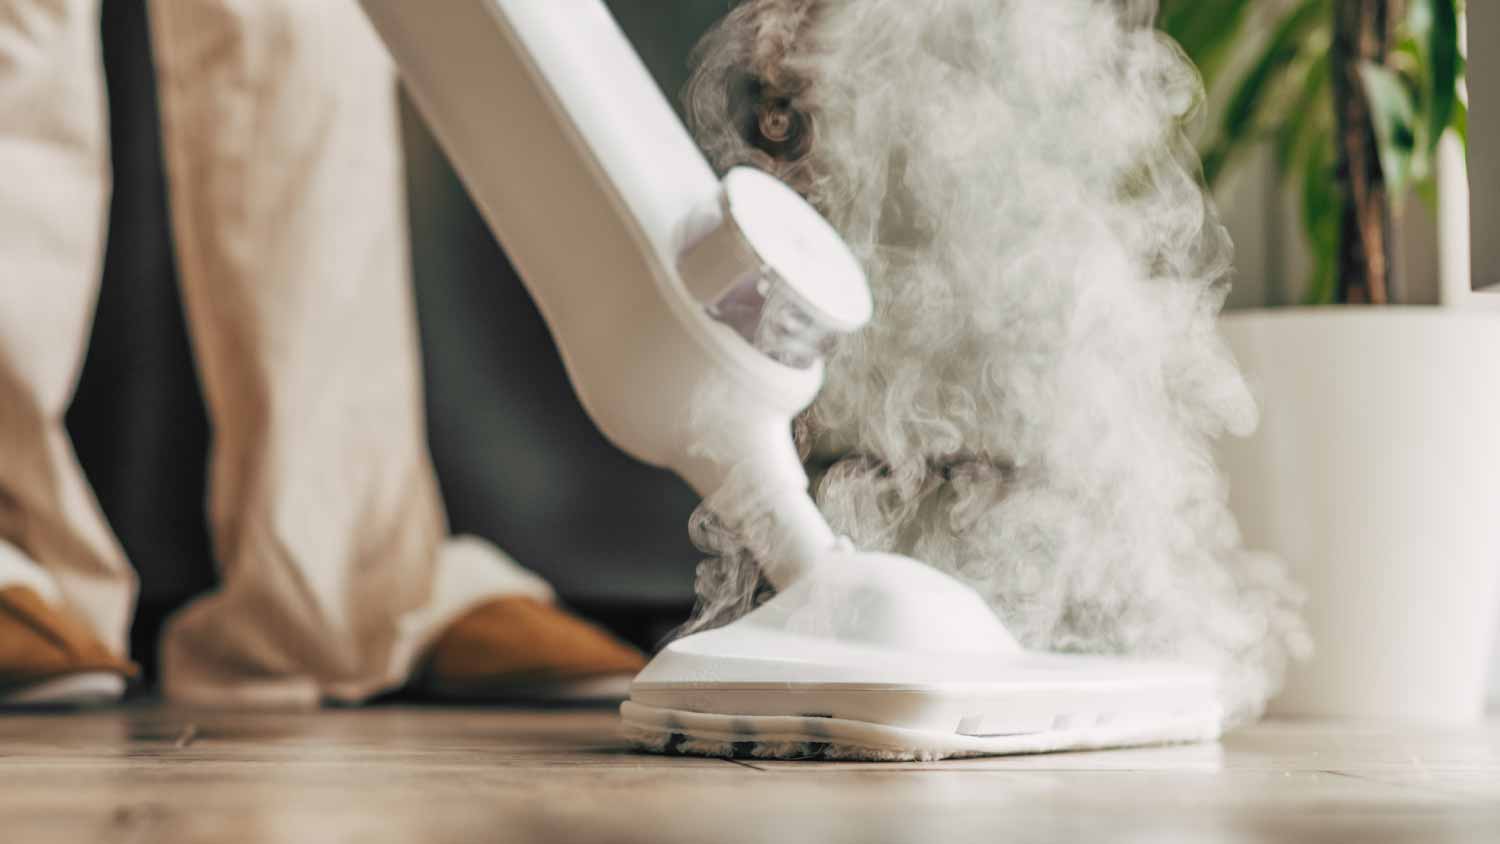
Your oven lets off steam while it cleans

Steam cleaning your oven uses water and heat to loosen baked-on food and grease, making it easier for you to wipe away stubborn stains without harsh chemicals.
Professional house cleaners cost $30 to $50 per hour and handle deep cleaning of your kitchen appliances, including ovens, during regular service visits.
You can steam clean by placing a dish of distilled water and vinegar in your oven at 450 degrees for 45 minutes, then wiping away loosened debris.
Hiring a local housekeeping professional saves you time and effort by handling oven cleaning thoroughly, especially when you need a deep clean or regular maintenance support.
Kitchen spills happen, and when the oven is involved, you’ll want to address these quickly. If you don’t, the odors and stains from past culinary oopsies can return every time you use it. Luckily, learning how to steam clean an oven is simple to do. And our guide will give you multiple ways to have it looking like new in no time.
Steam cleaning is important to avoid good scraps building up in your oven, as this could lead to a fire hazard with future uses. It can also make your oven smoke with every use, and even lead to your food tasting odd due to the absorption of carbon-monoxide fumes.
You should only need to steam clean your oven one to two times a year, depending on how often you use it. Regularly removing burnt food in between those deeper cleaning sessions will ensure your steam cleaning process goes smoothly.
You’ll sometimes see these two terms interchangeably, but they are actually different depending on your oven. Steam clean ovens use water to create steam within your oven. This steam loosens tough food stains, making it easier to wipe them off after your oven cools. Meanwhile, self-cleaning ovens use heat to burn off food particles.
If you have a self-cleaning oven, you can add a casserole dish full of distilled water with one cup of distilled vinegar. The heat from this solution creates a steam that loosens tough food gunk similar to how steam clean ovens work.

There are several ways to steam clean your oven. The first step is to check whether your stove has a self-clean or steam clean function, then you can use one of these sections to have your oven looking like new in no time.
Self-cleaning ovens have settings that do the work for you. However, you’ll want to consult the owner’s manual of your oven, as some might have different cleaning instructions than presented here.
First, make sure your oven is off and cooled. Next, slide or wiggle out the oven racks and anything else that’s inside, that way it’s empty. You can clean racks with warm soap and water.
Snag a damp rag and remove any loose crumbs or stains. If you have a vacuum with a handheld attachment, you can use it instead of a rag. Getting out these crumbs beforehand ensures they don’t burn when you start the self-cleaning cycle.
Some ovens give you the ability to add water into the oven for cleaning. If your oven doesn’t come with that ability, no worries, you can add one coil closest to the bottom, then fill your baking dish or oven-friendly pot with water.
For water, you’ll need to use distilled or filtered. Doing so ensures your oven won’t have water spots after the cleaning cycle ends. You’ll also want to pay close attention to your owner’s manual concerning how much water to add, as in many cases, it’s fewer than two cups.
Ovens with self cleaners have a button you press to begin. Usually, this process takes between one to one and a half hours.
Once the self-cleaner finishes, turn off your oven. From there, wait until it’s cool then open it, removing the baking dish or pan. You can use a wet rag or sponge to clean up any small stains that might remain easily.

If your oven doesn’t have a self-cleaner, you’ll follow many of the same steps outlined above, but with a few minor changes.
Start by checking to make sure your oven is cooled down first. If so, remove the racks and wash them with warm water and soap, removing any stains and debris from them.
You can use a vacuum attachment or a wet rag to remove debris from your oven. After finishing, you can set one of the clean oven racks onto the middle slot of the oven.
Next, fill a baking casserole with a combination of distilled or filtered water with one cup of distilled vinegar. Set the full casserole dish on the middle rack of the oven.
Set it to 450 degrees Fahrenheit for 45 minutes. As the oven heats up, the dish’s solution creates steam that loosens tough, baked on stains.
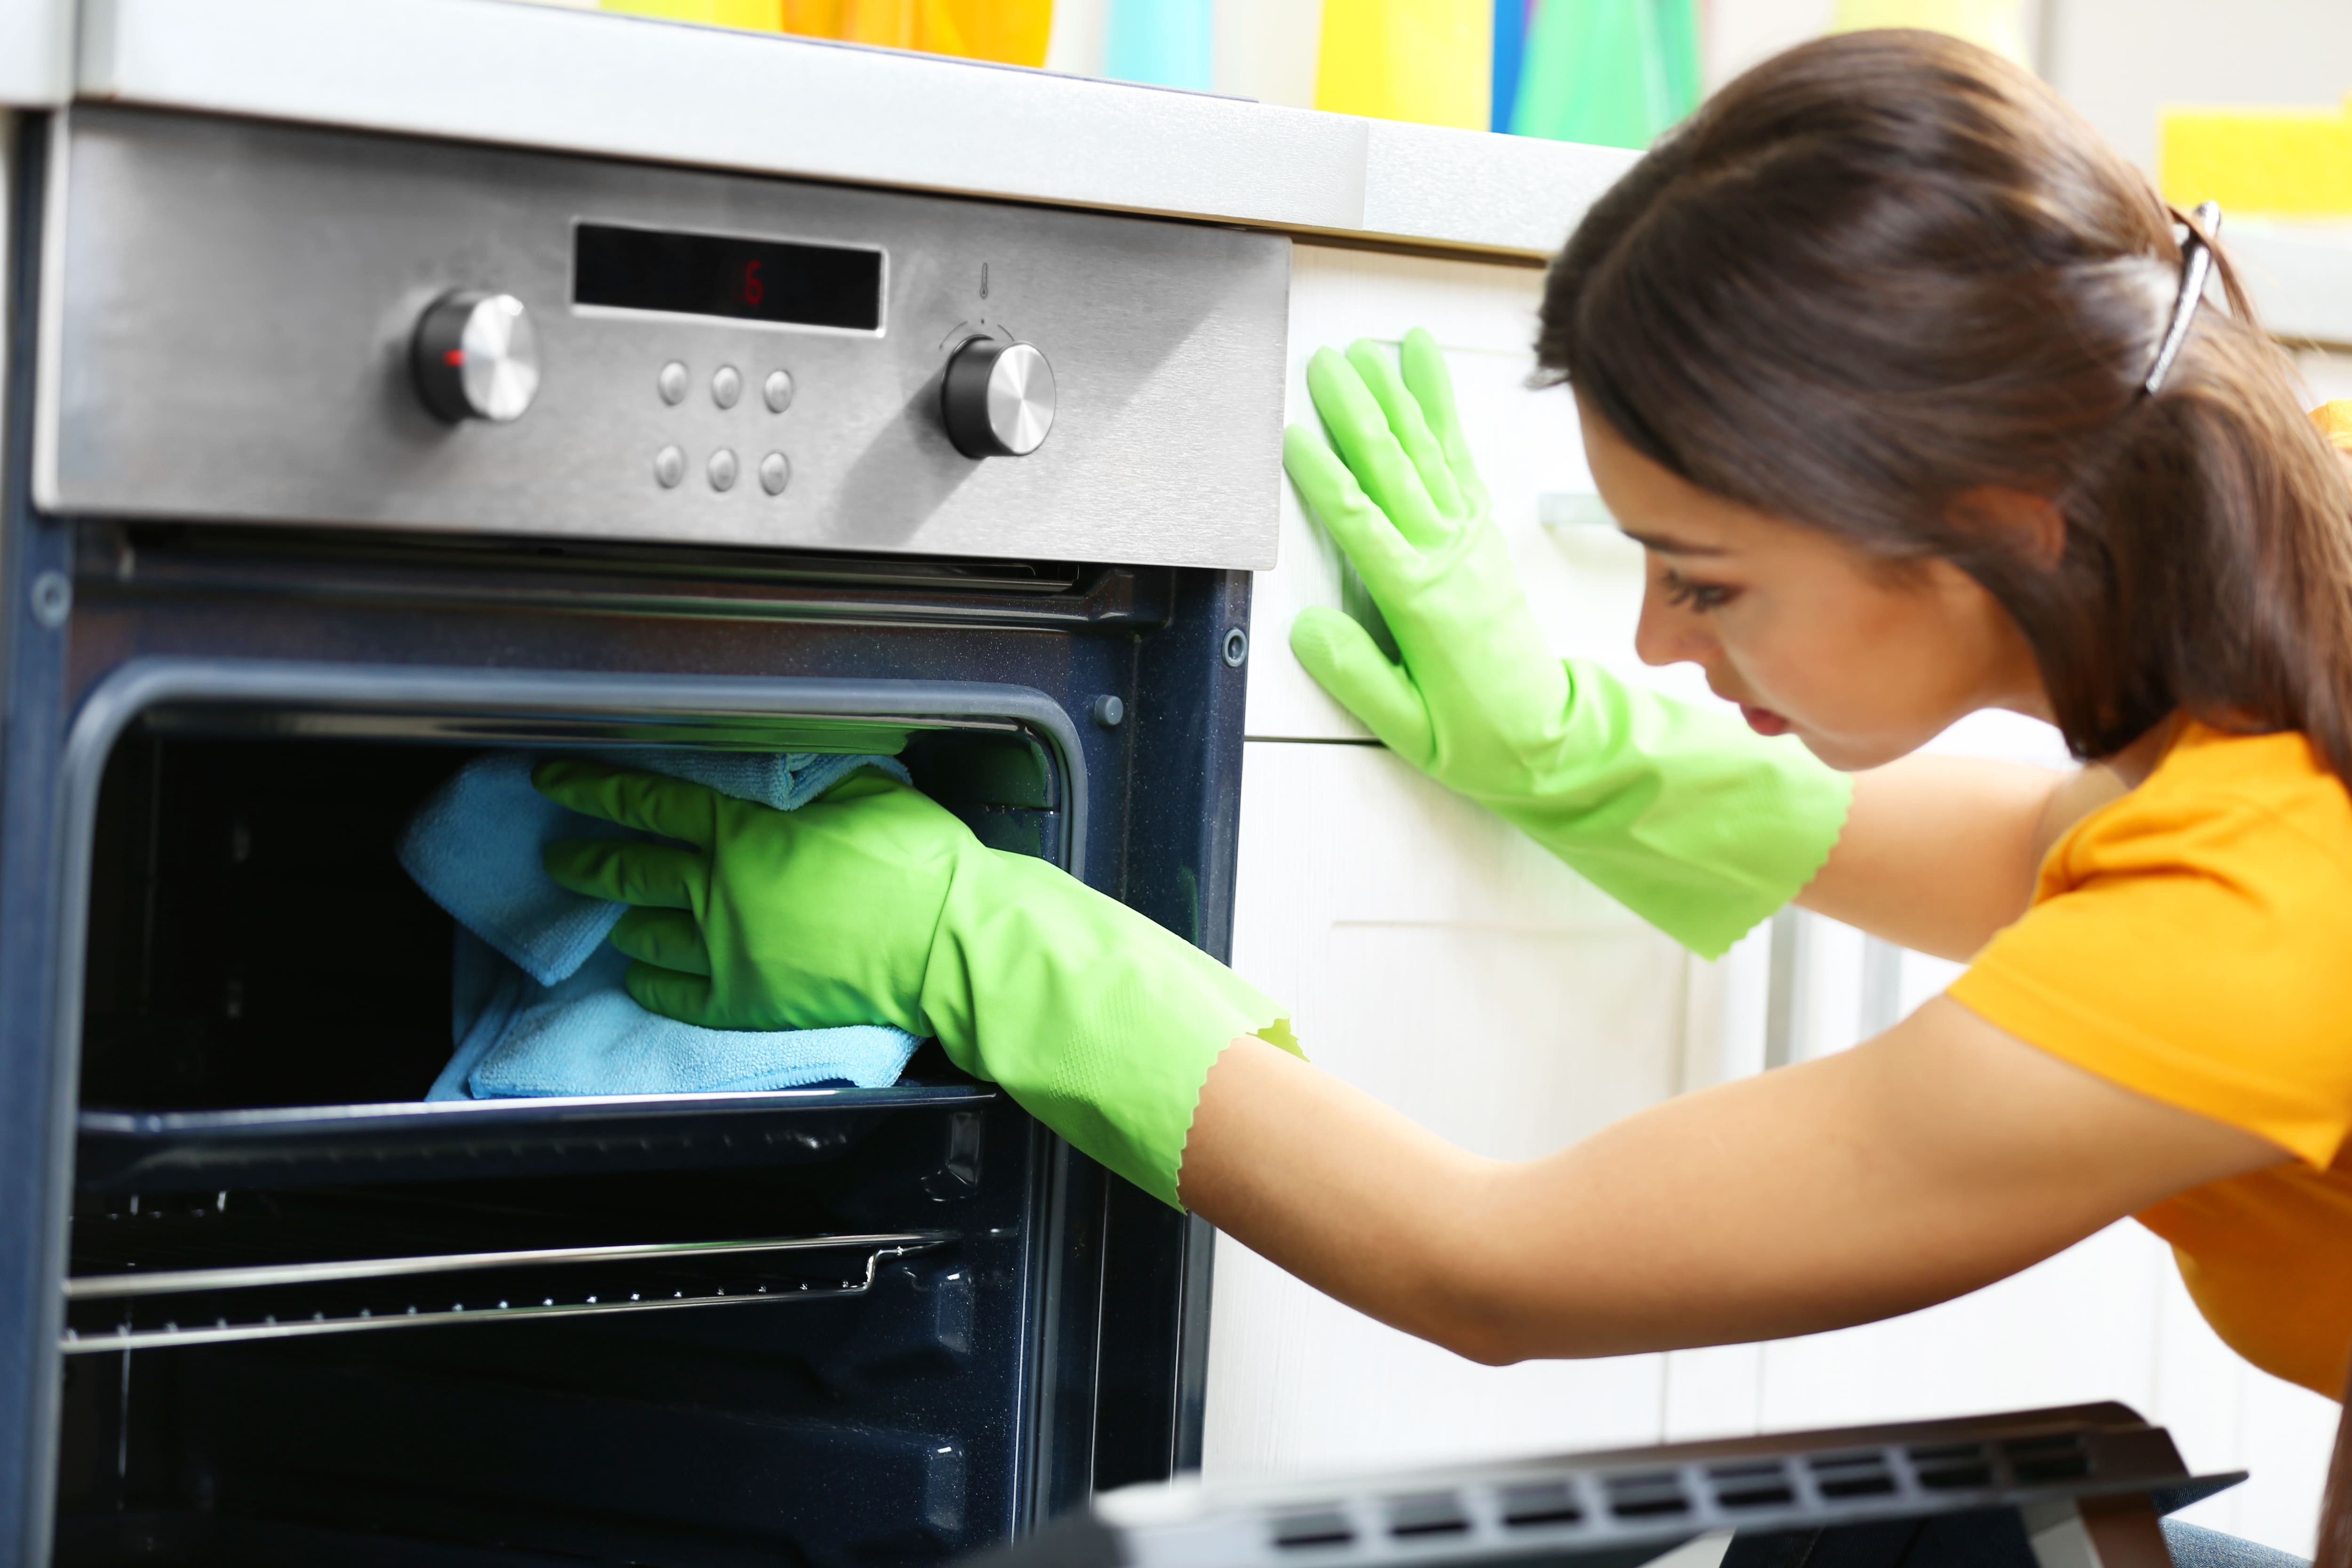
Once the timer sounds, turn it off and wait for the oven to cool. Next, use a wet rag to remove any loose stains. If there are stubborn ones requiring more elbow grease, you can use the rough side of the sponge.

If you have a handheld steamer, you can use it to remove old debris and grime from your oven in three easy steps.
Add distilled water to your steamer and select an attachment that runs flush with your oven. Next, make sure the oven is completely cool before removing the racks.
You’ll start by adjusting the heat setting, then adding pressure. Move the steamer around the oven to loosen old stains. If you have any concerns about how much heat or pressure to use, consult the owner’s manual of your steamer.
As your steamer loosens stains, you’ll want to take breaks to remove crusted food with a wet cleaning cloth or rough sponge. Pay close attention to your steamer as you work, taking breaks to remove any build-up of condensation or gunk.
To help you make the most of your oven, here are some care tips to prolong and maximize its use:
Deep clean twice per year: As you use your oven frequently, it builds up artifacts from past recipes, resulting in odors when baking in the future.
Remove debris between uses: Sometimes things fall off the cookie sheet or baking dish into the oven. After your oven cools, you’ll want to remove these immediately before another use, as baking with burnt items in your oven could result in a fire.
Replace the gas line: If you bought a new gas oven, consider asking the installation pros to replace the gas line too. When you install a new stove, it can create small leaks due to wiggling the appliance into place.
Calibrate a new oven: You’ll want to learn how to calibrate an oven by following the instructions in your owner’s manual. Doing this ensures your oven produces the right temperature, so you have hot, delicious meals instead of culinary glaciers.
Clean your hood range: Once a year, you’ll need to clean the filter in the hood range (if your oven has one) with water, baking soda, and dish soap to soften grease stains for easy removal.
Replace damaged burners: If you notice burners becoming damaged, you’ll want to replace these immediately or else you run the risk of fire hazards.
If you don’t have the time to clean your oven, you could consider hiring a pro. Professional house cleaners cost on average between $30 to $50 per hour. Though, you might pay more if this is your first professional clean since many services like to do a deeper clean the first time. Professional services clean every inch of your home thoroughly including kitchen appliances like your oven. After the first clean, you’ll likely want them at least once a month, but that could be more if you have a household full of pets or kids.
Meanwhile, if you don’t mind elbow grease and you have the time, cleaning your oven yourself only requires your time. Just be sure to give it a deep clean twice a year to prevent any food debris from causing your oven to smoke or your food to taste off.
I had FabClean 614 clean my apartment, and she did an outstanding job. She was so professional and efficient. My apartment looks absolutely spotless every surface, every corner, all cleaned to perfection. Definitely highly recommend FabClean 614 if you're looking for top-notch cleaning...
Best cleaning I've had at my property
Fantastic group, very communicative, and they really did a great job cleaning my condo. Will be hiring them for recurring cleaning!
Excellent the crew was great did what I ask cleaned up and the price was awesome
 All Star Paving and Sealing
On time, clean and finished fast. Windows seem sturdy and the finish is good. Caulking was done with no smudges. Would recommend.
I definitely recommend Ramonaâ s cleaning service! I have booked services with her many times and she arrives on time, ready to work and provides a great service.
Mary Cleaning Service is fantastic! The entire team is professional and pay a great deal of attention to detail. They do such a thorough job of cleaning my house. I would definitely recommend!
It was just fine. They did a good job. They cleaned what needed to be cleaned.
 Dezired Cleaners LLC
They cleaned my very dirty basement. They were prompts, quick, thorough and their price was fair.
Excellent! We were very satisfied with the service provided and the entire experience from start to finish. Very friendly and professional staff. I was able to instantly get in contact with them for a quote and the response time and overall communication remained quick and easy throughout the...
 Prime Cleaning Service
From average costs to expert advice, get all the answers you need to get your job done.
Explore the common types of oven repairs and how much they cost based on the problem, the part, and the type of oven. This guide will tell you the average cost to repair an oven.

Wondering how long a self-cleaning oven takes to run? Find out more about your oven’s self-cleaning cycle so you can plan accordingly.

If you’ve been putting off cleaning your oven, we’ll show you it’s not so bad. Here’s how to clean a gas oven quickly and easily.

Confused about how to scrub dirty, greasy oven glass? Learn how to clean oven glass inside, outside, and even in-between for the deepest clean.
Steam cleaning can be an effective way to disinfect your home. We explain what steam cleaning is, what you can steam clean in your home, and when to avoid it.
Figuring out how to clean oven racks is the ultimate win. Learn the best way to do it, so you'll never have to fret about the dreaded process again.