
The cost to brick a house depends on several factors, like labor costs, home size, and brick types. Use our guide to estimate your bricking costs.
Luxurious brick without the luxurious price tag

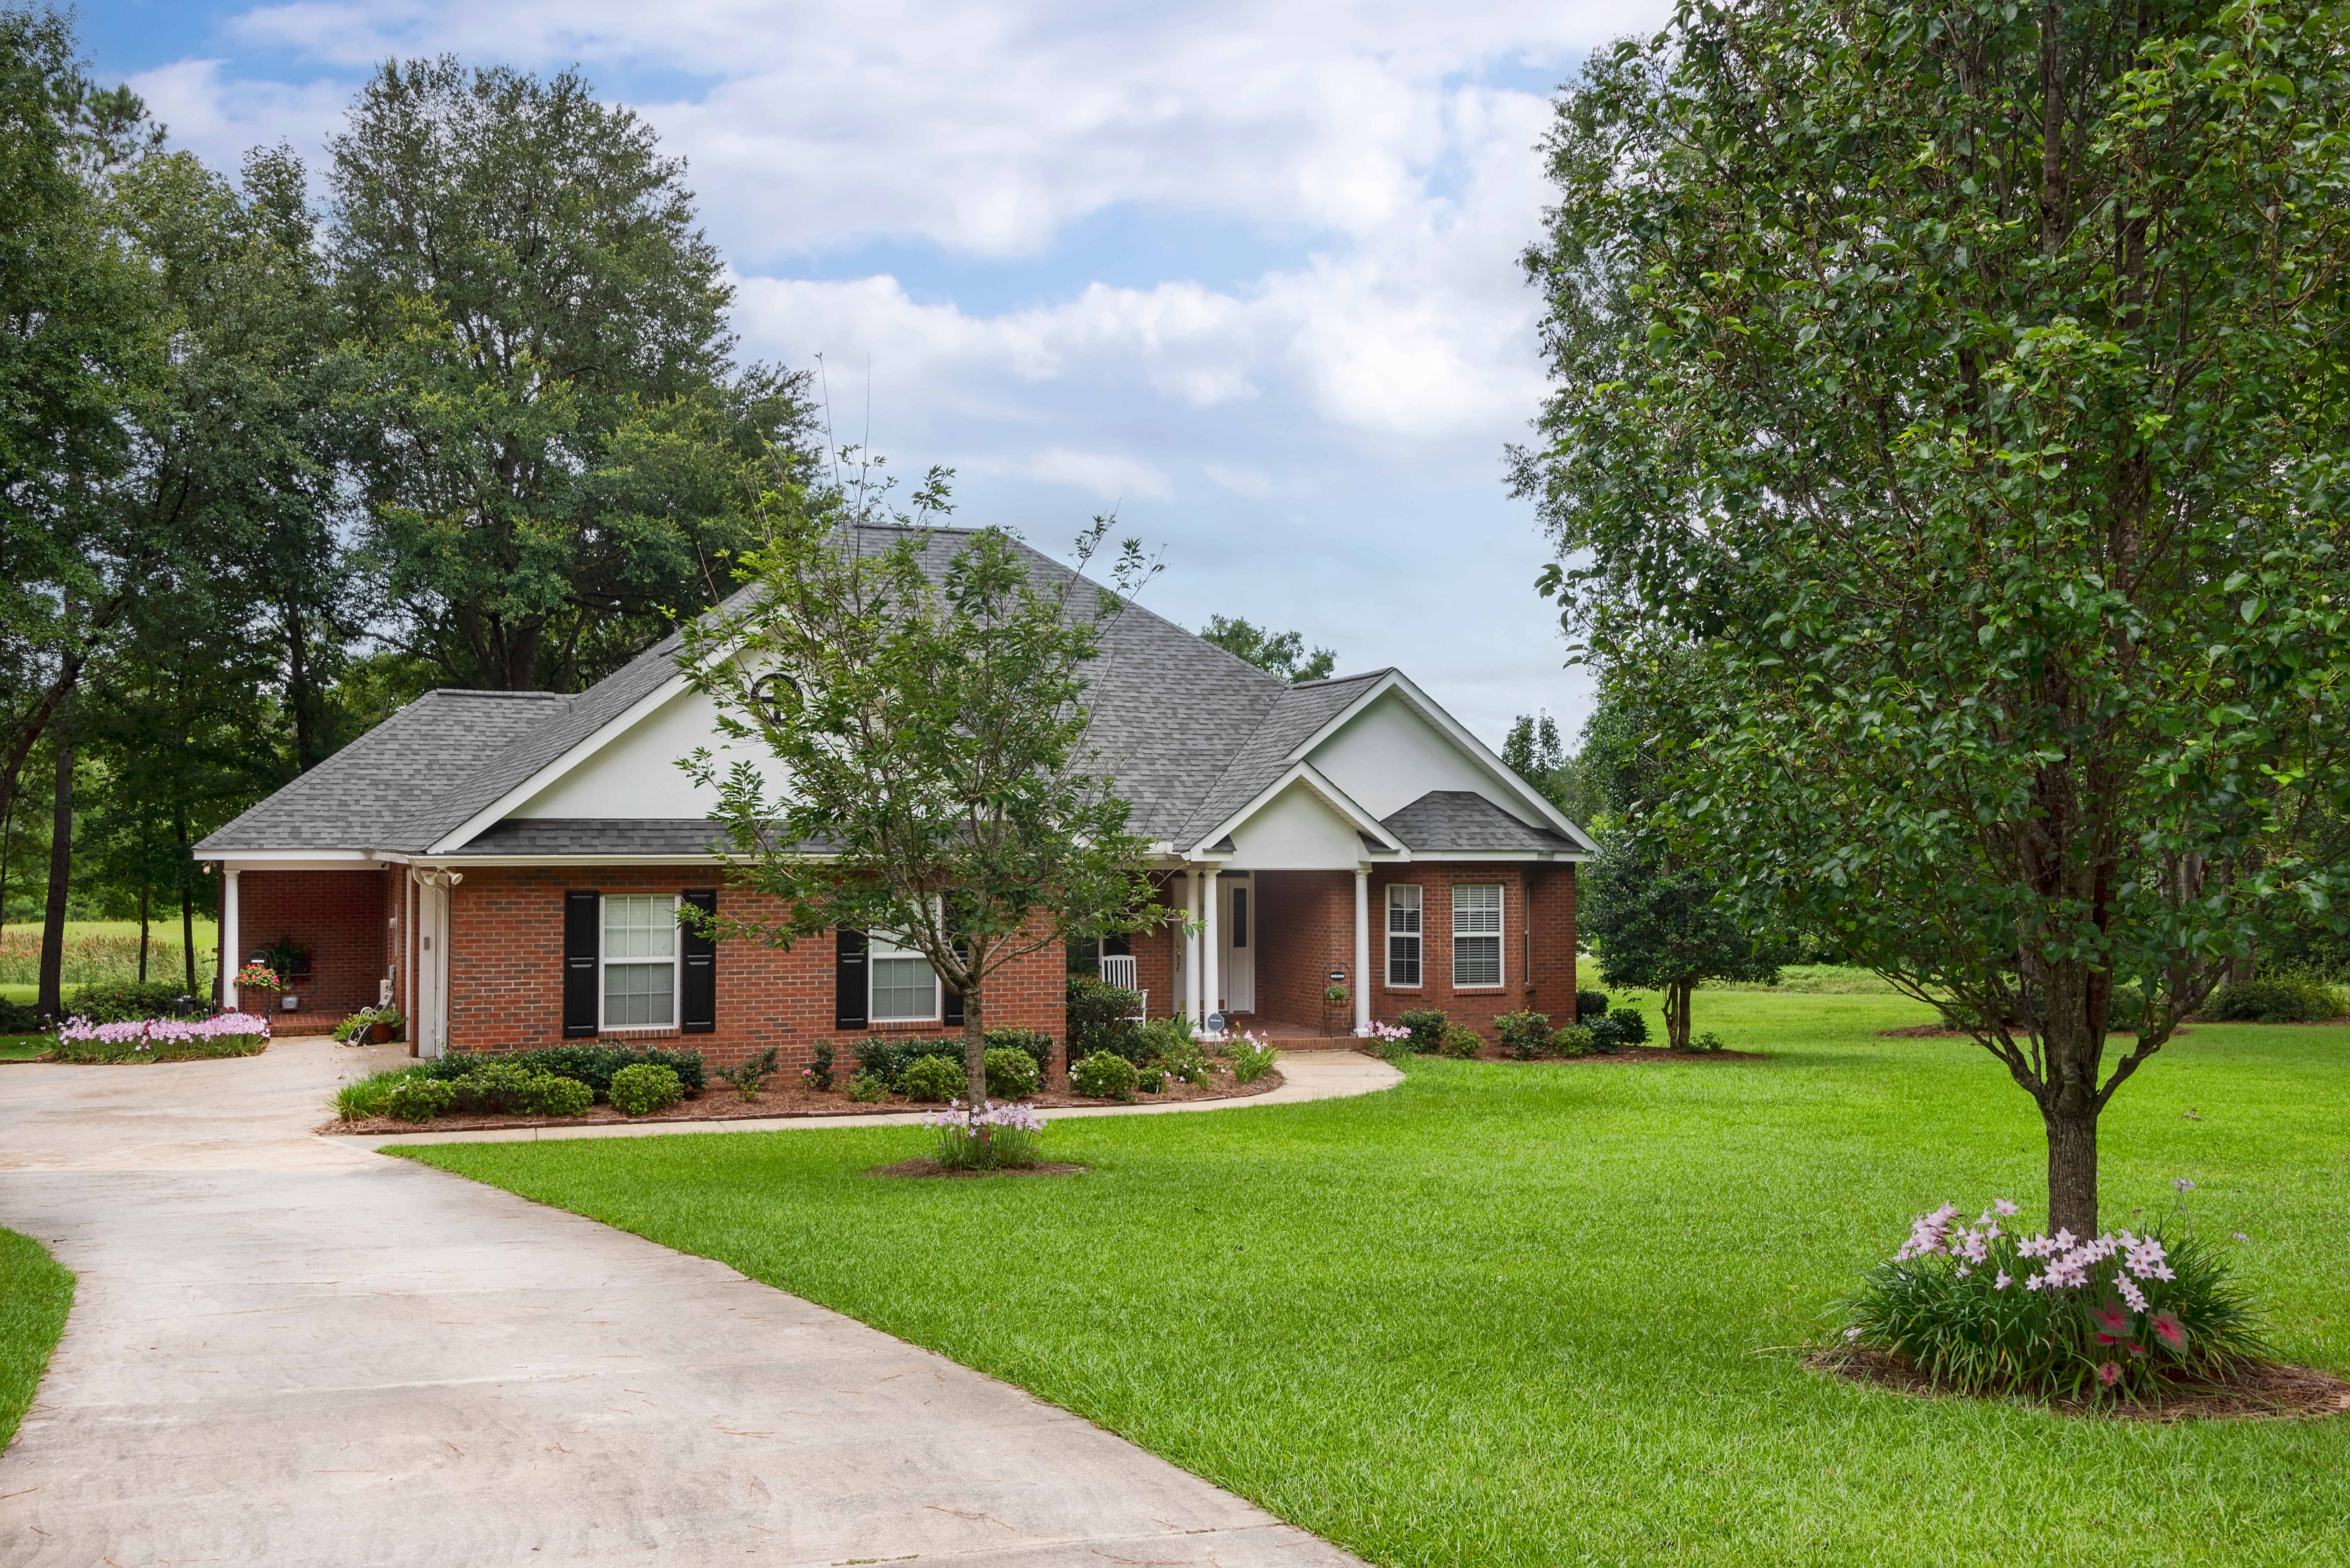
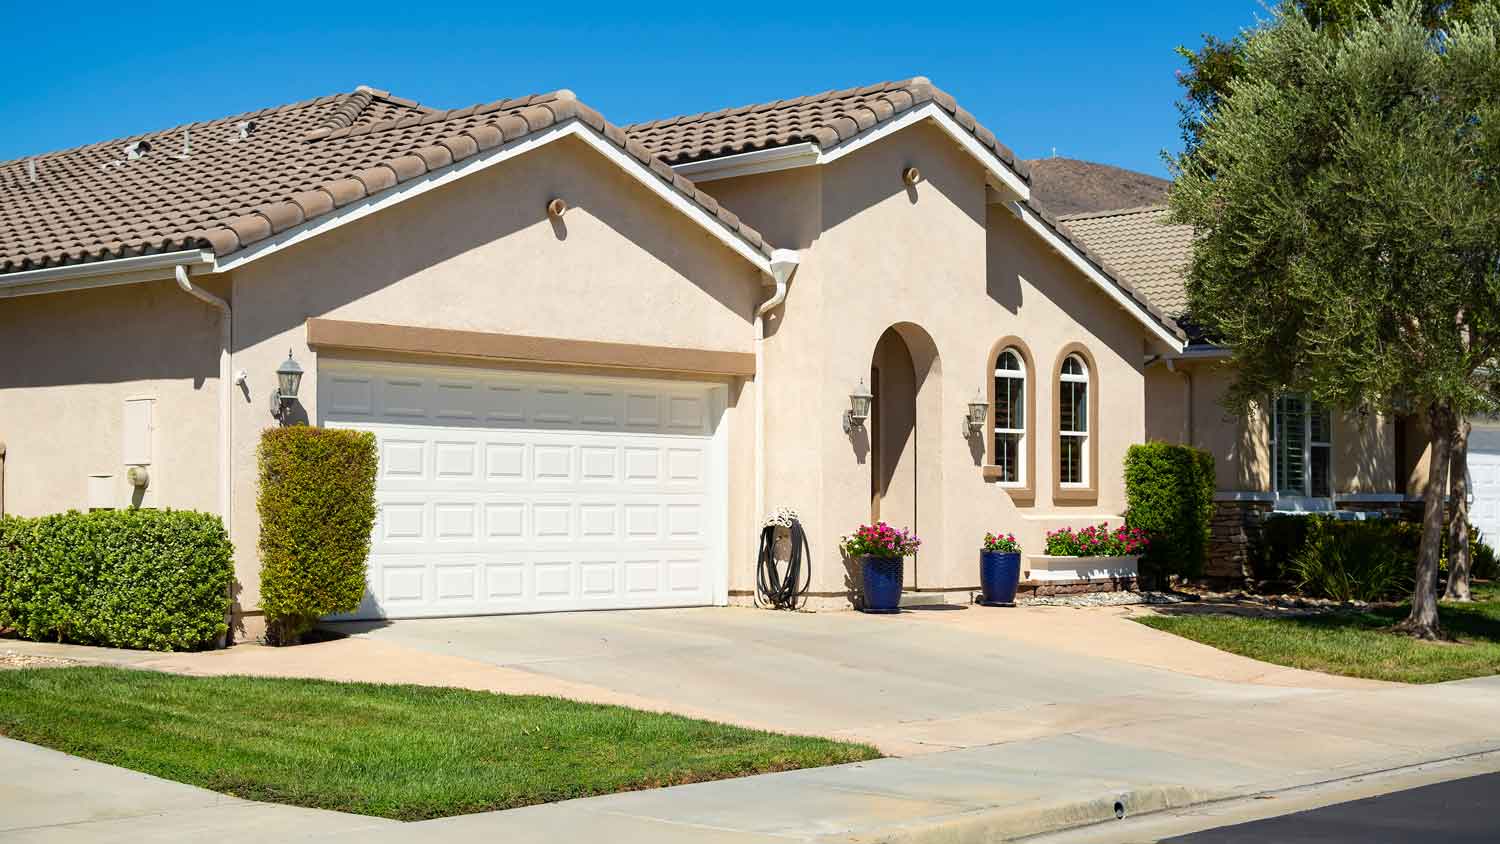
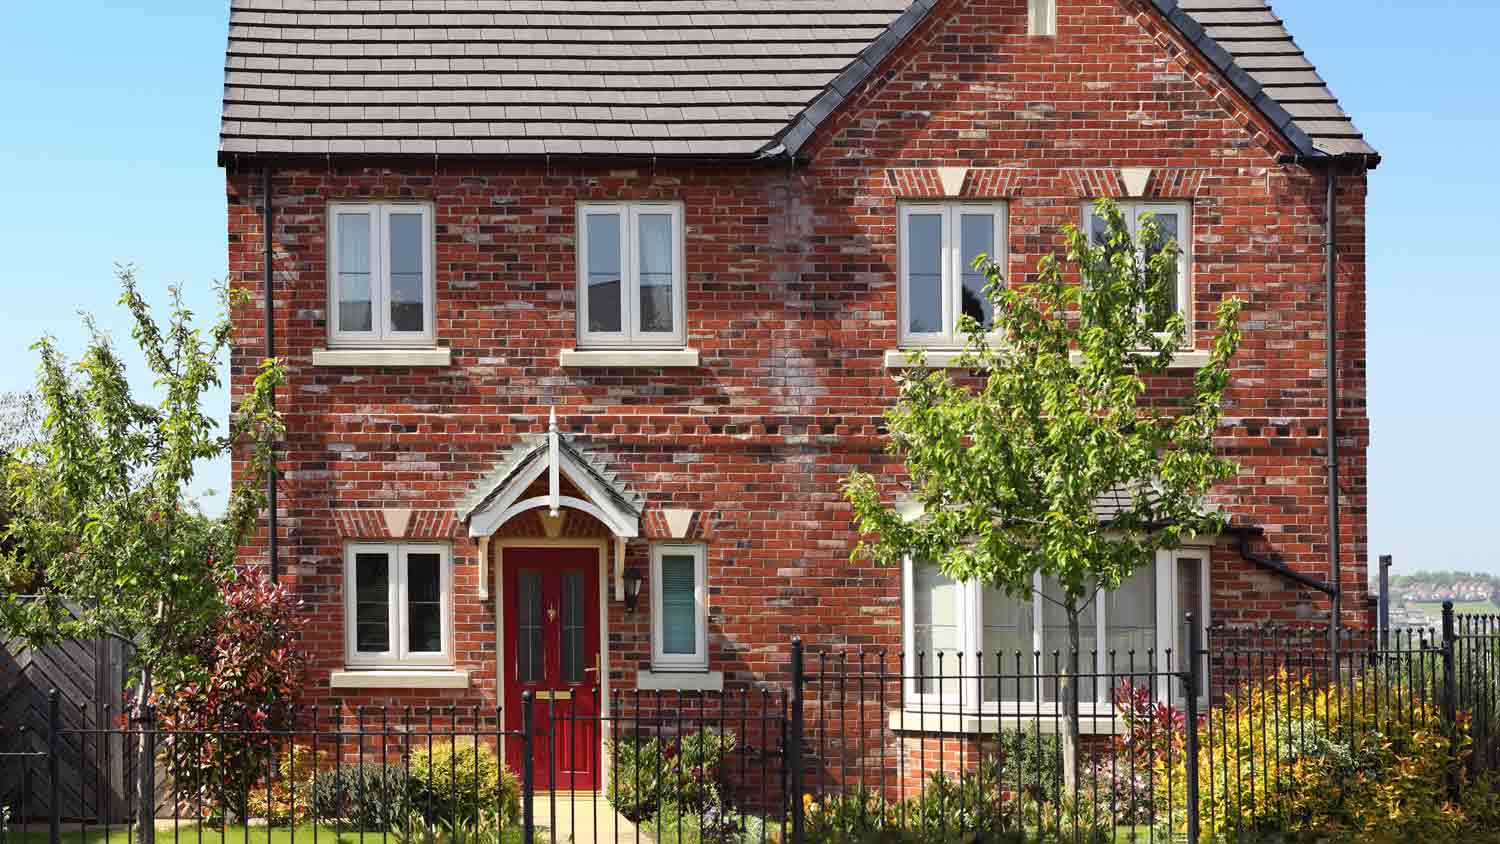
Brick walls and brick siding are naturally beautiful and can instantly elevate your living space or curb appeal. Real brick is expensive and labor-intensive to install, and it requires masonry experience that demands help from a pro. If you have some DIY skills and know how to simulate brick with stucco, you can get a similar luxurious appearance for a tiny fraction of the cost.
Making a simple brick template will speed up the process later on, so this is a good place to start. Simply cut a piece of 2-by-4 or plywood to match the side profile of a brick. The standard brick dimensions are 8 inches long by 2-1/4 inches tall.
Before you start applying your stucco, your first step will be to clean and prep the surface. If you’re simulating brick with stucco on an interior wall, give it a light wash and let it dry completely.
For exterior walls, use a power washer to remove dirt, algae, mold, and loose pieces of siding if you’re applying the new stucco over existing stucco. Make sure you have a clean, flat surface to work with, and hire a professional who works with stucco to help you repair your siding if there are cracks, leaks, or other physical damages. It’s a good idea to apply a binding agent over the wall before continuing. Wait for the wall to dry completely.

Mix some base coat stucco according to the manufacturer’s directions, and then apply it to your wall using your finishing trowel. Aim to get an even coat that’s 1/8- to 1/4-inch thick. Smooth it out immediately using a “green” hand float. Some imperfections will give your faux brick wall character, but avoid waviness or unevenness as best you can.
Let the base coat sit until it’s dry to the touch but not completely set. If you can just barely make an indent with your finger, you’re ready to move on.
Mix a batch of finishing stucco according to the directions on the bag. Add dye to create a natural brick color, if desired.
Apply the finishing coat and aim to get a uniform thickness of between 1/8-inch and 1/4-inch. The thicker the coat, the deeper the mortar joints will appear once you’re finished. Before the finishing coat sets, give it some texture with your soft-bristle brush, if desired. This will create a more natural, “imperfect” look for your stucco texture.
Wait for the finishing coat to become dry to the touch. Again, if it takes some effort to make an indent with your finger, you have a good consistency to move on.
Use a tape measure to mark out the horizontal faux mortar lines on one edge of your wall. Use your brick jointer to scrape off just enough of the finishing coat to reveal the different color base coat underneath. The base coat will appear as your mortar lines.
Use a long level to transfer those marks across the length of the wall. Use the brick jointer along the top of the level to make sure the faux mortar lines are spaced properly.
With your horizontal lines in place, you can now create the vertical lines to finish the illusion. Hold your brick template up to the finish coat and scrape a vertical line to create the faux mortar joint. Apply just enough pressure to reveal the different color base coat underneath. Scrape in from the top and in from the bottom for each joint to avoid dragging the finishing coat beyond the edge of the faux brick.
Continue along your wall horizontally, and then offset the end of the next row by half of your template to achieve the staggered appearance of laid bricks.
Wait for the stucco to dry completely, which takes 24 to 72 hours, depending on the humidity and coat thickness.
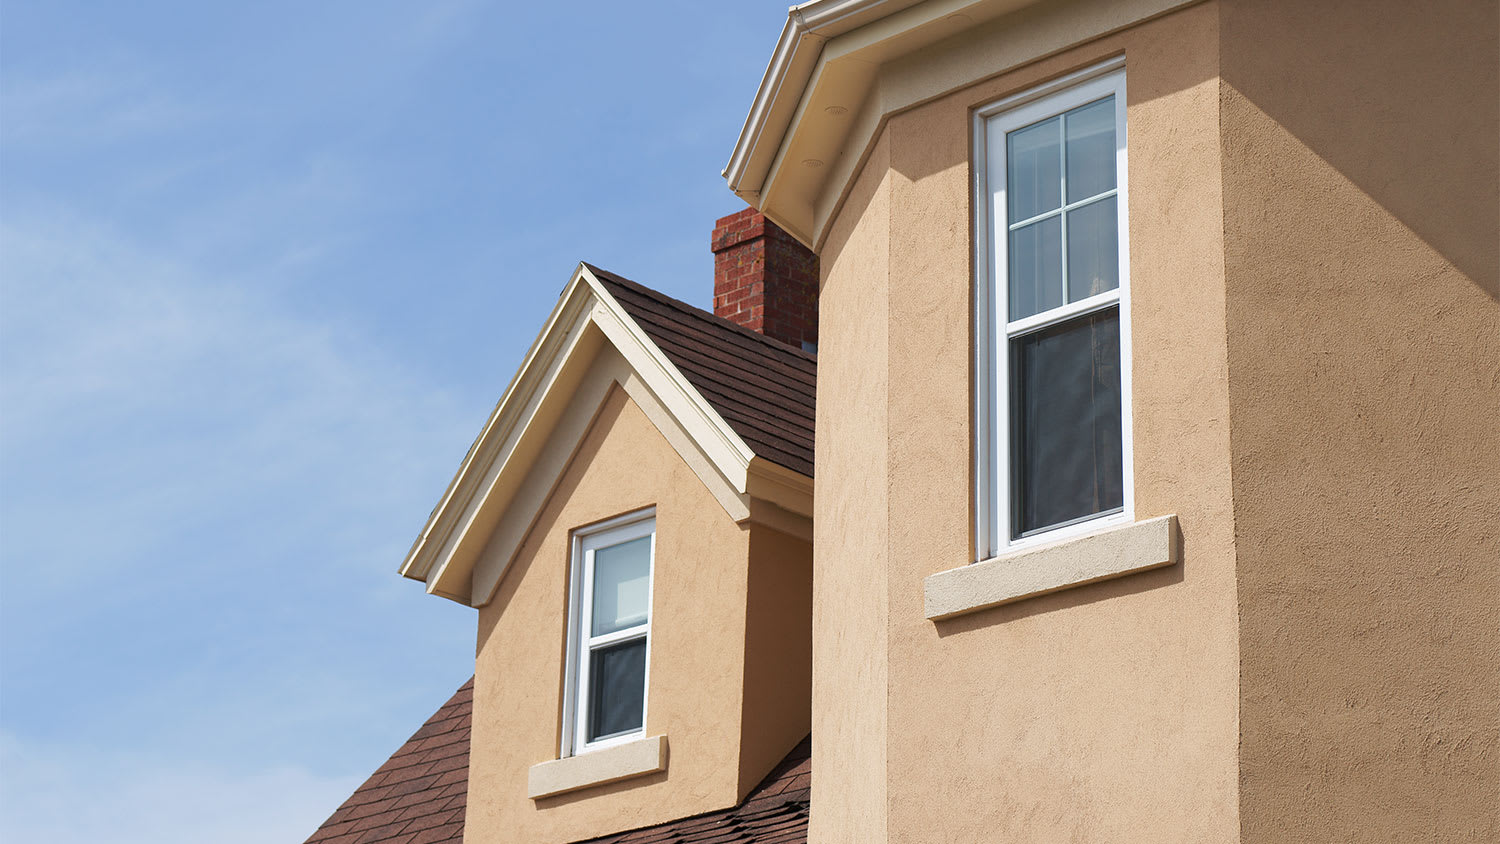
Stucco and brick siding can look remarkably similar, especially if you get a bit creative to customize the look. Consider using watered-down mixtures of exterior paint to “weather” the brick. You can also use a sponge to paint the faux brick or a brush to paint the mortar lines.
Simulating the look of brick with stucco is a great DIY project because the material is easy to work with for decorative purposes. However, there are some mistakes you should do your best to avoid for the best results.
Not letting the stucco set properly. Make sure you let the base coat set until it’s dry to the touch and you can just barely make an impression with your finger before applying the finishing coat. Failing to wait long enough can cause poor adhesion. Wait too long, and you won’t get those faux mortar lines looking clean.
Not working quickly enough. Stucco will continue to set after you apply it, so if you take too long, it will become too hard to scrape in mortar lines. Use a spray bottle to wet the mixture and slow the setting if it’s taking longer than you anticipated.
Creating mortar lines that are too deep. When you use your brick jointer to scrape in the mortar lines, press just hard enough to expose the base layer. Going too deep will leave your old wall showing. Not deep enough, and the final product won’t look like genuine brick.
Simulating brick with stucco is easy enough for most DIYers to tackle, provided it’s just for decorative purposes. Even if you mess up, you can always scrape off a portion of the stucco and start over. This is a labor-intensive project, so DIYing can save you hundreds or even thousands of dollars, depending on the size of the wall.
However, applying stucco siding, even if it’s partially decorative, is a job you should leave to a stucco contractor near you. Making a mistake when applying stucco siding can lead to leaks, moisture issues, and even structural problems that can cost you far more than you’d save. As a rule of thumb, only attempt this project if it’s just meant to serve as a decorative finish.
I would recommend this company to anyone! He showed up on time, was friendly, completed a very difficult repair on our dryer vent cover, was responsive, and pricing was extremely fair and competitive. I would have him back to do any of our repairs or cleanings without hesitation!
Supreme Brick & Chimney did a great job with a cleaning and inspection of the fireplace! He was efficient, on time, and very pleasant. The space was kept very clean, and the fireplace was spotless when he was done. He also performed a thorough inspection, and did a great job talking us...
 Supreme brick & chimney
Our exterior looks brand new thanks to Custom Paint Jobs LLC. Theyre the best in town!
Beginning with the estimate, Larry and Peyton were super helpful in getting my new condo's interior re-painted. Not only was the job well done, but also done in a super timely manner as promised.
 Five Star Painting of Plain City and Powell
Our stucco work is just finishing up today. We ended up going with Specialized Masonry Contractors LLC. The main guy we had was Jaime Quigley. He was really awesome, kept in touch a few times a day, etc. Originally we thought there was more damage than there was. They took off the old stucco...
I purchased the "Big Deal": $199.00 for exterior pressure-washing of one- or two-story home up to 2,000 square feet. They cleaned the siding only. I wasn't aware when I bought the Big Deal that they would not do any other surfaces other than the siding (i.e. sides of the gutters or stucco). I...
 Complete Home Services
Outstanding service. Dick Neff was prompt in estimating and added the chimney work overnight, even though it required use of a lift and color matching stucco. The plaster and stucco workers were courteous, careful, extremely competent in their craft, and cleaned up.
 George F Neff & Co. Plaster & Stucco
From average costs to expert advice, get all the answers you need to get your job done.
The cost to brick a house depends on several factors, like labor costs, home size, and brick types. Use our guide to estimate your bricking costs.
Discover the cost to stucco a house in 2026, including average prices, key factors, and tips to help you budget and plan your stucco project with confidence.
Need to repoint brick in your home to make your home look fresh and new? Use this guide to repointing brick cost to price out your project before starting.
Applying stucco over brick can add longevity and durability to your home’s siding. Here’s what you need to know about adding stucco over brick.
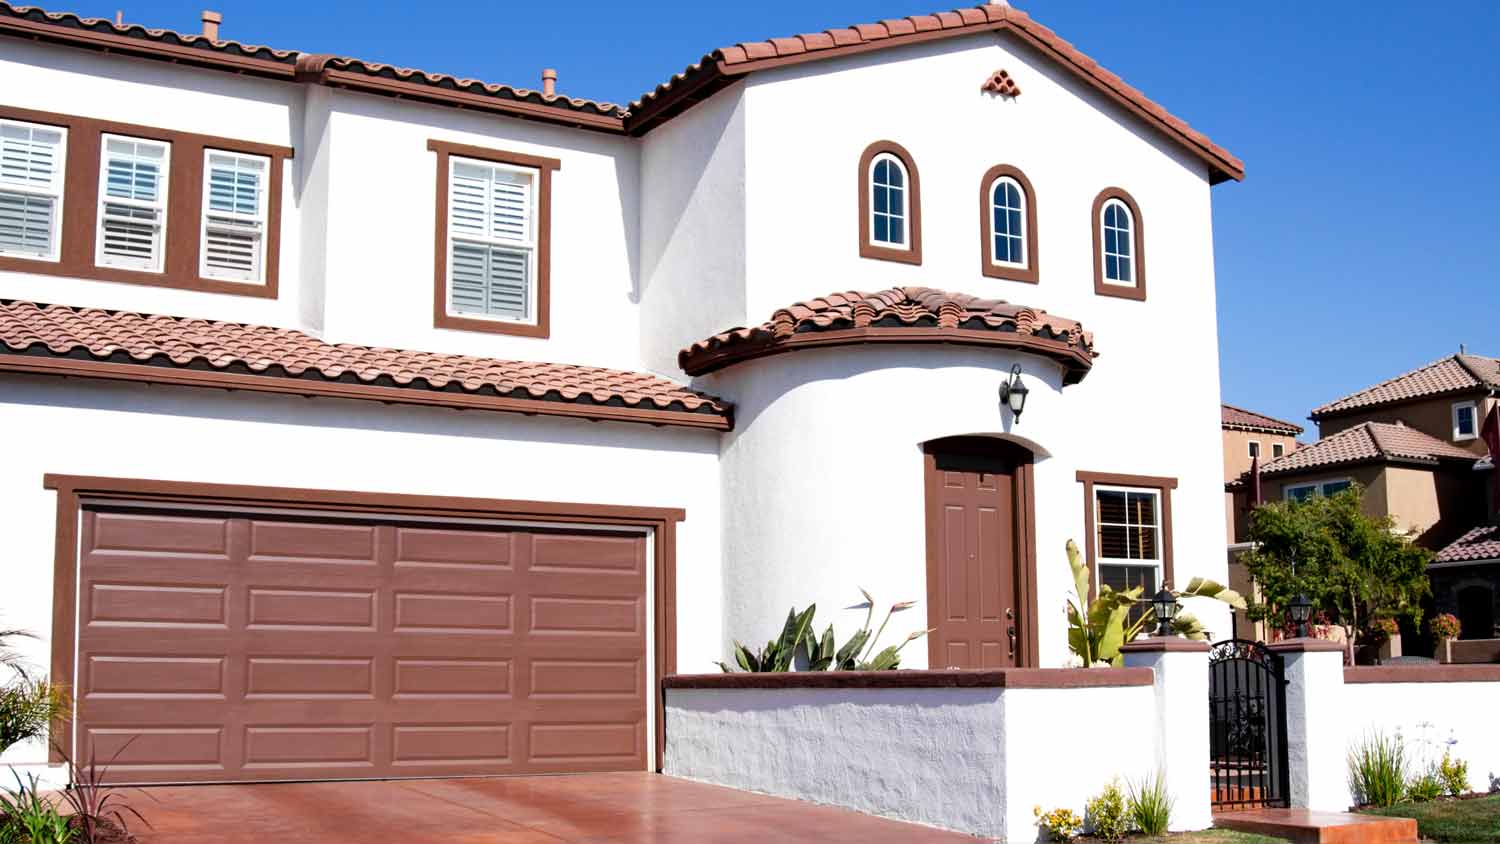
Stucco and brick are popular exterior siding options. Learn the key differences between stucco and brick so you can choose the right one for your home.
If you have white staining on brick, it may be time to learn how to remove efflorescence from brick gently and safely without harsh ingredients.