

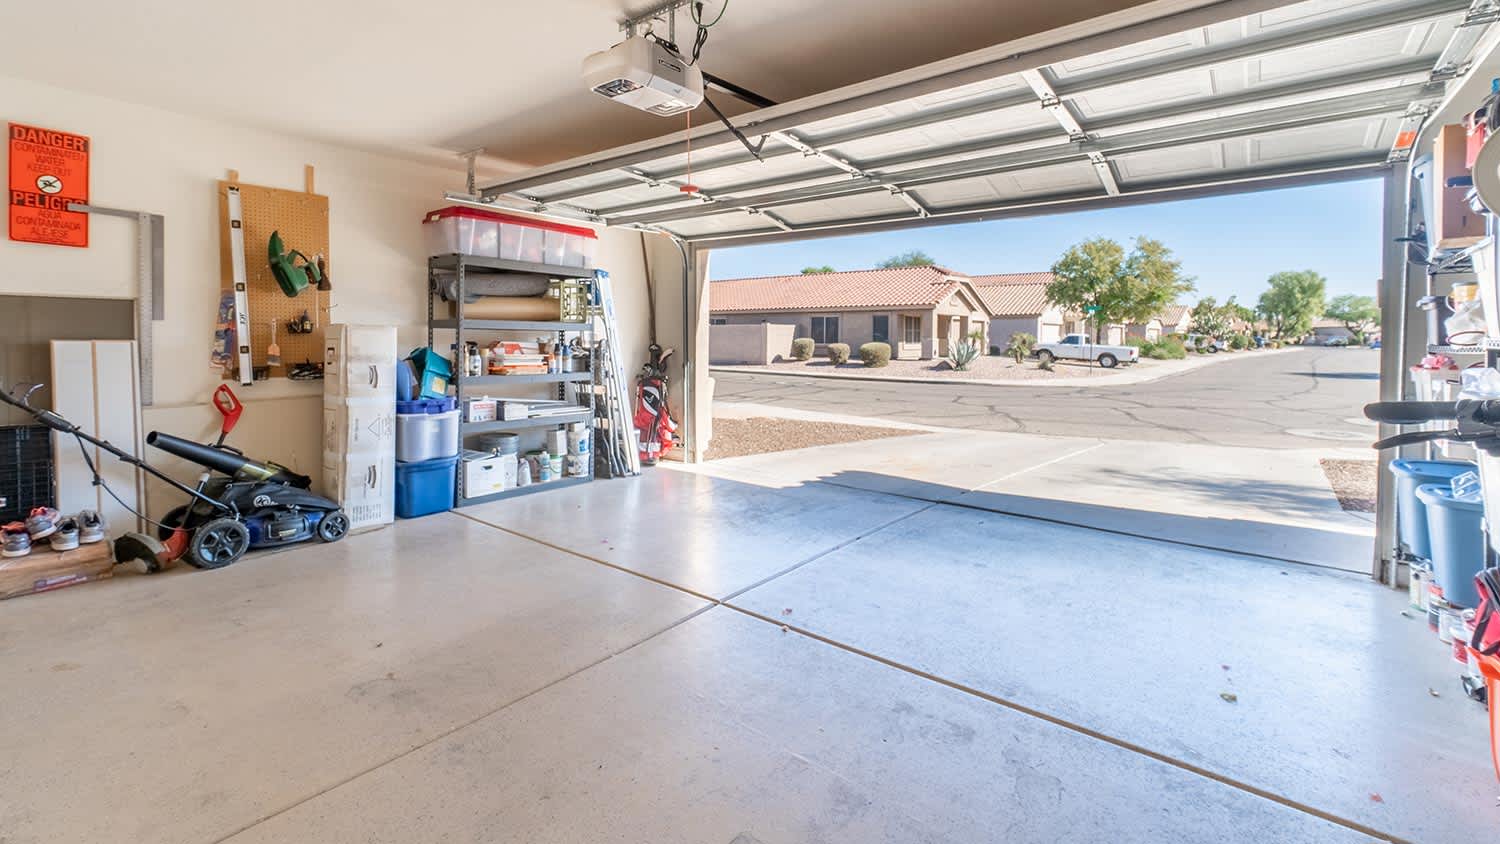
Concrete is a durable material but needs maintenance every few years. Use this concrete resurfacing cost guide to get an idea of ongoing maintenance costs.
Save on the cost of replacing concrete slabs by resurfacing them instead

Concrete is a highly durable building material that can withstand extreme weather and constant exposure to sunlight, but sometimes, a fresh start can elevate your home’s curb appeal. Luckily, you can resurface your patio, driveway, walkway, or sidewalk instead of going for a full replacement, which is more expensive and invasive and often isn’t DIY-friendly. In this guide, we’ll explain how to resurface concrete for an easy solution to get your property looking like new again.
Before you begin the process, you should assess the existing slab to see if you need any major repairs. Look along the edges of the concrete for cracks or unlevel areas. Sections of sinking concrete can indicate problems beyond aesthetic imperfections. You might need to hire a professional who repairs concrete to level the concrete before you start resurfacing.
Similarly, if you notice pooling on your old concrete during inclement weather, you might need concrete leveling or a drainage solution to ensure you don’t have ongoing issues. Contact a concrete company near you if you suspect you have these problems.

Your first business order should be to clean your old concrete thoroughly with a power washer. Removing dirt, weeds, moss, and other debris from the slab will help create a good surface for the new concrete to stick to.
If you don’t own a power washer, you might be able to rent one from your local home improvement store. You can also scrub the concrete clean using water and a stiff-bristle scrub brush, but this is much more labor-intensive and time-consuming.

Next, you’ll want to seal any cracks in the old concrete to prevent water damage and ensure you get a perfectly smooth surface when you pour the new concrete. You can use a trowel or a putty knife to apply your concrete crack sealant over surface cracks. Follow the manufacturer’s directions for mixing (if required), application, and curing.
If you’re dealing with a more challenging type of concrete crack larger than 1/8-inch across, or the concrete on either side is unlevel, call in a professional for help. These signs of uneven settlement require more extensive repairs, like mudjacking.

Next, mix your concrete resurfacing compound. It’s crucial to get the mix right to avoid concrete segregation and weakening of the final product, so make sure to follow the manufacturer’s directions. You can mix the compound in a 5-gallon bucket for small projects or a wheelbarrow for medium-sized projects. For larger projects, like resurfacing a concrete driveway, patio, or long walkway, you should consider investing in or renting a concrete mixer.

Once you’ve achieved the necessary consistency, pour the resurfacing compound over the old concrete. You can gently wet the concrete beforehand, which can be particularly helpful if you’re working in direct sunlight or on a hot day, but avoid puddles or excessive water build-up. Use your concrete floats and trowels to distribute the concrete over the surface and smooth it out.

Many homeowners will add some texture to the concrete to prevent slipping and make the surface more visually appealing, but if you want a perfectly smooth surface, you can skip this step.
After you pour your concrete, you’ll notice water coming to the surface. This is called “bleed water.” Once this water evaporates, you can add texture to the surface of the concrete. For a simple broom finish, sweep a deck broom across the surface in one direction. You can also create custom textures using your trowel.
Once the bleed water evaporates and before the concrete cures fully, it’s a good time to round over the edges of your new concrete surface. You can use a flat trowel for squared edges, but if you want to soften the look of the concrete, use a concrete edging tool to round the corners slightly.

Finally, let the concrete cure for about 48 hours before exposing it to foot traffic. If you’re resurfacing a concrete driveway, wait seven days before pulling a vehicle onto the surface.
Resurfacing concrete is a relatively straightforward DIY project, and you could save up to $2,000 by doing the work yourself instead of hiring a professional.
However, if you don’t know how to work with concrete or you’re resurfacing with stamped, colored, or stained concrete, it’s a good idea to call in an expert. Hiring a concrete resurfacing contractor is also a good idea if you’re dealing with pooling water, ongoing cracking on your existing concrete, or working with a large patio or driveway. They can also fix damaged concrete porches, stoops, and other on-site fixtures, which might not be easily DIYable.
A professional will have the skills and tools to elevate the appearance of your concrete using stamps, rollers, concrete colors, stains, and other concrete finishes. They also have large-scale concrete mixing tools to mix resurfacing compounds that can cover larger areas in a single pour for a more uniform appearance.
Positive experience. As previously stated, the replacement/repair could not be completed (no fault of the plumbing tech) b/c misinformation was rec?d by property management maintenance. Thanks to the plumbing tech for your efforts. Appreciate you!
 The Waterworks
Carpet repair done well. Scheduling was easy. Showed up on time.
I would recommend this company to anyone! He showed up on time, was friendly, completed a very difficult repair on our dryer vent cover, was responsive, and pricing was extremely fair and competitive. I would have him back to do any of our repairs or cleanings without hesitation!
Everything from initial contact to completion was absolutely top notch. We contacted the business during off hours to leave a message, and the owner still reached out to feel out the issue within minutes. We were scheduled and repaired within 48 hours. I cannot say enough about the...
 Supreme brick & chimney
Great experience all together. Dog friendly, courteous, great results and honest with recommendations. Will certainly be using Cardinal in the future for any carpet repairs
Working with Peter and his crew was a breeze. They were exceptionally polite and did a neat job to repair and seal our driveway. I will definitely talk to them first for additional work.
 Central Paving
Description says they handle window repair including rotten hardwood - they called me back right away but didnâ t leave a voicemail. I followed up 3 days later and they said they donâ t do that kind of work.
They did an excellent job with the repair, took care of all communication with the insurance company and had car rental service also with a very reliable, quality care
 Three C Body Shop
We recently had our office sidewalk repaired and CT Concrete did an "Outstanding" job. They were quick, friendly and the job is "flawless". I would highly recommend CT Concrete for any of your concrete/sidewalk needs.
Mr. Bunting repaired one broken brace (the "sticks" that connect the legs of a chair to make it stronger), and replaced another on two high end antique replica Windsor chairs I own. The one that was replaced required him to turn a new brace on a lathe to be the same as the missing brace would...
From average costs to expert advice, get all the answers you need to get your job done.
Concrete is a durable material but needs maintenance every few years. Use this concrete resurfacing cost guide to get an idea of ongoing maintenance costs.
Discover the average driveway resurfacing cost, key price factors, and tips to save money on your project. Get expert insights to plan your driveway resurfacing.
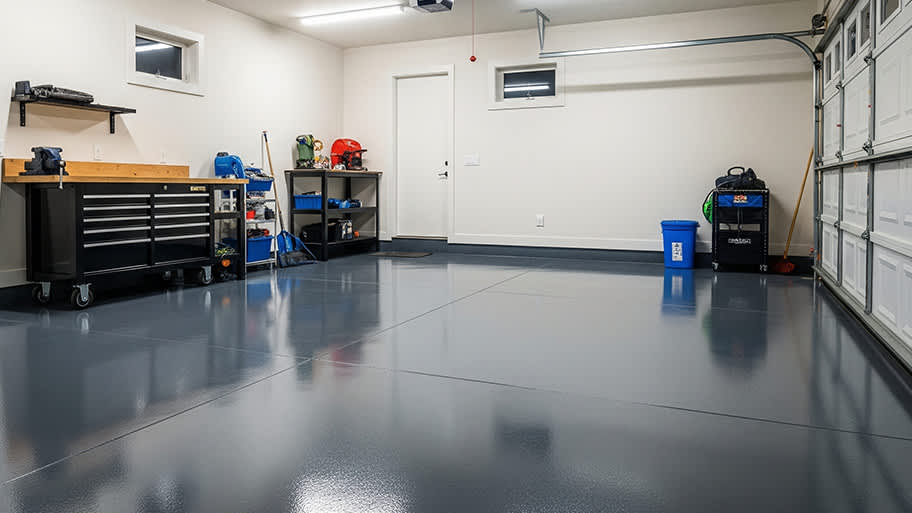
This guide breaks down the cost of installing epoxy flooring in your garage, basement, or other space. Costs depend on resin type, floor size, and more.
Concrete resurfacing is a much more affordable option than replacing a slab. Learn how long concrete resurfacing lasts and if it’s a better option for you.
Your concrete floor should look good for years, but maybe you’ve noticed stains, imperfections, and discoloration popping up sooner. Luckily there are a few tips and tricks to bring your garage floor back to its original luster.
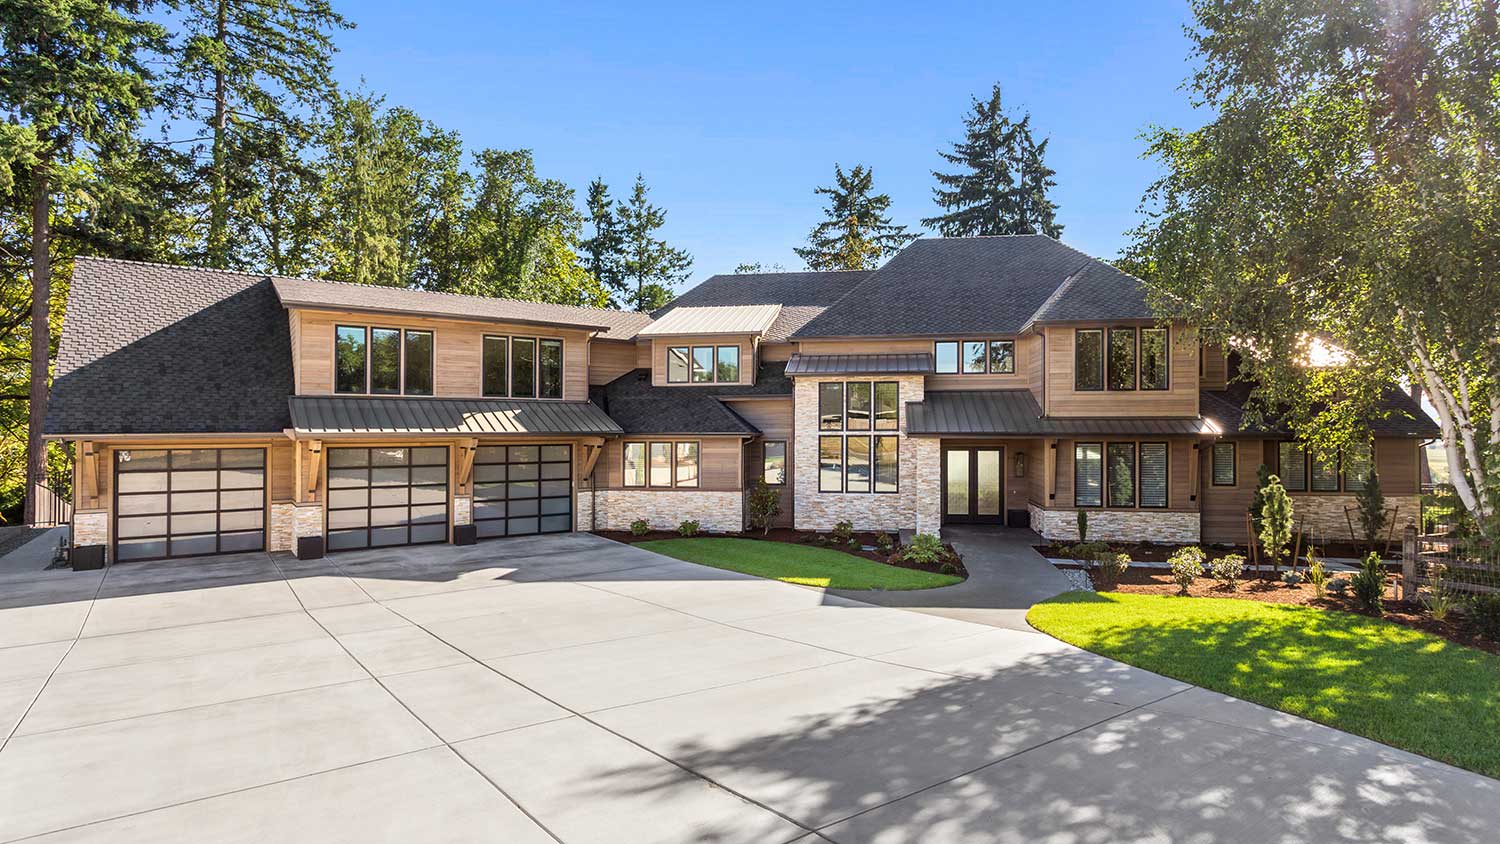
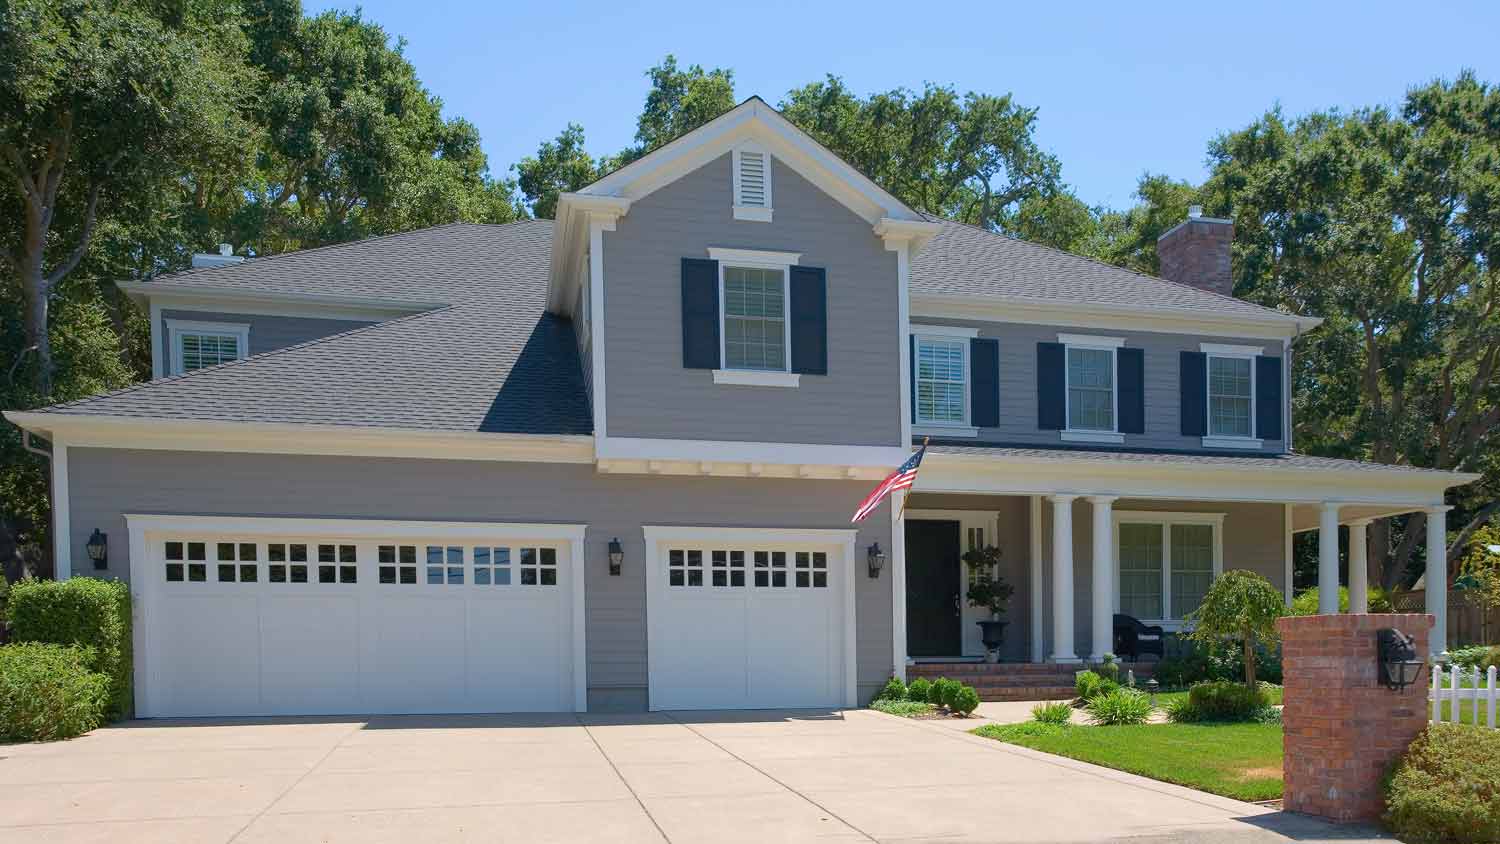
Resurfacing a concrete driveway can transform it into a beautiful accessory for your home. Keep reading to learn how to resurface a concrete driveway.