
Need to repoint brick in your home to make your home look fresh and new? Use this guide to repointing brick cost to price out your project before starting.
You don’t need to be an expert mason to tackle this job.

Installing a bathtub liner gives your existing tub a fresh look without the full replacement cost, as long as your tub has no cracks or drainage issues.
Expect to pay $500 to $2,800 for DIY materials or around $6,400 for professional installation, while tub replacement costs $2,000 to $9,400.
You'll need to clean your tub thoroughly, remove all hardware, apply primer and adhesive, then carefully fit the liner to avoid trapping moisture underneath.
Hiring a local bathtub repair professional provides reliable help with proper sealing and adhesive application, preventing water damage and mold from improper installation.
Brick is a sturdy, long-lasting building material—but mortar isn’t. Regardless of where you live, your mortar will start to show signs of wear after about 30 years of use and require repointing. The job itself is fairly simple, although the work does start to stack up. Plus, any minor mistakes could lead to larger repairs down the chute.
In this guide, we outline the steps brick by brick to give you a sweeping look at how to repoint brickwork and whether or not it’s a job for you or if you should hire a pro to help.

Your brick needs to be clean for the mortar to set. Wipe any dirt or debris off the dirt with a cloth or broom.
If pressure washing is part of your standard brick maintenance (and you feel confident tackling it safely), you can do this prior to repointing. But, don’t do it the day or two before, as you want to make sure the brick isn’t soaking wet before you start.

Before you can add new mortar, you’ll have to remove the old. Use your chisel to remove about ½ inch depth of chipped or broken mortar from both the vertical and horizontal joints, making sure not to damage the bricks themselves. Brush away any dust and debris with your wire brush as you go.
Remember, mortar is what keeps brick solidly in place. So, work in small sections (about 3 by 5 feet) to maintain the integrity of your structure.
Did we mention that the brick needs to be cleaned? Wipe away all dust and grime from step two. Then, use a wet washcloth to dampen the entire area to help slow the mortar setting process to a manageable speed, but don’t get it too wet. Too wet a surface could prevent adhesion.
Pour some of the mortar dry mix into your bucket, and slowly mix in water. Don’t mix all your mortar at once, as it hardens quicker than you think, and you can always mix more as you go.
Stir with your trowel until it reaches the desired consistency—it should be like peanut butter or thick frosting. When you pull the trowel out of the mortar, it should hold its peak (like the top of a cupcake).

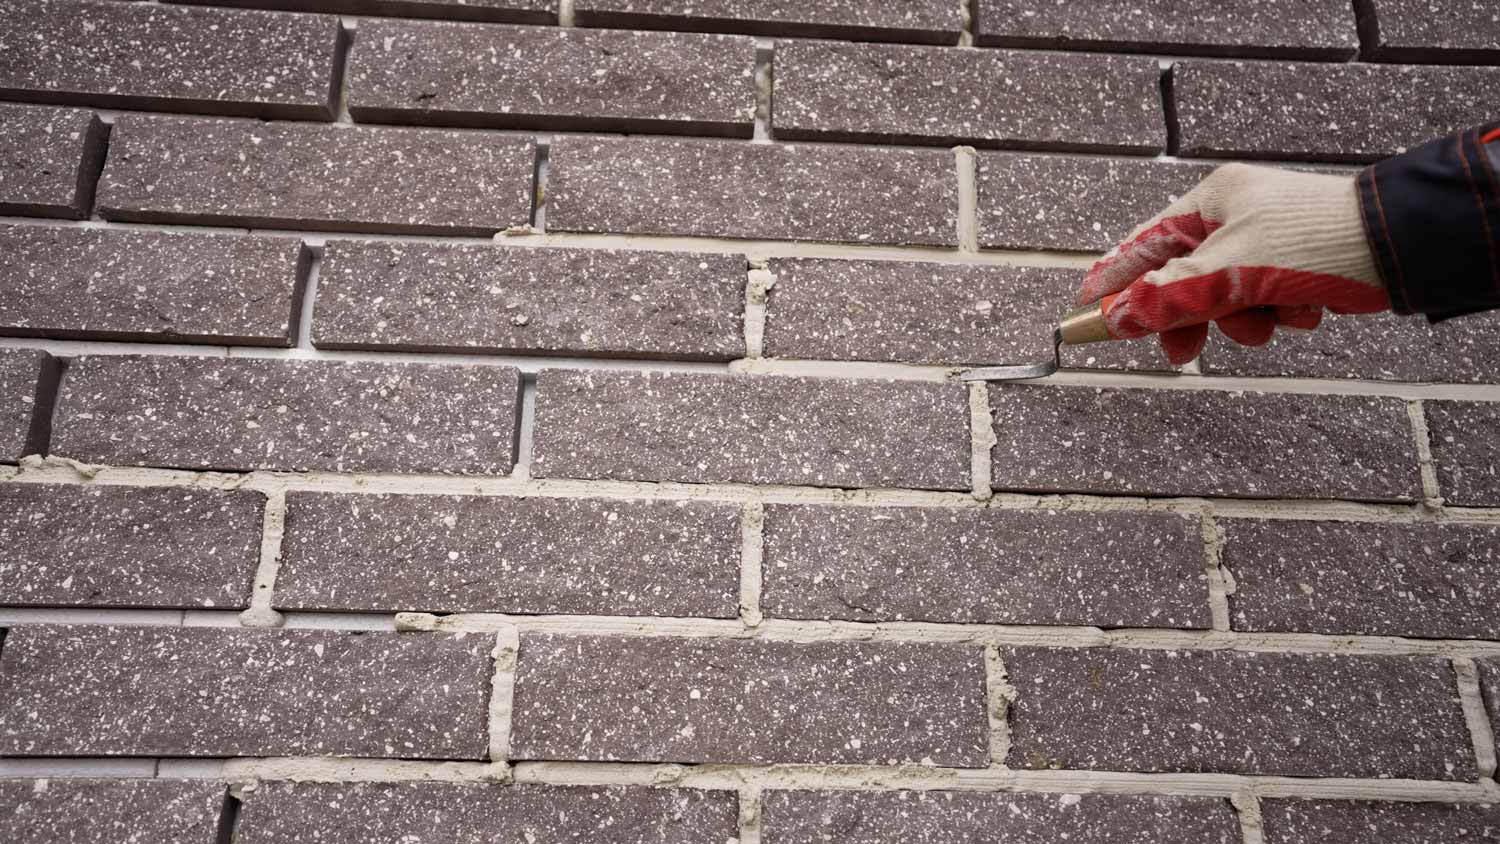
Scoop a decent amount of mortar onto your large trowel so that it’s more accessible. Using your small finishing trowel, scoop a smaller amount of the mortar off the large trowel and press it into your now-clean joints until it’s nearly full and flush with the brick, but not all the way. Start with your head joints (vertical joints) and then move to the bed (horizontal) joints. Wipe away any excess mortar immediately with your wet cloth.
Use smooth, consistent pressure to make sure there aren’t any bubbles in the mortar. Any pockets of air can weaken your wall’s structure—leaving you at risk from one big huff and puff that can blow your house in.
Set a timer for about 45 minutes to allow your mortar to rest. You want it to be dry enough that no mortar gets on your finger when you touch it, but still wet enough that you can still mold the shape of it.
Now’s the time to shape your joints and clean up any excess mortar on the brick. Use your jointing tool to mold the mortar to match the finish of the rest of your brick. Brush any excess mortar away gently with your wire brush, being extra careful around your new joints.

Mortar should stay slightly moist for a few days to set properly without cracking. Fill a spray bottle with water and lightly mist the joints once a day for a few days.
Although it may not seem difficult when you’re reading the steps in your head, there are a few things to be wary of that could impact the stability and longevity of your final product.
Not removing enough of the mortar. If you leave any old mortar in the joint, your new mortar won’t adhere properly—which can lead to more cracks and issues down the road.
Working in too large sections. Opt for smaller, more manageable sections to prevent the mortar from drying before you can smooth or wipe it away.
Not paying attention to the forecast. Mortar takes a few days to dry, and the weather needs to stay stable during that timeframe. Most mortar requires a temperature between 40 and 100 degrees Fahrenheit, but may be more or less depending on your brand.
Using the wrong mortar. While you’ll probably notice areas where you repoint your brick, straying too far away from your mortar color can be a pretty unappealing surprise.
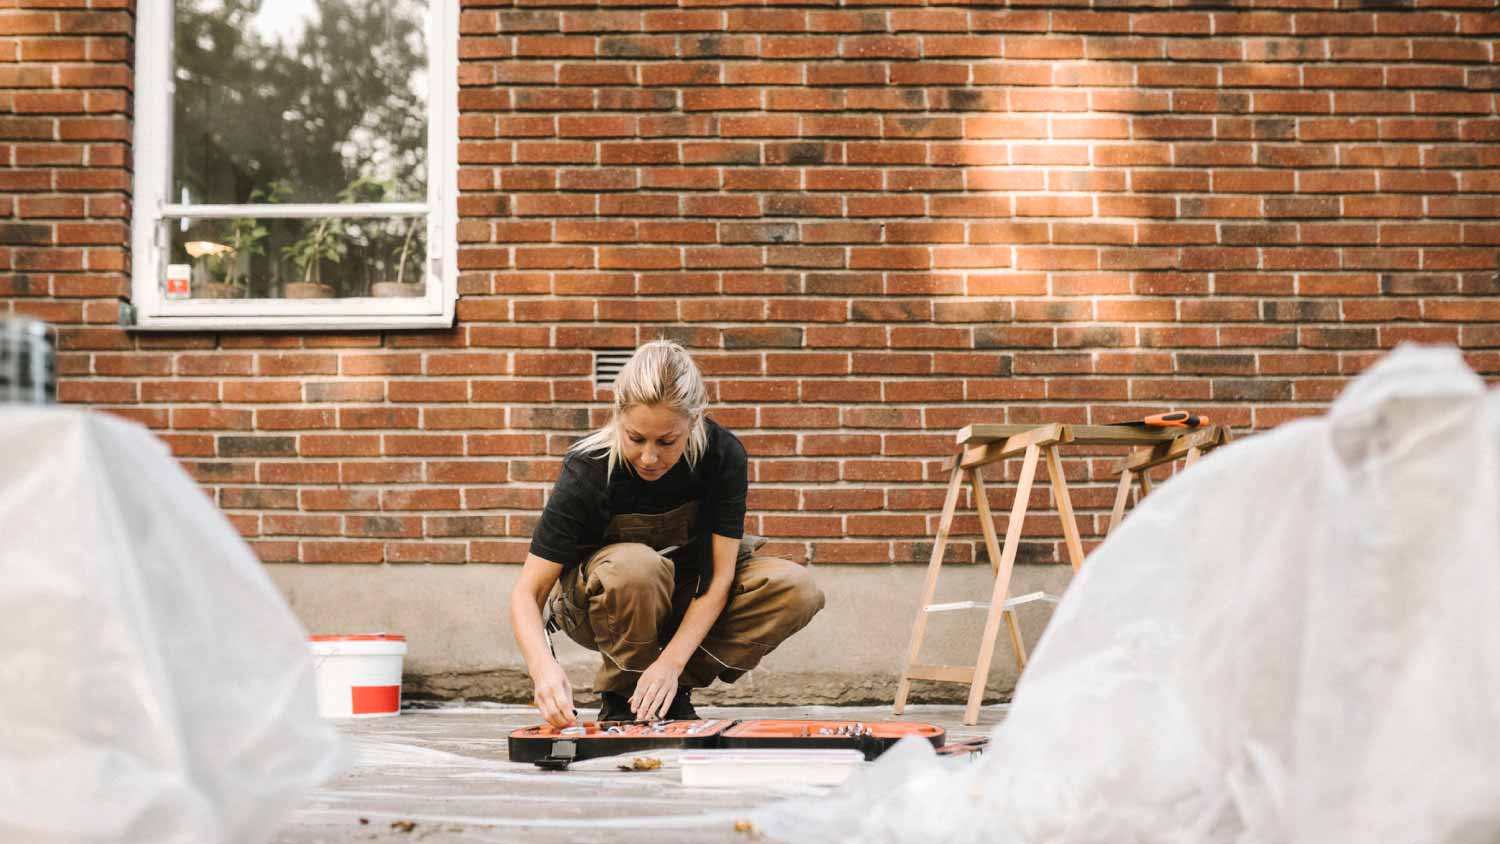
Repointing brickwork isn’t necessarily a hard job in terms of the step-by-step work, but it does take a long time and comes with a few risks. And if the area you need to tackle requires an extra-tall ladder or even scaffolding, your best bet is to hire a mason anyway. They’ll have the tools and know-how to do the job efficiently and safely.
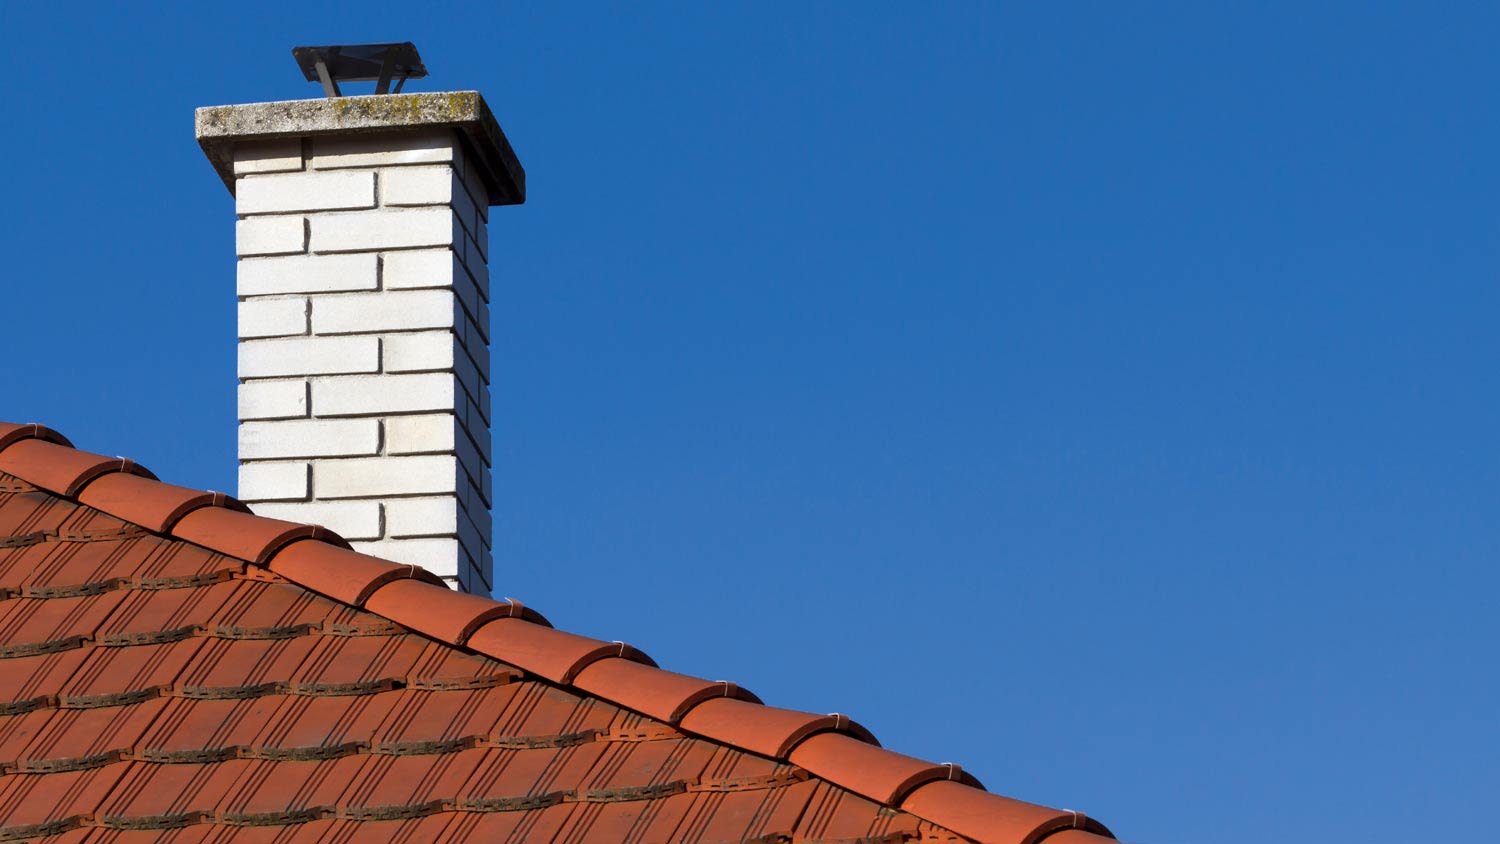
You’ll pay anywhere from $400 to $2,500 on average, although your specific cost for repointing brick depends on the size of the area, how intricate your design is, and whether or not scaffolding is needed. And if it’s a chimney, your costs can climb pretty quick.
1 tree was cut down and 5 others including a large willow tree were trimmed. The Grant Tree Service men were professional and cleaned up afterwards. The cost of the 6 trees were affordable. I am very happy with the results. I would hire them again.
Joseph did a great job with the staircase and trim. Timely and efficient, clear communication about the work, very fair pricing. For the stairs in particular, done very skillfully in an old house (1893) in a tight spiral, and very creative with how to do the handrail. Did a nice job with...
Finished Basements Plus was wonderful from beginning to end! First, they came out quickly for an estimate. I had 4 estimates and theirs was by far the best. (2 of the estimates were more than $20K higher than for the exact same work). Beyond their fair pricing, the work was excellent. They...
 Finished Basements Plus Inc.
I'm a repeat customer of All Star Paving & Sealing and I appreciate the service that all start paving has done for me in the past. I just recently had them out for an estimate and things couldn't have gone better. The staff that they send out to do the estimates are very knowledgeable. The...
 All Star Paving and Sealing
Ace Fireplace Services came to the rescue for my chimney repair. They were quick to pinpoint the issue and worked their magic to fix it. My chimney is now in excellent shape, and I'm a satisfied customer.
 Ace Fireplace Services
Supreme Brick & Chimney did an excellent job restoring the brick and mortar joints on my home. Their team was professional, knowledgeable, and completed the work on time. I highly recommend them and will hire them again in the future! Thanks!
 Supreme brick & chimney
Custom Paint Jobs LLCs custom murals brought life to our childrens rooms. They love it!
Window Depot did an amazing job on my deck. I wasnt sure what I wanted to do, but their composite decking was affordable and will last a long time. I am excited to have family over, and I am no longer embarrassed by my backyard. Jeff and the ground crew were polite, respectful, and caring for...
Storms Mobile Welding was great to work with. They were prompt, professional and did an overall excellent job on the project. I highly recommend.
Beginning with the estimate, Larry and Peyton were super helpful in getting my new condo's interior re-painted. Not only was the job well done, but also done in a super timely manner as promised.
 Five Star Painting of Plain City and Powell
From average costs to expert advice, get all the answers you need to get your job done.
Need to repoint brick in your home to make your home look fresh and new? Use this guide to repointing brick cost to price out your project before starting.
Everything you need to know about repointing brick: benefits, how it works, basic procedure, cost, and who to hire for the job.
Here’s a closer look at the key differences between tuckpointing vs. repointing so you can decide which masonry repair technique is right for you.
A worn-out chimney can threaten the strength of your masonry. Learn how to repoint a chimney for durability and aesthetics with this guide.
Fixing brick mortar is easier than most homeowners think. Use this guide to walk you through getting the job done with a few dollars and a few hours.
When you notice small cracks or damaged sections of a brick wall, they need your attention. Use this guide to handle minor brick wall repairs.