
The cost to replace the bottom of kitchen cabinets often isn’t too high, but depending on the damage, a full cabinet replacement can cost thousands.
Reclaim your under-sink cabinet space with this long-term solution

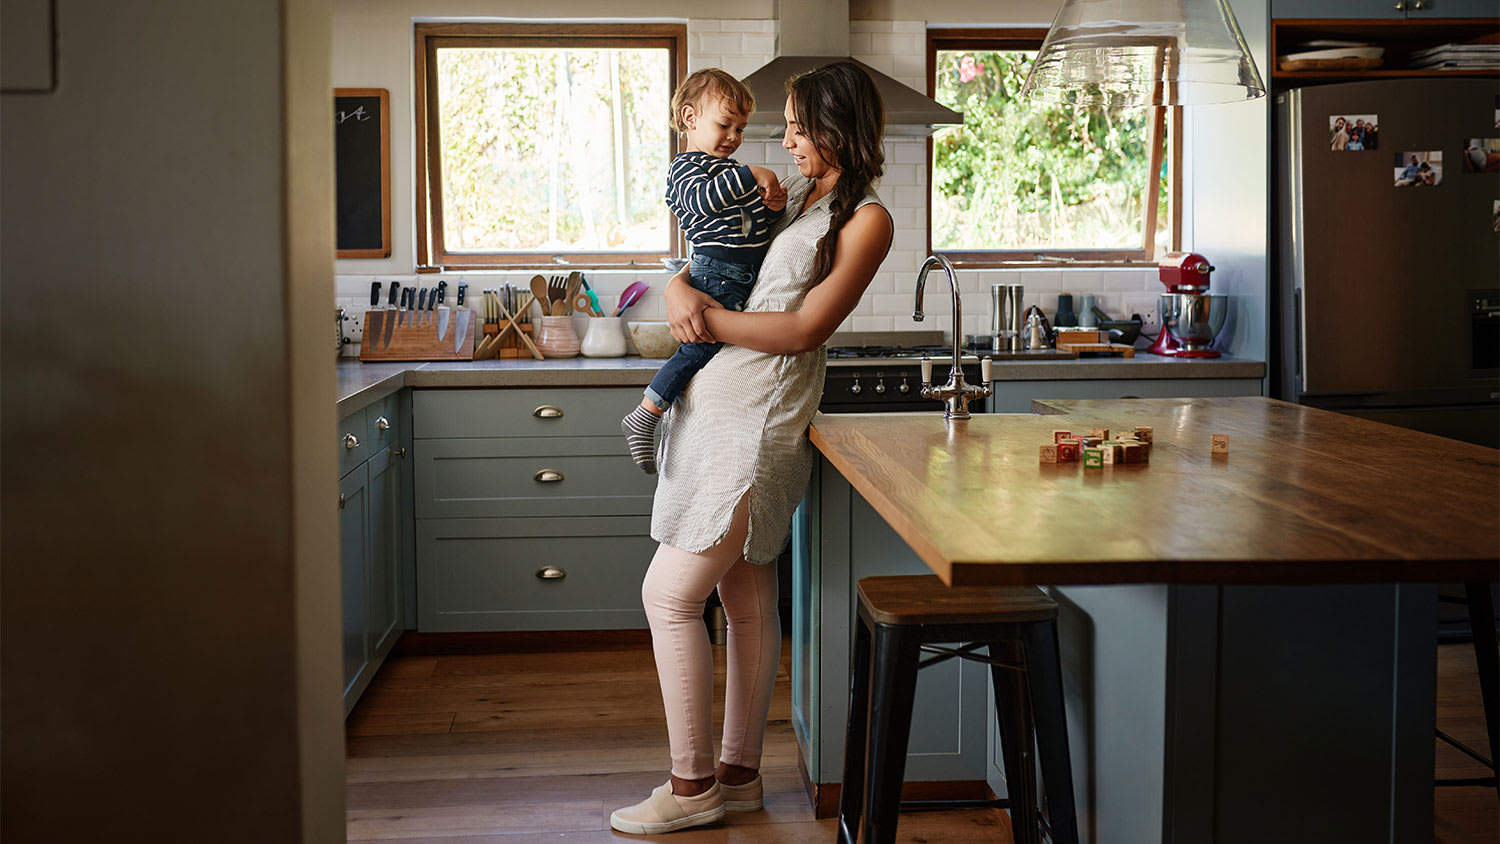
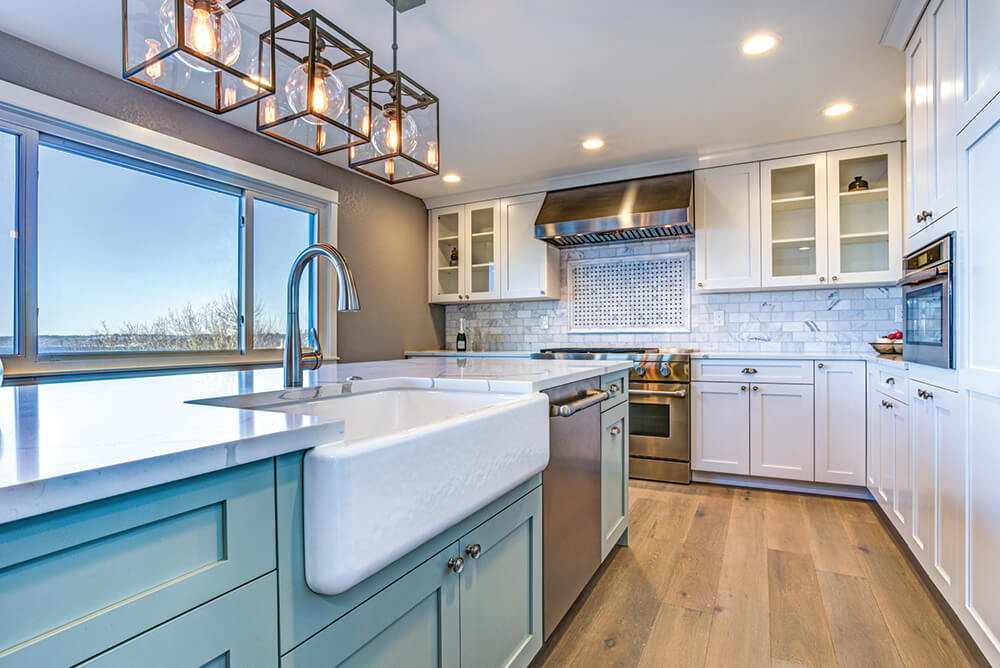
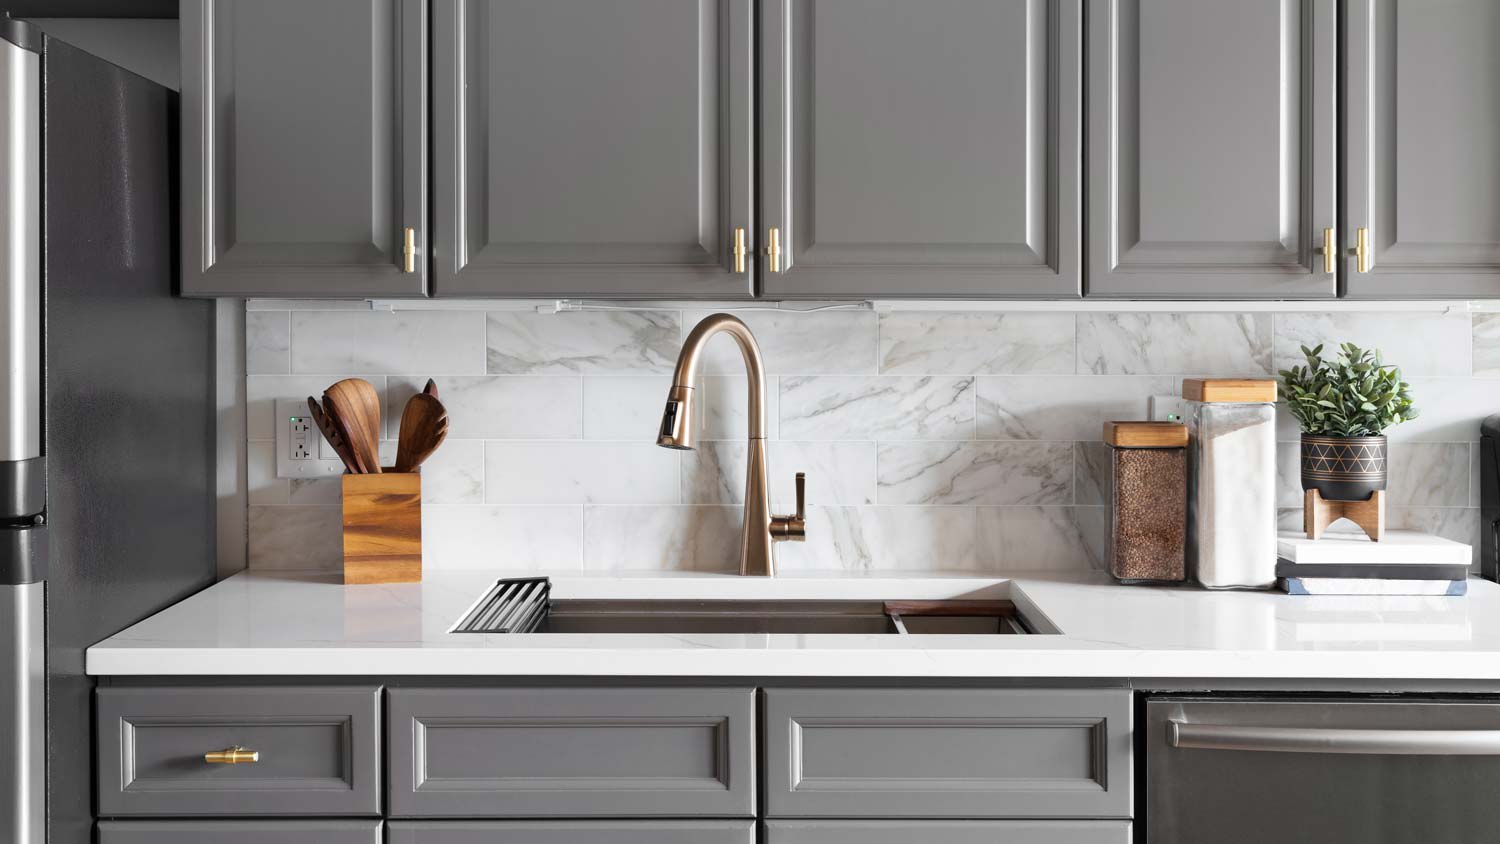
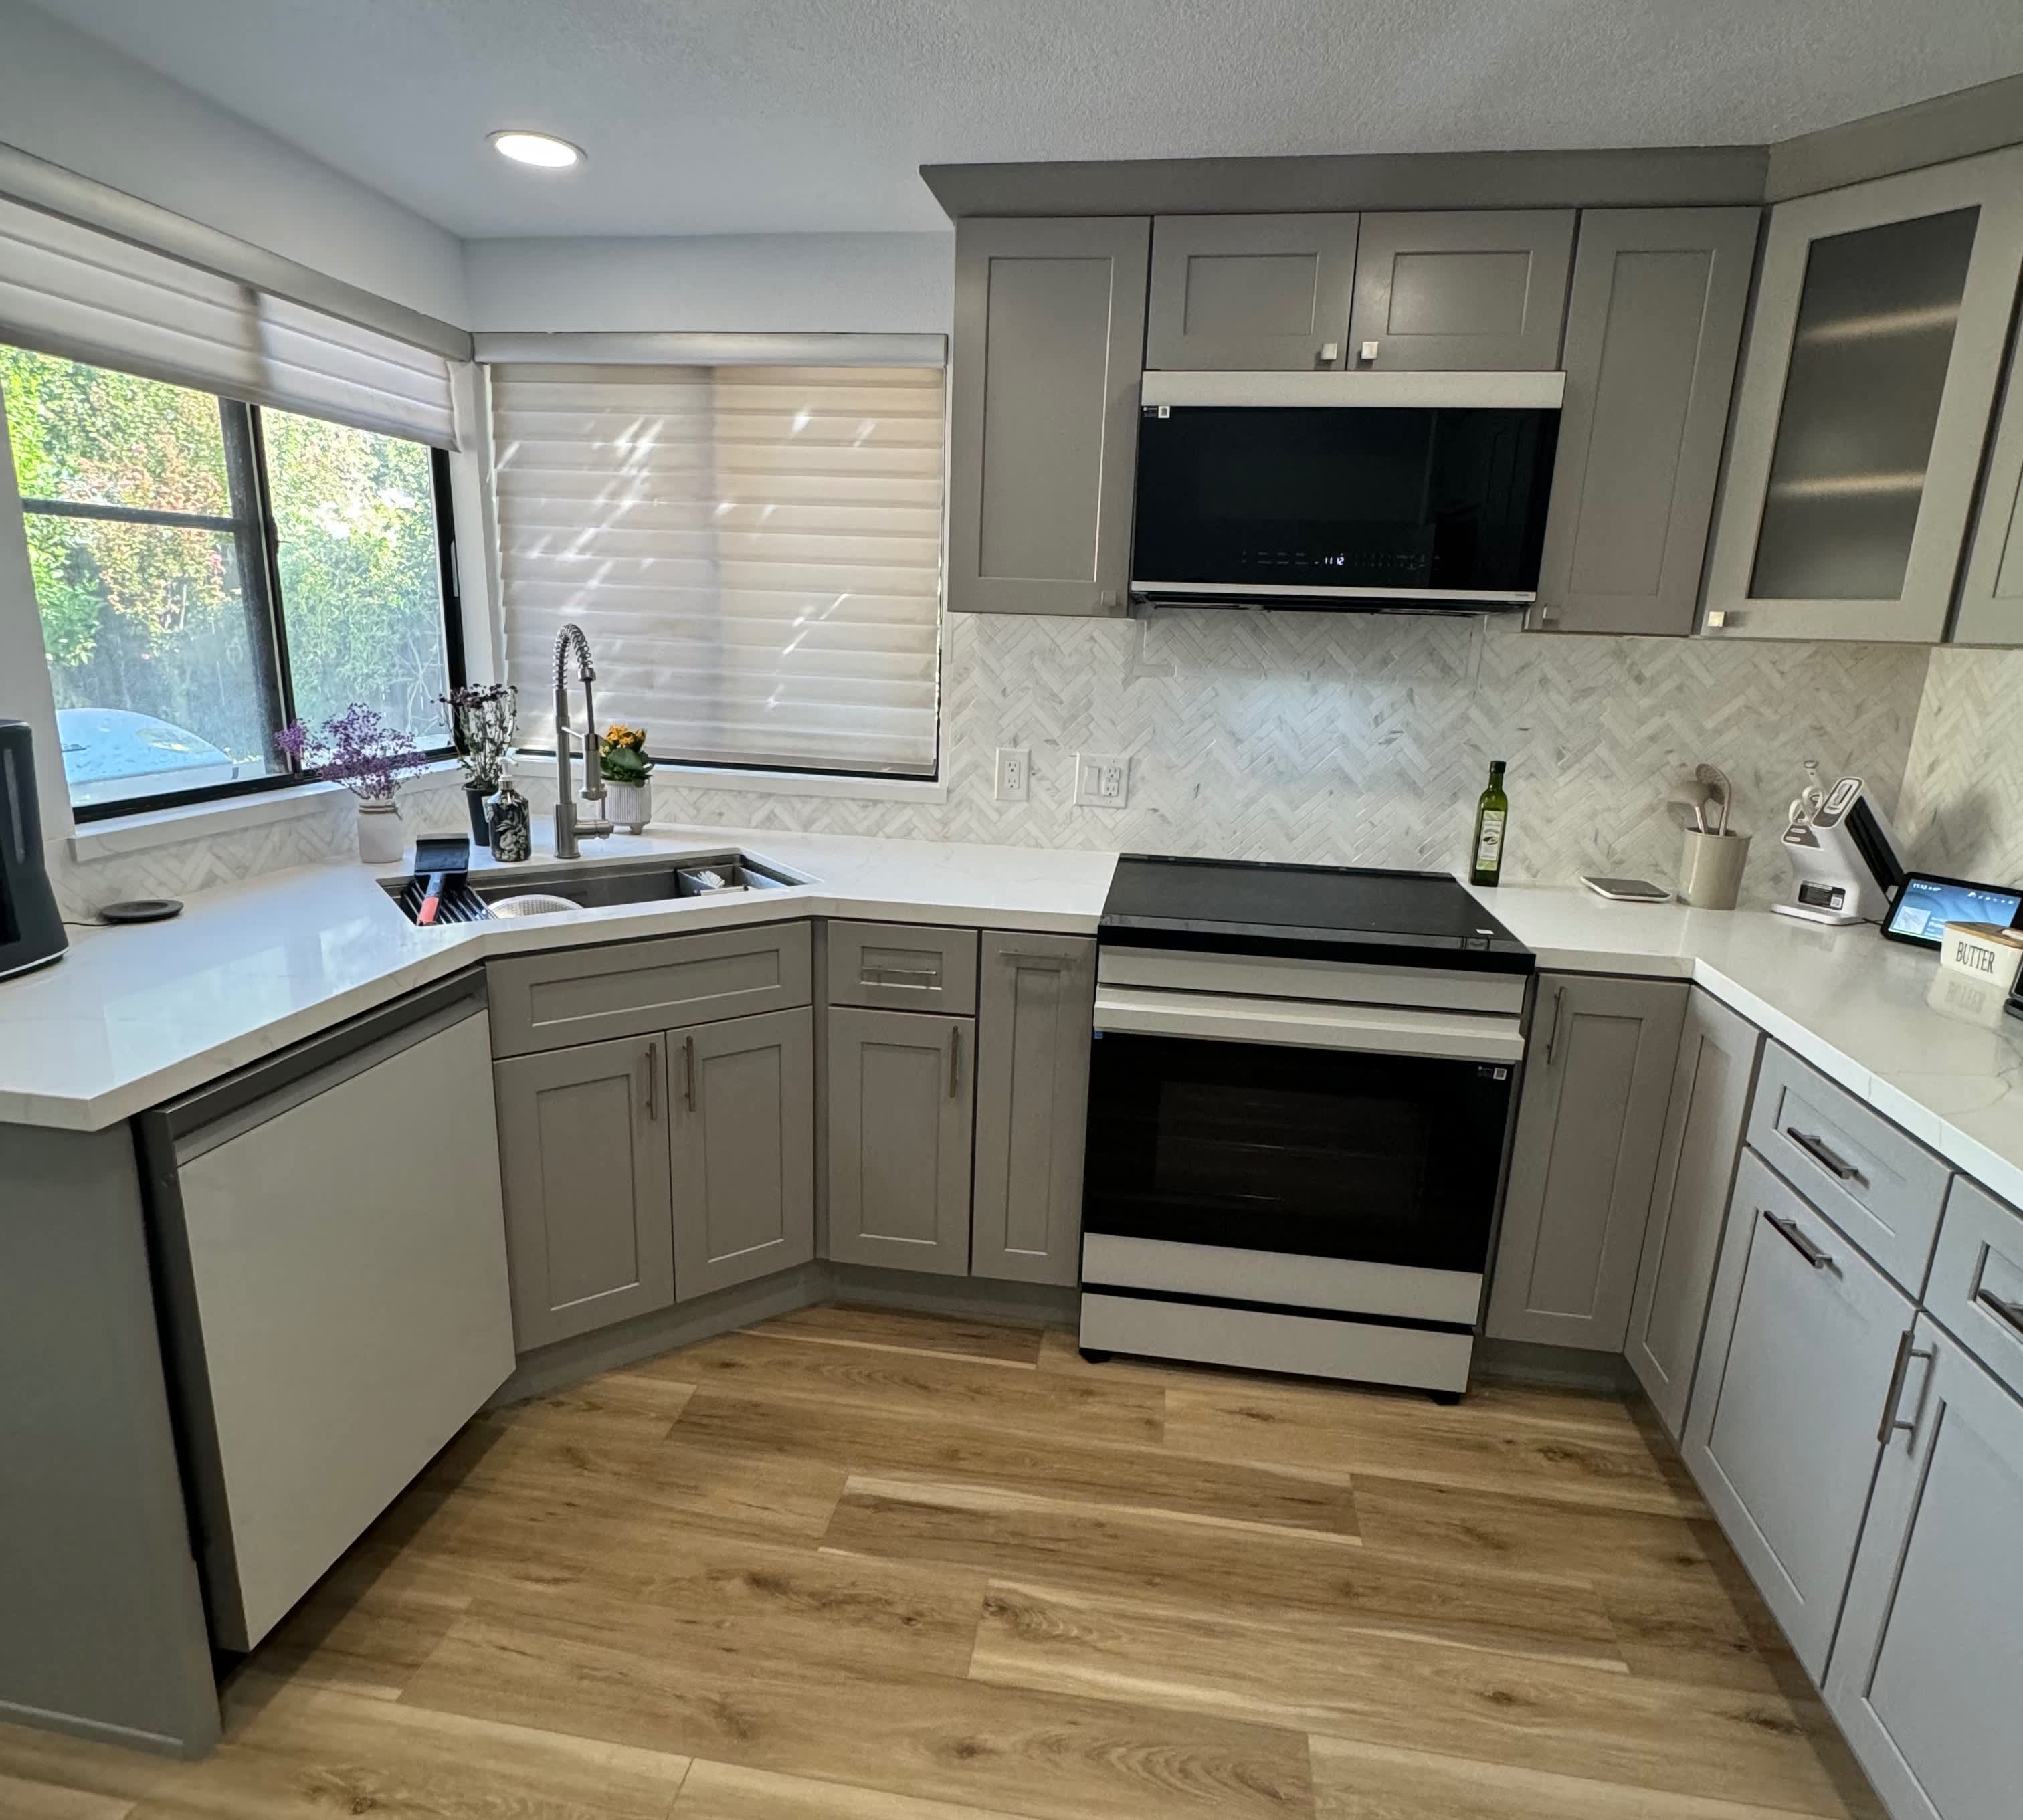
Most of our kitchens and bathrooms have traditional sink bases with a floor of particleboard or something similar, and these materials are notorious for allowing tiny plumbing leaks a headache. Learning how to replace the cabinet floor under a sink base can improve the situation and avoid cabinet replacement costs. Let’s dive into the step-by-step process of replacing this tricky cabinet spot.

Assessing the situation is essential before starting work on an under-sink cabinet floor. However, making a plan can be tricky until after removing the rotted portion. In most cases, the easiest way to approach the job is to remove all or most of the floor material. Start by removing any items from the cabinet so you can see the extent of the damage.
First, remedy the leaking that's causing the water problem. A local plumber can help with repairing or replacing the cause of the leak if necessary. If mold is present, contact a nearby mold removal specialist as a safety precaution.
Depending on how your under-sink plumbing arrangement looks, turning off, disconnecting, and removing drain and supply pipes may be helpful. At the very least, shut off the water supply to avoid a huge mess if you damage the supply lines during the project. Put on your safety glasses and work gloves, and use a combination of pry bar, jigsaw, and oscillating saw to remove as much of the material as possible from the floor area.
Remove any leftover debris from demolishing the floor and clean the area with a wet/dry vacuum or rags. The more rotten material you can remove, the better. Spray the entire area with an antimicrobial spray or a mix of bleach and water to get rid of mold that may exist. Allow the area to dry completely before moving onto the next steps.
Now that you can see the entire area without rotten materials in the way, you can make a plan. In most cases, your new cabinet floor will require you to create a support structure for it to rest on. A simple way to build one is to attach pieces of the same ½-inch plywood you're using for the floor material to the inside perimeter of the cabinet.
The pieces will create a lip for each edge to rest on. You may also consider installing a 2x4 and some scrap material to support the floor's center seam if you need one. If your cabinet has a center door stile, cutting the new floor in half may be necessary to install it.
Measure the interior dimensions of the cabinet where the new floor will rest. Also, measure the diameters and locations of each pipe or other penetrations in the floor. Make marks on a sheet of ½-inch treated or untreated plywood and cut out the shape and details with a circular or table saw and a combination of spade bits and your jigsaw. Cut along a center line between the two long sides of the new floor if you need to install the pieces while a cabinet door stile is in the way.
Measure the distance between the kitchen floor and the height of the bottom of your new cabinet floor. Out of the leftover ½-inch plywood material, cut one piece for each of the four sides as wide as the distance from the kitchen floor to the bottom of the cabinet floor and as long as each side of the cabinet's inside perimeter. Use exterior grade screws to attach them to the existing cabinet frame, so the top edge height equals the height of the underside of the new floor.
Cut and use screws to attach a 2x4 plus scrap material, if necessary, centered between the two long sides of the cabinet floor at the same height as the other support pieces. If you need to cut the floor in half to install it, this piece will support the seam between the two pieces.
Carefully place the floor, or each half of a cut floor, under the sink—pre drill at least three screw holes on each short side and at least four on the long sides. The holes should extend through the cabinet floor and into the supporting material below. Also, make at least three holes per side along the seam of the two halves if you cut the floor in half to install it. Use exterior-grade screws to secure the floor in place.
Using a paintable caulk, fill the gaps between the new cabinet floor's edges and center seam. Also, seal areas around pipes and any other penetrations.
If your new floor is untreated plywood, sealing it is necessary. If the material is the treated variety, you may choose to seal it or not. Allow treated wood to dry out for several weeks before sealing, however. Seal the wood with primer and paint or stain and polyurethane. Allow it to cure sufficiently before replacing the under-sink items.
Replacing a cabinet floor under a sink requires some skill and patience. However, the project can save quite a bit of money over the cost of replacing the cabinet itself. As a DIY project, you may spend up to $100 plus the better part of a weekend day to complete the task. However, the job can have unexpected surprises, like finding a bigger water problem than anticipated or discovering extensive mold growth.
If you'd rather find a better way to spend a Saturday, we understand, and so does your local cabinet repair company that can take care of the situation no matter what the job entails. Plus, cabinet repair pros can accurately assess the status of the cabinet floor and recommend any necessary repairs before rebuilding.
Terrible experience. Walls/trim/floors/cabinets/doors all have drip marks, overspray, etc. Tiling at the fireplace had to be redone by another vendor due to incorrect and shoddy install by Profect. Contractor had his children in our house while he was on site without prior authorization or...
 Profect painting & exteriors
My kitchen cabinets look brand new thanks to Custom Paint Jobs LLC. Their refinishing is exceptional.
If I could give 10 stars for Kitchen Tune Up, I would. I cannot say enough good things about my experience with Kitchen Tune Up and the entire team involved in the process of my kitchen project. They went above and beyond as far as service and quality with my cabinets, paint, countertops, and...
We live in a condo and had space to add a tall cabinet. The problem was the space was already occupied by our catsâ litter box. We needed to still keep the litter box in that same corner. Beiler Custom Cabinets was able to work with our need and design request. What was created was an...
Absolutely amazing, Rob and his team are extremely efficient and professional. Pink Dumpster Rentals, Demolition, And Hauling is a go to for getting my property cleared up so we can pursue the upgrades we want to make on our home.
 Pink Dumpster Rentals, Demolition, And Hauling
They work that 360 did on my kitchen cabinets is nothing short of amazing. I still cannot believe the difference from before and after. Jon and Jeff were both so incredibly professional throughout the whole process and their communications with me were constant and consistent. These guys...
 360 Painting Columbus
I had a variety of projects around my house. The work was done quickly and correctly. I was kept informed of every step during the projects and they followed up with me to make sure it was all good.
Phil understood the style I wanted and suggested options for materials (unlike the standard kitchen folks who kept pushing the same cabinets everyone buys). He stepped through all the decisions about the details with me, using his computer program to show the differences between the choices....
 Baker Group Remodeling
I had a great experience with this company. They installed a small TV on the wall of my kitchen between two cabinets. Team came out and did a very thorough inspection and quote. The rep who installed the TV had to do some extra work to snake the cords behind the wall from the top cabinets...
 The Theater People
I couldn't be more pleased with the job Ryan and his team did! My old oak kitchen cabinets now look like brand new white ones. They were able to provide an estimate based on my photos that was far below other companies I checked with, and that was the final price too. They were able to come...
 Rhino Painting & Color Consulting LLC
From average costs to expert advice, get all the answers you need to get your job done.
The cost to replace the bottom of kitchen cabinets often isn’t too high, but depending on the damage, a full cabinet replacement can cost thousands.
Sink installation costs depend on the type of sink, the material, and the labor. This guide can help you budget for your project—from pedestal to farmhouse.
Does your cabinetry need better lighting? Learn how to install under cabinet lighting with these top techniques.
An undermount sink can create a sleek, seamless aesthetic for your kitchen sink. Use this guide to learn how you can replace and install your undermount sink.
A kitchen isn’t organized until you address the mess under the sink. Organize under your kitchen sink to streamline your supplies and make cooking and cleaning easier.
Do you install cabinets or flooring first when remodeling your kitchen? We explain why it depends, breaking down the pros and cons of each approach.