
•
Discover exterior shutters cost, including average prices, installation factors, and ways to save. Get expert tips to plan your exterior shutter project.
Shut(ter) up and get your shutters together

Drilling into mortar joints when installing shutters on brick protects your bricks from cracking and makes future repairs easier if you need them.
Your shutter installation materials cost $50 to $200 for a DIY project, while fixed shutters run $25 to $140 per pair depending on style.
Pre-drilling pilot holes in both your shutters and mortar prevents bent screws and material damage, ensuring your shutters stay secure through weather changes.
Hiring a local masonry professional takes the guesswork out of drilling into brick and mortar, keeping your installation secure and your materials intact.
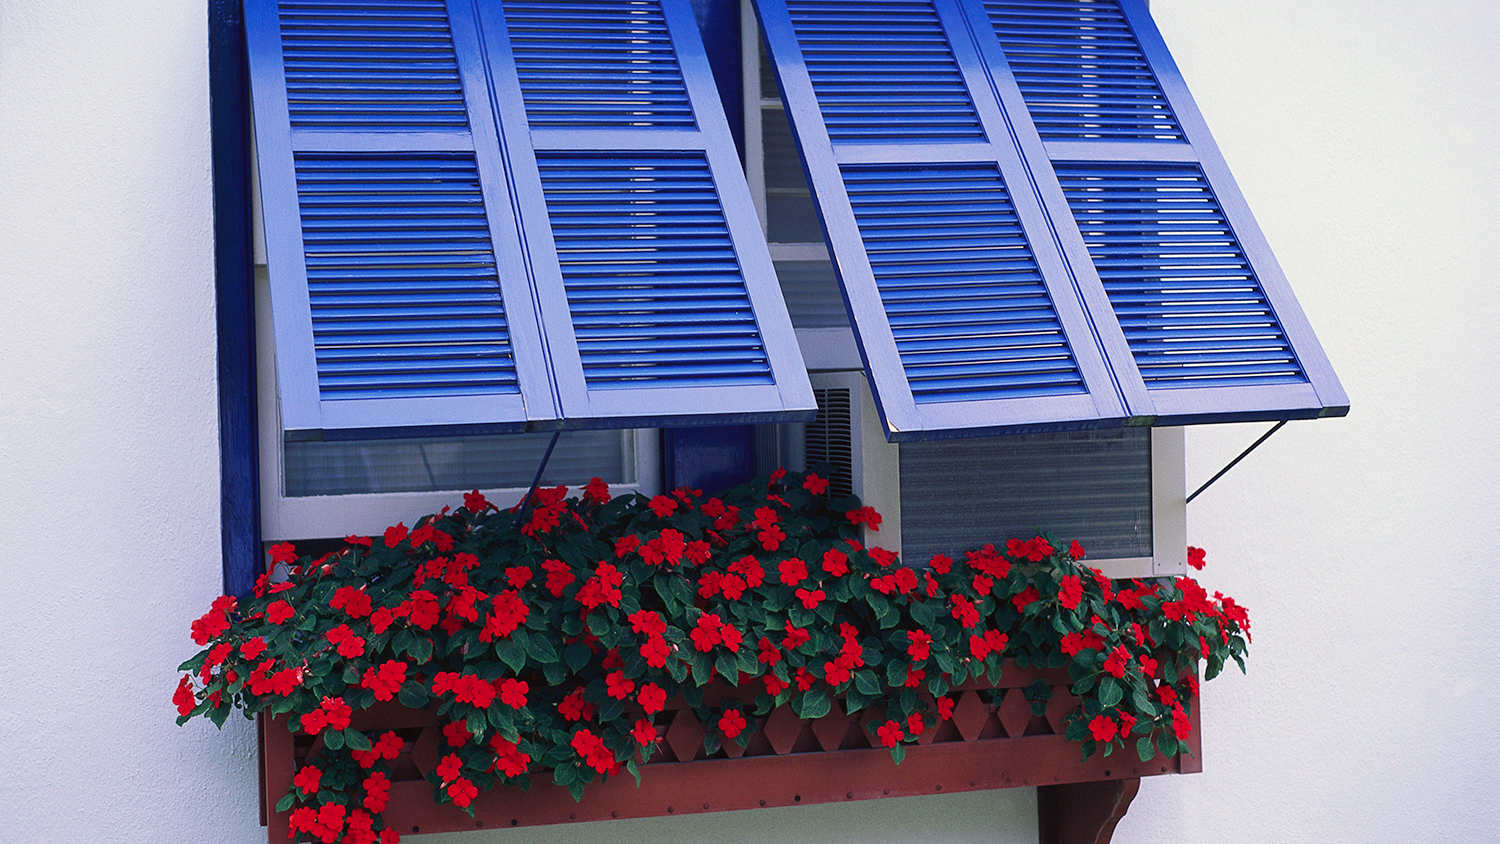
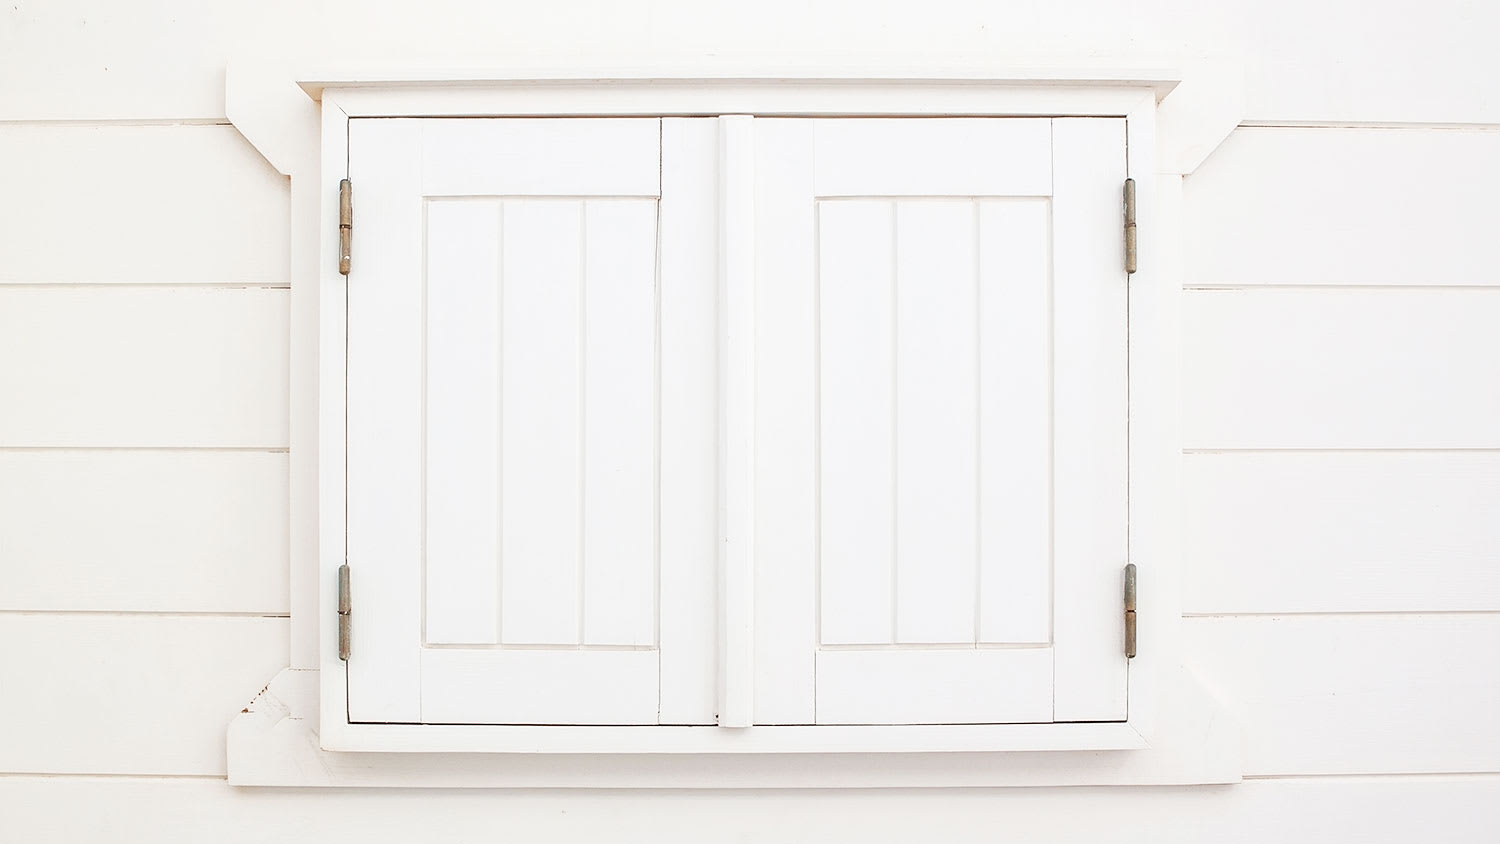
Shutters used to be all about keeping the weather out, but these days, they’re mostly about style. When combined with the natural charm of brick, they can seriously boost your home’s curb appeal. The good news is that installing fixed shutters on brick is a DIY project that’s totally doable—even for beginners. With just a few hours, the right tools, and a little patience, you can transform your brick exterior into something that’s as stylish as it is solid.
Start by using your tape measure to take precise measurements of your window opening. Measure the width from one side of the trim to the other. For a balanced decorative look, pick shutters that are about half of the window’s width. For example, if your window is 36 inches wide, you’ll want two shutters that are each 18 inches wide. Next, measure the height from the top of the trim to the bottom. Most shutters come in standard height increments of four inches—35 inches, 39 inches, 43 inches, etc.—so pick the size closest to your measured height.
Place one shutter next to the window. If you’re using vinyl or composite shutters, leave about a 1/4-inch gap between the trim and the shutter to let it expand and contract with temperature changes. You don’t need to worry about this if you’re working with wood shutters. Use a level to check that it’s straight, then grab a pencil to mark the top and bottom corners right onto the brick. A second set of hands will make this project easier. For a cleaner line, you can also outline the shutters with painter’s tape. Repeat this for the other shutter on the opposite side.
Lay the shutter face-up on a sturdy surface, like a piece of scrap wood—something you don’t mind drilling into. Mark where the mounting holes will go on the side rails. In the center of each side rail, measure two inches from the top and bottom. Use your pencil to mark these drilling holes clearly. For taller shutters (44 inches or more), add an extra hole on each side, spacing them evenly for a secure fit.
Carefully align the shutter with the brick's outline. Make sure your marks line up with the mortar joints. If your shutter marks don’t line up with the mortar, use your level to tweak them slightly to ensure they do. It’s crucial to drill into the mortar to avoid cracking the brick.

Now, put your shutter back onto your drillable surface. Grab your drill and a 1/4-inch multi-purpose drill bit to pre-drill at each marked location. These holes will be where your shutter locks (or fasteners) go.
Before you start drilling into the brick, put on your safety glasses to protect your eyes from flying debris. Then, set the shutter back against the brick wall, and grab your hammer drill. Attach a carbide masonry drill bit (typically 1/4-inch for shutter locks), and use the pre-marked holes on the shutter as a guide. Drill into the mortar at those spots, aiming for a depth of 3 ¼ inches. To avoid drilling too deep, measure 3 ¼ inches from the tip of the bit and mark it with masking tape. Use a small brush or compressed air duster to clear any dust from the holes once you're done.
Use a 3/8-inch drill bit to enlarge the pre-drilled holes in the shutters only. This gives the shutter locks (or plastic fasteners) enough room to slide easily through the shutters while fitting snugly into the pilot holes.
Align the holes in the shutter with the pilot holes you drilled into the mortar. Push the shutter locks through the shutter holes and into the pilot holes in the wall. Use a hammer to gently tap the heads of the shutter locks, securing the shutter firmly to the brick. Repeat the process for the second shutter.
Installing shutters can really elevate your home’s curb appeal, but it’s easy to make mistakes along the way. To avoid setbacks that’ll ultimately cost you time, money, and frustration, you should steer clear of these common mistakes:
Don't assume all windows are standard sizes: Measure each window carefully before purchasing shutters.
Don't forget to pre-drill pilot holes: When working with brick, always pre-drill pilot holes to avoid bent screws, cracked materials, or other damage.
Don't try to install shutters alone: Ask for help when positioning and securing large shutters. This will prevent mistakes and injuries.
Don't drill blindly: Be mindful of possible wires or plumbing behind the wall.
Don't leave drilled holes unsealed: Exposed holes can allow moisture to seep in and cause damage. If you drilled a hole that goes unused, apply exterior-grade caulk around the drilled hole.
If you’re uncomfortable with working on brick-and-mortar, hire a professional masonry company to save yourself the trouble. Brickwork requires skill, and improper drilling can damage or crack your materials, leading to costly brick repairs that could’ve been avoided.
Wrestling with a drill on a Saturday afternoon isn’t everyone’s idea of a good time, but for the hands-on homeowner, installing shutters on brick can be a pretty satisfying DIY project. Doing it yourself helps keep expenses down, as your cost to install exterior shutters comes entirely from the materials. Fixed shutters typically run between $25 to $140 a pair. With about two hours per window—and the right tools and shutter locks—it’s a doable weekend project.
Things change when you’re working with multiple windows or anything above the first floor. Professionals usually charge between $65 to $100 per hour, and their rate tends to be on the higher side for harder-to-reach windows. What you’re paying for isn’t just labor—it’s experience, the right equipment, and a cohesive look across your entire house.
For a smaller job with accessible windows, DIY makes a lot of sense and can save you hundreds (if not thousands) in your budget. When the project grows in size and complexity, hiring a professional is usually the better alternative.
1 tree was cut down and 5 others including a large willow tree were trimmed. The Grant Tree Service men were professional and cleaned up afterwards. The cost of the 6 trees were affordable. I am very happy with the results. I would hire them again.
Joseph did a great job with the staircase and trim. Timely and efficient, clear communication about the work, very fair pricing. For the stairs in particular, done very skillfully in an old house (1893) in a tight spiral, and very creative with how to do the handrail. Did a nice job with...
Finished Basements Plus was wonderful from beginning to end! First, they came out quickly for an estimate. I had 4 estimates and theirs was by far the best. (2 of the estimates were more than $20K higher than for the exact same work). Beyond their fair pricing, the work was excellent. They...
 Finished Basements Plus Inc.
I'm a repeat customer of All Star Paving & Sealing and I appreciate the service that all start paving has done for me in the past. I just recently had them out for an estimate and things couldn't have gone better. The staff that they send out to do the estimates are very knowledgeable. The...
 All Star Paving and Sealing
Ace Fireplace Services came to the rescue for my chimney repair. They were quick to pinpoint the issue and worked their magic to fix it. My chimney is now in excellent shape, and I'm a satisfied customer.
 Ace Fireplace Services
Supreme Brick & Chimney did an excellent job restoring the brick and mortar joints on my home. Their team was professional, knowledgeable, and completed the work on time. I highly recommend them and will hire them again in the future! Thanks!
 Supreme brick & chimney
Custom Paint Jobs LLCs custom murals brought life to our childrens rooms. They love it!
Window Depot did an amazing job on my deck. I wasnt sure what I wanted to do, but their composite decking was affordable and will last a long time. I am excited to have family over, and I am no longer embarrassed by my backyard. Jeff and the ground crew were polite, respectful, and caring for...
Storms Mobile Welding was great to work with. They were prompt, professional and did an overall excellent job on the project. I highly recommend.
Beginning with the estimate, Larry and Peyton were super helpful in getting my new condo's interior re-painted. Not only was the job well done, but also done in a super timely manner as promised.
 Five Star Painting of Plain City and Powell
From average costs to expert advice, get all the answers you need to get your job done.
Discover exterior shutters cost, including average prices, installation factors, and ways to save. Get expert tips to plan your exterior shutter project.
Hurricane shutter costs vary widely depending on many factors. Explore our breakdown of the elements that impact what you’ll pay for hurricane protection.
Estate shutters can add a stately appearance to your home and block out light. Learn how much estate shutters cost, depending on window size and material.
Window shutters and brick exteriors are like peas in a pod, but only with the perfect color combination. Here are the best shutter colors for brick houses.
Learn how to hire a shutter installation pro with confidence. Find qualified professionals, ask the right questions, and get your shutters installed perfectly.
Learn how to hire interior shutter installers, find qualified professionals, and ask the right questions to transform your windows with custom shutters.