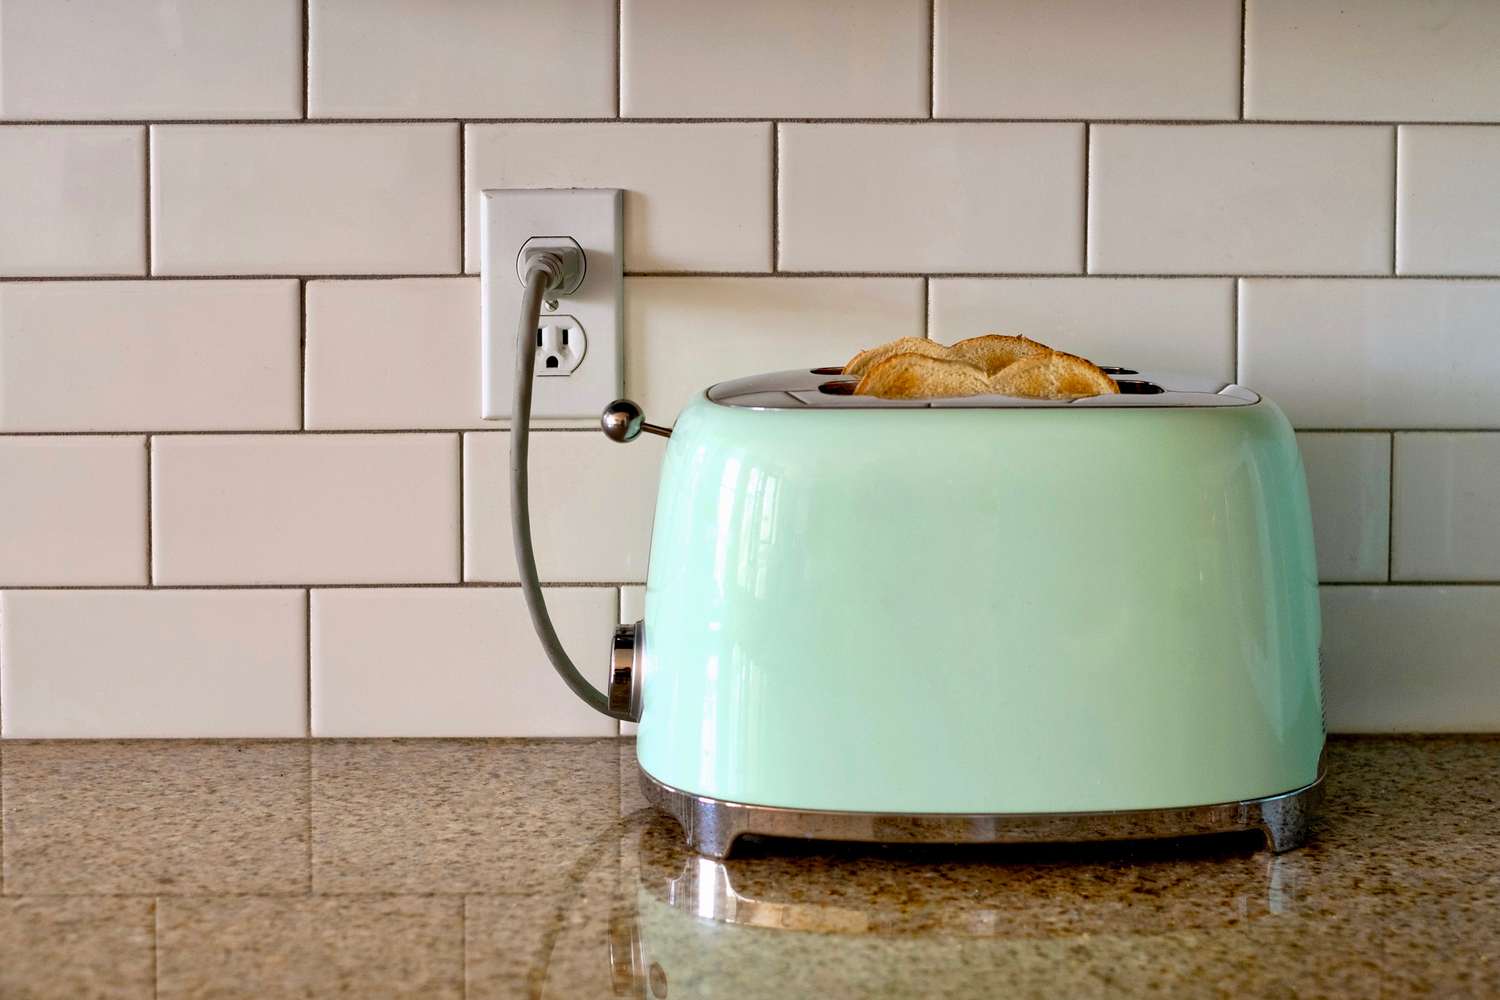
The average cost to install an electrical outlet is $133 to $296 each. This guide explains what factors impact the total cost of installing an outlet.
Quickly beautify any room with this handy piece of trim

Quarter round trim installation starts with measuring each wall length to the nearest 1/16-inch, then cutting your pieces slightly long for a snug fit.
Expect to pay $100 to $500 for quarter round materials and tool rental, with costs around $1 to $1.60 per linear foot for the trim itself.
You’ll use three key cuts for quarter round installation, straight 90-degree end cuts, 45-degree corner cuts, and coped cuts that trace the trim profile.
Hiring a local carpentry professional helps keep your quarter round installation precise and level, especially for seamless corners and scarf joints, angled splice cuts.
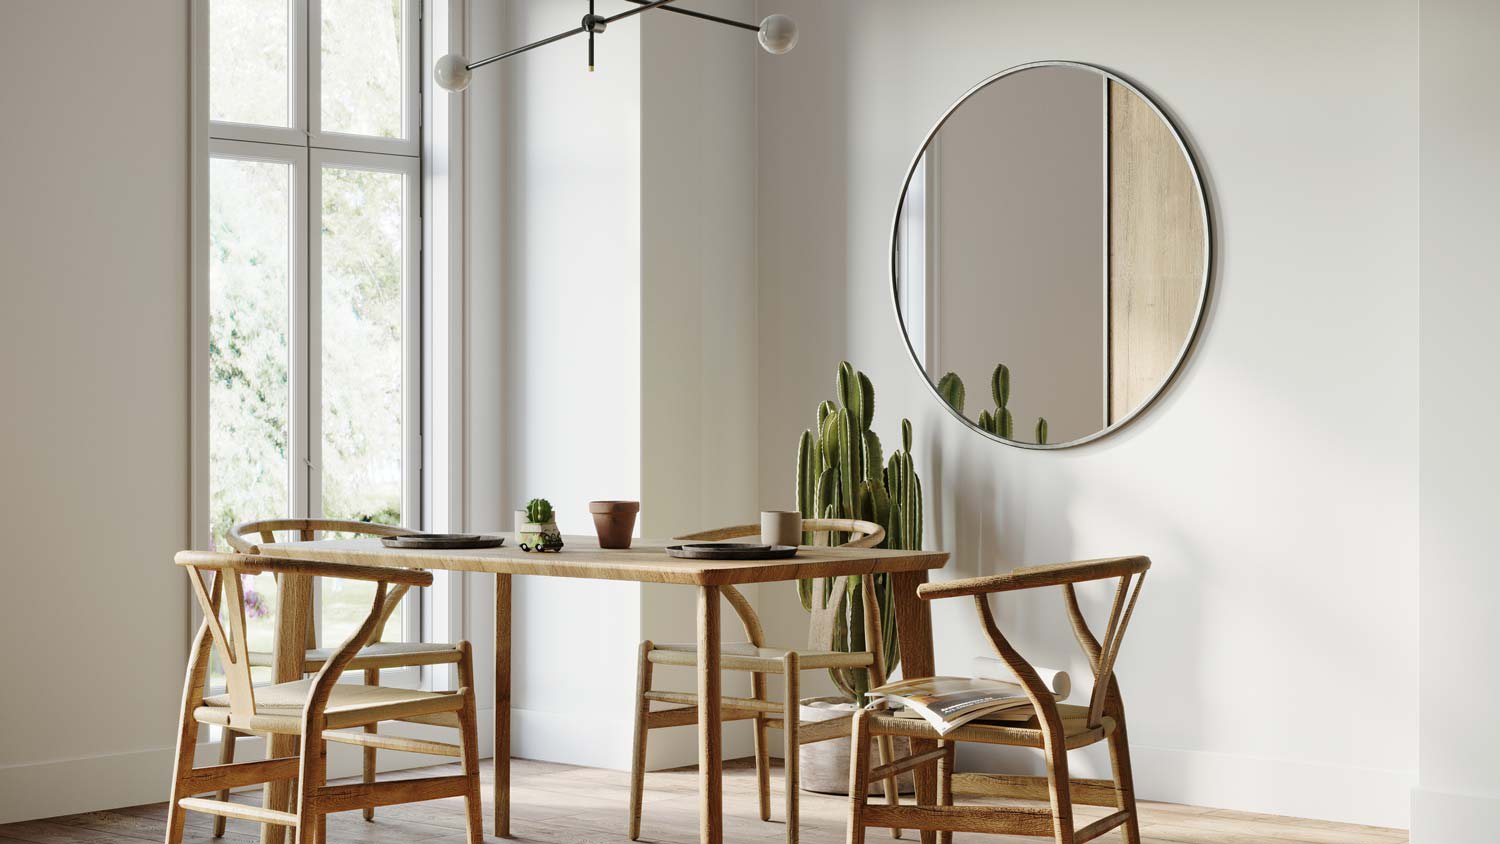
Quarter round is the final piece of built-up baseboard trim. Useful for adding elegance to your home’s trim and hiding unsightly gaps between the floor and wall, quarter round allows room for the floor to expand and contract without exposing its edges. And while it performs an important job, in some cases quarter round is optional.
If you’ve determined your home needs quarter round, here’s how to install it.
Once you have your materials, it’s time to start the installation.
It’s easier to paint or stain trim work before you install it. (If you purchase pre-finished quarter round, you can skip this step.)
Support several pieces of quarter round on sawhorses, workbench, or another sturdy surface. Protect the floor from drips with a drop cloth.
Stain or prime and paint the curved surface of the trim piece. Allow curing overnight if painting.
Measure to the nearest 1/16-inch when using a tape measure. Err on the side of being too long rather than too short.
To master quarter round installation, you’ll need to learn three types of cuts: a butt cut, a 45-degree cut, and a coped join cut.
A butt cut is a cut that’s exactly perpendicular to the length of the quarter round. Set the miter saw angle to zero degrees and line the trim piece up to the saw’s fence to cut.
You’ll use 45-degree cuts for making corners and scarf joints. Set the miter saw’s angle to 45-degrees in the direction you need. Place the quarter round in the saw with one of its flat edges against the fence.
Coped joint cuts create seamless inside corners. To make the joint, cut the end of the trim at 45-degrees so that the cut profile is facing you. With a coping saw or jigsaw, turn the blade away from the angled cut and saw along the leading edge of the profile line.
When complete, you’ll have an end that matches the profile of the quarter round.
Work slowly and carefully if you are staining your quarter round or using pre-finished pieces. There won’t be an easy way to hide mistakes in the end.
Nail through the quarter round and into the baseboard behind it. Avoid nailing into the flooring or subfloor.
Except on outside corners and scarf joints, avoid using glue to install quarter round. You may need to remove the trim later to work on the floor, and gluing will make disassembly difficult, if not impossible.
Make a 45-degree cut facing away from you on the miter saw. Place the piece along the baseboard so that the inside of the cut is at the baseboard’s corner.
Cut an opposite 45-degree angle in another piece of trim. It’s best to cut this piece slightly longer than you need and make several minor cuts until you reach the exact length. In other words, “creep up” on the measurement.
Apply wood glue to the meeting edges and set the second piece in place. Use the nail gun to fire a trim nail through the quarter round and into the baseboard near the corner. Repeat on the other side of the corner and wipe away excess glue with a disposable rag.
There are two ways to create an inside corner, and you may find yourself using both methods.
A simple inside corner joint is the opposite of an outside corner. Cut opposing 45-degree angles in two pieces of quarter round and use a nail through each to install. This method works only for corners that measure precisely 90-degrees.
For corners that don’t measure exactly 90-degrees, make a butt cut in the first piece of quarter round and install it in the corner with the butt end hidden against the opposing baseboard corner.
Make a coped joint cut in the second piece of the corner and install it with the cut end directly against the profile of the opposing quarter round piece. There’s no need for glue on the inside corners.
If a wall is too long for one piece of trim to span the distance, you’ll need to create a scarf joint to extend the length of the trim work.
To do this, make a 45-degree cut facing towards you on the miter saw. Install the piece in place, but refrain from nailing the last couple feet.
Make an appropriate cut on the opposite end from the scarf joint for the second piece. Set the piece in place and mark the scarf joint cut with a fine pencil line. Cut the opposite 45-degree angle. Again, cut the piece slightly too long and creep up on the final cut length.
Apply glue to the joint ends where they meet. Complete the installation by firing a nail directly through the joint and into the baseboard and wiping away excess glue.

For stained or prefinished quarter round, use a small amount of appropriately colored wood fill on your finger to rub into each nail hole.
For painted trim work, fill each nail hole with paintable caulk or wood fill and follow up by touching up the spots with the same colored paint and a small brush.
The cost to install quarter round as a DIY project ranges between $1 to $1.60 per linear foot for material, significantly less than the cost of installing entire baseboards. Renting a compressor and nail gun for about $45 per day is well worth the investment unless you already own one.
There is a slight learning curve, so be prepared to make a few mistakes along the way, but the project isn’t too tricky to master if you have some DIY skills already. However, if you can think of a better way to spend a Saturday, we understand. A local carpenter or a baseboard installer near you can certainly help.
Incredible workers! Very skilled with the machinery, climbing, cutting, roping, and removal. Handled everything. Professionals!
 Hoffman Expert Tree Services
I m so impressed with Custom Paint Jobs LLC s craftsmanship. They truly care about quality.
Window Depot did an amazing job on my deck. I wasnt sure what I wanted to do, but their composite decking was affordable and will last a long time. I am excited to have family over, and I am no longer embarrassed by my backyard. Jeff and the ground crew were polite, respectful, and caring for...
Storms Mobile Welding was great to work with. They were prompt, professional and did an overall excellent job on the project. I highly recommend.
Great job...edging and pre clean up went well with a great job with seal coat. Friendly, efficient and professional.
 All Star Paving and Sealing
Great tree company, very professional and honest. Glad we found them, they had the best pricing
It was wonderful working with Yordy and his team. They were very professional and are experts in what they do. They have completed the work on time, with better quality and with in fairly reasonable price. We just started with backsplash work , but liking his work, we went on to provide...
The job went extremely well. Work was done as promised and the job came out better than expected due to Mr. Moyer's commitment to excellence and personal pride in providing the best work possible. He is one of those professionals who is not satisfied until the customer is completely happy...
 Pro Flooring
We needed to have a wall cabinet resized so that we could fit a larger refrigerator underneath. I removed the cabinet from the wall myself and brought it in, where Wally was able to resize it for me in his shop. The results were perfect: it's exactly the size that I asked for, and...
 Pioneer Woodworks
The work was almost completed when we gave the owner Tim Barton $400 as a downpayment to be put on his list for work in the future after we had new woodwork installed.The next day Mr. Barton had difficulty installing a door handle and took the position that it was broken before his employee...
 Above And Beyond Painting LLC
From average costs to expert advice, get all the answers you need to get your job done.
The average cost to install an electrical outlet is $133 to $296 each. This guide explains what factors impact the total cost of installing an outlet.
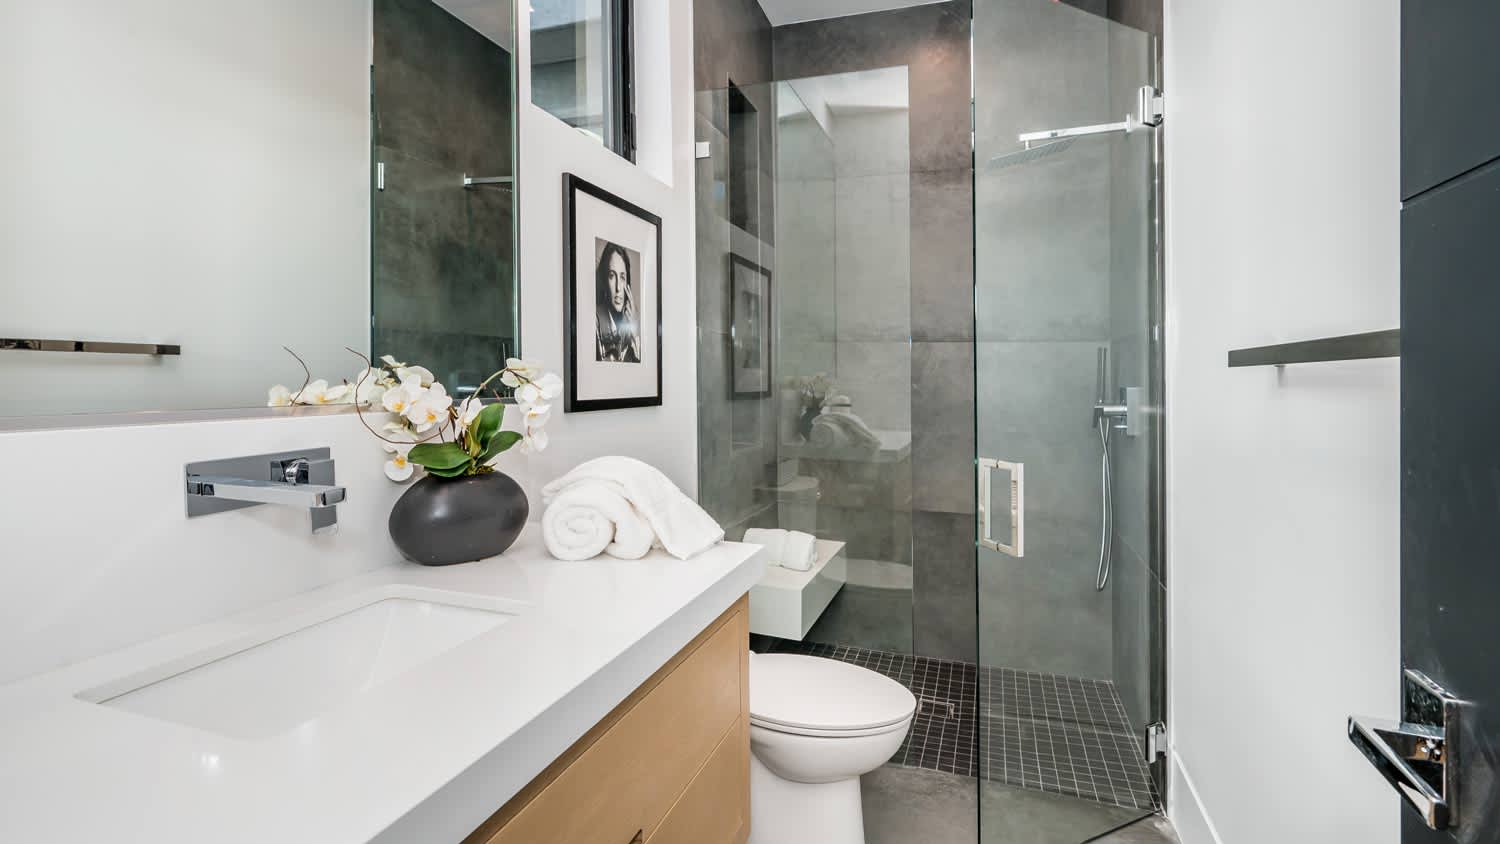
Choosing between a quarter bathroom versus a half bath, or even a three-quarter bathroom, depends on your space, plumbing, budget, and existing bathrooms.
What are baseboards? They’re the narrow pieces of trim that fit along the walls near the floor, providing a stylish look and protection for walls.
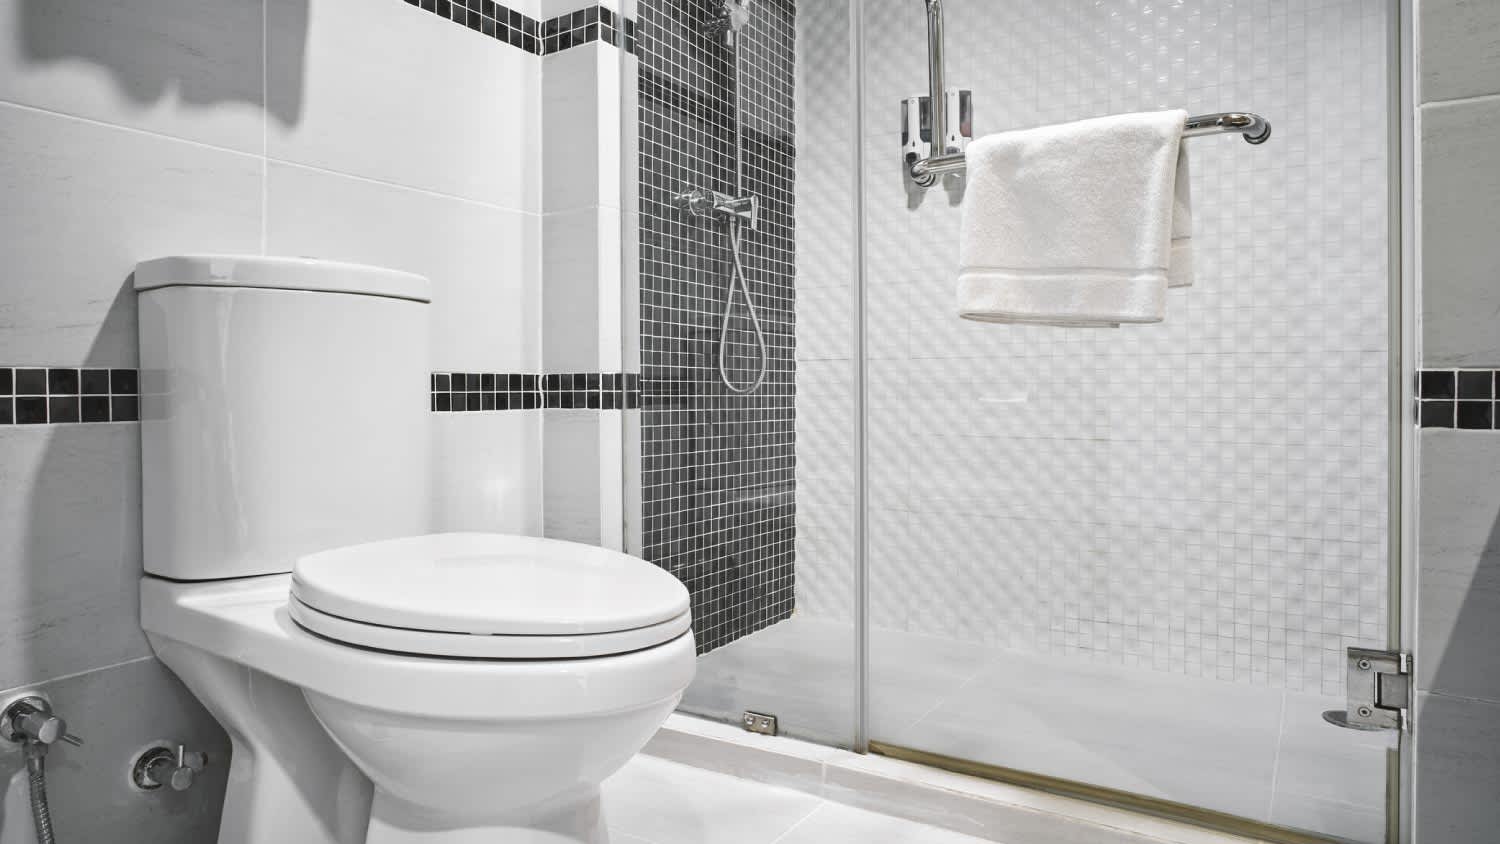
When installing a toilet, one of your first decisions is choosing between elongated vs. round toilet seat styles. Here’s what to consider before you buy.
Rounded vs square drywall corners—which one should you choose? Use this guide to understand the key differences, and decide which one is right for your project.

Decorative baseboards add sophistication, but they’re often expensive. These are the best baseboard alternatives for a high-end look without the high-end price!