

Choosing new cabinet hardware is a fun balance of practicality and design. Costs range between under $100 and up to five figures, though, so budgeting and knowing which materials you can afford is key. This cost guide breaks it all down.
Add beauty, function, and some new skills

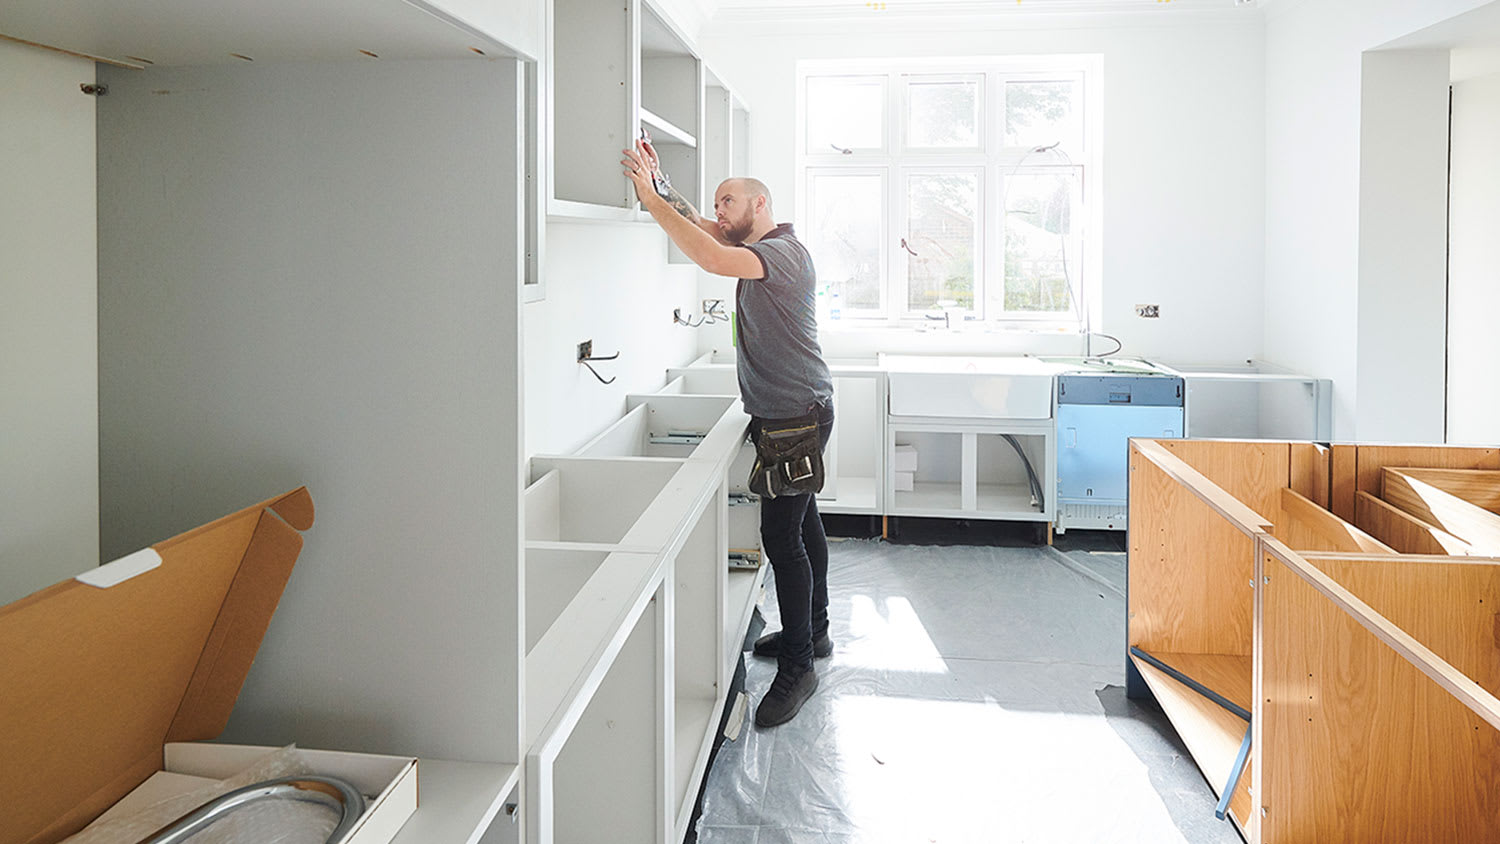
Installing kitchen cabinets requires careful measuring, leveling, and securing to wall studs to ensure your cabinets stay level, aligned, and firmly attached.
Professional kitchen cabinet installation costs range from $50 to $450 per linear foot, so tackling this project yourself saves significant labor expenses.
You'll need to install wall cabinets first using a temporary ledger board for support, then secure base cabinets while checking for level throughout.
Hiring a local cabinet professional keeps installation precise with laser levels and pneumatic nailers, ensuring perfect alignment and secure mounting for lasting results.
Installing kitchen cabinets only looks difficult. While the project can appear intimidating, you can learn how to install kitchen cabinets by following our guide with some patience. Whether you're looking to minimize the cost of painting your kitchen cabinets, updating the look of the space, or installing cabinets in another room, learning how to install kitchen cabinets is an excellent skill to add to your DIY toolbox.

The most apparent reason to install your own kitchen cabinets is to save some money when you would typically hire a cabinetry contractor to perform the task. However, installing them requires several DIY and carpentry skills that could come in handy for a whole list of other household repair and remodeling tasks. Learning these skills and doing the work not only saves money but offers a sense of satisfaction and increases your DIY capabilities.
Based on the responses of 206,600 Angi customers, cabinets are one of the most commonly installed features during kitchen remodels, with 22.8% of homeowners updating or moving them. Learning how to handle cabinet installation on your own can help save time and reduce costs, especially during larger remodel projects.
Typical professional kitchen cabinet installation costs are between $50 and $450 per linear foot, plus the cost of the cabinets. By eliminating the cost of labor, you could save a bundle if you're willing to give up a weekend to do the job.
You'll spend somewhere between $2,000 to $20,000 for the cabinets themselves, depending on the size of your kitchen, cabinet quantity, and specific brand pricing. However, tool purchases and the price of some hardware will be your only other costs if you choose to install them.
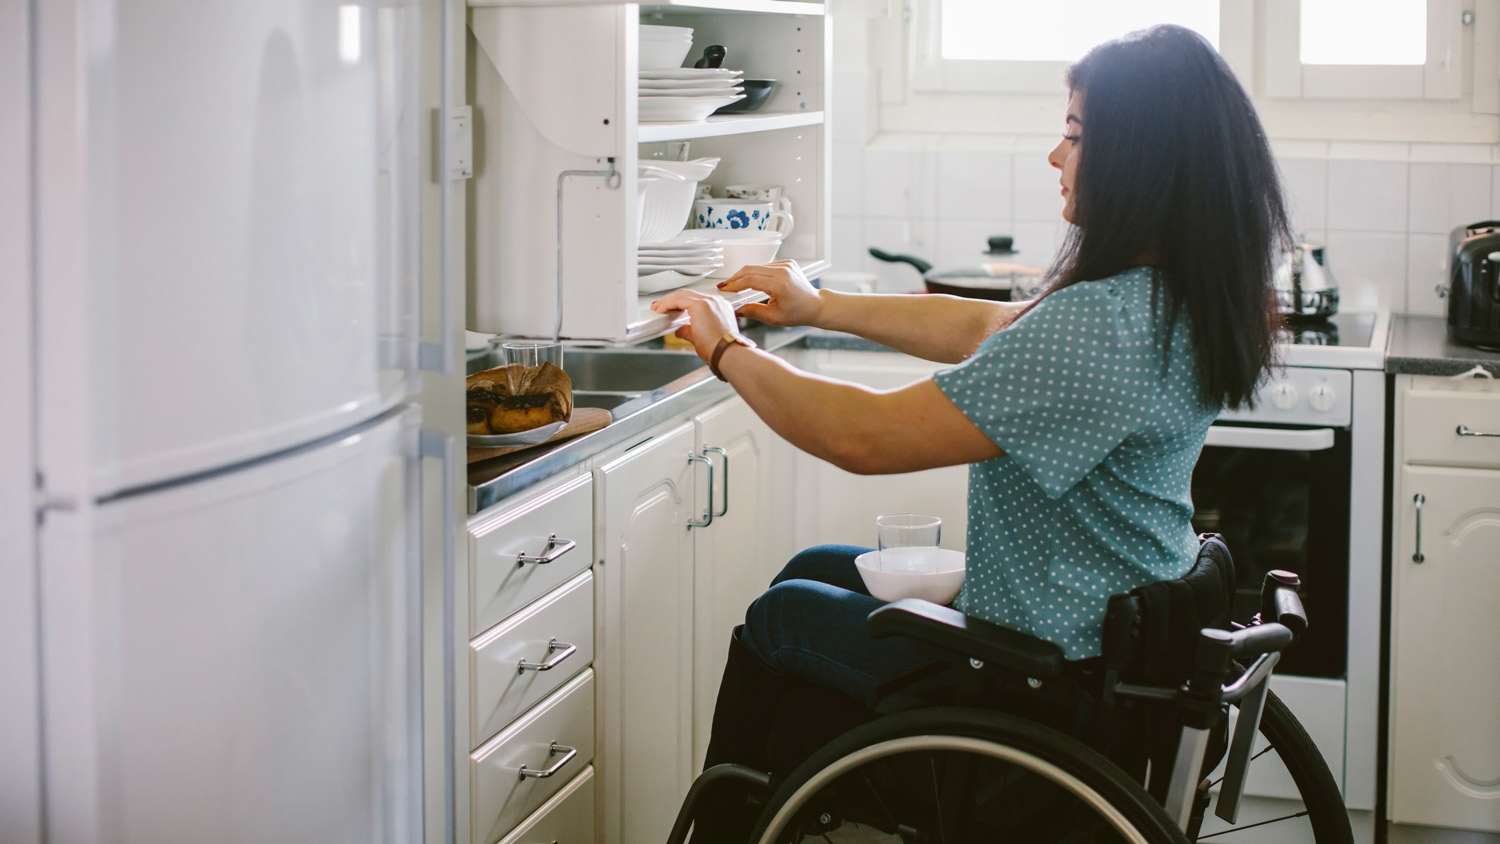
Preparing to hang kitchen cabinets means removing existing cabinets and repairing the walls if necessary. Beyond that, you should ensure the room is entirely free of clutter and that you have a large enough space to stage the new cabinetry and work safely. You should also ask one or two other people to help you install the cabinets, especially the sections that require lifting the cabinetry pieces.
After purchasing or building your kitchen cabinets, unpackage them and stage them in an area large enough to move them around and remove the doors and drawers before starting work. Place them in order of installation, or label each one's destination.
Use a stud finder to locate the studs along each wall where you'll install your cabinets. Mark each stud with a pencil or pieces of painter's tape. You'll use these marks as a guide later.
Identify the highest point of the floor using a level and shims. Mark this point's location and height on the wall as a reference. Remember to add the height of the finished flooring material if you still have the floor to install. Measure up from the reference point and mark a spot equaling the height of the tops of your base cabinets. Use a level to extend a reference line at this height on each wall where cabinets will go.
Measure 19½ inches from the base cabinet top-height reference line and make a mark. Extend the mark around the room where wall cabinets will go using a level and pencil line.
Use screws to install a one-by-four ledger board that will be a temporary support and reference for the wall cabinets. Screw the board into the wall studs at your stud reference marks. Ensure the top of the ledger board lines up with your wall cabinet height reference line and is perfectly level.
Starting in a corner or at a wall intersection, place the first wall cabinet on the ledger board and drive a single screw through the cabinet's support structure and into a wall stud behind. It may help to transfer the stud markings on the wall to the back of the cabinet first.
Check the cabinet with a level, then install a second screw in the same manner at the next stud. If only one stud is present, use a toggle bolt as the first fastener, followed by a second screw into the stud. Install two more fasteners at the bottom of the cabinet box for a total of four screws or fasteners for each cabinet.
For the second and subsequent cabinets, install them in a similar fashion. However, as you go, secure each cabinet to the one before it. To secure them to each other, place the cabinet box on the ledger board and drive the installation screws into the wall studs, but leave them a little loose.
Clamp the two cabinet frames together so their front edges line up perfectly. Add a second clamp before pre-drilling and countersinking at least two holes from one face frame to the other. Drive a screw into each hole to hold the boxes together before tightening the wall installation screws.
Continue these steps until all the wall cabinets are in place. Use a filler strip attached to the face frame of the last cabinet to fill the gap between the cabinet frame and the wall.
Starting at a corner or wall intersection, set the first cabinet in place. Use shims to adjust the height of the cabinet to match the reference line on the wall. Drive one screw through the installation board into the wall stud behind the cabinet. Double-check for level and plumb using shims to make adjustments. Then, install a second screw through the cabinet rail and into the wall to secure it.

Install the subsequent cabinets using the same method as the wall cabinets. Lightly fasten them to the wall, secure the next cabinet to the last one, and tighten them. All while checking and adjusting for level and plumb.
Install the spacer board to fill the gap between the end cabinet and the wall, if necessary, by securing it through the face frame of the last cabinet.
Install the cabinet drawers and adjust them for level, if necessary, by adjusting the rails using the fastening screw at the face frame.
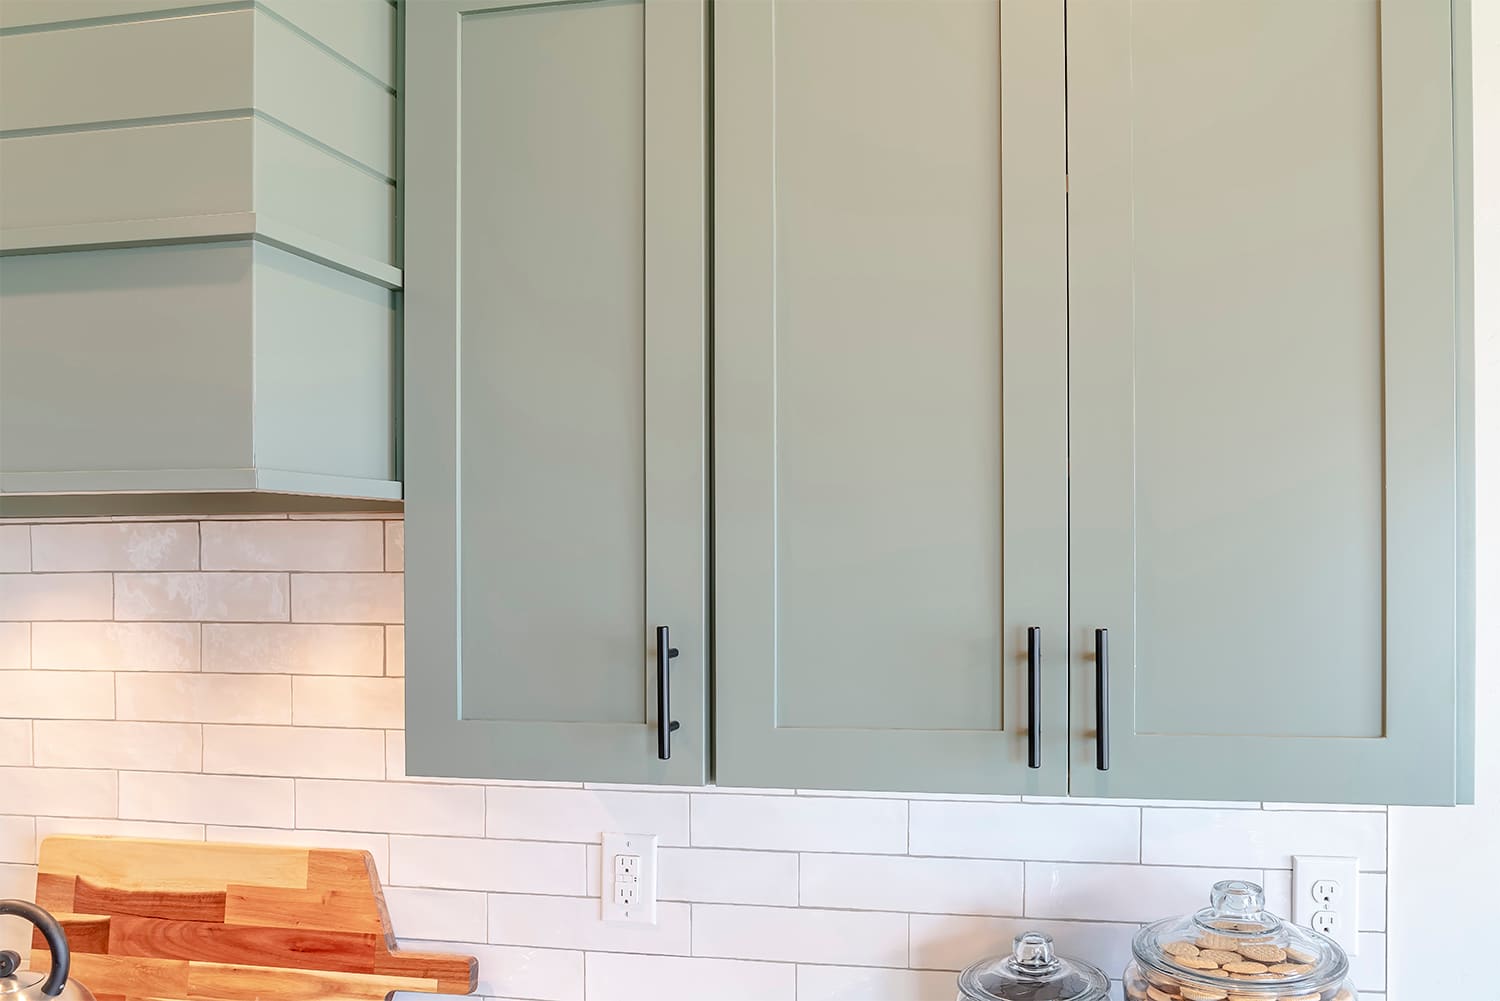
Install and adjust the doors depending on the type of hinges you have. Some have adjustment screws, while others require loosening the fastening screws and manually adjusting the door.
Besides planning ahead and taking your time to ensure accurate measuring and placement, here are a few other tips for achieving a perfect installation.
When installing each cabinet, transfer the wall stud marking to the inside of the cabinet and pre-drill each hole before setting the cabinet in place.
Drive installation screws in until they're a little loose. Perform any adjustments, then tighten the screws.
Leave clamps between face frames in place until the fastening screws between the two cabinets are firmly seated.
Countersink all screw heads for a cleaner appearance.
Constantly check and double-check for level, plumb, and overall appearance. If it feels like you're checking too much, that's probably the right amount.
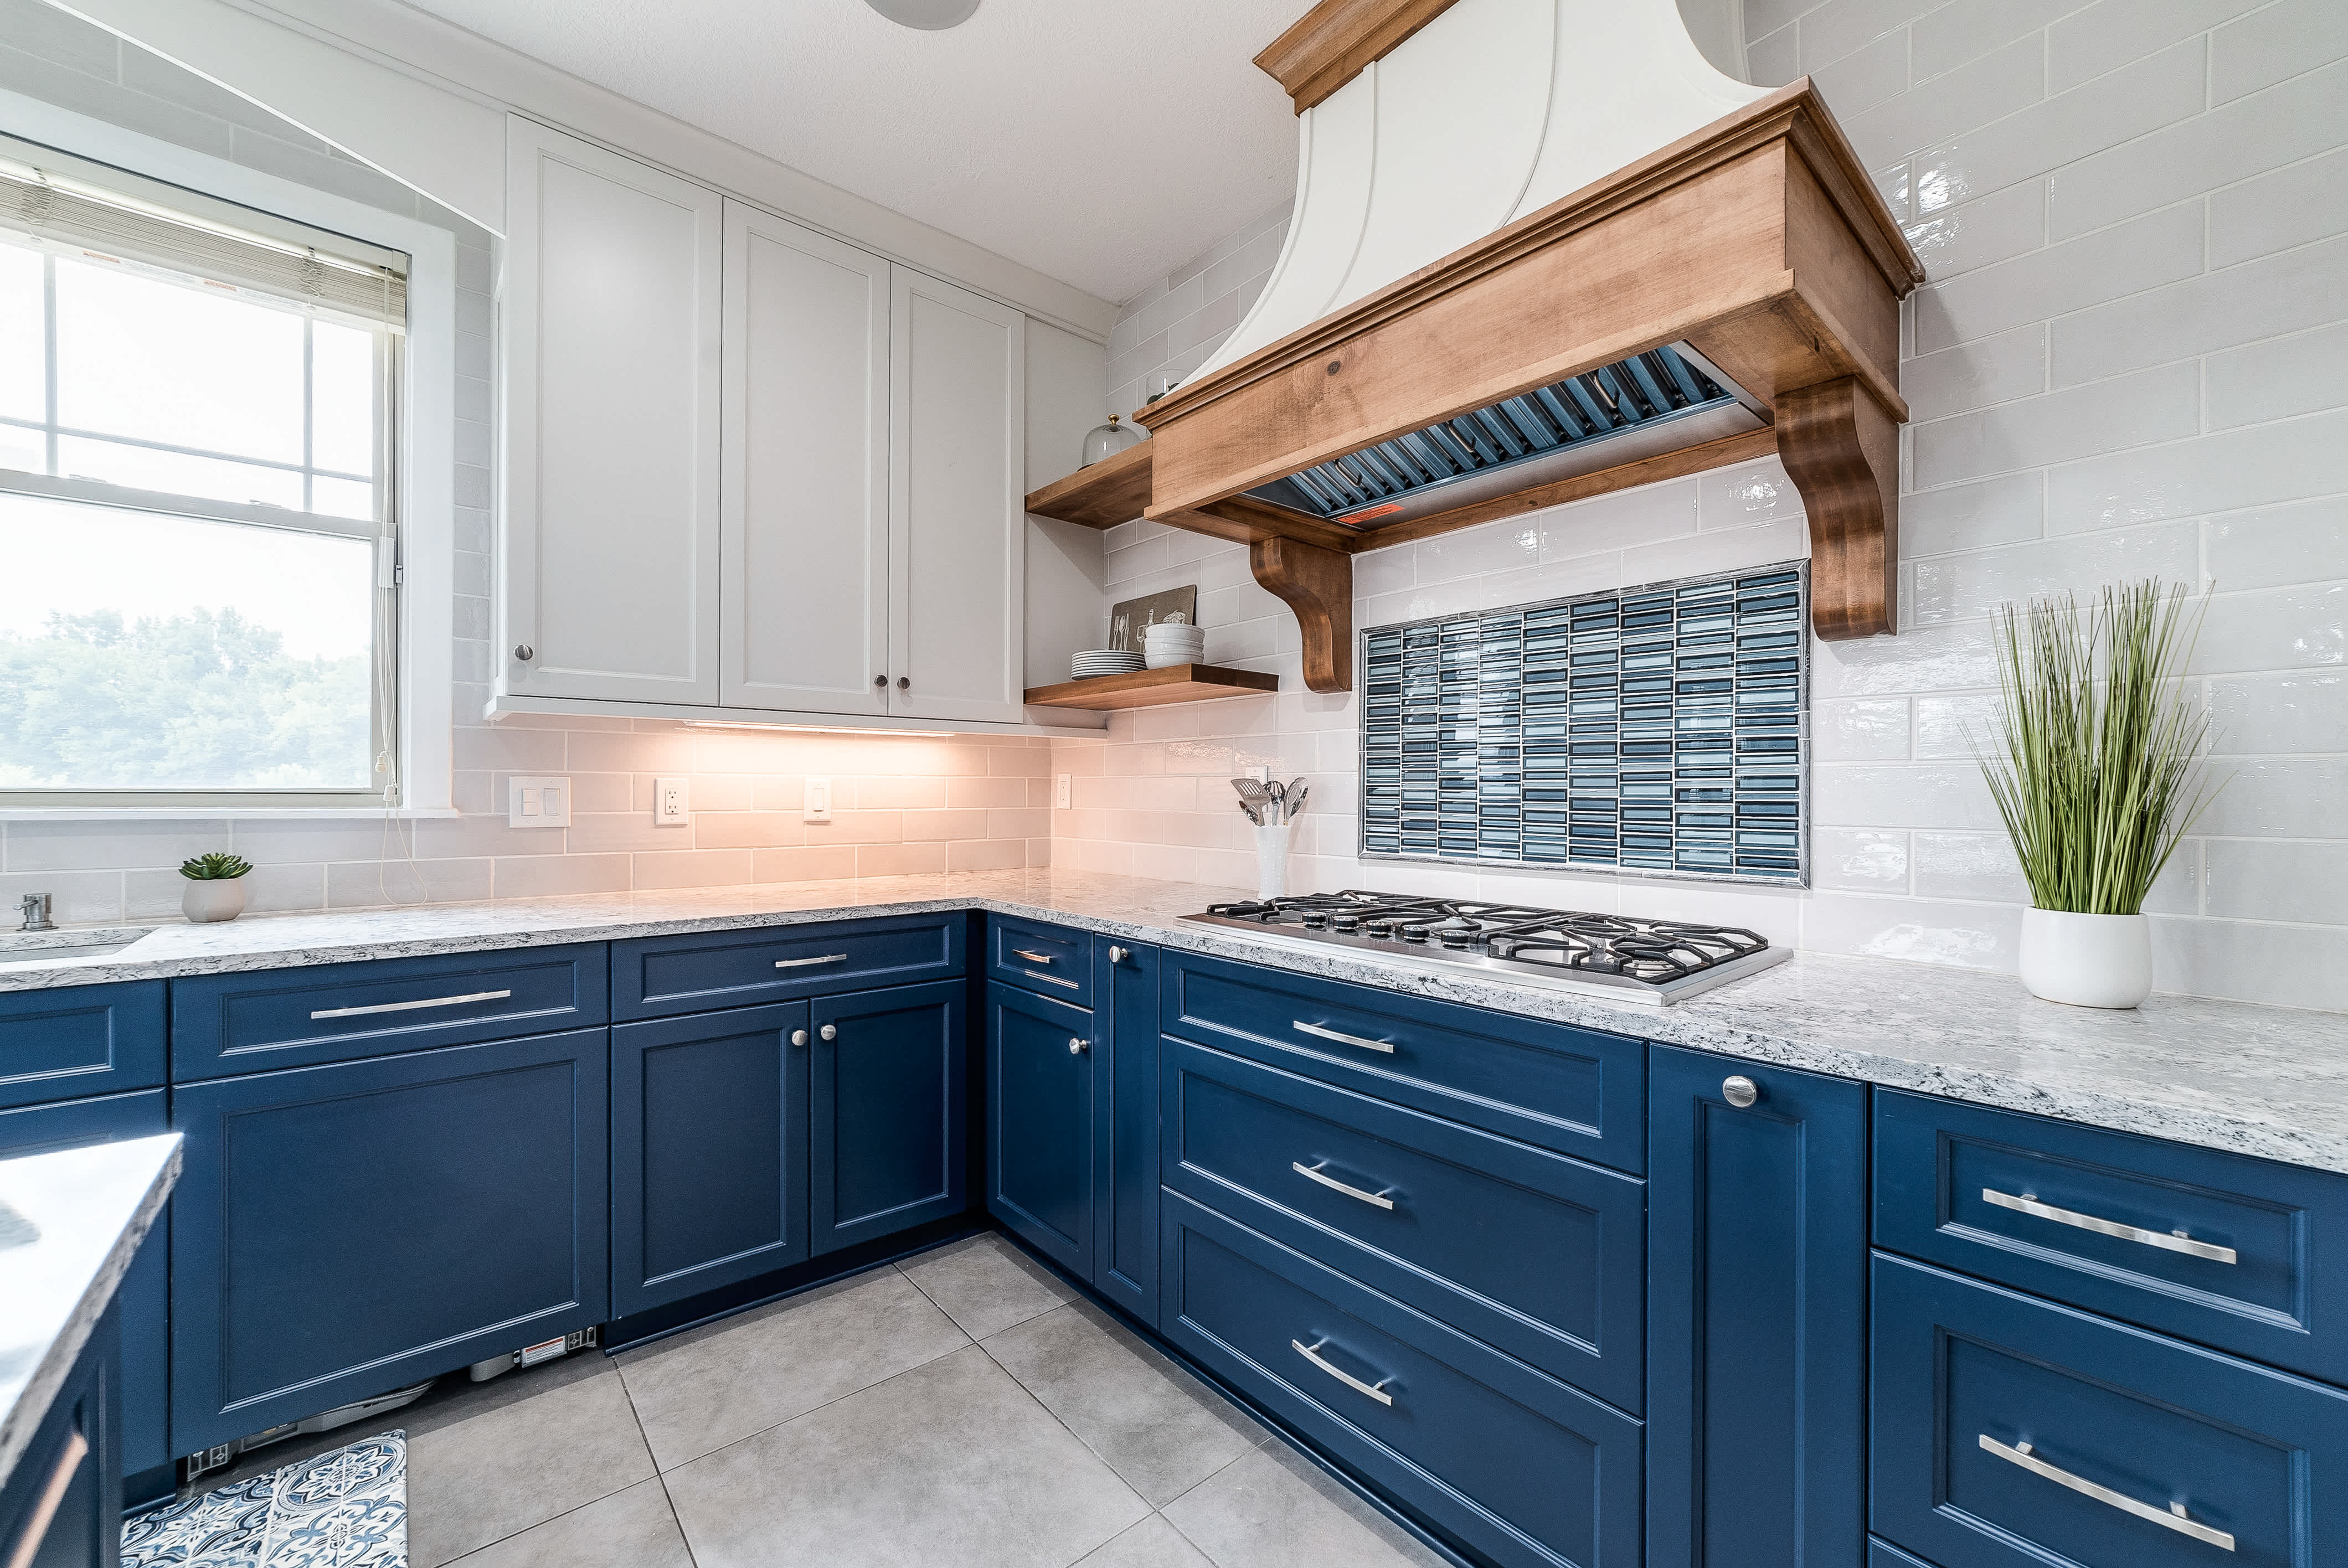
While installing kitchen cabinets is a skill that almost any DIYer can learn and develop, there is a learning curve that requires patience. You'll likely make a few small errors along the way. While it's possible to install kitchen cabinets on your own, hiring a local cabinet contractor to take care of this task and any other cabinetry work will save you a weekend of effort and promise perfect results.
Terrible experience. Walls/trim/floors/cabinets/doors all have drip marks, overspray, etc. Tiling at the fireplace had to be redone by another vendor due to incorrect and shoddy install by Profect. Contractor had his children in our house while he was on site without prior authorization or...
 Profect painting & exteriors
My kitchen cabinets look brand new thanks to Custom Paint Jobs LLC. Their refinishing is exceptional.
If I could give 10 stars for Kitchen Tune Up, I would. I cannot say enough good things about my experience with Kitchen Tune Up and the entire team involved in the process of my kitchen project. They went above and beyond as far as service and quality with my cabinets, paint, countertops, and...
We live in a condo and had space to add a tall cabinet. The problem was the space was already occupied by our catsâ litter box. We needed to still keep the litter box in that same corner. Beiler Custom Cabinets was able to work with our need and design request. What was created was an...
Absolutely amazing, Rob and his team are extremely efficient and professional. Pink Dumpster Rentals, Demolition, And Hauling is a go to for getting my property cleared up so we can pursue the upgrades we want to make on our home.
 Pink Dumpster Rentals, Demolition, And Hauling
They work that 360 did on my kitchen cabinets is nothing short of amazing. I still cannot believe the difference from before and after. Jon and Jeff were both so incredibly professional throughout the whole process and their communications with me were constant and consistent. These guys...
 360 Painting Columbus
I had a variety of projects around my house. The work was done quickly and correctly. I was kept informed of every step during the projects and they followed up with me to make sure it was all good.
Phil understood the style I wanted and suggested options for materials (unlike the standard kitchen folks who kept pushing the same cabinets everyone buys). He stepped through all the decisions about the details with me, using his computer program to show the differences between the choices....
 Baker Group Remodeling
I had a great experience with this company. They installed a small TV on the wall of my kitchen between two cabinets. Team came out and did a very thorough inspection and quote. The rep who installed the TV had to do some extra work to snake the cords behind the wall from the top cabinets...
 The Theater People
I couldn't be more pleased with the job Ryan and his team did! My old oak kitchen cabinets now look like brand new white ones. They were able to provide an estimate based on my photos that was far below other companies I checked with, and that was the final price too. They were able to come...
 Rhino Painting & Color Consulting LLC
From average costs to expert advice, get all the answers you need to get your job done.
Choosing new cabinet hardware is a fun balance of practicality and design. Costs range between under $100 and up to five figures, though, so budgeting and knowing which materials you can afford is key. This cost guide breaks it all down.
Discover cabinet installation cost estimates, including average prices, key cost factors, and tips to save on your new kitchen or bathroom cabinets.
Master the art of centering knobs and drilling holes for handles. Here’s what you need to know about how to install kitchen cabinet handles.
Installing new cabinets? Use this checklist to get your project started.
Refacing or remodeling your kitchen cabinets can give a whole new look to one of the most-used rooms in your home. Read on to learn at least 10 different ways to update or upgrade your budget kitchen cabinets without breaking the bank.

Kitchen cabinets are fundamental elements of the space. Learn the eight different types of kitchen cabinets and how they create a kitchen’s design.