
Determining how much EIFS costs per square foot is the key to predicting your bottom line when replacing or installing this long-lasting home cladding option.
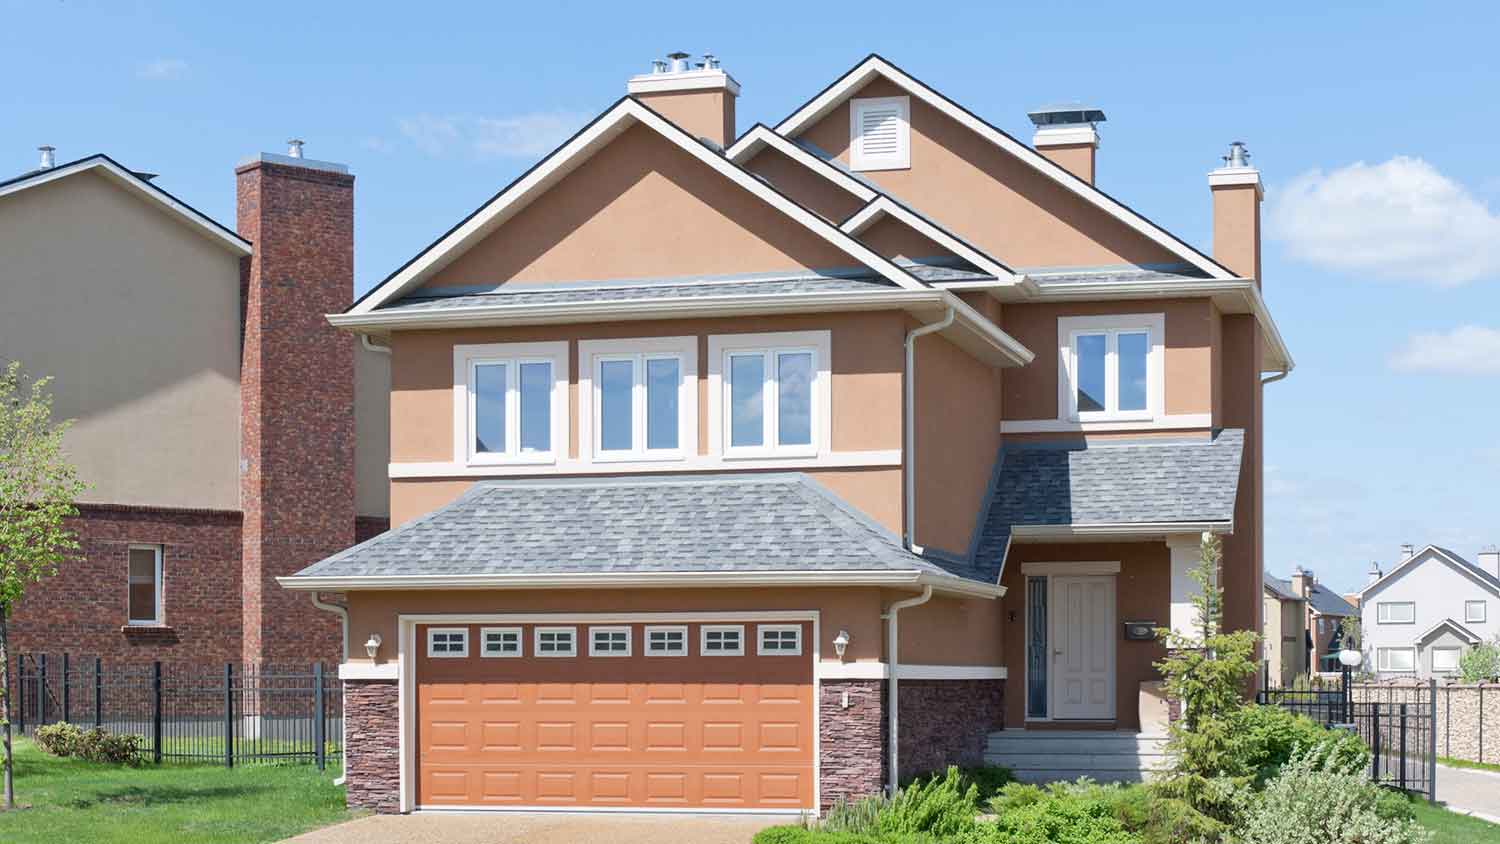
Enhance your home’s exterior with EIFS

EIFS installation involves six protective layers that work together, and proper surface preparation before you start protects your home from water damage and structural issues.
Expect to pay $8 to $14 per square foot for professional EIFS installation, with total costs ranging from $12,000 to $21,000 for a 1,500-square-foot home.
Your EIFS needs regular cleaning with a gentle brush and mild cleanser, plus prompt repairs to any cracks or damage you spot during routine inspections.
Hiring a local siding professional provides expert handling of complex multi-layer installation and ensures your EIFS meets local building codes while protecting your home from costly errors.
From protecting your home’s exterior to aesthetic appeal, EIFS has a host of benefits. Reaping those benefits depend on a quality installation job or learning how to install EIFS. While EIFS installation can be time-consuming and complex, a professional siding contractor can handle the job. Here’s how to install EIFS in five steps.

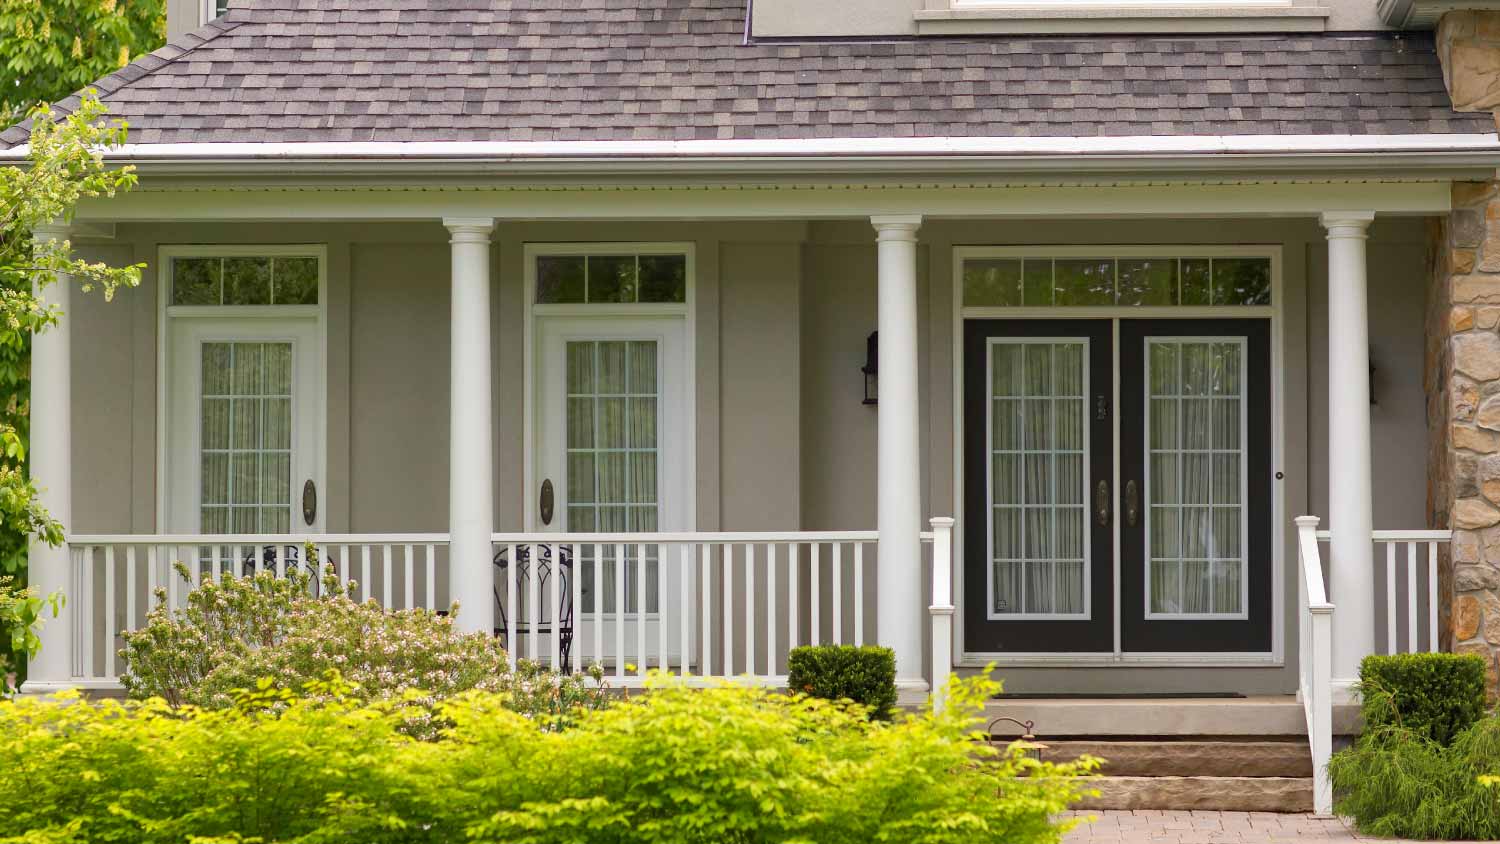
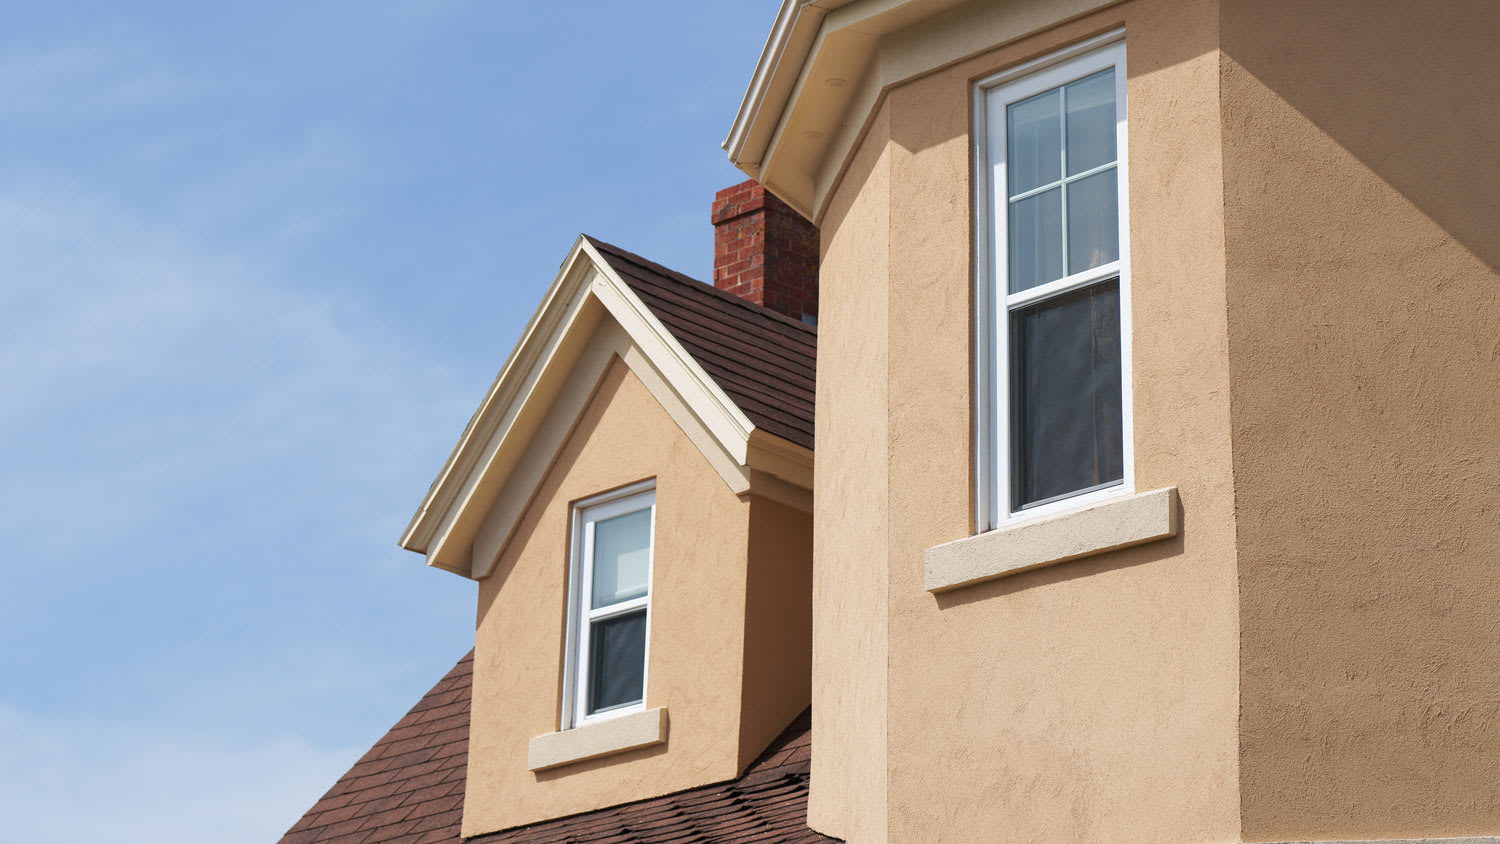
An exterior finish is the protective material that helps your home withstand the elements while also elevating its appearance. Exterior Insulation and Finish Systems, also known as EIFS, is one popular type of exterior cladding that has six layers. These several layers function together to insulate your home, boost its energy efficiency, and make it more durable.
You might also hear EIFS called “synthetic stucco” which is vastly different from traditional stucco, though similar in appearance. EIFS is lightweight, flexible, and comes in a variety of textures and striking colors—making it a great choice for homes in areas with extreme climates and homeowners after a unique look.
Compared to traditional stucco, installing EIFS can take more time, which increases installation costs. You can expect to pay between $8 and $14 per square foot for EIFS installation. For a 1,500-square-foot home, most homeowners are looking at a final price tag of anywhere from $12,000 to $21,000. While installation costs are more expensive, EIFS is extremely durable which eliminates the cost to replace siding.
For optimal results, it’s very important to prepare the exterior of your home before installing EIFS. Begin by choosing the right materials for installation based on weather, insulation, and your decorative vision. Working closely with your siding contractor can help you stay mindful of local building requirements and other factors that can affect installation.
Next, inspect the surface for any cracks, existing damage, or weathered areas. If you come across any damage, make sure to address it before moving ahead with prep. Finally, clean the surface of any debris and allow it to dry completely.
Since EIFS consists of many layers, installing this type of exterior finish properly requires a high level of knowledge and flawless execution. Unless you have extensive experience with EIFS installation, we recommend that you let a siding pro tackle the job. Follow these essential steps when installing EIFS.

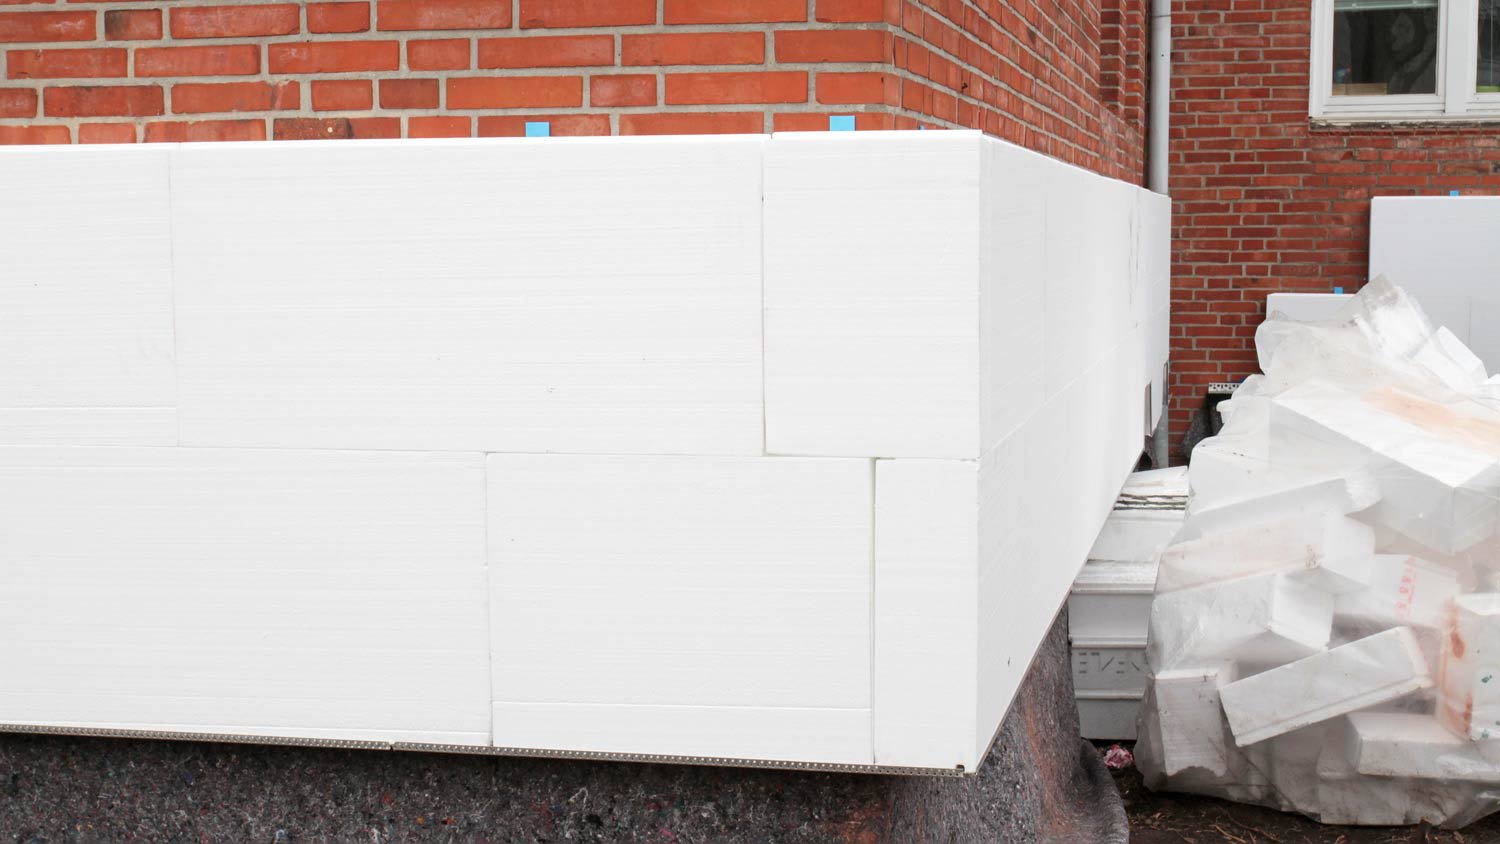
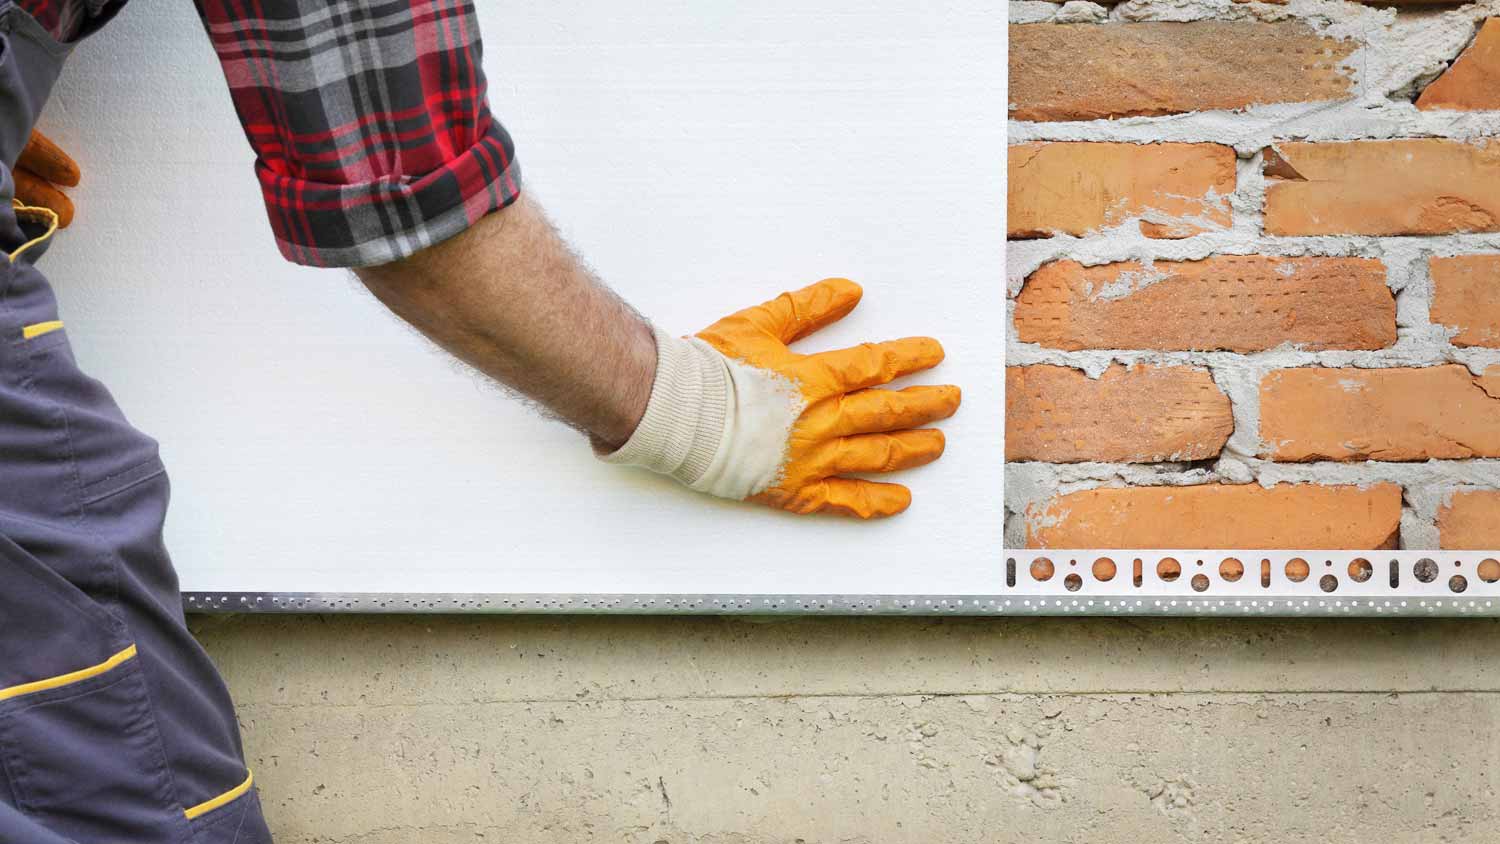
Before starting any installation, check that your surface is clean, dry, and free of any damage. Then, proceed with installing the first layer of EIFS, which are the insulation boards. These boards are made of expanded polystyrene and attached to your existing surface using an adhesive or mechanical fastening. Cut insulation boards to fit the surface. Next, apply your adhesive and place them on your home’s exterior to provide insulation.
After installing the insulation, you’ll need to apply a water-resistant base coat on top of the insulation. The base coat can either be an acrylic or polymer-based cement material. Mix the base coat according to the manufacturer’s instructions. Then, use a trowel to apply a layer over the foam boards.
While the base coat is still wet, embed glass-fiber mesh into it for reinforcement. The mesh provides extra strength and flexibility, allowing the EIFS to bond properly and have maximum durability.

The finish coat is the final layer, which is used to prevent cracks and create your desired look. Mix the finish coat according to instructions and apply it to your surface. It can be smooth or textured depending on your preference. Make sure to apply the finish coat in small sections for an even application.
Lastly, allow the EIFS to cure for the appropriate amount of time, following manufacturer’s instructions. This can be anywhere between 24 to 48 hours or more, depending on the climate and materials used. Once fully cured, carefully examine the surface and touch-up any needed areas.
While a quality installation is crucial, the work doesn’t end once the installation is complete. Regular maintenance is vital for maximizing the lifespan of your EIFS. Consider a few tips that can help keep the exterior of your home in tip-top shape.
Prevent the buildup of debris by regularly cleaning your home’s exterior. Use a gentle cleaning brush, cool water, and a mild cleanser for cleaning.
Regularly examine exterior walls for any signs of damage, including cracks, rotting, mold, and water damage.
Immediately repair any damage to avoid more serious issues down the line.
Invest in professional maintenance and repairs.
Ensure that your EIFS has efficient drainage systems.
With the know-how and proper tools, experienced DIYers may be able to lower costs significantly by installing EIFS on their own. Keep in mind, though, that EIFS installation can be extremely complex. Installation errors can lead to costly and serious issues like insulation failure, water infiltration, and structural damage.
If you aren’t highly experienced at installing EIFS, hiring a siding contractor near you is the best choice. A professional can perform a quality installation that complies with local building codes. Additionally, your pro should be insured which protects you from being liable if an accident occurs.
The guys at PaveWay are top notch. From the estimate to the job being completed,all was done in a timely and professional manner. I myself was a DOT Engineer Inspector(know what to look for) and got to talking with Cameron and he himself was a Contract inspector for a few years,same job as...
 All Star Paving and Sealing
I highly recommend KTM construction! I will look no where else for anything that needs to be done, in or out side of our property. The level of craftsmanship is 5 star service across the board! The level of detail, knowledge and professionalism is 5 star service across the board! Ken is a...
I purchased the "Big Deal": $199.00 for exterior pressure-washing of one- or two-story home up to 2,000 square feet. They cleaned the siding only. I wasn't aware when I bought the Big Deal that they would not do any other surfaces other than the siding (i.e. sides of the gutters or stucco). I...
 Complete Home Services
This brownstone is historical and the carpentry work is very detailed. I was very happy to secure a company in NY and living in OH to complete the request. Wood work on this brownstone has been existing since approximately 1888 and West side did a GREAT JOB. I will not be able to...
 Westside Home Improvement
Nice group of workers, very friendly. Day 1 covered everything before starting, seemed very organized. Things seemed to be going great. Day 2 they didn't show up until around 10:00a.m. and work crew was cut in half, was told they had another job. Day 3 they didn't show up until around...
 CertaPro Painters of Columbus
The work went great! Couldn't ask for better. Joel set a work start date. About the time of the storms that may have been associated with Sandy. He was half a day late. They set up on a Thursday. On Friday they had a full crew at work. By Monday they were finishing up. Now, the best...
 NJW Construction
A few months ago, a tree branch fell across my car, leaving a series of dents across the hood and driver's side fender. I took it to Rife's after reading the Angie's List reviews. Rife's did a great job! My car looks like new. And they made the process as easy as possible. When I came in...
 Rife's Autobody Inc
I received an email from Angie's List offering Car Detailing 4 U's services for $99. Coming from Angie's List, I expected this to be a highly dependable and qualified company that was known for doing exceptional work. I set the appointment for them to come to my home. They were arrive at...
We first had Mark fix the back patio and liked his work so much we had him make a brick patio on the side of the house. When we decided to change our concrete walkway to brick, we wanted Mark to do the job because his prices were fair and he did such good work on t he other two projects.
 Mark Monnette Masonry
I was very pleased with the cost and end result. I truly expected this job to cost me 50% more than it did. When you factor quality and cost, I would highly recommend Mark's services and plan to use him in the future. The best part was, I asked Mark to match the paint color in one section...
 Fresh Touch Custom Painting Inc.
From average costs to expert advice, get all the answers you need to get your job done.
Determining how much EIFS costs per square foot is the key to predicting your bottom line when replacing or installing this long-lasting home cladding option.
After damage from large storms or unwelcome woodpeckers, the cost of EIFS repairs can sneak up on you. Here's how to determine the price of repairing this common home siding.
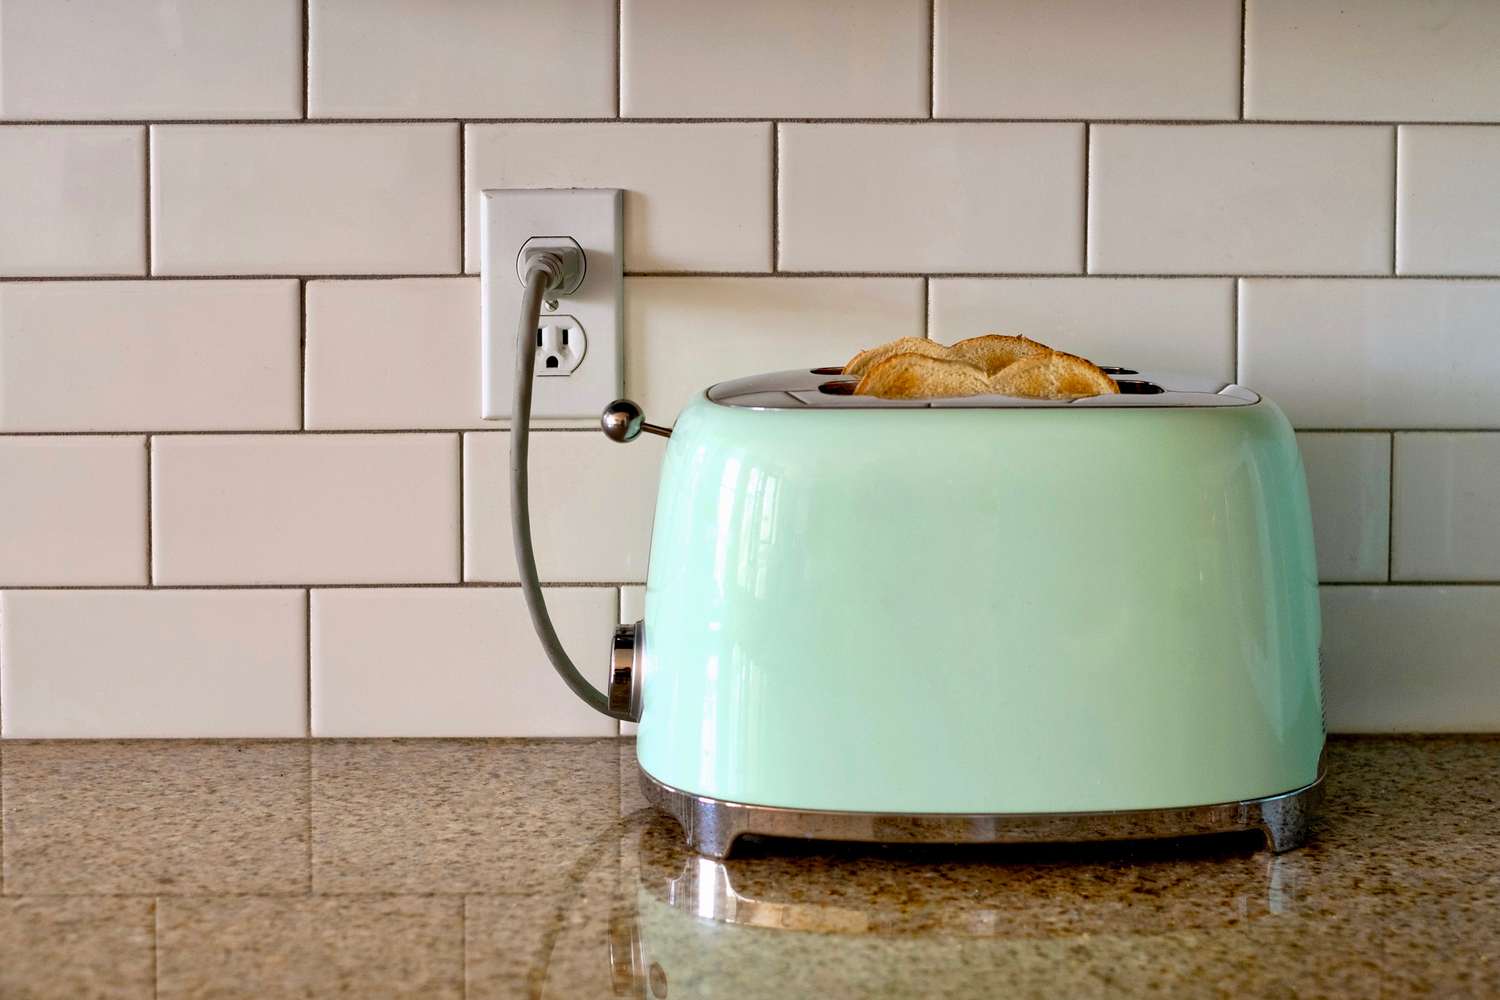
The average cost to install an electrical outlet is $133 to $296 each. This guide explains what factors impact the total cost of installing an outlet.
Tackle your EIFS repair job like a pro by following the steps in our guide, which walks you through cleaning and repairing small holes and cracks.
Exterior Insulation and Finish Systems, or EIFS, is a stucco look-a-like but is actually very different. It can be hard to clean and expensive to install, but EIFS is a durable, energy-efficient, and attractive option to spruce up any home.
EIFS stucco is a common alternative to traditional stucco, but it comes with some drawbacks. Learn about six EIFS problems and how to solve them.