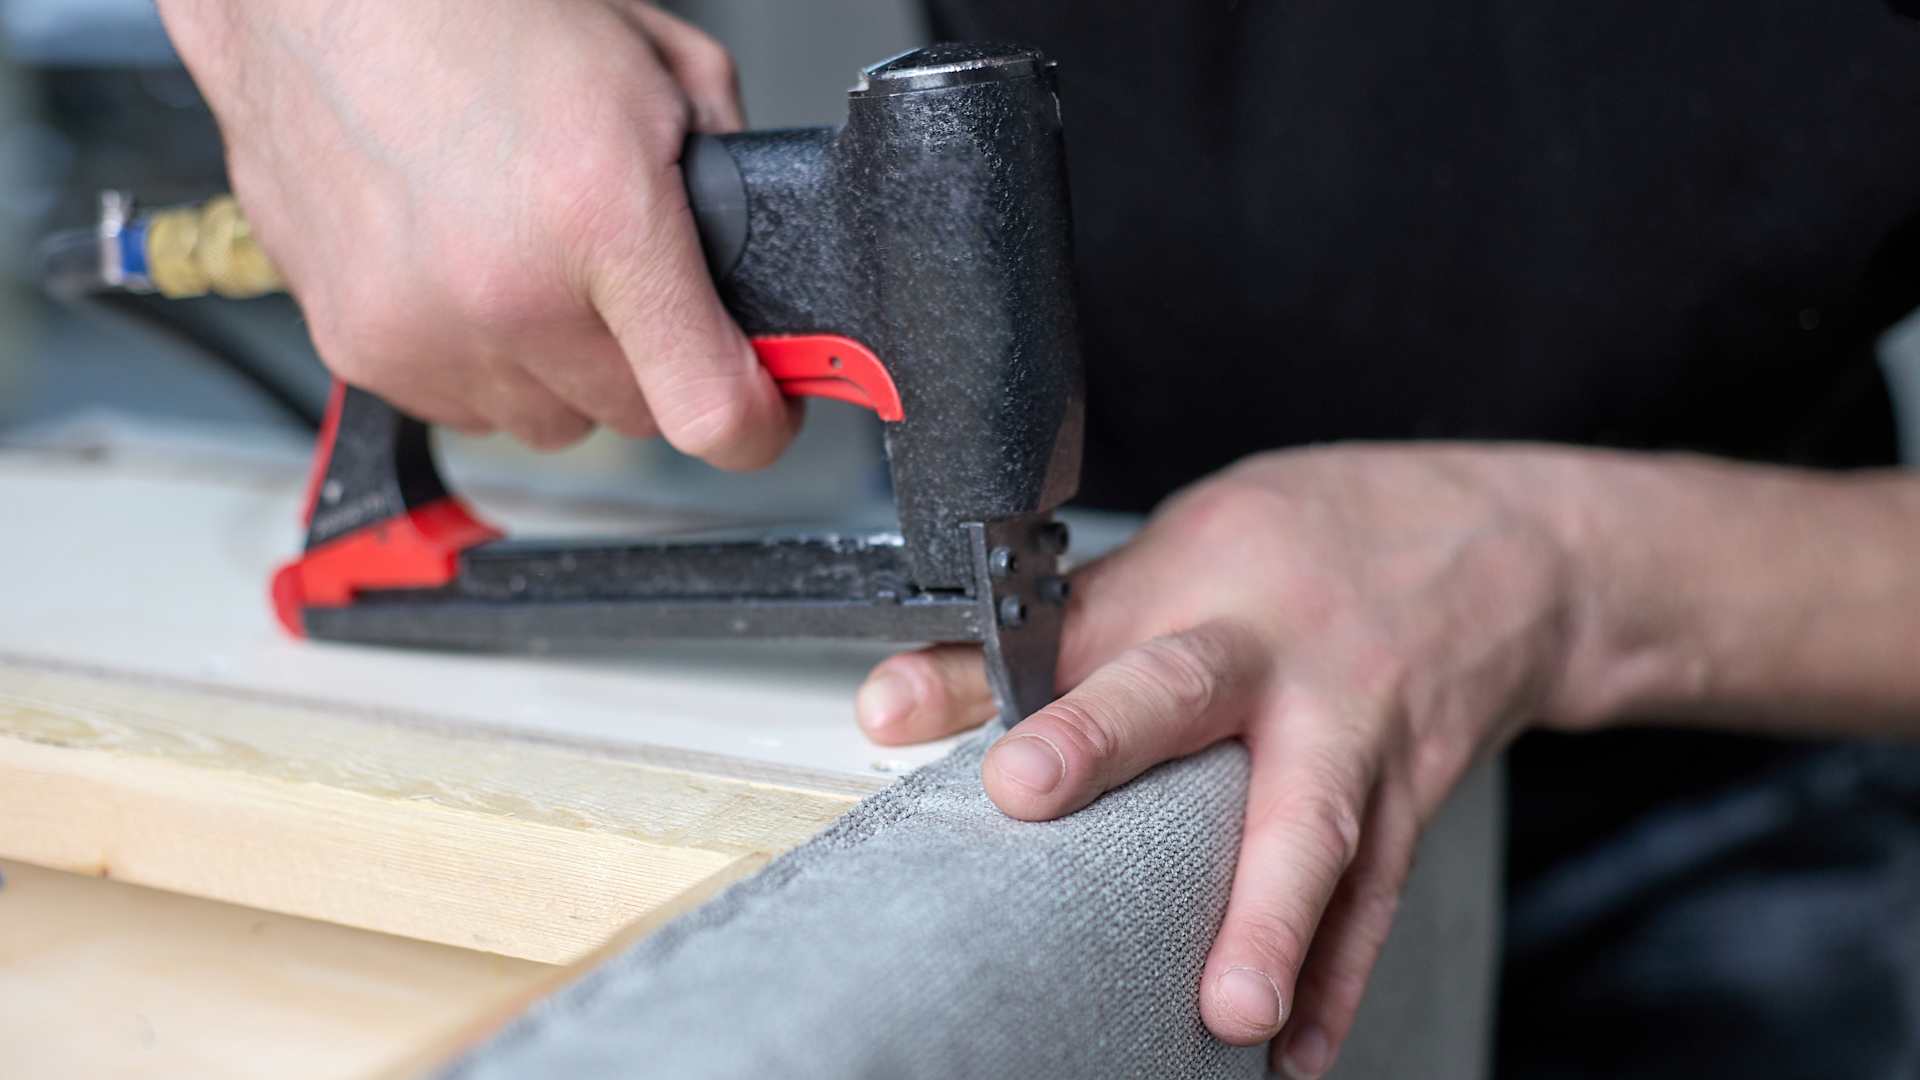
Discover the cost to reupholster a couch in 2026, including average prices, key cost factors, and tips to help you budget for your next upholstery project.
Don’t let your leather couches succumb to cat (and dog) scratch fever

Leather scratch removal starts with you checking scratch depth and your care tag, so you pick the right method for your couch.
Your DIY repair supplies include a microfiber cloth, buffing pad, sandpaper, leather oil or conditioner, and a leather restoration kit.
You can fix light scratches by buffing with leather oil or conditioner, and handle deep damage by following a restoration kit’s directions.
Hiring a local furniture repair professional identifies your leather type and chooses the proper method, so the scratch repair looks clean and even.
Note: The materials list includes items for all of the repair types, so be sure to read on and choose your method before heading to the store.
Caring for leather furniture is crucial to ensure longevity, but accidents happen. Leather, unfortunately, is susceptible to scratches from our animal housemates and from general wear and tear. Before giving up on your favorite leather sofa, try out some simple DIY fixes that should only take you an afternoon.
Each leather couch is different, so each piece will require unique procedures to clean and maintain. Before getting started, you’ll want to read the manufacturer’s instructions or tag to check out any specific care instructions.
These guides will be your best bet, but whether you can’t read an old tag or want some fairly universal methods to try, read on for some ways to fix scratches on your leather couch.
If your scratches are fairly light, try a quick buff using a leather oil or conditioner. There are different oils for differing leather types, so figure out what type you’re working with and shop around. These products cost between $10 to $30.
Once you have that on hand, follow these steps:
Dab a clean microfiber cloth in a bit of the leather oil and rub a tiny bit on the scratch or scratches.
Wait 10 minutes or so to allow the solution to sink into the leather.
Use the same microfiber cloth or a dedicated buffing pad and begin gently buffing the impacted spots, starting at the center of the damaged area.
Work slowly and gently and move in circular motions, working your way out toward the edges.
Continue buffing until the scratch disappears. Buff away any excess oil or conditioner with another clean, dry cloth.
If your leather scratches run a bit deeper, or if buffing them produces inadequate results, try a recoloring solution to hide the imperfections. You may find the exact color to match your leather couch by contacting the original manufacturer. If not, go with a similar color at the hardware store or from an online marketplace. Recoloring balms cost, on average, $30.
Start by testing the color in an inconspicuous part of the couch to ensure a proper match. If it looks weird, try a shade brighter or darker. Some balms sell as color-matching kits that include several different shades for the purpose of mixing to find the perfect match.
Once you find the right color, clean the impacted area with a simple leather cleaner. This opens up the pores, allowing the balm to do its job.
Next, apply the balm to a clean microfiber cloth, though some balms ship with dedicated applicators. If so, use that.
Gently rub the balm on the impacted area in a circular motion.
Take a clean, dry cloth and gently buff the area, removing excess balm as you go.
Repeat if necessary, but wait 24 hours to allow the initial application to dry.

Deep scratches require more than recoloring balms and buffing oils: That’s where leather restoration kits come in. These all-in-one kits include products to strengthen and reinforce the leather, a solution to raise the scratch flush with the undamaged leather, and a coloring solution for the final step.
Leather restoration kits cost anywhere from $20 to $100, with some more expensive outliers for antique pieces of furniture.
The most important thing here is just following the manufacturer’s instructions, as each kit features different solutions and application methods.
The leather strengthening solution typically requires a clean cloth for application.
The filler, which raises the scratch for easy access, demands a full day to dry and move on to the next step.
Many kits include sandpaper for buffing out the scratch once it raises flush with the rest of the couch.
As for the recoloring step, which is the final one, follow the above instructions for using a recoloring balm.
If you are not sure what kind of leather your couch is made of and the type of care and maintenance it needs, contact a local furniture repair pro for a consultation. At the very least, they’ll take a look at your couch and let you know the leather type and the proper method for removing the scratch. They can also use their years of expertise to quickly and efficiently get your couch looking as scratch-free as the day it rolled off the assembly line.
According to HomeAdvisor, furniture repair costs an average of $175.
Now that your leather couch is back to its old self, use these steps to maintain it.
Keep claw-happy animals off of the couch. Purchase them a dedicated bed near the couch so they can still have plenty of quality time with you.
Cover the leather couch with a protective barrier of some kind, usually a waterproof slipcover.
Keep the couch away from direct sunlight and heat sources like radiators and air vents. Excess heat and light dry out leather, increasing susceptibility to scratches.
Vacuum the leather couch with a soft-bristle attachment every week to eliminate abrasive dust, which is a common cause of small, annoying scratches.
Purchase a leather conditioner and apply it every six months. This keeps the leather hydrated and soft, which allows it to fight off potential scratches.
If you recently purchased your leather furniture item and you have the manufacturer’s contact information, give them a ring. Each furniture item is different, with differing recommendations regarding scratch repair.
This step is an absolute must if your item is still covered under the original manufacturer’s warranty. Even if the warranty is expired, some companies send out free or discounted repair kits to help.
I recently moved to another state and chose United Trust Van Lines after comparing several companies. Their team was punctual, professional, and extremely careful with my belongings. I was especially impressed with how they handled my home office setup and fragile items. Everything arrived on...
 United Trust Van Lines, LLC
Positive experience. As previously stated, the replacement/repair could not be completed (no fault of the plumbing tech) b/c misinformation was rec?d by property management maintenance. Thanks to the plumbing tech for your efforts. Appreciate you!
 The Waterworks
One of my old tall evergreen trees was suddenly leaning toward the busy street in front of my house. I submitted a request for an emergency tree inspection, and Alejandro, owner of Cajete Tree Service, contacted me immediately and arrived to look at it just 20 minutes later. We agreed the...
 Cajete Tree Service LLC
Carpet repair done well. Scheduling was easy. Showed up on time.
 BR Flooring Installation
I am highly satisfied with the window replacement service I received; the professionals from Savvy Exteriors were punctual and did an amazing job that exceeded my expectations.
 Savvy Exteriors
I would recommend this company to anyone! He showed up on time, was friendly, completed a very difficult repair on our dryer vent cover, was responsive, and pricing was extremely fair and competitive. I would have him back to do any of our repairs or cleanings without hesitation!
 U.S.A. Dryer Vent, LLC
Everything from initial contact to completion was absolutely top notch. We contacted the business during off hours to leave a message, and the owner still reached out to feel out the issue within minutes. We were scheduled and repaired within 48 hours. I cannot say enough about the...
 Supreme brick & chimney
Flawless finish and exceptional service. Custom Paint Jobs LLC is the only choice for me.
 Custom Paint Jobs, LLC
On time, clean and finished fast. Windows seem sturdy and the finish is good. Caulking was done with no smudges. Would recommend.
 Window Depot USA of Central Ohio
Great job...edging and pre clean up went well with a great job with seal coat. Friendly, efficient and professional.
 All Star Paving and Sealing
From average costs to expert advice, get all the answers you need to get your job done.
Discover the cost to reupholster a couch in 2026, including average prices, key cost factors, and tips to help you budget for your next upholstery project.

We’ve got you covered on the best ways to maintain and protect your leather furniture and how to tell if your leather furniture is protected or unprotected.

Is your leather couch starting to peel like it’s got a sunburn? Here are several tips you can use to fix a leather sofa that’s peeling or cracking.

Patching a tear in your leather couch yourself will save you money compared to a full replacement. Learn how to fix a ripped leather couch in five simple steps.

Wear and tear can damage even high-end leather furniture. Leather sofas can often be greatly improved with a little conditioner and some TLC. This guide breaks down what you need to know in order to bring your leather couch back to its former glory.

Knowing how to condition your leather couch properly can keep it looking new. Learn useful tips on conditioning leather upholstery to get the best results.