
Need to repoint brick in your home to make your home look fresh and new? Use this guide to repointing brick cost to price out your project before starting.
Sometimes you need to get stuck between a rock and a hard place

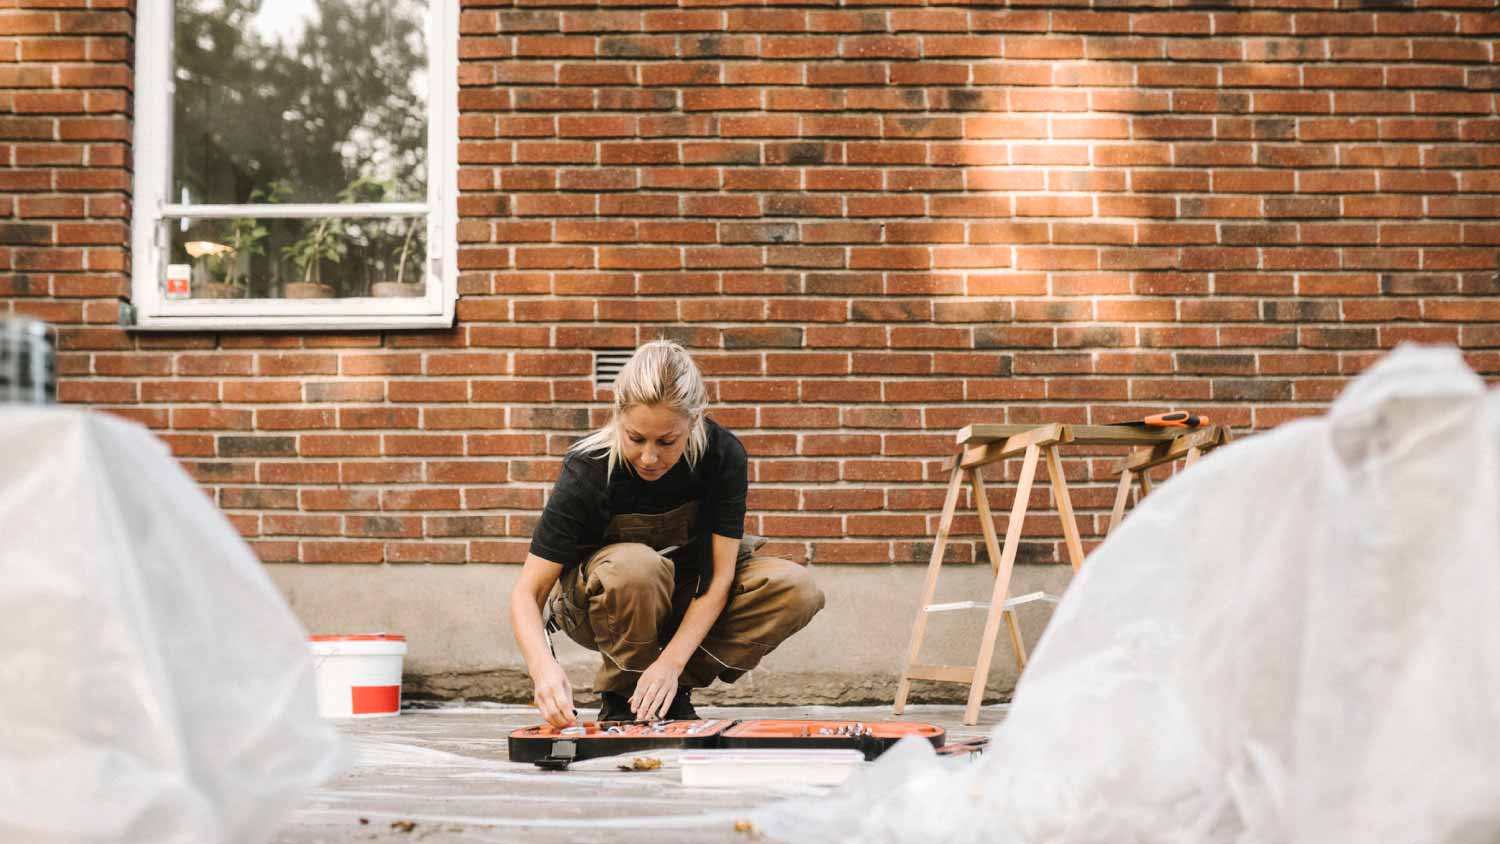
Brick homes can pull off just about any look—classic, cozy, modern, you name it—but their charm only holds up if the mortar does, too. Even the toughest bricks won’t stand a chance if the stuff between them starts falling apart. Once the mortar cracks or crumbles, it’s only a matter of time before the bricks follow. Fortunately, fixing it is way easier (and cheaper) than most homeowners think.

You need to match your mortar to the original, or you’ll risk damaging the brick you’re trying to save. Start by checking the color and texture of the existing joints (the space between the bricks). Look in shaded or protected spots where the mortar hasn’t weathered as much. Next, consider the strength of the brick and mortar separately. Older brick usually calls for a softer mortar, so using one that’s too hard can actually crack the bricks over time.
For most brick repointing jobs, Type N mortar is the standard—at least on homes built in the last one hundred years. It offers strength and just enough flexibility for aging bricks. Type S is another common option; however, it’s usually only recommended if you need extra durability, like for foundations or retaining walls. And if your DIY project calls for that type of work, it’s best left to a professional.
If you’re not 100% sure, check with a local mason. Getting the mortar right is half the battle for a long-lasting repointing job.
Focus on the areas where the mortar is cracked or crumbling. Using a masonry chisel and hammer, chip away at the joints with short, controlled taps. Angle the chisel inward to avoid nicking the brick face. Clear out around ¾ to 1 inch deep for the new mortar to grip, although the general rule of thumb is 2 to 2 ½ times the width of the joint. Always wear safety glasses, work gloves, and a dust mask—you’ll thank yourself once the dust starts flying.
Now that the mortar’s out, clean the joints. Grab a wire brush and go joint by joint, scrubbing with firm pressure to knock out any remaining grit or stubborn mortar bits. Focus on the edges and corners—spots that love to hang onto debris. For softer brick or light touch-ups, switch to a stiff-bristled brush to avoid scuffing the face. You don’t want to rush this part. Any leftover dirt and debris will weaken your bond.
Dry brick ruins good mortar fast. Before mixing anything, check the wall. If it’s been baking in the sun, it’s probably too dry to work with. Fill a spray bottle with clean water and mist the brick faces and joints until they’re evenly damp, not dripping. For larger jobs, use a garden hose with a fine mist nozzle to cover more area quickly.
Follow the product directions on your mortar mix. Ideally, you’ll start by pouring your dry mortar mix into a clean bucket. Slowly add water while mixing with a trowel. Stir until the texture is thick, smooth, and holds its shape—too soupy and it won’t stick, too dry and it’ll crumble. Experts often liken the perfect consistency to peanut butter.
Only mix what you’ll use in the next hour. Once you get the right consistency, let it rest for 10 to 15 minutes. A little water will rise to the top. Stir it back in, and the mortar is ready to apply.

Scoop up a workable amount of mortar using your trowel, then press it into the vertical joints using a tuckpointing trowel. Start at the back of the joint and pack it forward. Apply steady pressure to fill the gaps. For deeper joints, make multiple passes to fill them completely.
Move on to the horizontal joints once the verticals in that section are done. Use the same technique—firm, consistent pressure and layering (if needed) for wider joints. Avoid overpacking since too much at once will make the mortar slump out before it sets.
Work in small, manageable sections to stay ahead of the mortar drying. Finish a few vertical sections, then their connected horizontals, before moving on. Keep a bucket of clean water and a damp sponge or cloth nearby to wipe away any mortar that gets onto the brick face. Dry mortar stains fast and is a pain to remove, so remember to clean your brick as you go.
Let the mortar firm up (for around 30 minutes) until it’s “thumbprint hard”—press your thumb into it, and it should leave a shallow mark without sinking in. Grab your jointing tool (also called a jointer) and match the new mortar to the style of the original joints, for example, concave, V-joint, or weathered. Run the tool along each joint with even pressure to compress the mortar into your desired style and seal it tightly. After tooling, use a stiff brush to sweep away any leftover mortar.
Slow down the drying to give the mortar time to cure properly. Mist the joints twice a day—more often in dry or hot weather—for the next two to three days. For extra protection, drape plastic sheeting loosely over the area to slow evaporation and protect the mortar from the elements.
Mortar repair looks simple enough, but a few wrong moves will leave you with crumbling joints, stained bricks, or a patch job that clearly doesn’t match. If you want to save yourself a lot of backtracking, clean-up, or extensive brick repairs, here are common mistakes you should avoid:
Don’t re-wet drying mortar mix: Never add water once the mortar starts drying and stiffening. Scrap it and mix a fresh batch instead.
Don’t skip color matching: Compare your mix with the existing joints and adjust the pigments or mortar blends if needed. Reach out to a professional for a close color match.
Don’t use sealant as a replacement: Sealant won’t solve structural problems. Repointing with fresh mortar is the only lasting fix.
Don’t leave surfaces unprotected: Cover nearby surfaces with plastic sheeting or drop cloths to avoid unwanted stains.
Don’t use the wrong mortar: Check that you’re using the correct mortar type to match the brick and environment.
For anything involving structural concerns, historic brickwork, or unclear mortar types, call in your local professional mason. They have the tools, experience, and training to handle complex brickwork without risking your wall’s stability or appearance.
Plan your mortar work for spring or fall, when the weather gives you your best chance at a strong curing process. Stick to temperatures between 50°F and 80°F—if it's too cold, the mortar won’t set right, and if it's too hot, it’ll dry out before bonding properly. Avoid rainy days and high humidity. Wet weather can wash out fresh joints or mess with curing. During warmer months, work early or in the shade, and keep your materials damp. If you monitor the forecast, prep your materials, and time it right, you won’t have to worry about repointing your brick for 30 to 50 years.
A DIY brick repair can save money, especially on small to medium fixes. One 80-lb bag of mortar costs less than $20 and often covers enough for medium-sized projects. Instead of money, your real investment is time—removing old mortar, prepping joints, and curing add up. A smaller section might eat up your Saturday, while larger jobs can drag across the weekend.
If you hire an expert, the cost to repair brick averages $20 to $40 per square foot. For a 50-square-foot wall, that's around $1,000 to $2,000. Again, it's always worth hiring a professional for structural work on foundations or retaining walls—mistakes in these areas can compromise your home’s stability. For cosmetic touch-ups or small non-load-bearing walls, DIY is a solid option if you’re patient, detail-oriented, and looking to save on the cost of labor.
1 tree was cut down and 5 others including a large willow tree were trimmed. The Grant Tree Service men were professional and cleaned up afterwards. The cost of the 6 trees were affordable. I am very happy with the results. I would hire them again.
Joseph did a great job with the staircase and trim. Timely and efficient, clear communication about the work, very fair pricing. For the stairs in particular, done very skillfully in an old house (1893) in a tight spiral, and very creative with how to do the handrail. Did a nice job with...
Finished Basements Plus was wonderful from beginning to end! First, they came out quickly for an estimate. I had 4 estimates and theirs was by far the best. (2 of the estimates were more than $20K higher than for the exact same work). Beyond their fair pricing, the work was excellent. They...
 Finished Basements Plus Inc.
I'm a repeat customer of All Star Paving & Sealing and I appreciate the service that all start paving has done for me in the past. I just recently had them out for an estimate and things couldn't have gone better. The staff that they send out to do the estimates are very knowledgeable. The...
 All Star Paving and Sealing
Ace Fireplace Services came to the rescue for my chimney repair. They were quick to pinpoint the issue and worked their magic to fix it. My chimney is now in excellent shape, and I'm a satisfied customer.
 Ace Fireplace Services
Supreme Brick & Chimney did an excellent job restoring the brick and mortar joints on my home. Their team was professional, knowledgeable, and completed the work on time. I highly recommend them and will hire them again in the future! Thanks!
 Supreme brick & chimney
Custom Paint Jobs LLCs custom murals brought life to our childrens rooms. They love it!
Window Depot did an amazing job on my deck. I wasnt sure what I wanted to do, but their composite decking was affordable and will last a long time. I am excited to have family over, and I am no longer embarrassed by my backyard. Jeff and the ground crew were polite, respectful, and caring for...
Storms Mobile Welding was great to work with. They were prompt, professional and did an overall excellent job on the project. I highly recommend.
Beginning with the estimate, Larry and Peyton were super helpful in getting my new condo's interior re-painted. Not only was the job well done, but also done in a super timely manner as promised.
 Five Star Painting of Plain City and Powell
From average costs to expert advice, get all the answers you need to get your job done.
Need to repoint brick in your home to make your home look fresh and new? Use this guide to repointing brick cost to price out your project before starting.

This guide features information on the costs to repair a brick wall, whether or not you need a brick mason to complete spalling, tuckpointing, or a full restoration.

Discover the true brick walkway cost for your home. Discover installation prices, key cost factors, and expert tips to save on your brick walkway project.
When you notice small cracks or damaged sections of a brick wall, they need your attention. Use this guide to handle minor brick wall repairs.
Learn how to clean mortar off bricks if you've noticed sloppy mortar stains that are outside the lines of your brickwork.
You can hire a professional to fix a decaying brick wall, or you can save money and do it yourself by learning how to tuckpoint brick using the steps below.