•
Discover cabinet installation cost estimates, including average prices, key cost factors, and tips to save on your new kitchen or bathroom cabinets.
Get back to basics with this easy, DIY woodworking project

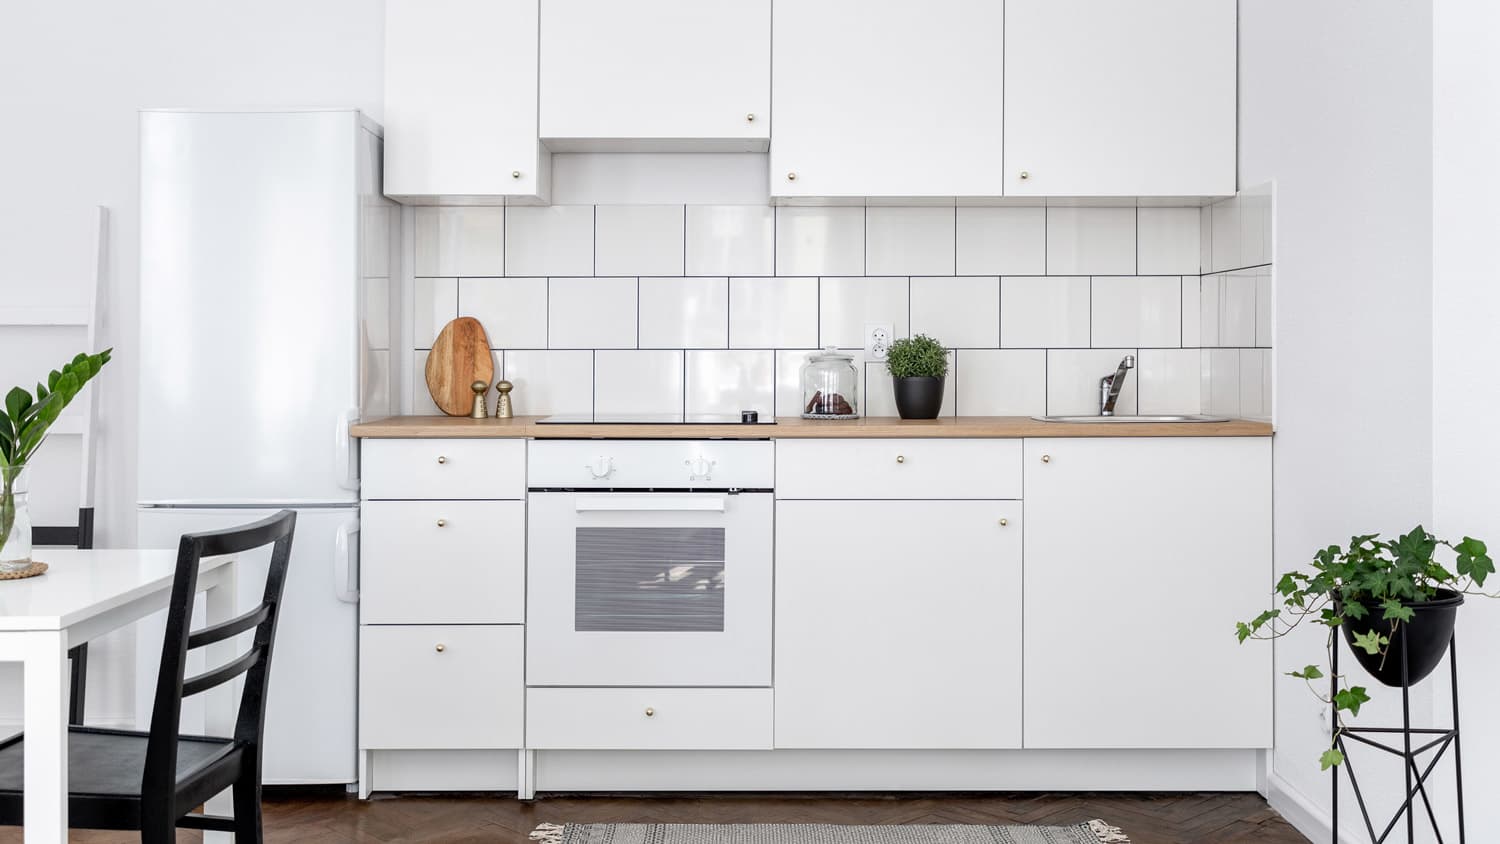
If your home is short on storage, consider learning how to build a cabinet base from scratch. With the help of a template and a little guidance, this is a DIY project that even novice woodworkers can finish in a weekend (or less).
This guide will walk you through the various steps of building a cabinet base that will stand the test of time in any space. From the tools and materials to the cuts you’ll need to make, here’s everything you need to know to DIY a cabinet base—perfect for when you need more kitchen cabinet storage or enough space in your bathroom for two.
There are a few important factors to consider before building a cabinet base. Keep reading to find out exactly what you need to plan out in advance.
You can use just about any material to build a cabinet base, but there are a few things to keep in mind as you search for wood materials.
Density: Accommodate thicker wood with longer screws and thinner wood with shorter screws.
Measurements: Wood thickness factors into your overall measurements. For example, you’ll need a shorter amount of thicker wood to fit neatly into the dimensions of your space, and vice versa for thinner wood.
Precise cuts: Wood panels need to be precisely cut to function properly for a cabinet base. Some professional woodworkers recommend cutting as you go to ensure that everything fits properly, but this may be difficult to do without the necessary tools like an electric or miter saw. Ask a hardware or home improvement store professional to use their machinery to ensure your lines are cleanly cut.
Proper measurements are essential to the success of a DIY cabinet upgrade. The standard sizes for base cabinets are 34 ½-inches high for a 36-inch high cabinet with a 1½-inch countertop. The standard cabinet depth is 24 inches, and the length is entirely up to you.
In general, you should factor in some room for error by making your cabinet measurements roughly ½ inch narrower than they actually are. This measurement will ensure that they aren’t bumping up too closely against any walls or nearby cabinet doors.
In addition to cutting plywood panels to the correct length, height, and depth, you need to make several other cuts to specific parts. Toe kicks are a recessed part of a cabinet frame that allows space for your toes when you’re cooking or brushing your teeth. Get this effect by using a table saw to cut toe kicks out of the bottom part of the side panels.
Calculate your measurements and use a pencil to sketch them onto plywood planks before making any cuts—these can be as high or low as you like—and remember to factor it into your overall height measurements when building a cabinet. For example, a taller toe kick will require baseboards to be higher up.
Now that you’ve made all your cuts, it’s time to start assembling the cabinet face frame.
Start by drilling one to two pocket holes into the ends of each piece of plywood with a pocket hole jig and drill.
Then, attach each piece with wood glue and allow it to dry.
Attach each piece with pocket drills and repeat until the entire frame is complete.
Building a cabinet base is not unlike building a face frame.
Drill roughly three to four pocket holes into the ends of each panel of plywood.
Attach the panels with wood glue and secure them with pocket drills when they’re stable.
Once all the separate pieces are ready, you can start assembling.
Drill additional pocket holes into the outer ends of the side panels.
Attach panels to the base with wood glue and let it set before securing with pocket drills.
Then, add a minimum of four bay supports to each cabinet structure.
Drill the ends with pocket holes and attach them to the base with pocket screws.
When the supports are secure, connect the face frame with pocket holes, and your cabinet base is complete.

Once you’ve built the carcass, the possibilities for additions are endless. You can add shelves and decor or create the perfect covert storage with stylish drawers or pull-out shelves. Installing sliding units like drawers will require additional materials and cuts, like hinges, sliding mechanisms, and inlets in the wood for all the machinery to fit into, so keep that in mind as you decide what’s right for you.
Building a few cabinets on your own is a relatively easy DIY project. Plus, you only need to pay for materials and tools (plus occasional help from the hardware store) when you do it yourself.
However, in certain circumstances when you’re remodeling a whole kitchen or have a unique floorplan, you may want to request assistance from a professional cabinet maker in your area. Hiring a pro to build custom cabinets range in price from $2,400 to $9,000. If you only need to build and install a new cabinet base, your cabinet making pro will likely charge an hourly rate for their time or a flat project fee.
Terrible experience. Walls/trim/floors/cabinets/doors all have drip marks, overspray, etc. Tiling at the fireplace had to be redone by another vendor due to incorrect and shoddy install by Profect. Contractor had his children in our house while he was on site without prior authorization or...
 Profect painting & exteriors
My kitchen cabinets look brand new thanks to Custom Paint Jobs LLC. Their refinishing is exceptional.
If I could give 10 stars for Kitchen Tune Up, I would. I cannot say enough good things about my experience with Kitchen Tune Up and the entire team involved in the process of my kitchen project. They went above and beyond as far as service and quality with my cabinets, paint, countertops, and...
We live in a condo and had space to add a tall cabinet. The problem was the space was already occupied by our catsâ litter box. We needed to still keep the litter box in that same corner. Beiler Custom Cabinets was able to work with our need and design request. What was created was an...
Absolutely amazing, Rob and his team are extremely efficient and professional. Pink Dumpster Rentals, Demolition, And Hauling is a go to for getting my property cleared up so we can pursue the upgrades we want to make on our home.
 Pink Dumpster Rentals, Demolition, And Hauling
They work that 360 did on my kitchen cabinets is nothing short of amazing. I still cannot believe the difference from before and after. Jon and Jeff were both so incredibly professional throughout the whole process and their communications with me were constant and consistent. These guys...
 360 Painting Columbus
I had a variety of projects around my house. The work was done quickly and correctly. I was kept informed of every step during the projects and they followed up with me to make sure it was all good.
Phil understood the style I wanted and suggested options for materials (unlike the standard kitchen folks who kept pushing the same cabinets everyone buys). He stepped through all the decisions about the details with me, using his computer program to show the differences between the choices....
 Baker Group Remodeling
I had a great experience with this company. They installed a small TV on the wall of my kitchen between two cabinets. Team came out and did a very thorough inspection and quote. The rep who installed the TV had to do some extra work to snake the cords behind the wall from the top cabinets...
 The Theater People
I couldn't be more pleased with the job Ryan and his team did! My old oak kitchen cabinets now look like brand new white ones. They were able to provide an estimate based on my photos that was far below other companies I checked with, and that was the final price too. They were able to come...
 Rhino Painting & Color Consulting LLC
From average costs to expert advice, get all the answers you need to get your job done.
Discover cabinet installation cost estimates, including average prices, key cost factors, and tips to save on your new kitchen or bathroom cabinets.

Choosing new cabinet hardware is a fun balance of practicality and design. Costs range between under $100 and up to five figures, though, so budgeting and knowing which materials you can afford is key. This cost guide breaks it all down.
Discover how to build cabinets for your kitchen, bathroom, or anywhere to save money on your next remodel or just to show off your skills.
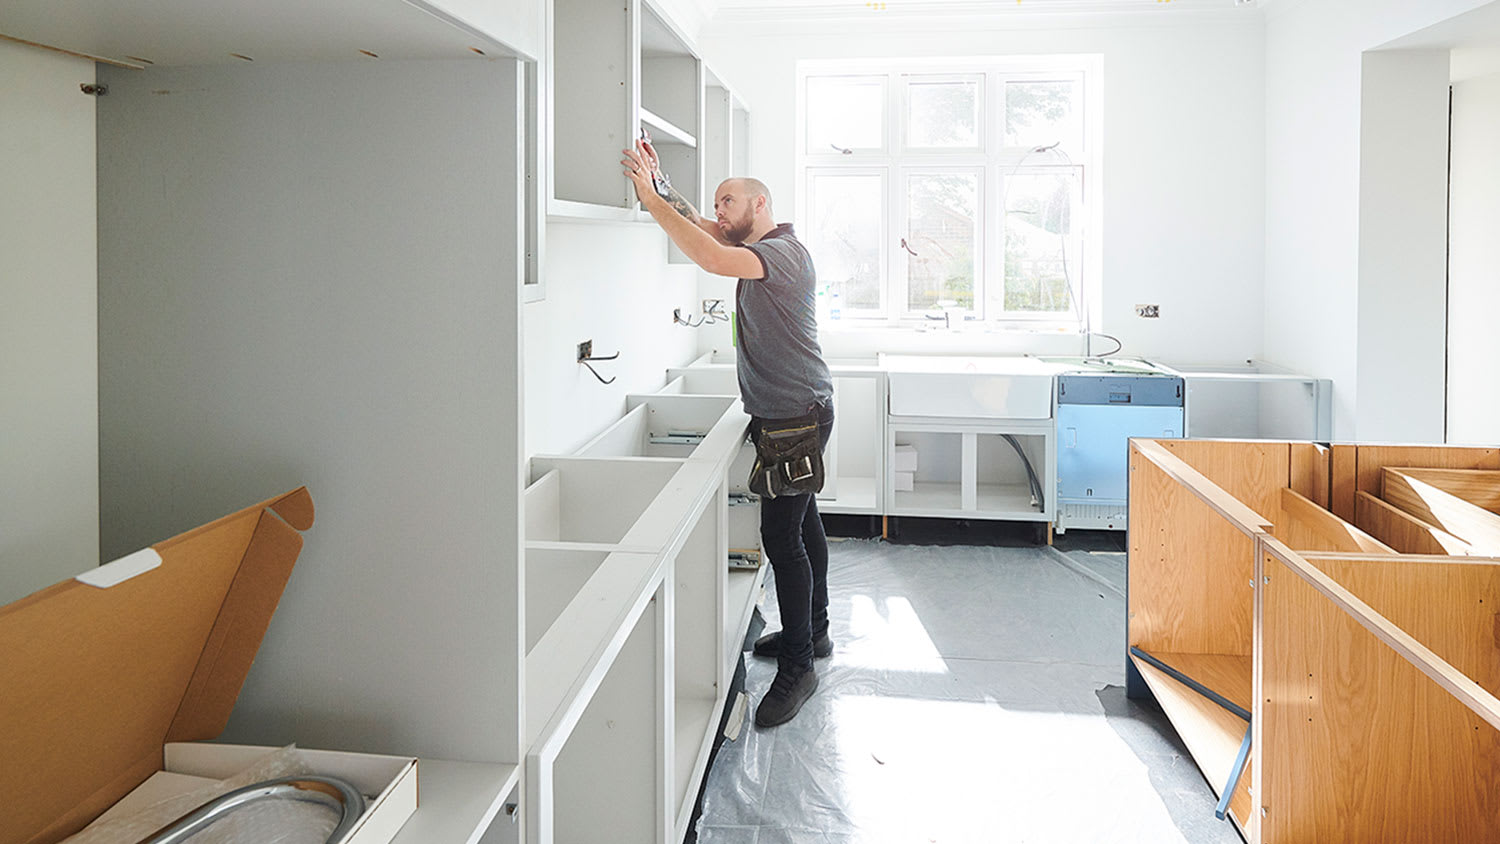
Learn how to install kitchen cabinets like a professional to save money on your next remodel and take your DIY skills to the next level.
Installing new cabinets? Use this checklist to get your project started.
Ready to save money and give life to your new (or existing kitchen) with DIY kitchen cabinets? Learn how to build a cabinet carcass in this how-to guide.