

Cleaning your house can be a feat, but these house cleaning tips can help you make the most of your cleaning without taking up all of your time.
No matter how you take your coffee, cleaning your machine regularly will lead to delicious results

The best way to clean a coffee maker combines daily maintenance after each use with monthly deep-cleaning to prevent mold, mineral buildup, and oil residue from affecting your brew.
You should empty and rinse your coffee grounds immediately after brewing, as wet grounds create conditions where mold and bacteria thrive in your machine and filter.
Running a vinegar and water solution through your coffee maker breaks down mineral deposits and sanitizes the system, followed by several plain water cycles to rinse thoroughly.
Hiring a local housekeeping professional provides reliable support with deep-cleaning your coffee maker and maintaining your entire kitchen routine for a healthier home.
Are you someone who lovingly grinds your beans just before a brew? Or do you prefer to just scoop in the grounds and press start? Either way, a quality cup of coffee is a thing of wonder and delight. But busy mornings may find us rushing out of the kitchen without tending to the coffee station, and over weeks and months, that can diminish flavor profiles and cause problems.
The great news: With a few quick cleaning tricks, you can prevent the natural buildup of oils, minerals, and even mold—and improve your coffee maker’s performance for a perfect pick-me-up every time. In this how-to, our experts spill all the secrets to keep your drip coffee machine in tip-top shape.
Difficulty: 1/5 - Simple project; big impact.
Time to complete: 1 hour for a deep-clean; 2 minutes for daily maintenance
Tools
Sponge or towel
Toothbrush (optional)
Supplies
Dish soap
White vinegar or lemon juice
Let’s start with the “why” (and it may surprise you). According to a 2011 study by the National Science Foundation, half of all yeast and mold present in our homes is lurking in the reservoirs of our coffee makers. Yes, 50%.
But it’s not hard to imagine that when hot water and warm air mingle with naturally occurring spores, mold can easily find a happy home in your machine while creating unhealthy conditions in your cup.
And there’s more. Calcium deposits from your tap water and unsightly oil residue from those beautiful beans can also leave their marks. With just a bit of TLC, you can avoid mineral buildup, clogs, dulled flavors, and the like.
That’s why we recommend cleaning your coffee maker after each use and deep-cleaning it once a month. If you're an occasional coffee drinker, you can limit your deep-cleaning sessions to more like once every three months. But if you use your machine daily, it’s best to clear out the gunk on a more regular basis.

Add a simple two-minute cleaning routine into your daily coffee ritual, and watch your general java joy and flavor factors skyrocket. Here’s how to clean your coffee maker regularly in four quick steps.
Wet grounds on paper can be a hotbed for things you don’t want in your coffee, so if you use disposable filters, throw them away after your daily dose of caffeine. If your machine has a reusable filter, be sure to tip out all the grounds before rinsing it with a light solution of dish soap and water.
Pro tip: It’s best to put grounds into your trash, garden, or compost instead of down your drain. Water makes coffee grounds swell up, and that can mean clog problems for your sink over time.
Once your coffee carafe is empty and cool, fill it with warm water and just a few drops of dish soap. Let it soak for a few minutes, then give it a scrub and turn it upside-down to dry where air can circulate.
Break down buildup by taking a moment to wipe down your coffee station. Use a damp sponge or towel to lightly clean the warming plate, sides of the machine, and even the area below the coffee filter.
Bonus points: If you start to see calcium, oily residue, or grounds buildup in the smaller parts of the machine—the water spout, for example—just use a toothbrush to scrub all the nooks and crannies clean. You don’t have to do this step every day, but staying on top of it will keep your coffee delicious and your deep-cleans fewer and farther between.
Leave your coffee machine open overnight. That means opening the top of the water reservoir, removing the filter mechanism, and letting it all dry in the open air. This simple tip can extend the life of your coffee maker and prevent mold buildup.
Deep-cleaning your coffee maker doesn’t have to be a grind, and you don’t need fancy products or tools. While the process takes about an hour from start to finish, it's easy to pull off while doing other things around the house. We promise it’s worth it.
Each coffee maker is a bit different, so be sure to take a look at your manufacturer’s instructions before adding any acidic cleaning liquids, such as vinegar or lemon juice. Some machines prefer a greater ratio of water to vinegar, for example.
Depending on your model, you should be able to remove your reusable filter, the filter basket, and the coffee carafe. To start your deep-cleaning, first empty and briefly run each of these parts under warm water, making sure to rinse away any remaining grounds.
If the parts are dishwasher-safe, you can run them through a cycle with your other plates and glasses, but do check your manufacturer’s instructions first, as some need a gentler touch. Once you’ve rinsed any removable parts, put them back in place as if you’re about to brew.
You’ve likely got what you need right in your pantry and sink: vinegar and water. For deep-cleaning your coffee maker, just combine 1 cup of distilled white vinegar and 2 cups of water. It’s worth noting that some machines prefer a slightly less intense 1-to-3 solution, so make sure to take a look at your manufacturer’s instructions if you’re not quite sure.
How does it work? Well, the vinegar breaks down mineral and grease deposits while lightly sanitizing the machine at the same time.
Pro tip: If the smell of white vinegar has you feeling sour, no worries. Just substitute lemon juice for the vinegar and use a 1-to-3 ratio (1 part lemon juice to 3 parts water).
Fill up the reservoir with the vinegar or lemon solution, just as if you were brewing a pot of coffee—but skip the beans and paper filters. If your filter is reusable, keep it in place. Turn your coffee maker on to the brew cycle, and let the solution flow through the machine and into your coffee pot.
Once the solution has passed through the machine and into the pot, turn off the coffee maker and let everything sit for 15 minutes. This allows the mixture and steam to work their magic together, breaking down any heavy deposits and oils.
Empty the pot with the “brewed” vinegar solution into the sink, then fill the carafe again, this time with plain water (no vinegar or lemon juice). Pour the clean water into the reservoir, and brew two or three more times, or till your coffee pot no longer smells like vinegar or lemon.
Great job! All you need to do now is turn off your coffee maker and leave the lid open to air out the machine fully. Remove all unattached parts and set them out to dry nearby too. Then, get ready to enjoy a well-deserved moment of coffee contentment.
Pro tip: These instructions are for traditional multicup coffee makers. If you use a Keurig coffee maker or other specialty coffee machine, double-check your manual for the vinegar or cleaning solution ratio to be sure.
By the way, cleaning your coffee maker with natural and nontoxic pantry basics like vinegar and lemon can be the start of something beautiful, so you may want to let it inspire the rest of your spring cleaning plan. These highly effective acidic liquids can work wonders on cleaning the microwave, cleaning a blender, and yes, even cleaning the kitchen sink.
I had FabClean 614 clean my apartment, and she did an outstanding job. She was so professional and efficient. My apartment looks absolutely spotless every surface, every corner, all cleaned to perfection. Definitely highly recommend FabClean 614 if you're looking for top-notch cleaning...
 Fab Clean 614
Best cleaning I've had at my property
Fantastic group, very communicative, and they really did a great job cleaning my condo. Will be hiring them for recurring cleaning!
 eMaids of Northern Columbus
Excellent the crew was great did what I ask cleaned up and the price was awesome
 All Star Paving and Sealing
On time, clean and finished fast. Windows seem sturdy and the finish is good. Caulking was done with no smudges. Would recommend.
 Window Depot USA of Central Ohio
I definitely recommend Ramonaâ s cleaning service! I have booked services with her many times and she arrives on time, ready to work and provides a great service.
 Your Cleaning Solutions LLC
Mary Cleaning Service is fantastic! The entire team is professional and pay a great deal of attention to detail. They do such a thorough job of cleaning my house. I would definitely recommend!
It was just fine. They did a good job. They cleaned what needed to be cleaned.
 Dezired Cleaners LLC
They cleaned my very dirty basement. They were prompts, quick, thorough and their price was fair.
 JDE House Cleaning LLC
Excellent! We were very satisfied with the service provided and the entire experience from start to finish. Very friendly and professional staff. I was able to instantly get in contact with them for a quote and the response time and overall communication remained quick and easy throughout the...
 Prime Cleaning Service
From average costs to expert advice, get all the answers you need to get your job done.
Cleaning your house can be a feat, but these house cleaning tips can help you make the most of your cleaning without taking up all of your time.

Don’t fret over coffee stains on your carpet, even if they’ve been there for a while. Keep reading to learn about this simple removal method.

At some point, you have to clean last week’s daiquiri out of the blender. Here are some ideas to make cleaning the blender easier and quicker when you do.

The germiest places in your home aren’t where you’d think of first. These cleaning tips can help you disinfect high-touch surfaces and kitchenware.

Vinegar is a staple in many kitchens, but did you know it also works wonders for cleaning? Using this guide, you’ll learn 10 different ways you can clean with vinegar that will leave your house feeling fresh and clean with minimal effort.
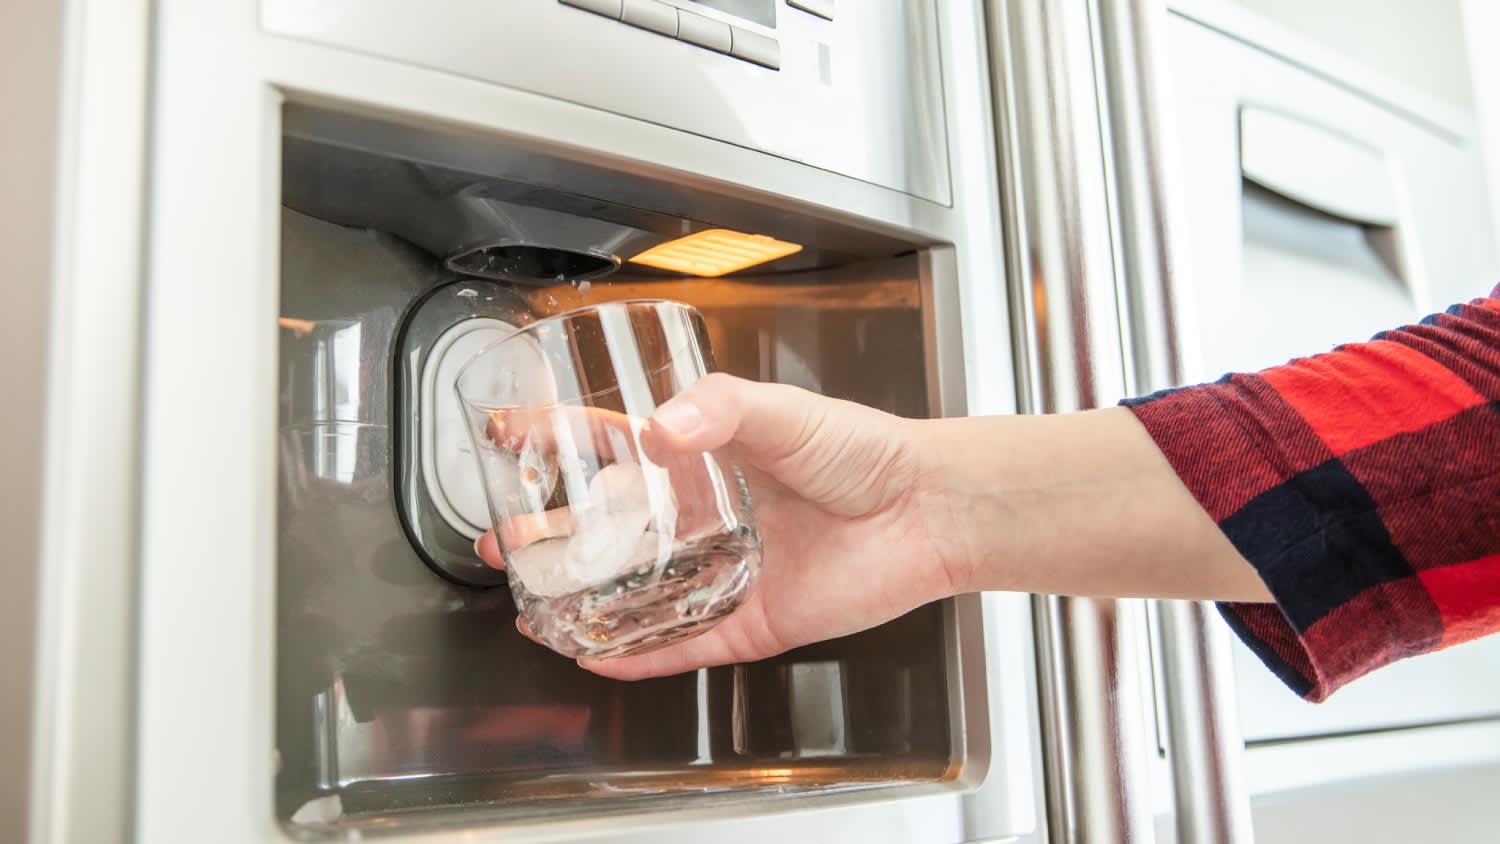
Wondering why your ice is cloudy or stinky? It could be because the ice maker is due for a cleaning. With these steps, you’ll have fresh ice in a couple of hours.