Floating shelves are perfect for showcasing your favorite decor without the clutter. Learn how to make floating shelves from scratch with this step-by-step guide.
Practice those DIY skills and make a floating shelf out of a pallet this weekend

Building a floating pallet shelf requires you to break down a pallet gently, as the planks splinter and crack when separated too forcefully.
Expect to pay $35 to $150 per hour to hire a carpenter if you prefer to skip the DIY approach and have your shelf built professionally.
You secure the shelf structure by gluing planks into a hollow square shape, then reinforcing every corner and edge with finishing nails for stability.
Hiring a local carpentry professional takes the guesswork out of pallet disassembly and shelf construction, ensuring your floating shelf hangs securely and looks polished.
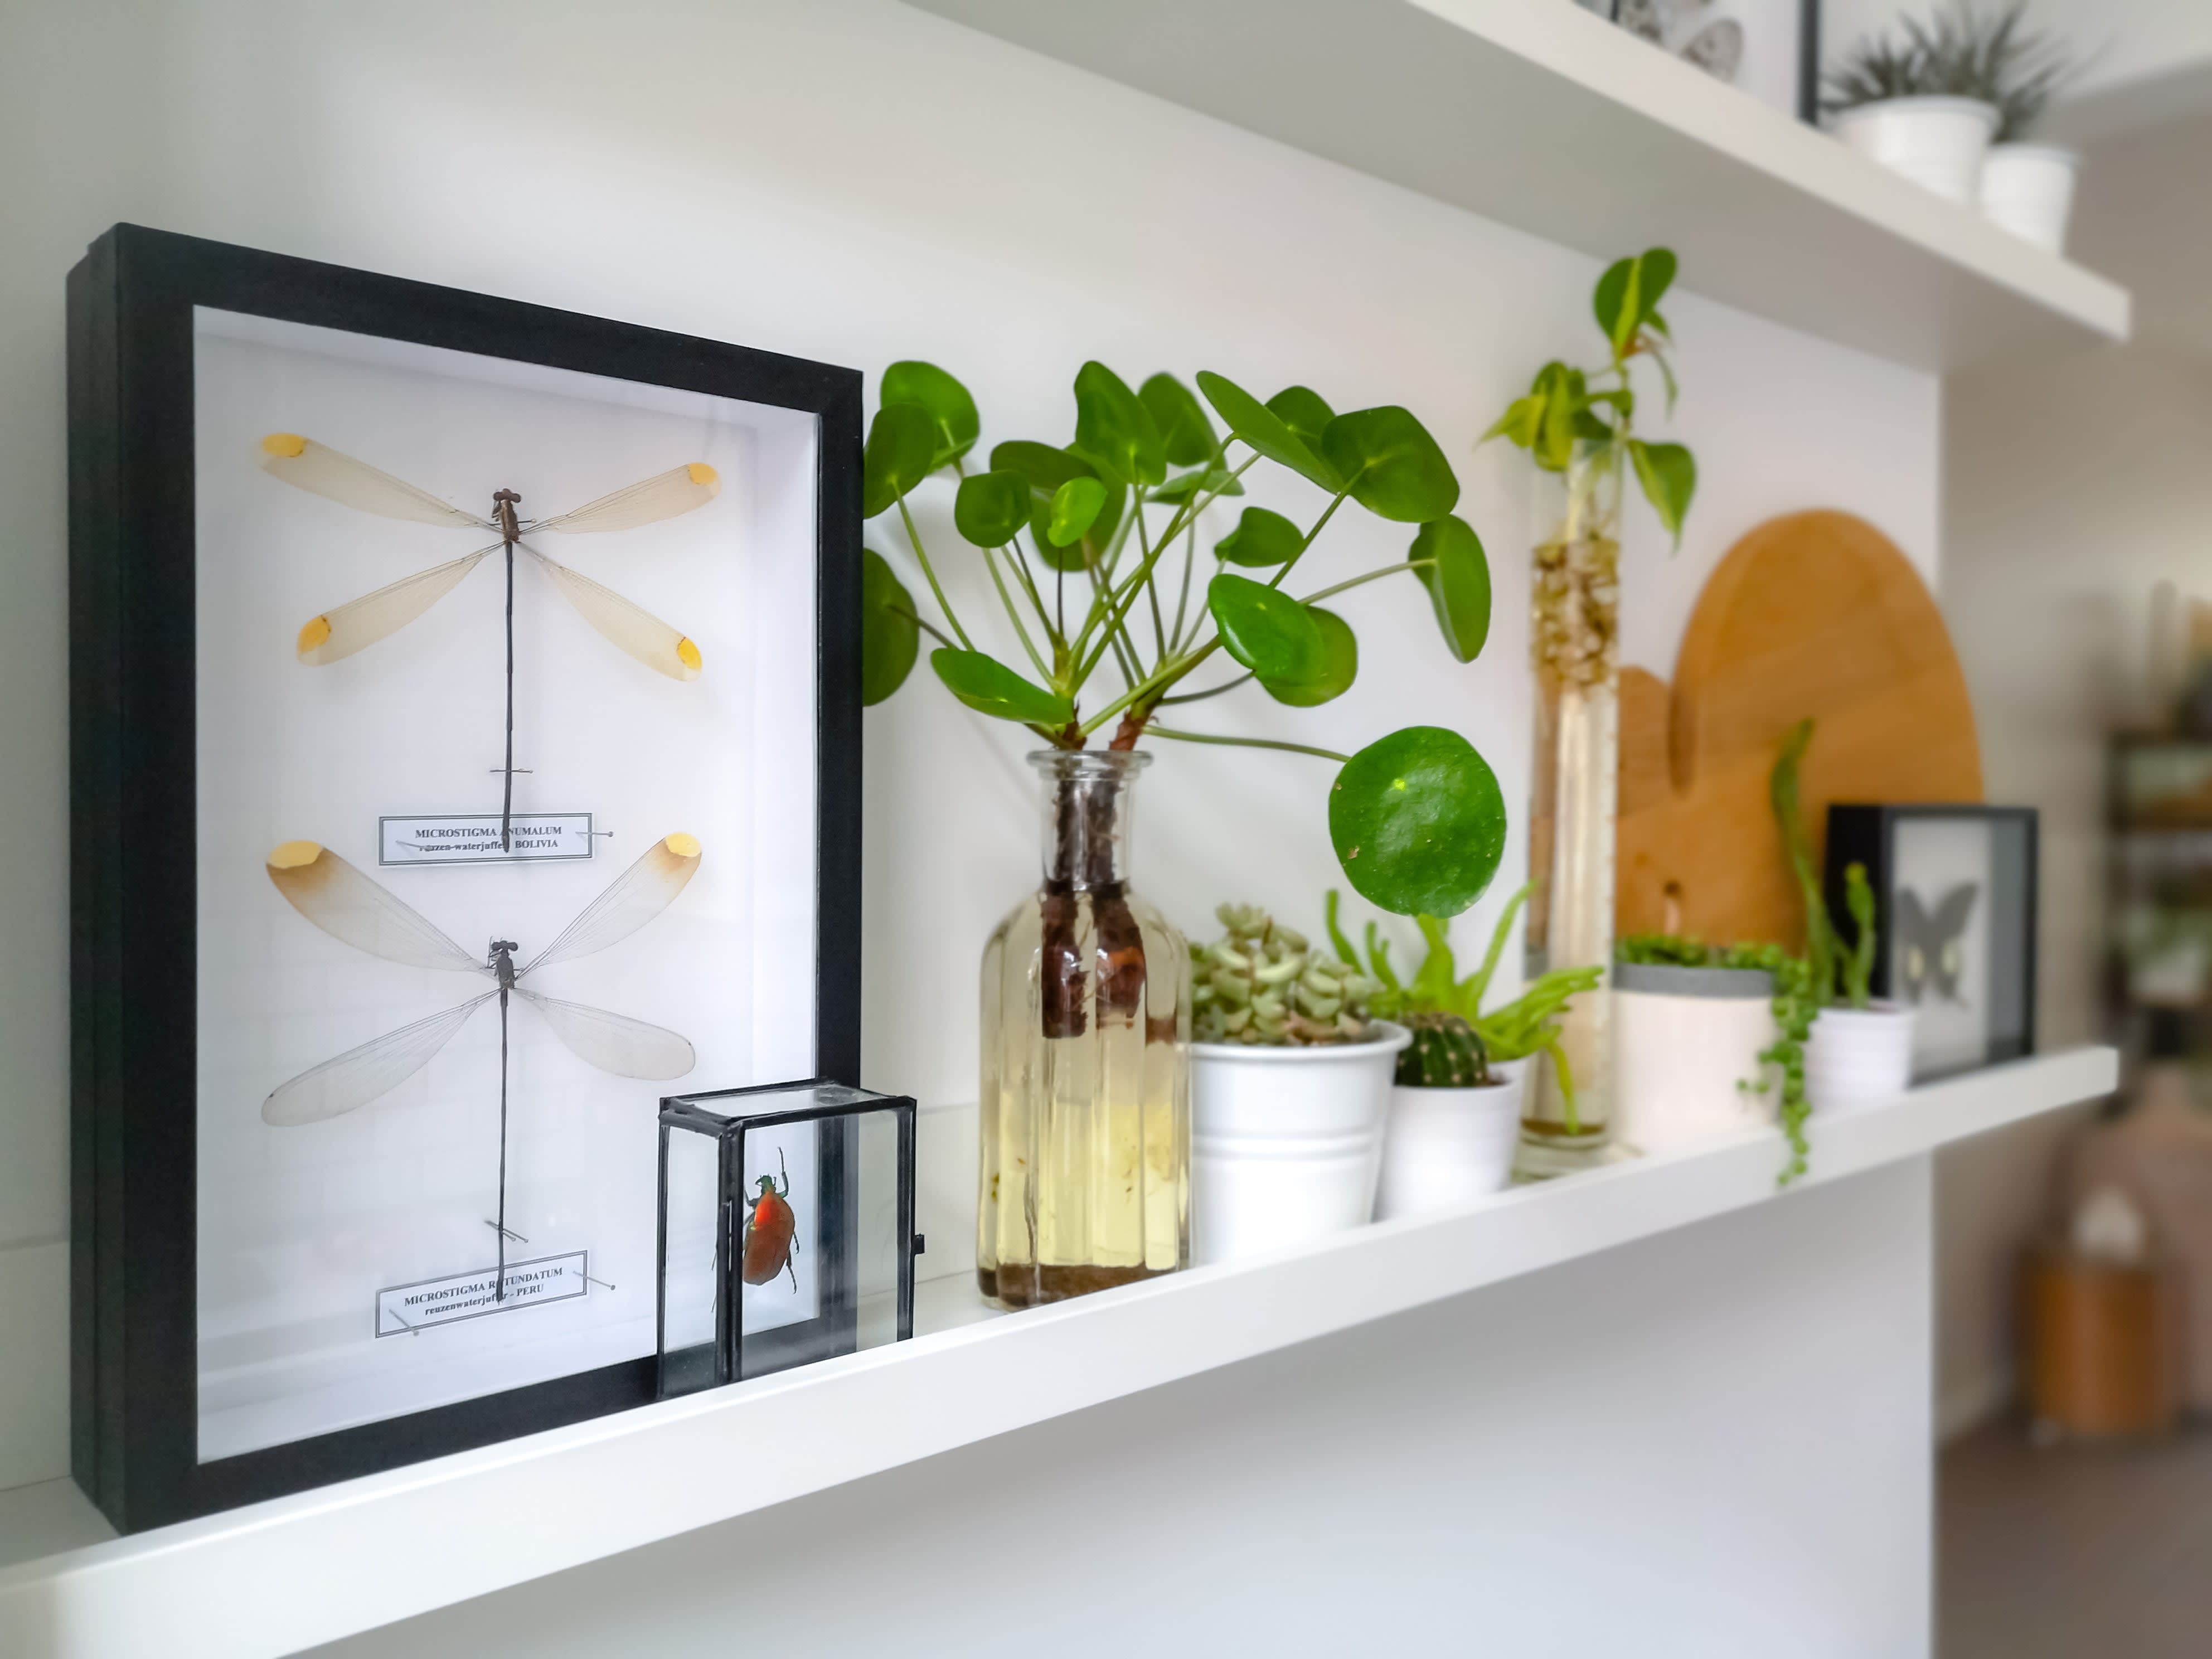
A floating shelf is an attractive yet functional way to display books, home decor, and your succulent collection. And while there are many ready-made shelves available for purchase, you can easily make one of your own out of a pallet for some rustic vibes.
Separate the planks from the pallet using a hammer and chisel to loosen and remove the nails. Be gentle when taking the pallet apart, as the planks can splinter and crack.
You will need four planks for the shelf. Depending on the thickness of the planks, you might choose four planks of all the same width, or you can choose two wide and two narrow planks. In this case, the wider planks will serve as the top and bottom of the floating shelf while the narrow pieces will form the front and back.
Using a miter saw (or a hand saw with a miter box), cut the planks to the desired length of your shelf. Reserve the remaining pieces to be cut and used as the two end caps.

Put one of the wide planks on a workbench or flat surface. Apply a bead of construction glue to the edges of the two narrow planks and attach them to the top edges of the wide plank so that they form a U.
Repeat this on the other edges of the narrow pallets, then place the second wider plank on top. You will now have a hollow square.
Use the clamps to keep the wood together and the sides flush as the glue dries. Wipe away any glue that has oozed out from the edges.
Use a hammer and finishing nails to secure the edges of the shelf. Put one nail in each corner to attach the edges, then one every couple of inches or so along the length of the board, depending on how long the shelf is.
Use the saw to even off the open sides of the shelf, as you need them to be flat so you can attach the end caps. Measure the edge of the shelf and cut the remaining wood to cover the ends. Apply glue to the edges of the shelf and place the end caps. Sand or trim as needed to make them flush, then secure with one nail in each of the four corners on both sides.

Use a wood filler to cover up any visible holes that were left by the original nails in the pallet. If you prefer a more rustic look for your floating shelf, you can leave them unfilled.
Once the filler and glue are dry, sand the shelf for painting or staining. You will likely need at least two coats of whatever color paint or stain you choose, but you can leave this to your own design preferences. Stain or paint the shelf and let it dry completely.
Once the shelf is dry, secure the two sawtooth hangers to the back of the shelf, one at each side. If you built a longer shelf, you might want to have a third hanger in the middle of the shelf to secure it more safely. Insert the screws into the wall at the height you wish, then hang your shelf. Finally, add small decor to the shelf. You’re done!
This is an easy DIY project, but you might want to skip the risk of splinters entirely and hire someone to do it. If you do, expect to pay anywhere between $35 and $150 per hour to hire a local carpenter. Because you are working with reclaimed wood that was likely free, though, you might want to give this job a go yourself before you hire someone to do it for you.
Once you create and install this easy-to-make floating pallet shelf, you’ll have the confidence to take on more extensive DIY projects at home.
Incredible workers! Very skilled with the machinery, climbing, cutting, roping, and removal. Handled everything. Professionals!
 Hoffman Expert Tree Services
I m so impressed with Custom Paint Jobs LLC s craftsmanship. They truly care about quality.
Storms Mobile Welding was great to work with. They were prompt, professional and did an overall excellent job on the project. I highly recommend.
Excellent choices and quality of materials. Workmen were very efficient and took their work very seriously. Pride of workmanship and cleaned up beautifully at end of job. Would recommend this company highly.
Great job...edging and pre clean up went well with a great job with seal coat. Friendly, efficient and professional.
 All Star Paving and Sealing
Great tree company, very professional and honest. Glad we found them, they had the best pricing
It was wonderful working with Yordy and his team. They were very professional and are experts in what they do. They have completed the work on time, with better quality and with in fairly reasonable price. We just started with backsplash work , but liking his work, we went on to provide...
We hired Jim to replace our hardwood floors with new hardwood. He and his helper Jerry did a fantastic job. Their work ethic is impeccable!! We would highly recommend McColl Floors!
The job went extremely well. Work was done as promised and the job came out better than expected due to Mr. Moyer's commitment to excellence and personal pride in providing the best work possible. He is one of those professionals who is not satisfied until the customer is completely happy...
 Pro Flooring
We needed to have a wall cabinet resized so that we could fit a larger refrigerator underneath. I removed the cabinet from the wall myself and brought it in, where Wally was able to resize it for me in his shop. The results were perfect: it's exactly the size that I asked for, and...
 Pioneer Woodworks
From average costs to expert advice, get all the answers you need to get your job done.
Floating shelves are perfect for showcasing your favorite decor without the clutter. Learn how to make floating shelves from scratch with this step-by-step guide.
Reclaim pallets put out to the curb as your own to create a feature wall. Learn how to build a pallet wall in your home using this step-by-step guide.

House your best hardcovers on a DIY bookshelf made by hand. Here are seven ways to do it and all the tips you need to make it strong and sturdy.
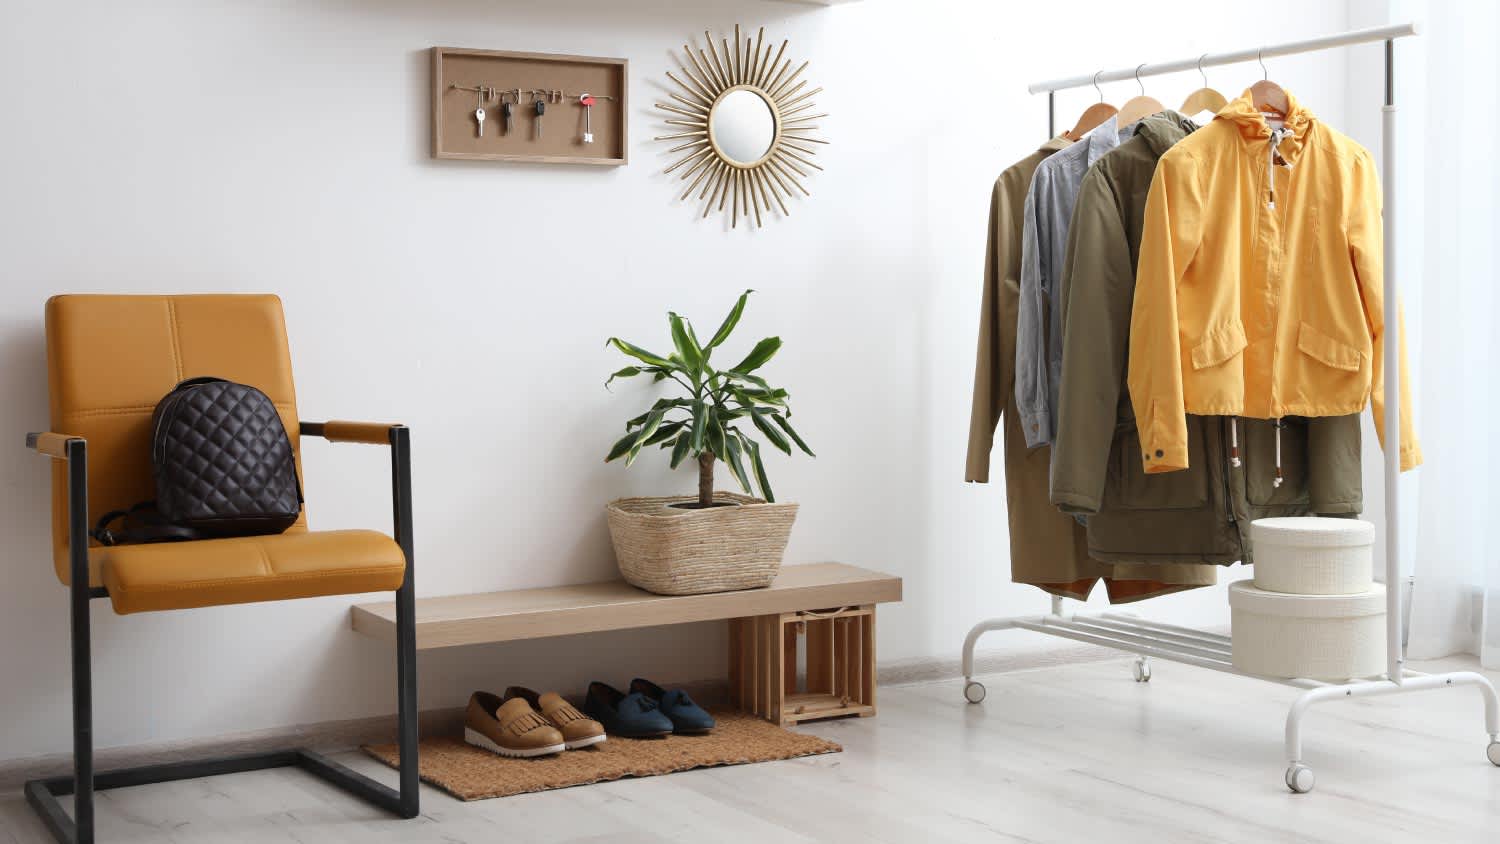
Create a stylish and practical entryway this weekend by learning how to build a floating bench in a few simple steps.
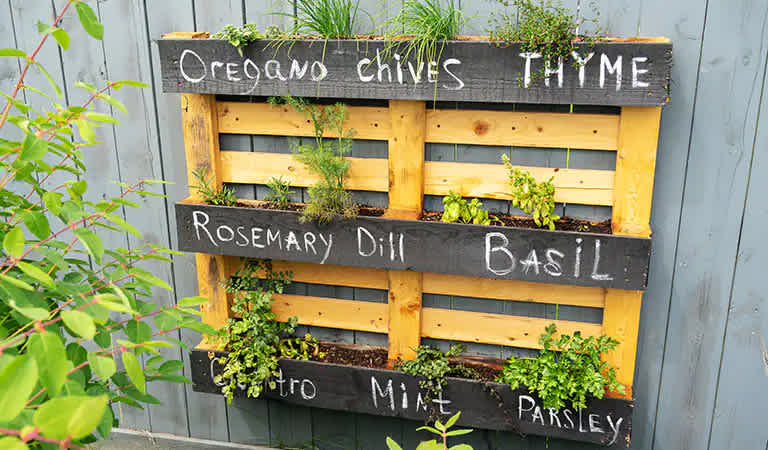
Repurpose, recycle, and enjoy great produce. Here's how to make an affordable and hip-looking pallet garden bed in five simple steps.
To perk up your outdoor space, learn how to DIY furniture and decor out of pallets. Read on to learn how to repurpose wooden crates into treasures for your home.