
•
Discover how much it costs to build a pond. Learn about average prices, cost factors, and tips to plan your backyard pond project with confidence.
Dive into this DIY project that’s easier than it looks


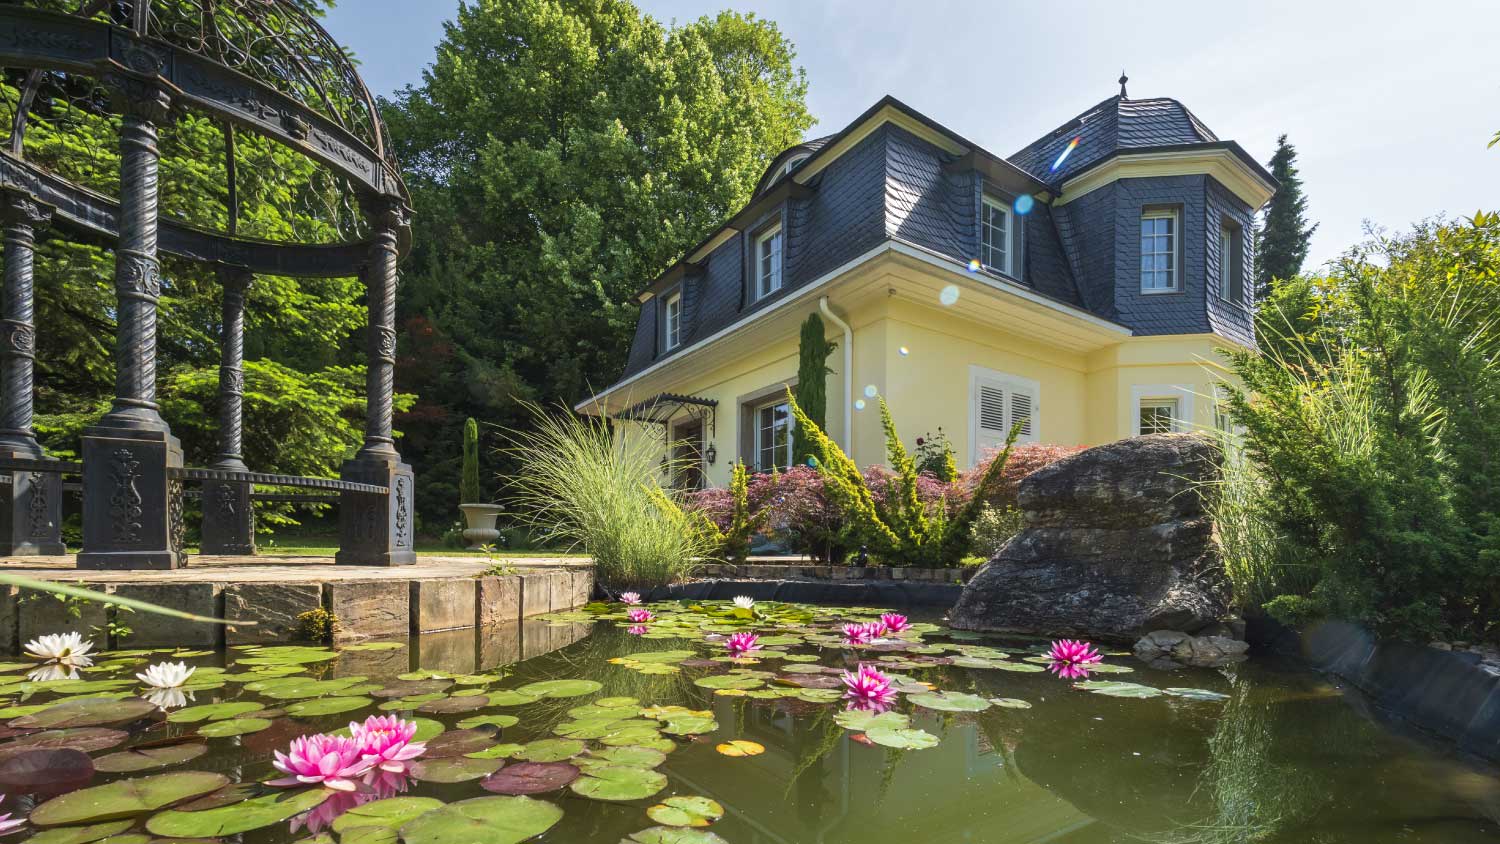
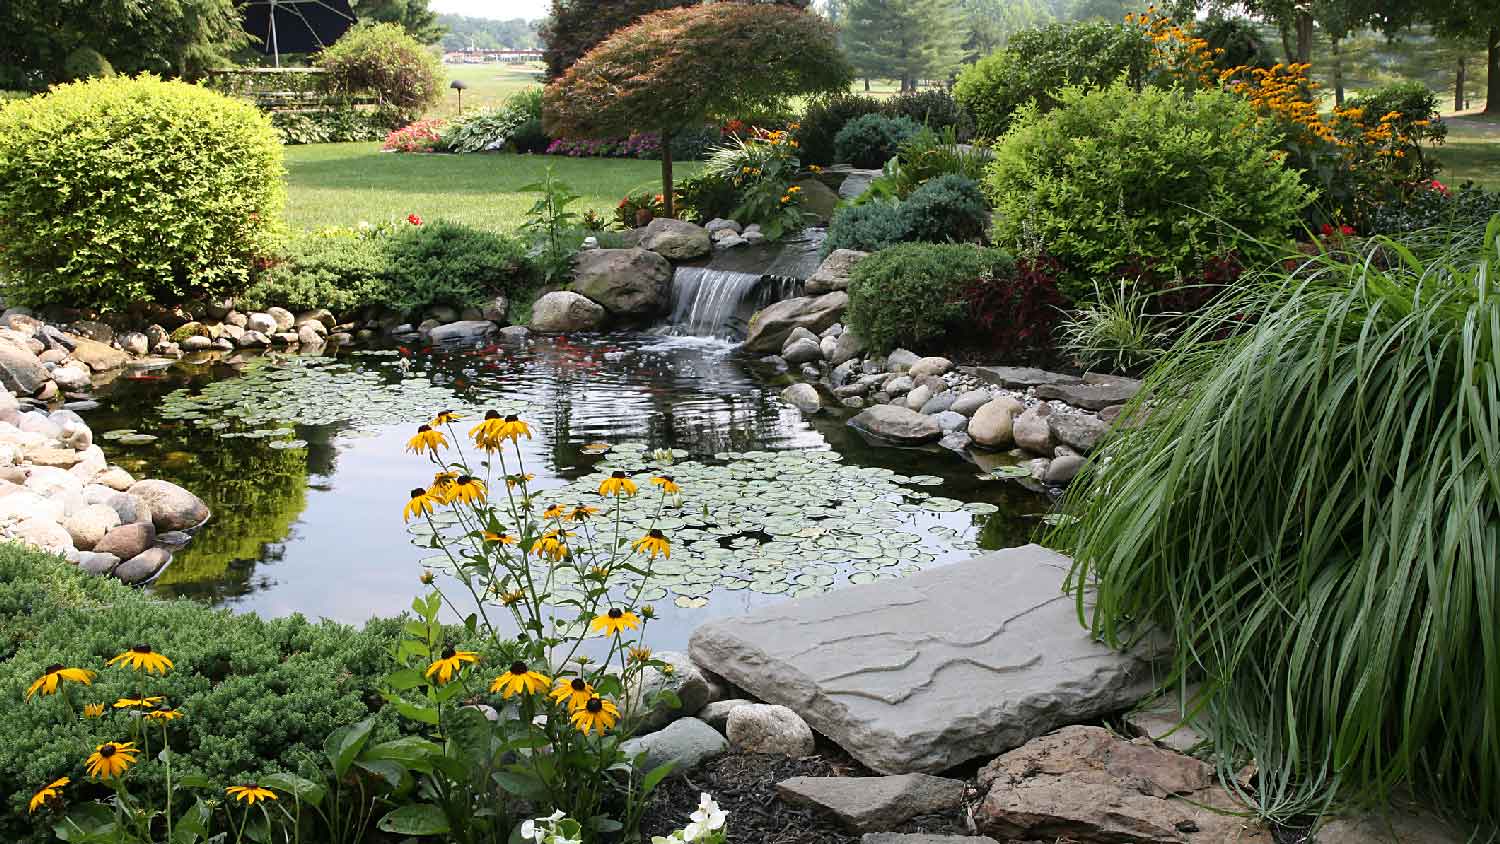
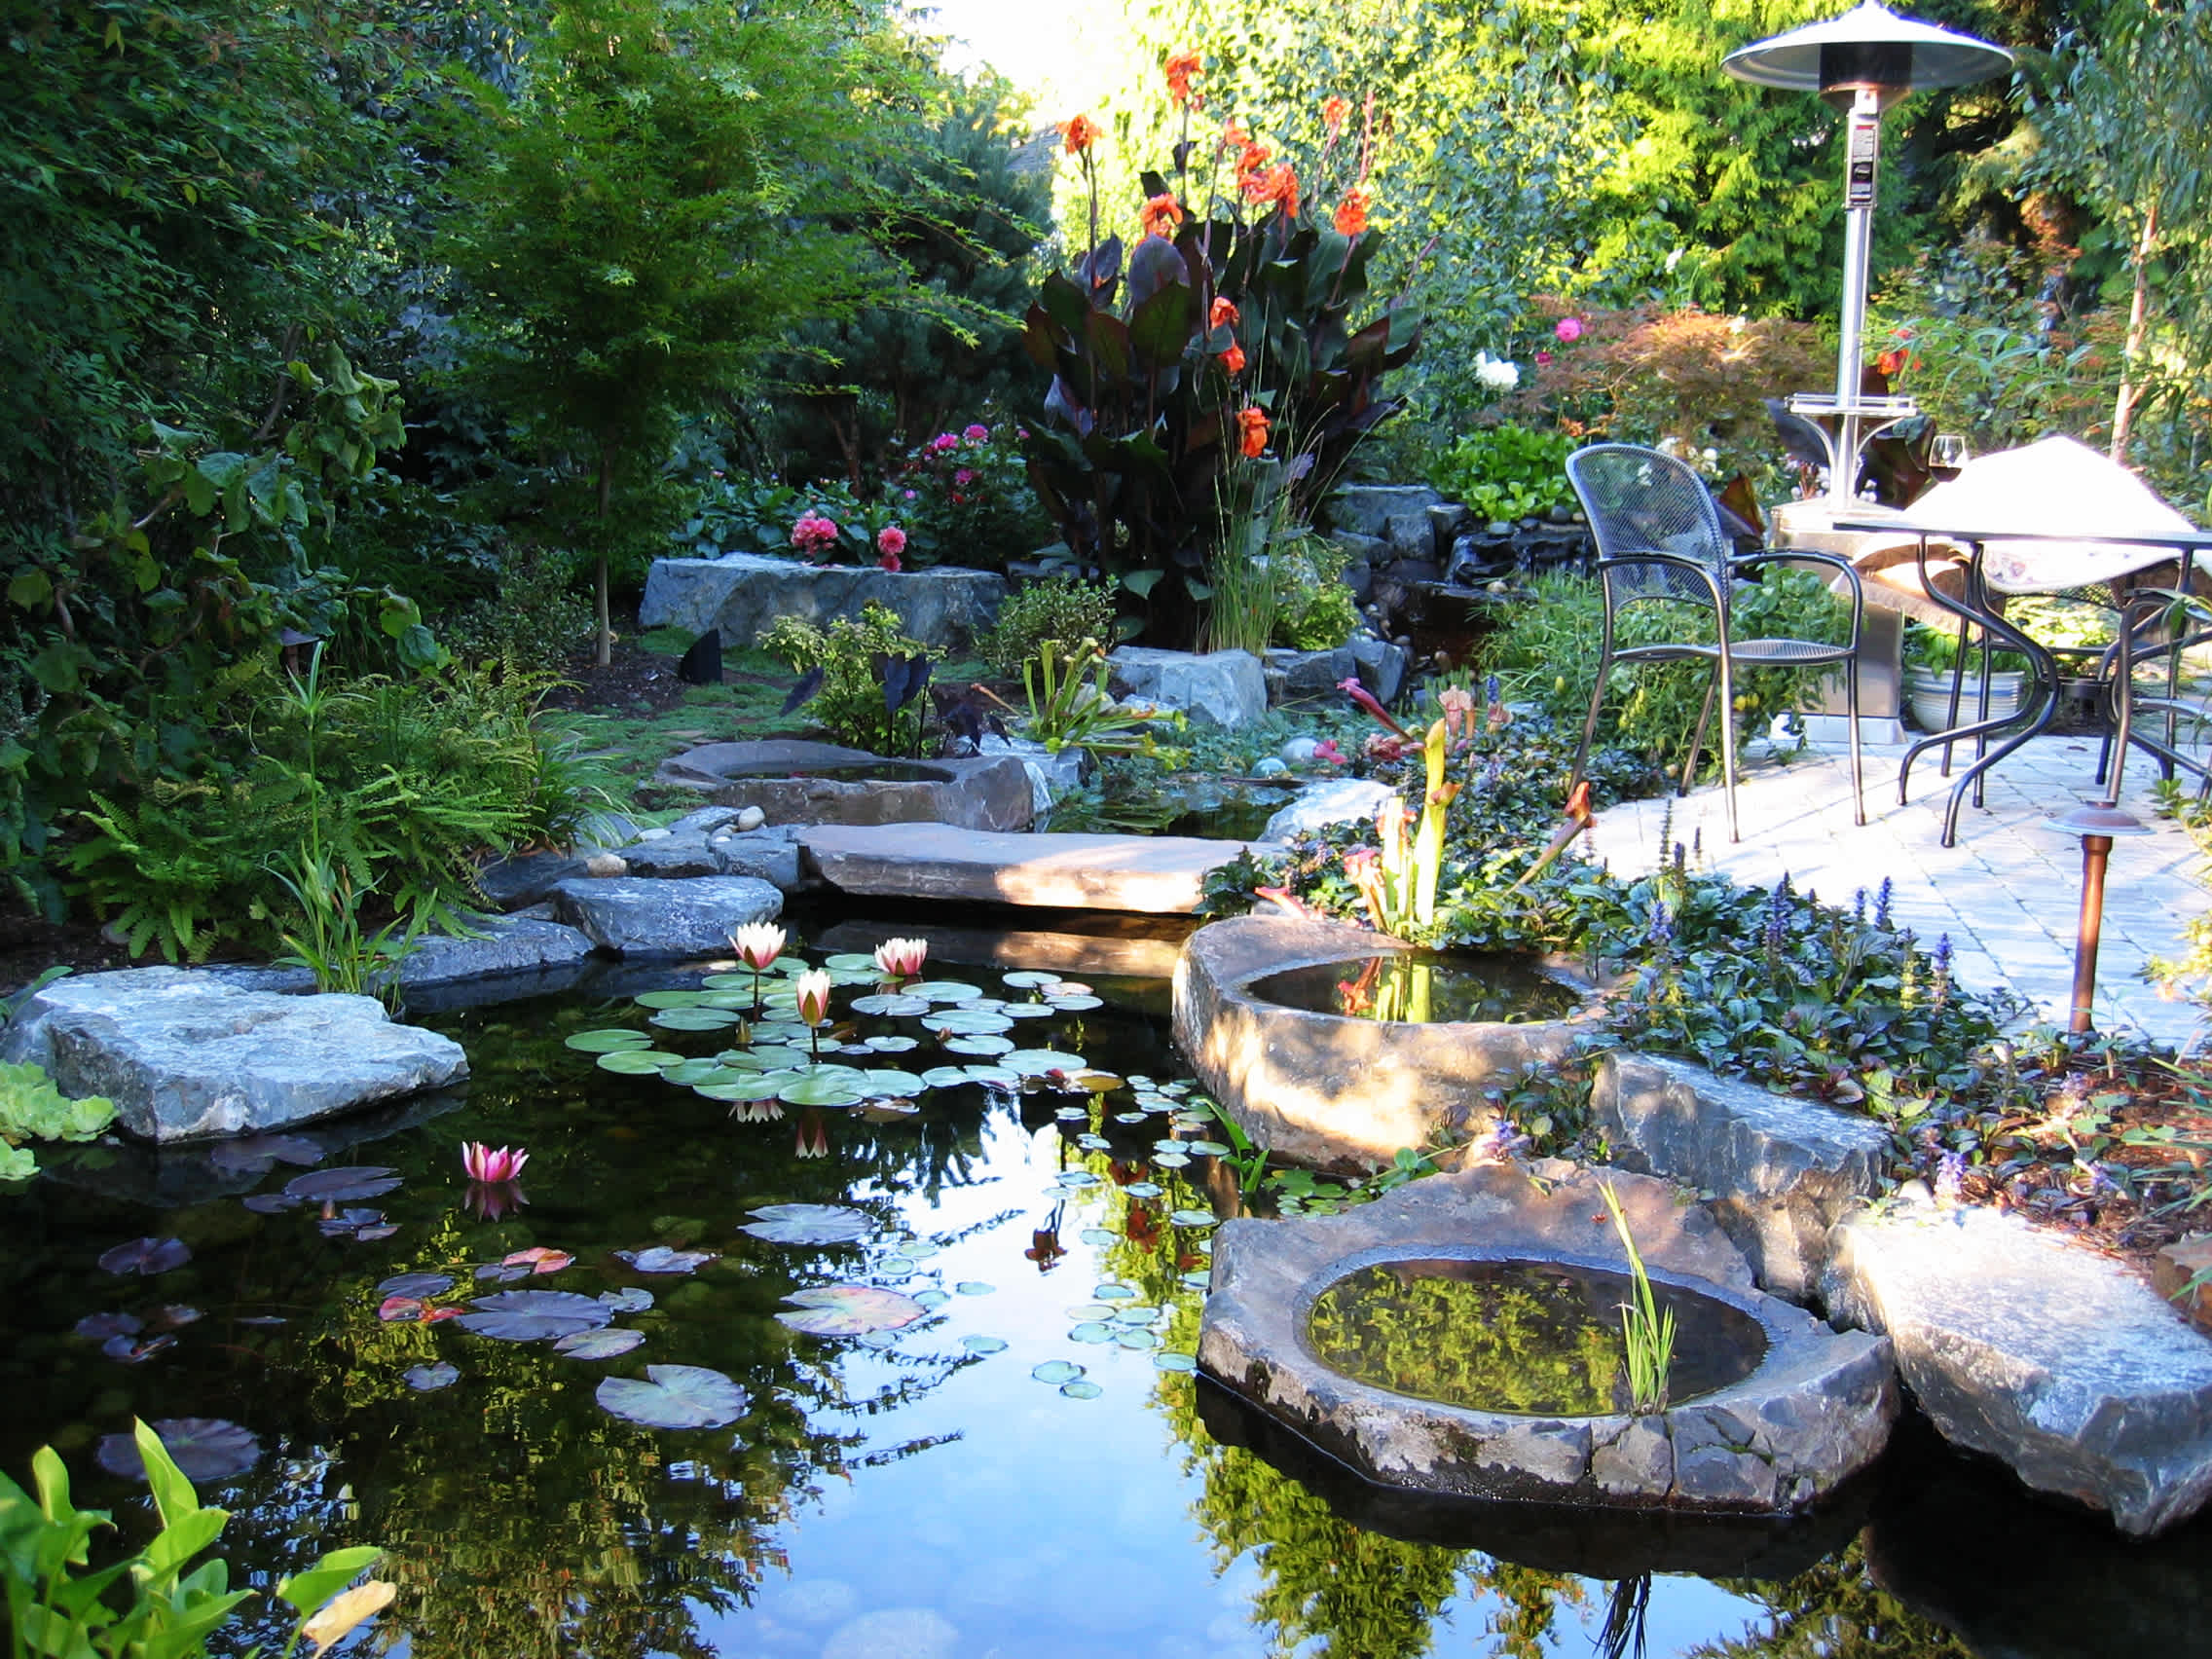
Nothing makes a backyard more peaceful than tranquil water feature ideas. And when it comes to these, backyard ponds are the MVP. For a moment, you can escape the hustle and bustle of the city by meditating to the relaxing sounds of flowing water. Because ponds are usually a large project, many homeowners prefer to hire a local pond service, especially if they want to create the ideal environment for fish. But that doesn’t mean you can’t do it on your own. You just need to scale down to something a little more basic. Here’s how to build a pond like a total pro.
Before you build your pond, you need to plan. Some homeowners wind up excavating an acre of land to create a full-fledged lake (which does, in fact, raise the price by thousands and shouldn’t be done DIY). If you’re doing the job on your own, it’s best to go with a design that’s compact and basic. Ask yourself the following:
Where is the best place for my pond?
Do I want to add a fountain or waterfall?
Do I want to add edging?
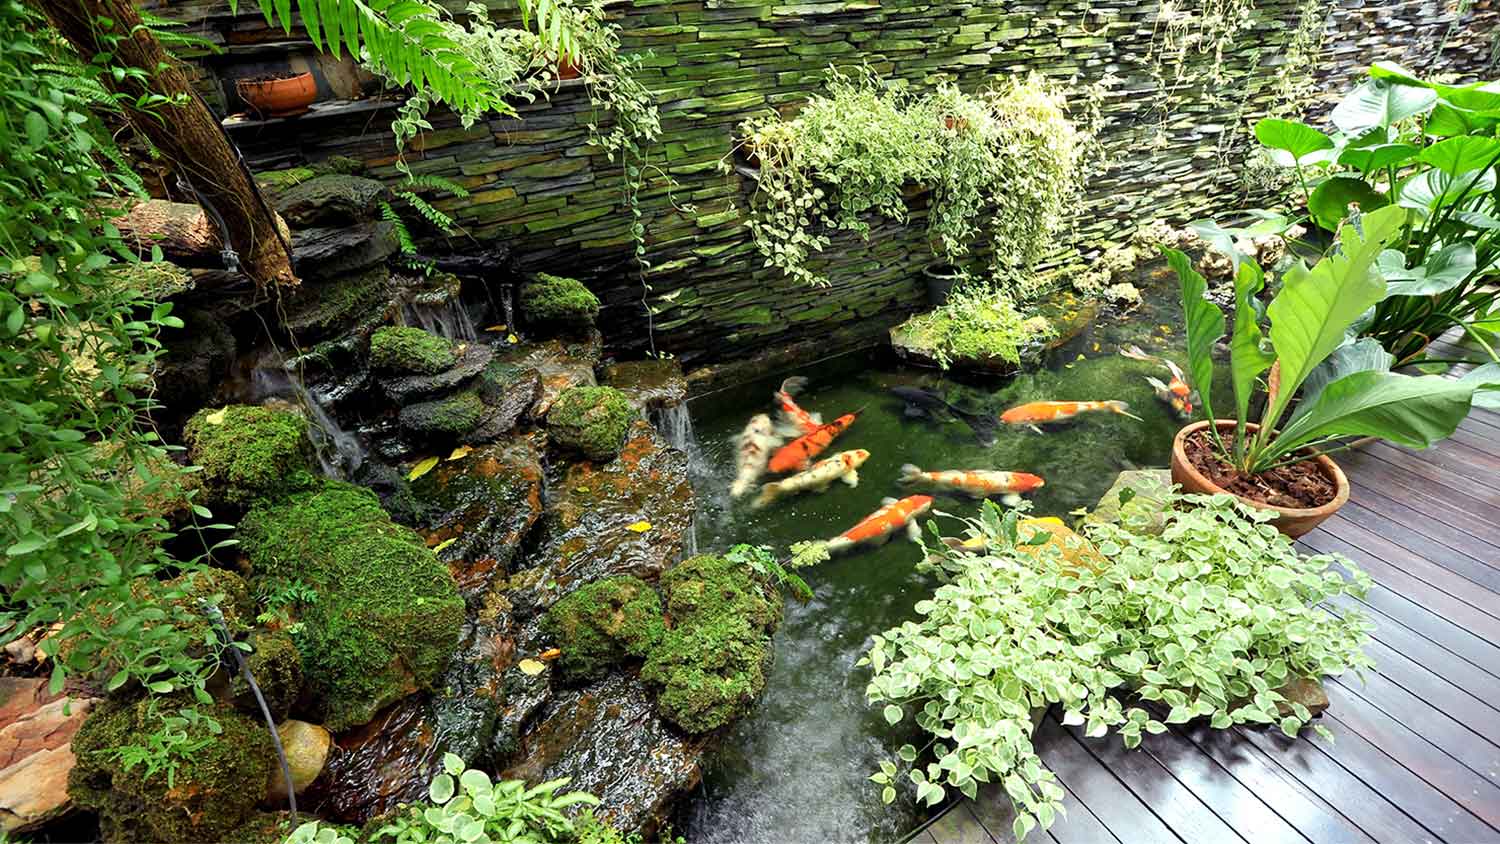
Do I want koi fish?
Will I add any plants?
If you want fish in your pond, you’ll typically need plumbing and electrical work to create the right conditions. Depending on your climate and if you are overwintering fish, you'll also need a specific pond depth.
This is in addition to necessary extra maintenance to keep your koi pond healthy (fish need to be fed every day and water must be monitored). A water garden with native plants may be easier to maintain.

The most important step of pond building is finding the right location. Your city may have specific zoning laws and requirements to ensure your pond is safe. “However, it is also important to place the pond in a location where you will be able to enjoy it and hear it in your landscape,” says Tara Dudley, Expert Review Board member and owner of Plant Life Designs in central Iowa.
The ideal spot is the following:
Mostly level
Near an electrical outlet
Near your garden hose
Away from a tree or shrub that could shed leaves into the pond
Gets at least six hours of sunlight a day (for fish, morning sun is ideal)
You should also keep drainage in mind. If you're building your ground pond in a low spot on your property, it could flood because of the high water table. It’s also subject to runoff that could compromise the water quality and harm fish and vegetation.
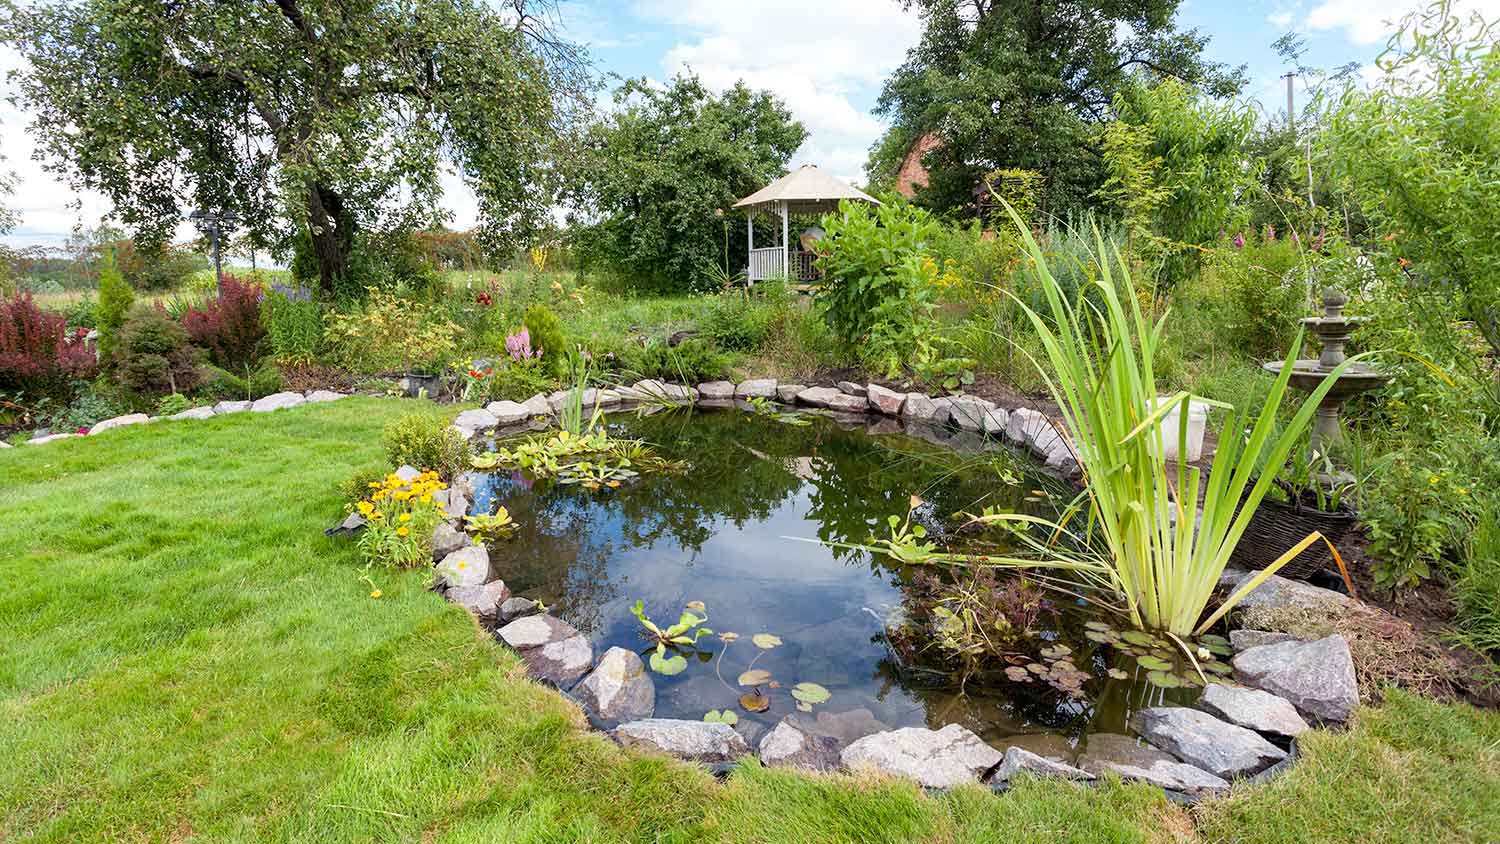
Create an outline of your pond using a rope. You’ll use this as a guide to dig. The typical 200-gallon pond:
Spans a 3-by-6-foot area
Has a depth of 1–2 feet
If you want to include fish in your pond, it must be at least 2 feet deep at the deepest point—and underlayment will take 1 to 2 inches off the depth. If it’s too shallow, koi fish won't be able to overwinter (the period in which they become dormant). In warmer temperatures, the pond will get too hot for your fish.
Ponds aren’t sloped bowls; they’re actually built-in levels, like a small staircase. This creates a space for aquatic plants and fish and prevents debris from falling into your pond and collecting at the center. Use your shovel to dig the first level at a depth of 1 foot. Use your wheelbarrow to get rid of the extra soil.

It’s time to go deeper. Leave at least a foot of space around your pond’s circumference for the first level, then dig the second level in the centermost area. This level should be an additional 6 to 12 inches deep (or even deeper if you’re adding fish). Remember: Underlayment adds 1 to 2 inches.
Before you lay down your liner, remove debris and sharp rocks that could puncture the plastic and underlayment.

You’ll want to make sure your flexible pond liner fits the space. Put it in your space and make sure it fits flush to every gap with at least 10 inches of overhang around your pond.
Underlayment is a soft piece of fabric that will help protect your liner, but you can also use sand, carpet, or fiberglass insulation. Add the underlayment. Make sure there are 1 to 2 inches of padding.

Install your pond liner, ensuring at least 10 inches of overhang. You can use stones to keep it in place while you fill your pond with water.
Take your garden hose and start filling your pond, adjusting your liner to lay flat under the weight of the water. For now, just fill your pond halfway.
Stagnant water breeds mosquitoes and algae, but you can get it moving with a pump. This usually comes in a kit along with a bubbler (which keeps the water oxygenated for fish) and filter (which cleans the water). Follow the manufacturer’s directions to install.
If you want to add a decorative fountain or other accessories, this is the time to do it. Follow the manufacturer’s instructions to install.
Make sure your pump is fully submerged in the middle of your pond. Finish filling your pond with water.

Some people choose to add gravel to the bottom of their pond, which helps hold the liner in place and grows healthy bacteria.
You’ll need to hide your excess pond liner. You can do this with stones, mulch, and landscape edging. Edging can help give your pond a very crisp look.

Once the edging around your pond is complete, add your pond plants. There are five major kinds:
Floating plants, which you can place on top of the water
Submerged plants, which you can pot and put on the first level
Deep-water plants, which you can pot and put on the second level
Bog plants, which thrive in wet conditions
Marginal plants, which thrive in wet and dry conditions
If you’re adding fish, choose plants that can provide nutrients and balance oxygen. Test the water quality before adding fish, and one to two times a week thereafter.
The cost to install a backyard pond professionally is usually somewhere between $1,250 and $5,480. This may seem like a splurge, but depending on the size of your pond, you may need to excavate—not just dig up land with a shovel but pay for the cost to clear land. You’ll typically need a license to rent an excavator, and it can cost anywhere from $150 to $1,500 a day.
On top of that, if you don’t install your pond liner correctly, it will leak and eventually ruin your efforts. In other words, DIY pond construction may not actually save you much money.
If you’re handy, installing a basic 150- to 200-square-foot pond can be a fun weekend project. If you want something more substantial, this task is best left to a pond installation company.
Great experience!! Dion was prompt, professional and very polite. He is hands down the best plumber I have ever used.
Cole has been handling plumbing and general contracting for our four properties over the past three years, and he’s always done a great job. Most recently, he installed a sink and countertop in our retail store where none existed before, and it turned out exactly how we needed. He’s...
 ANB Renovations LLC
Matt is a consummate professional. The work turned out to be far more difficult than expected and rather than turn the job down, Matt rose to the occasion and completed a near impossible task. I can not recommend Greene's Plumbing Service more highly. On a scale of 1-5 I would give Matt a...
Amazing job. Efficient and quick without compromising quality. Basement feels brand new. Would use them again in a heartbeat.
 AffordaPro Restoration
This company is my go to resource for all my post renovation clean ups. They get the place spotless! All we have to do after is stage the place and sell, sell, sell! They are super professional and have some amazing scent that is left in every property. I highly recommend!
Custom Paint Jobs LLC turned our outdated bathroom into a modern masterpiece.
When we had the winter freeze, I called Quantum Waterworks Waterline & Drain Cleaning Services and within 1 hour I received an e-mail and he sent someone out the next day and he was on time, he was nice and did the job quickly and cleaned up after himself. We had a leak in our kitchen from...
Excellent customer service and knowledge. I was recommend to him from my neighbour. My front door and window came in great and were installed beautifully perfectly, I m very satisfied with their excellent work, so decided to order one more big bow window for my living room. I cant wait for...
They are very reliable and available. They the drains all the time
 The Waterworks
Always been satisfied with the service work and how they have taken care of my pool.
From average costs to expert advice, get all the answers you need to get your job done.
Discover how much it costs to build a pond. Learn about average prices, cost factors, and tips to plan your backyard pond project with confidence.
Wondering how much it costs to build a koi pond? Discover prices, cost factors, and tips to plan your dream backyard pond.
You may need to fill in a backyard pond to reclaim your yard or to remove an eyesore. Learn how much it costs to remove a pond and what affects the price.
If you want a backyard oasis that serves as a mini ecosystem, build a pond. This guide will show you who to hire to create a pond on your land.
How big is your pond? Knowing how much water your pond can hold will help you choose the right treatments for it and the proper number of aquatic life.
Learn how to hire someone to install a pond. Find qualified pond contractors, ask the right questions, and get expert tips for your backyard water feature.