
A bump-out addition is right for you if you want to add extra space to your home without adding a new room. Learn about the different bump-out addition costs.
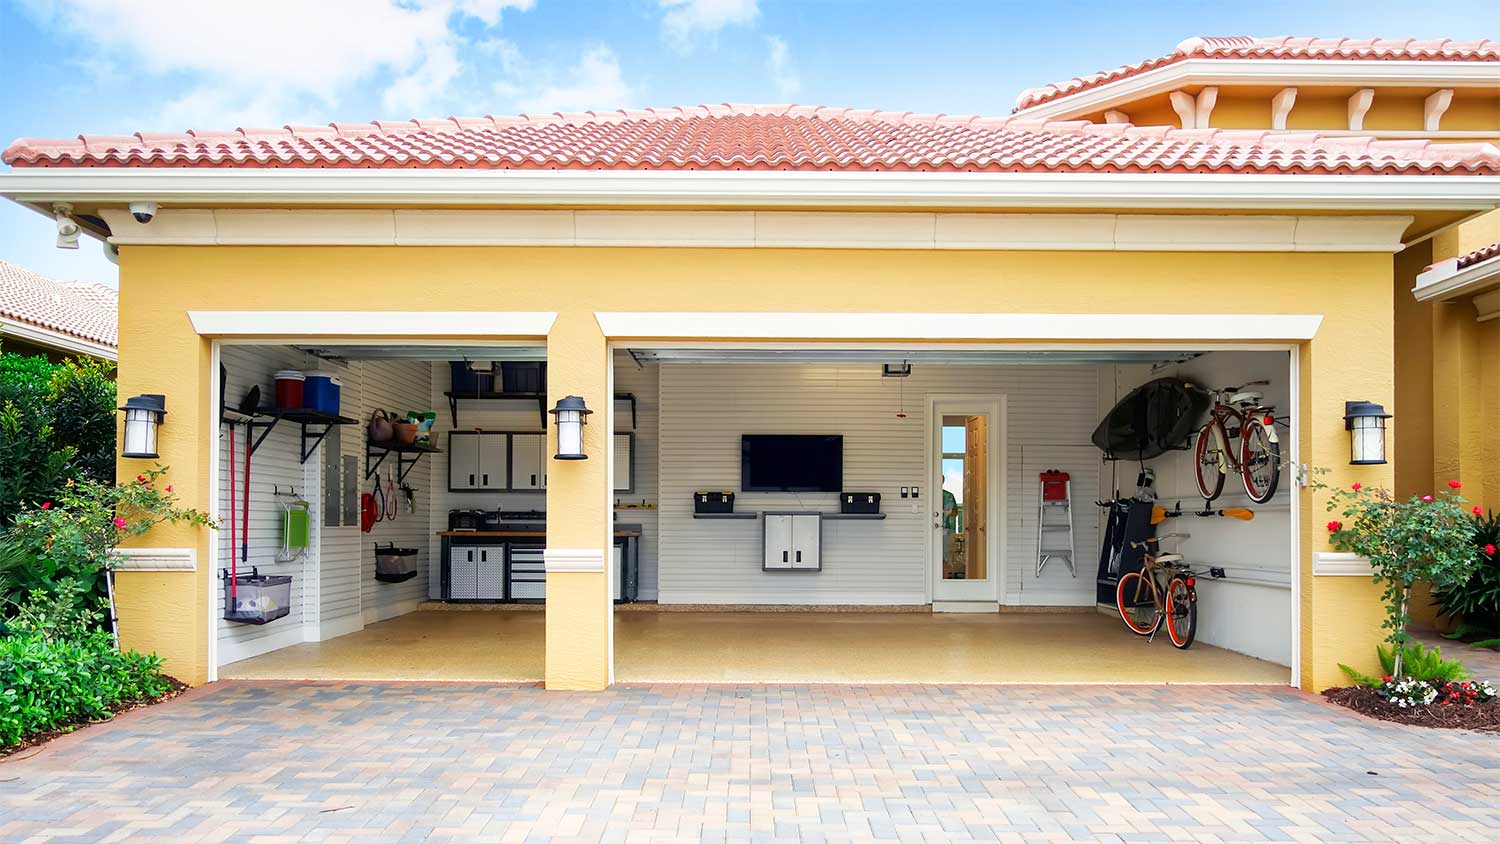
Add garage space on a budget

Building a garage bump out addition is an excellent way to create more storage space in your garage to house lawn equipment, bicycles, sporting gear, and even an automobile. While a garage bump out might not be as involved as a full-on garage addition, the project is a big one. However, if you have some advanced DIY skills and a helper or two, building yours may be doable with a little guidance. Here are the steps necessary to complete the project.

Deciding whether or not to install a garage bump out as a DIY project depends on your level of comfort with the tools and processes necessary versus the bump out costs associated with hiring a pro through a renovation contract.
The first thing you'll need in preparation for this project is a site drawing and plan of the property and your bump out proposal. You'll also likely need a detailed construction plan and drawing. The documents will be necessary for obtaining a building permit for the build. The construction can begin once you get your hands on the building permit.
Keep in mind that municipalities, HOAs, and neighborhoods may have their own rules regarding bump-out style garage additions relating to foundation requirements, property-line setbacks, and general construction requirements. Studying the requirements and restrictions for your location before applying for the permit is prudent and can be time-saving.
For this project, you'll need to remove the portion of your existing garage wall in the location of your garage bump out addition. To prepare to create the hole, use two-by-fours to build a temporary support structure for the roof area near your work.
Use a pair of two-by-tens and a two-by-four to build a header wide enough to accommodate your addition, plus the king studs necessary to support the header, as noted in your construction plans. Nail the two-by-tens together flat and nail the two-by-four flat onto the bottom of the header.
To install your header, mark the existing garage wall studs at the top and bottom of the header installation location. Use a reciprocating saw and claw hammer to remove the stud sections and place the header in the space. Support the header by adding king studs to each side and nailing them in place. Toenail the leftover top sections of wall studs into the top of the header. Once secure, you can remove the temporary support structure.
The space under the header and between the king studs will need removal next. You can remove the exterior siding before doing this step if you wish. Use your reciprocating saw to cut out the wall section, including the studs, and remove the section.
To create a floor for your bump out, first, attach a two-by-ten or two-by-eight ledger board extending the width of the addition plus its walls to the garage wall's exterior with its top equal to 3/4 inches below the existing garage floor height. You may have to remove a small amount of siding for this part. Support the ledger with extra lumber material or anchor it to the garage's concrete blocks if possible. You'll come back to anchor it more securely later.
Use a post-hole digger and concrete to secure treated support posts according to your construction plan for the far side of your bump out. In many municipalities, a frost-depth footing will be necessary at this step. Once your footings and posts are secure, follow the floor-framing plan to build your structure from treated two-by-eights or two-by-tens. Sheath the floor with 3/4-inch treated plywood and fasten it with 2-inch nails and construction adhesive.
You may also install your garage bump out onto a concrete slab instead of a wooden floor. For that, set your concrete forms equal to the existing garage floor height and fill them with concrete and reinforcing material if necessary for your location. Allow the slab to cure for at least 24 hours before proceeding with the next steps. Check with your municipality for any additional support requirements.
To secure the ledger board and create a smooth walking surface, pour concrete between the ledger board and the garage floor to fill the gap and make them level with each other and smooth with a trowel. Use concrete anchors through the ledger board to firmly secure it to the garage structure after allowing 24 hours for the concrete to cure.
While waiting for the concrete to set, you're free to start the next building step but use caution not to disturb the wet concrete.
Build each of the three bump out addition walls individually by laying them out and constructing them flat on the new floor before raising them and securing them in place with 3-½-inch nails through the flooring and to each other. Many municipalities will also require fastening your walls with metal clips or fastening plates. Frame your walls to accommodate any windows you choose to install as well.
To frame the roof, cut away the garage siding to accommodate the rafters nearest the existing garage wall and fasten them directly to the structure's sheathing. Build the remaining rafters or install roof trusses to speed up the process. Secure the rafters or trusses with nails and hurricane ties, if necessary where you live.
Complete the roof by securing 1/2-inch plywood to the top of the rafters with 2-inch sheathing nails and roofing spacers. Install roof flashing, underlayment, and roofing material according to the manufacturer's instructions for the products you're using and in accordance with the local building code.
Install the 1/2-inch wall sheathing plywood and fasten it with 2-inch sheathing nails. Next, install the windows, house wrap underlayment, and siding to match the rest of the garage.
Putting any addition onto your home or garage will always be a huge task. However, an experienced DIYer can complete this project with patience and the help of some friends or family over the course of several days. That said, installing a bump-out addition certainly isn't for every homeowner. The job requires heavy lifting, ladder or scaffolding work, and specialized skills.
Most homeowners choose to hire a local garage remodeling company that can handle everything, including developing the plans and drawings, obtaining permits and ensuring code compliance, digging, constructing, and finishing your project within a couple of days while you sit back and relax.
Company came to look at my garage door that was off track. They also said I needed a brace on the other garage door. They put the door back on track, and I paid to install the brace. The technician told me I needed a new garage door opener, and it would cost $1000. Red flags went off in...
 Precision Overhead Garage Door Service
I highly recommend KTM construction! I will look no where else for anything that needs to be done, in or out side of our property. The level of craftsmanship is 5 star service across the board! The level of detail, knowledge and professionalism is 5 star service across the board! Ken is a...
Replace garage doors: Fast response, competitive estimate, timely work done well.
Called Mark on a Thursday morning. Not really knowing if he could help me or not. I was having driveway, flooding issues due to a clogged channel drain and I was trying to figure out what direction to take. Heavy rains had come on Monday and again on Thursday leading to flooding in my garage...
Not well. I originally emailed Garage Gurus on 8/6, again on 8/9, and again on 8/11. In the meantime I left two voice messages with their answering service; both times I was told that an estimator would "get right back" to me. Not even the courtesy of a reply of any kind. Extremely...
This company is amazing! My garage door broke this afternoon and was stuck in the open position. I couldn't leave with the door open so I called Sanford and Sons because the company was recommended by the manufacture of my garage door motor. Nancy answered the company phone and problem...
The workers parked large trucks and trailers in the street that, on many occasions, over several months time precluded me from being able to get my car out of my garage. Additionally, it made for difficult movement of traffic on the street. Frequent request to the workers and to the property...
We had two outdoor fixtures swapped for motion sensing fixtures and a GFCI outlet added to the outside of the garage for the bird bath heater. <br /> He arrived at the agreed upon time and I was surprised and impressed at how quickly everything was completed. <br /> I would definitely...
 Powers Electric LLC
I received a glowing recommendation of RoofWise from my accountant & contacted them regarding a stubborn leak I've battled where the family room addition meets the original house. I also asked for a recommendation regarding ongoing garage leaks. Following a detailed inspection Roofwise...
 RoofWise Roofing Inc
Met with and received a detailed estimate from the owner who also answered all the questions I had about the work. Work was delayed by unusually rainy weather, but I did receive periodic scheduling updates by email. When the weather broke, the painting was completed in an extremely...
 Fresh Touch Custom Painting Inc.
From average costs to expert advice, get all the answers you need to get your job done.
A bump-out addition is right for you if you want to add extra space to your home without adding a new room. Learn about the different bump-out addition costs.

The cost to add a room above a garage can be well worth it because it boosts your home's square footage and value. Let’s take a look at the cost and ROI.
Garage floor replacement costs $2,200 on average but can vary depending on several factors. Review our guide for a more accurate estimate.
Building a bump-out addition creates more functional space in your home while also boosting its resale value. Learn more about their costs, benefits, and uses.
If your current home feels cramped but you don’t want to move, consider spending money on one of the eight common types of home additions.

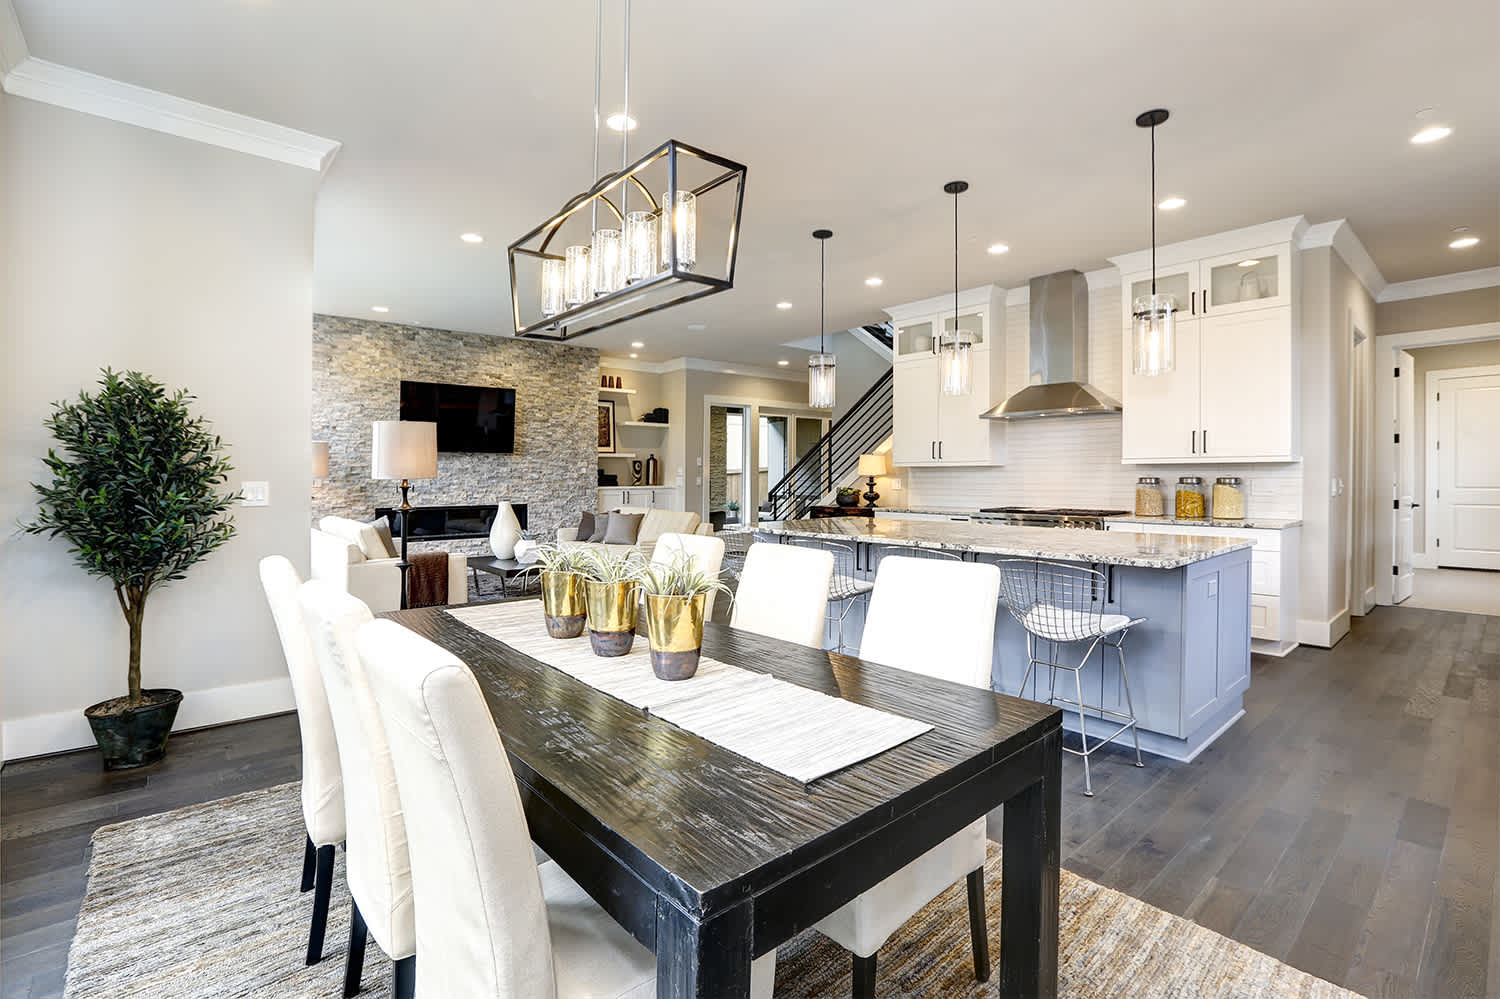
Learn the benefits of adding a kitchen bump-out to your home to add space and function, and learn if one could be right for you.