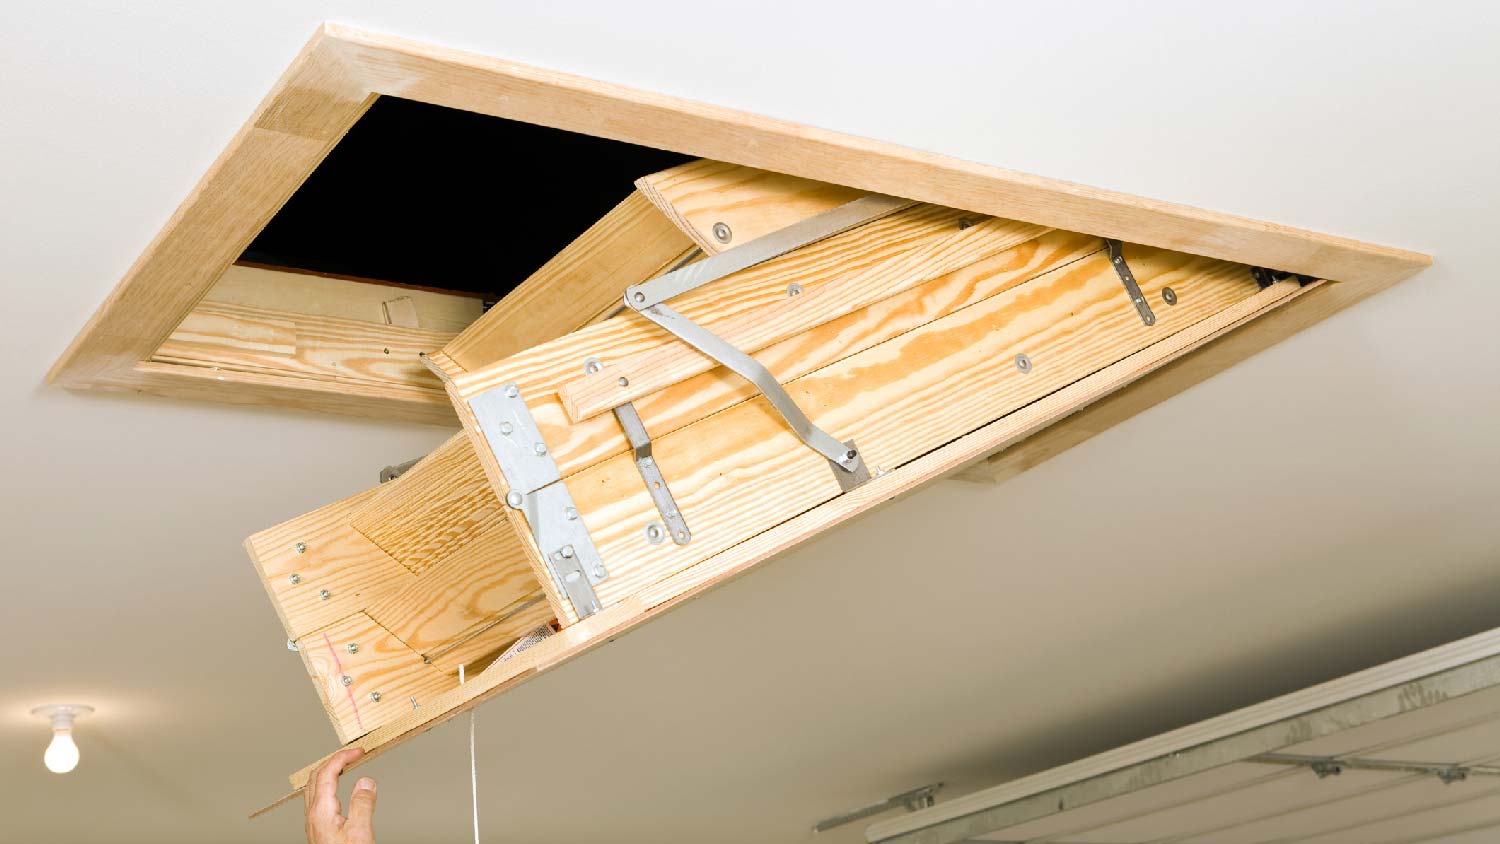
Replacing or installing an attic ladder provides a safe way to access your attic. Learn what factors affect attic ladder installation cost to help you budget.
You don't need to be a professional woodworker to build your own towel ladder

Building a DIY towel ladder requires basic woodworking skills, safety gear like glasses and ear protection, and tools including a miter saw and drill.
Professional carpenter labor costs between $35 and $100 per hour plus materials, while premade ladders range from $50 to $400 depending on style and quality.
You can customize your towel ladder's height, width, and rung spacing to fit your bathroom space, whether it leans against a wall or mounts above fixtures.
Hiring a local carpentry professional takes the guesswork out of cutting, drilling, and assembly, ensuring your ladder is sturdy and perfectly sized for your space.
A towel ladder, sometimes also known as a blanket ladder, can help create more storage—and style—in a bathroom. Not only does it give you an out-of-the-way place to store towels, but it puts them on full display.
If you’ve been wondering how to construct a DIY towel ladder for your home, we’ve got you covered. Our step-by-step guide lets you know what materials to gather, how to put them together, and how long everything will take. Let’s get started.
Difficulty Score: 2 out of 5
Time: 3 hours (includes drying time)
Tools and Materials Needed:
(1-2) pine dowel rods, 1” in diameter
(2) 2”x3” pine studs
Miter saw
Wood glue
Sandpaper (various grits)
Brad nailer (optional)
Drill with a three-quarter-inch paddle
Hardwax oil
Red buffing pad
White buffing pad
Making a DIY towel ladder isn’t an advanced woodworking project, but there are still some safety protocols you should follow.
When cutting wood, always wear safety glasses. Earplugs or muffs should be worn when operating loud power tools and machinery. Finally, wear a respirator or face mask when sanding or using a drill to keep fine particles from entering your lungs.
Once you have all your protective gear together, you can officially kick off the project by determining your towel ladder’s measurements.
You can completely customize the towel ladder’s size based on your available space. A towel ladder resting against a wall will need to be taller than one mounted above a toilet. You should also decide how many rungs you want your ladder to have and how wide you want them to be.

Now that you have your personalized measurements, it’s time to cut. Mark your pine boards to size and cut them with a miter saw.
Next, mark your dowels. Keep in mind that they will sit one-half-inch inside the board on both sides. If you don’t want to lose any length, add 1 inch to your measurements and mark accordingly. Cut as marked.
Once all your pieces are cut, sand them smooth. An electric hand sander will be faster, but you can sand by hand as well. Start with 120-grit sandpaper and follow up with 220-grit. If needed, you can finish with 320-grit sandpaper for a perfectly smooth finish.
Next, measure out the spacing between the rungs of your ladder. If you’re not sure where to place the rungs, take a few minutes to assemble your ladder on the ground to get an idea of what it will look like with different degrees of spacing.
Once you’ve decided, carefully measure and mark where to drill each hole. To prep your drill, you can either mark it with one-half inch of colored tape or position a collar to keep you from drilling too deep.
Once prepped, drill coordinating one-half-inch deep holes on one side of each board, making sure they all line up perfectly. Finish with a light sanding.
Sand down the edges of each rung. This will help them fit snugly inside each hole. Fill the holes on one 2-by-3-inch pine stud with wood glue. Insert the rungs.
Quickly fill the holes of the other 2-by-3-inch pine stud with glue and sandwich the rungs. Secure each rung with a clamp. If you don’t have clamps, place the ladder on one side and add weight to the other side for pressure. Wipe away excess glue with a damp cloth. Allow the glue to dry for at least two hours.
Optional: You can also use a brad nailer for stronger rungs. This is helpful if you plan on hanging baskets or storage bags on your ladder.

Remove your clamps and sand away any excess glue. Your towel ladder is ready for a finish. You can paint it, stain it, or just seal it if you like the natural look of the wood.
One suggestion is to use hardwax oil. The oil penetrates the wood fiber to form a hard protective coating. This is more durable than polyurethane or other topical finishes.
To buff the oil on, pour a bit onto a red buffing pad. Work the oil into the grains of the wood in a thin, even coat. Remember that less is more when it comes to wax oil finishes. Immediately after applying the oil, use a white polishing pad to remove any excess. Repeat the process until you’re happy with the finish.
Your DIY towel ladder is now ready to be proudly displayed!
You can certainly hire a professional carpenter to construct a towel ladder for your bathroom. You can expect to pay between $35 and $100 per hour for labor, according to HomeAdvisor, plus materials. You can reach out to a carpenter near you to get an exact quote.
You also have the option of buying a premade towel ladder. Online prices range from approximately $50 all the way up to $400. If you’re a fan of repurposing furniture, you may be able to track down a ladder at a second-hand store that you can cut to size or refinish.
Showed up on time and cleaned carpets well, but didn?t move furniture.
My kitchen cabinets look brand new thanks to Custom Paint Jobs LLC. Their refinishing is exceptional.
Couldn't have been a worse experience. 3 of my belongings were lost and 5 belongings were damaged. My furniture was clearly dragged across the ground. The movers couldn't move the furniture I paid extra heavy weight fees for so I had to help them move my own furniture. The manager gave me...
 US Interstate and Rail
SOOOOOOO SHADY!!! We were quoted a max of $500 for 2- one bedroom apartments in the same complex moving to a two bedroom apartment 10 minutes away. The only large furniture that would be moved were 2 beds, 1 dresser, and a couch (very minimal heavy lifting). The movers showed up and joked...
 All My Sons Moving & Storage
Just moved from PA to Columbus in a studio apartment and needed help with some heavy furnitures because I couldn't do it alone. I called Hyremovers and they did a great and timely job and also left my apartment walls intact. Great service!
We ordered our bedroom furniture online in March with expected delivery in early April. 2 days before our delivery we received notice that the delivery would be delayed 2 weeks. We were very understanding and had no complaints. Again, 2 days before our new delivery date we received a notice...
Went well overall! The two downsides were 1) they only provided 2 of the 3 men promised and 2). the office guy who surveyed our apartment prior to the move underestimated the amount of stuff we had so the truck was too small. This meant the moving day lasted a bit longer than anticipated....
 Mr. Mover of Ohio Inc
I would absolutely recommend this business. They offer a variety of services, including: painting, roofing, and refinishing wood flooring. I hired them to refinish the original hardwood flooring in my home built in 1874. The job was quite challenging, as the floors were extremely aged and...
Removed various items (furniture, lamps, other junk) from my home. They were on time, personable, professional, etc. I can't say enough positive things about this company. <br />
Leaders does a very professional and affordable job. They were reliable and the movers treated our furniture like their own. I have used them twice, and I have recommended them to others. You can't find a better moving company in Columbus. <br />
From average costs to expert advice, get all the answers you need to get your job done.
Replacing or installing an attic ladder provides a safe way to access your attic. Learn what factors affect attic ladder installation cost to help you budget.
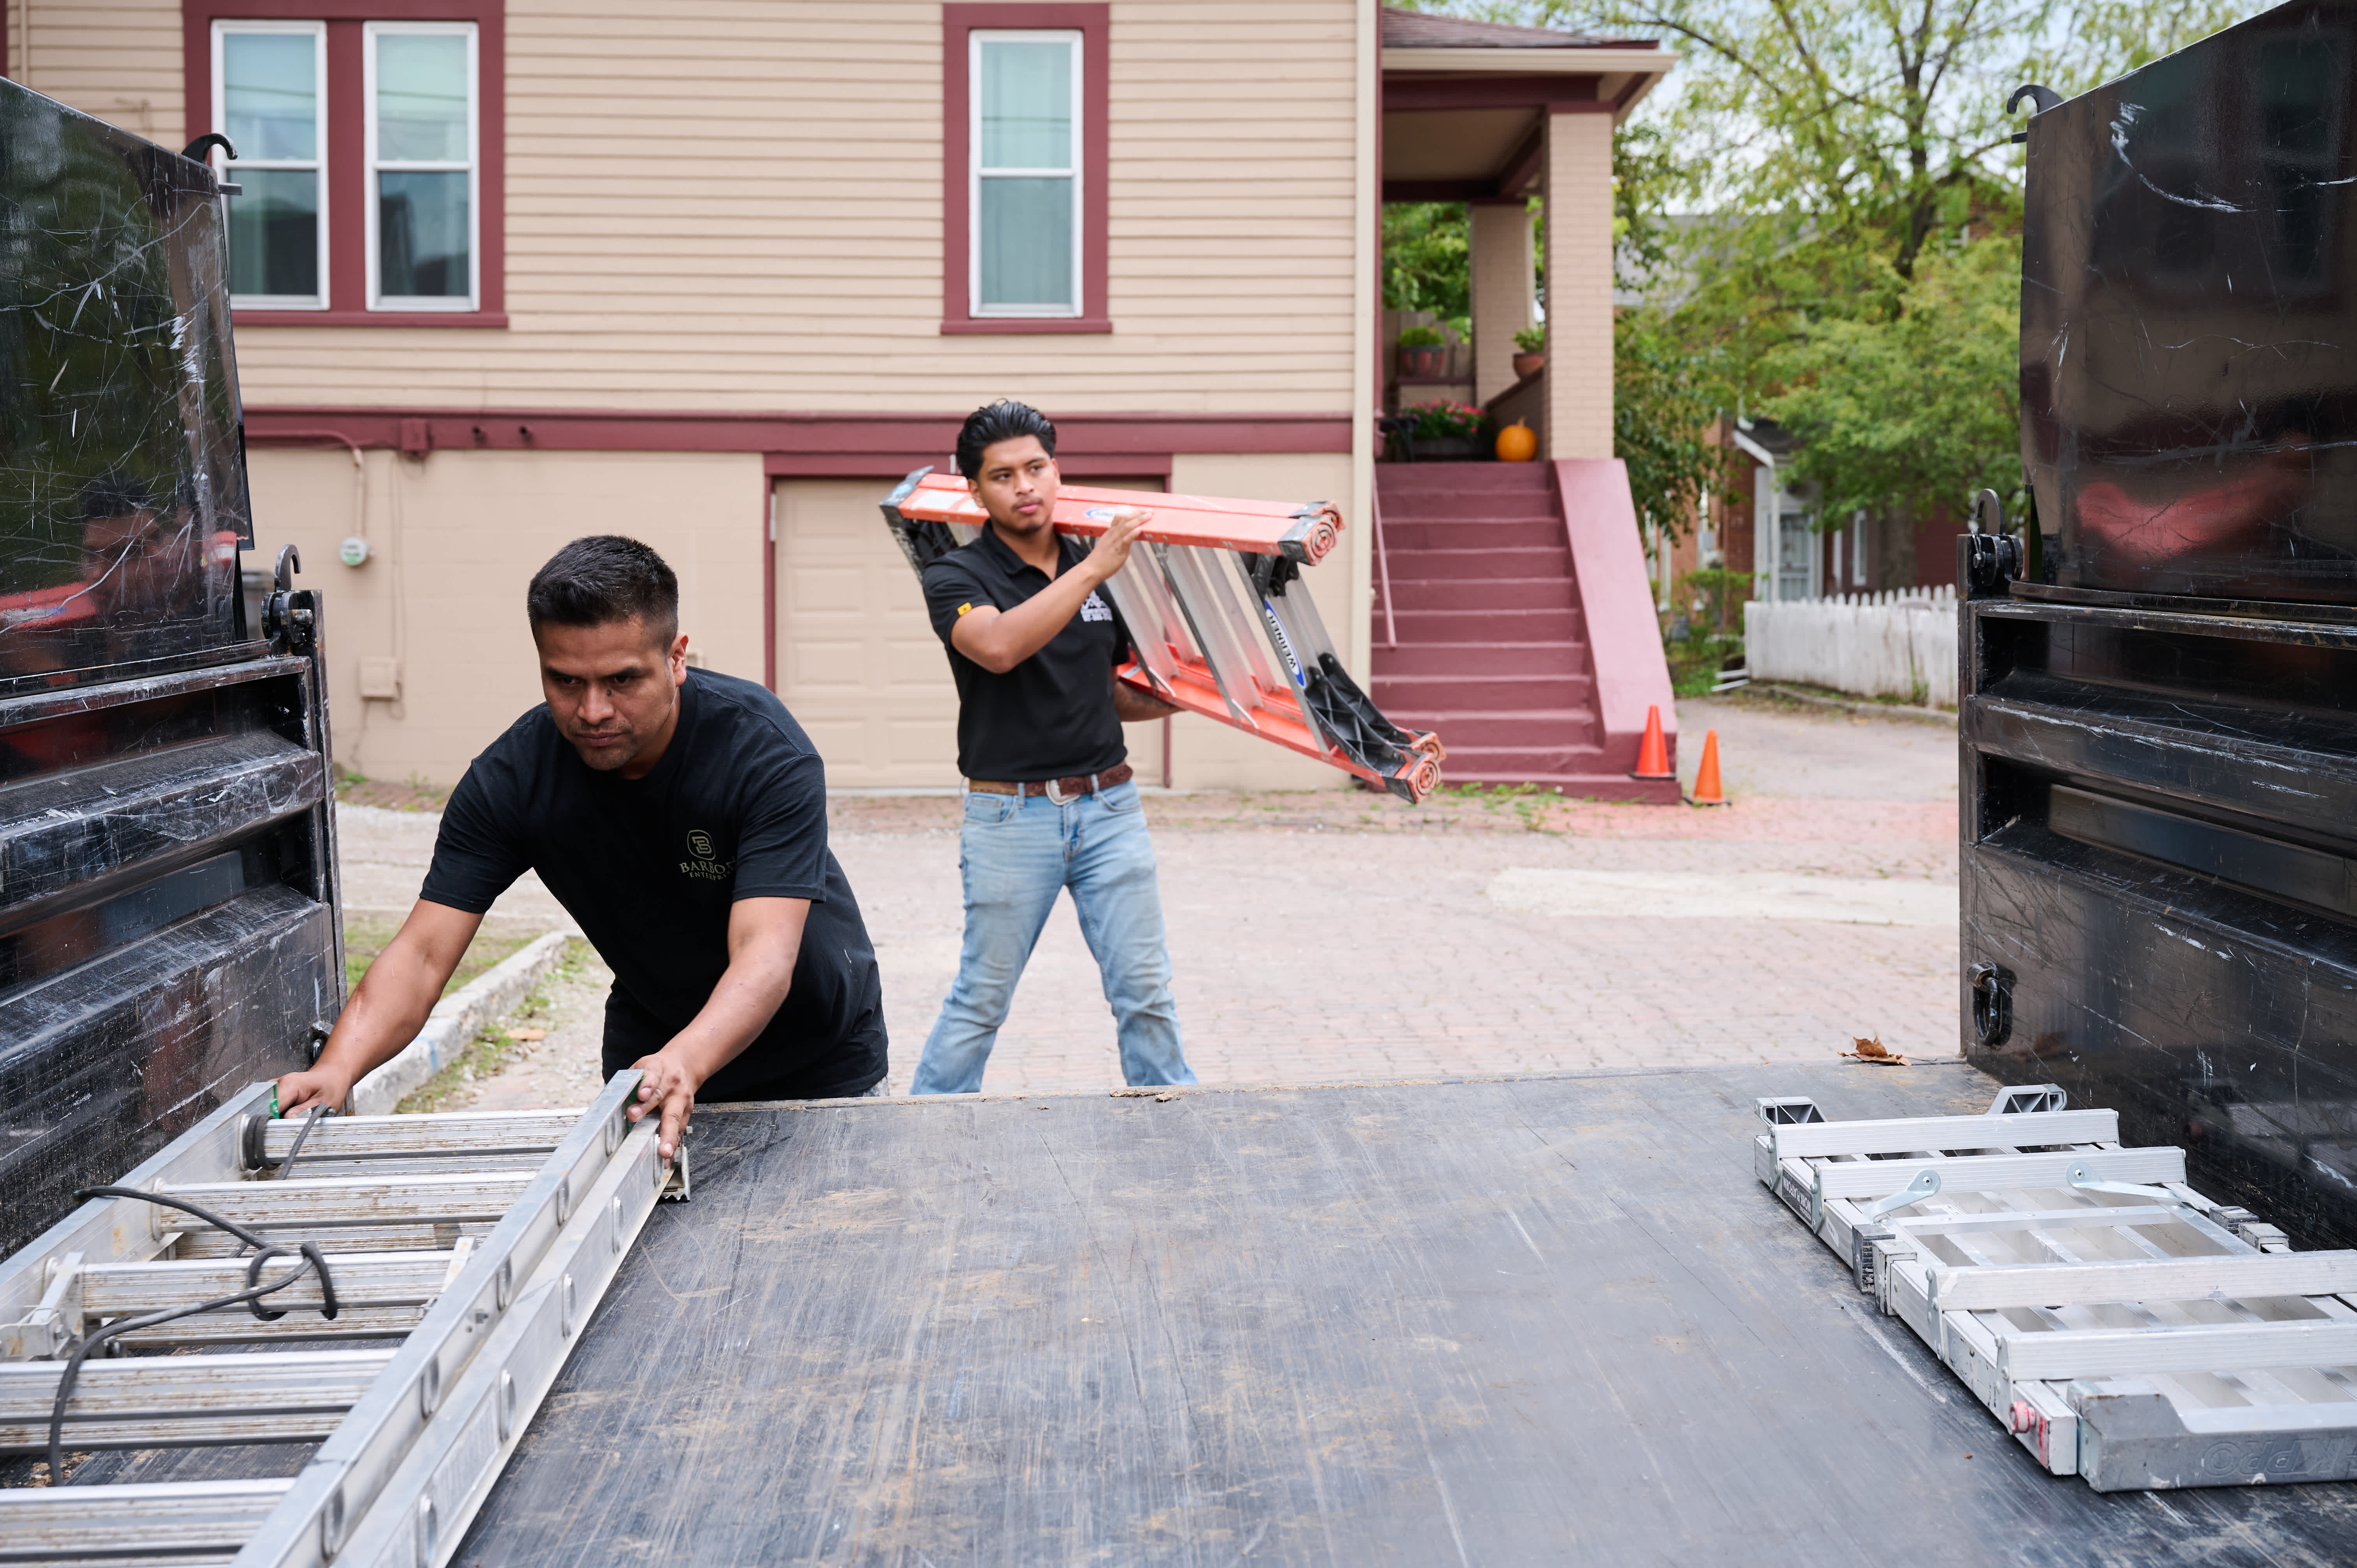
It's crucial to plan ahead and play it safe when using a ladder to handle household tasks. Tackle your home project one step at a time with our ladder safety guide.
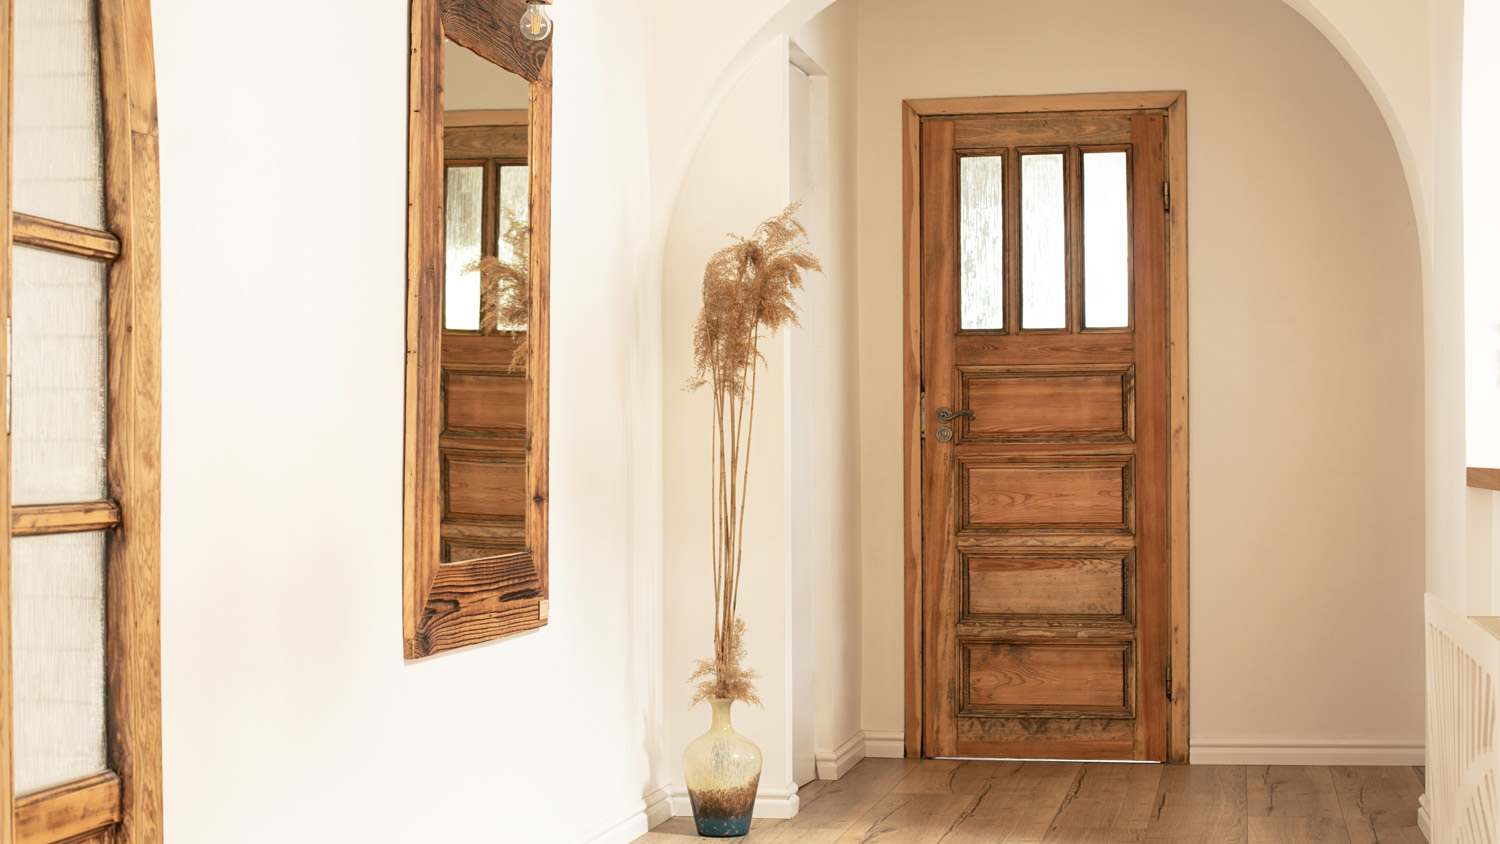
Repurposing furniture is an easy way to breathe new life into old, beloved pieces. With the right tools and a bit of time, just about anyone can DIY this project.

Tired of tangles? Learn how to store Christmas lights without damaging them to ensure next year’s decorating goes smoothly.
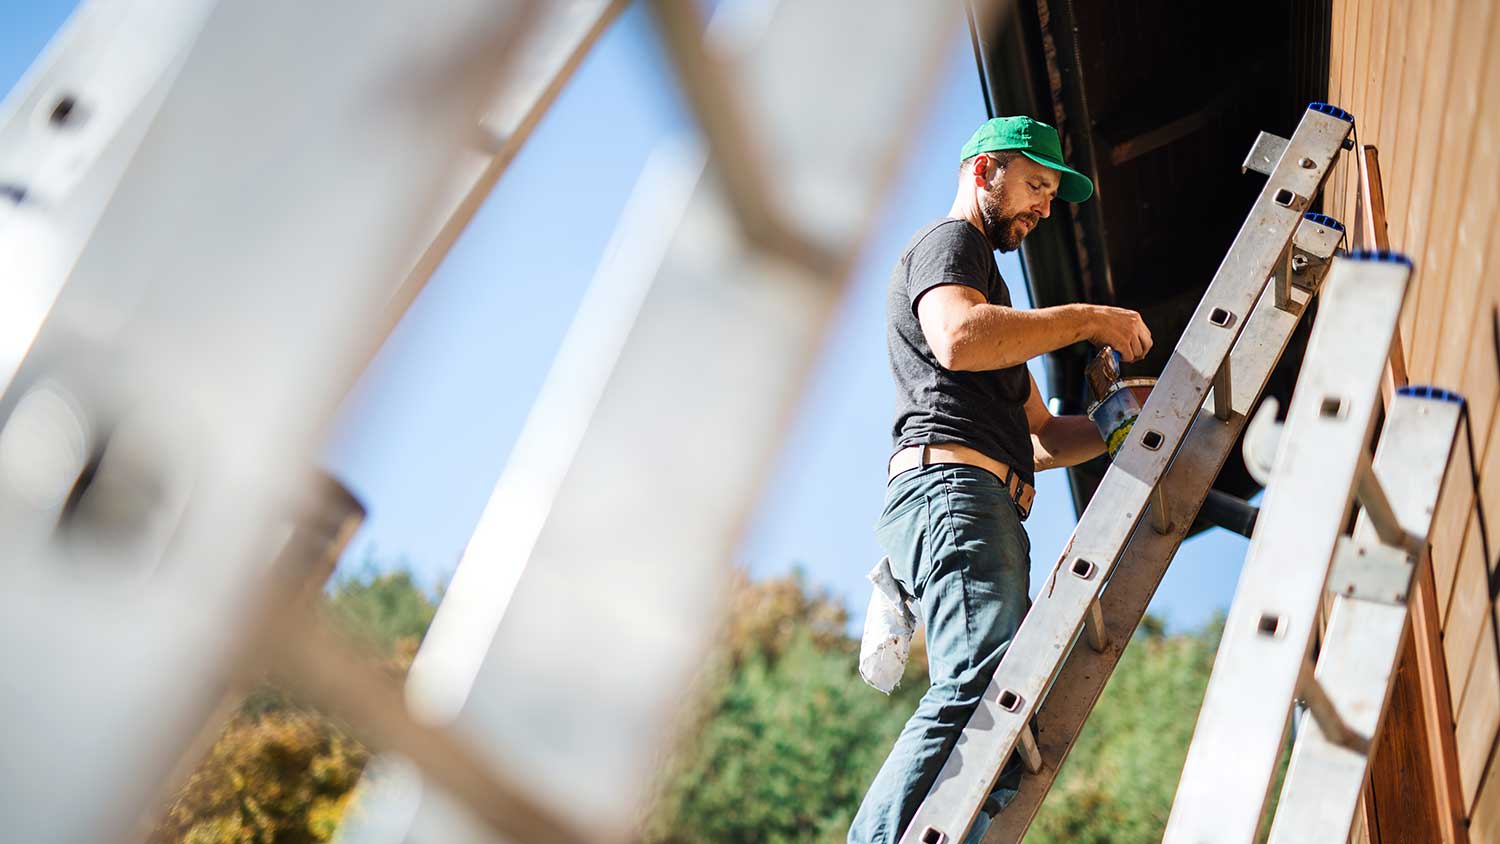
When using a ladder to paint, it’s crucial to follow necessary safety measures. Learn about how to properly use a ladder so you can safely get the job done.

Learn how to hang Christmas lights on gutters with or without your home's gutter guards in place and with or without a ladder. Follow our guide to learn more.