Get transparent furniture refinishing cost information and learn average prices, cost factors, and ways to save before hiring a pro and starting your project.
Update old furnishings with chalk paint in just a few easy steps.


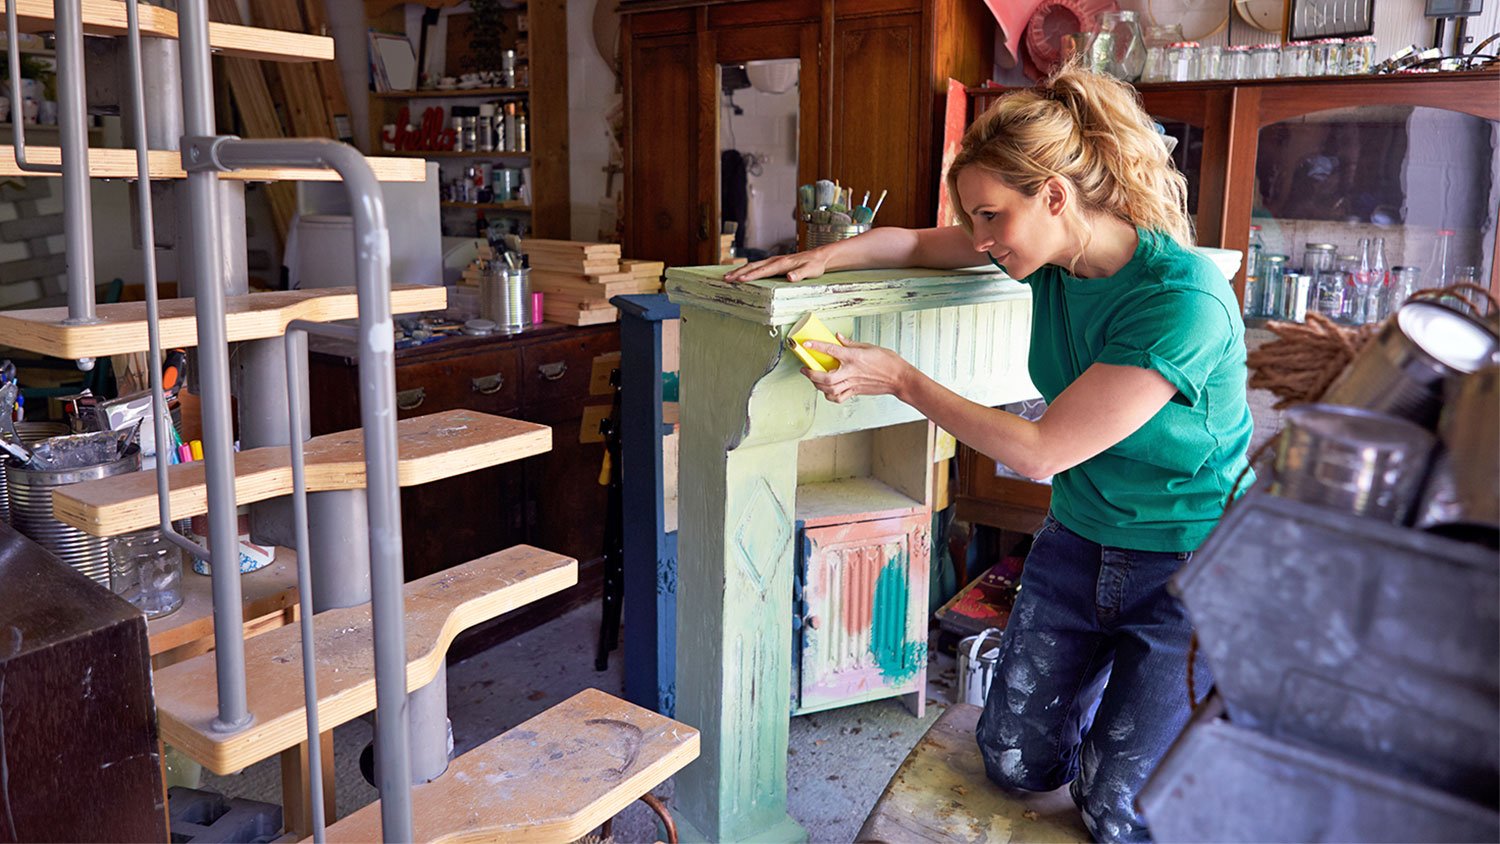
If you’re looking for a way to add a little something special to your old pieces of furniture, let us introduce you to chalk paint. This alternative to traditional paint creates surfaces that look as though they’re covered in actual chalk, and even creates the same texture and color gradient to boot. Plus, applying it is no more difficult than what you’re used to—though there are a handful of tricks to keep in mind for the best and most professional-looking results.
Here’s how to paint furniture with chalk paint, from small objects like bedside tables to larger pieces like entertainment centers.
As is the case with any other kind of paint, it’s important to prep your work area before getting started. Move your furniture to a relatively empty area of the house, where you’re unlikely to accidentally make a mess on anything nearby. Cover up what you can’t move with a drop cloth or two. And use painter’s tape to create neat lines and shield any parts that aren’t removable from unwanted splatter.
Before you begin painting, remove any knobs or handles from your furniture and set them somewhere safe (and where you know they won’t get lost!). Then, disassemble the whole thing so each part is easier to paint. For example, remove cabinet doors from bathroom vanities to get into the tight spot that’s normally between the hinges. Or take out drawers to reach the sliding mechanism that’s usually inside.

Use a microfiber cloth or duster to remove as much dust as possible from your piece. Then, using an all-purpose cleaner or gentle, homemade cleaning solution, wipe down the furniture until no dirt remains. Try to use as little water as possible, especially on wood furnishings, because the extra moisture can cause damage.
To ensure even coloring and consistency, always thoroughly stir chalk paint before applying. Use a wood stirrer or anything else that you have on hand that would get the job done. Or, you can flip the can upside down a few times before opening it to shake up the paint inside.

With a paintbrush or roller (which you use will depend on the size of your furnishing), apply the chalk paint to each part of the furnishing in even layers. If you’re using spray paint, make sure to set up shop in a well-ventilated area.
Let the first coat dry completely before applying a second coat. Once that’s dry, evaluate the color to determine whether or not it will need a third coat.
Once the paint has completely dried and the color and texture are to your liking, use another paintbrush to apply a coat of furniture wax. The wax coat should be thick enough to protect your furniture from damages and color fading, but not so thick that it attracts dirt or creates visible smears or defaults.
Here are a few extra steps that you can take to ensure your chalk-painting project is a complete success.
If the piece of furniture that you’re thinking about painting has an unusual surface, or one that paint might not easily adhere to, a bit of sandpaper will save the day. Use 120- to 220- grit sandpaper to remove pre-existing paint, primer, or varnish and you’ll struggle less to add a new coat.
Holes and chips don’t just go away because you paint over them. Oftentimes, they’re still visible even after several coats. Eliminate this problem entirely by filling in defaults and damage with wood filler or glue, let it dry completely, and sand to smooth before painting.
Dark surfaces tend to bleed through chalk paint more easily than traditional paint, but there’s an easy fix for this common problem. Applying a coat of primer before painting will seal the original surface and prevent the color from poking through.
Hiring a professional painter for small or medium-sized jobs ranges from $200 to $2,000 on average, according to HomeAdvisor. However, the cost of chalk paint supplies to do it yourself can be as little as $80 for everything involved, so you can save a lot by going the DIY route.
From average costs to expert advice, get all the answers you need to get your job done.

Get transparent furniture refinishing cost information and learn average prices, cost factors, and ways to save before hiring a pro and starting your project.

Discover the average furniture reupholstery cost, what impacts pricing, and how to save money on your next project. Get expert tips and cost breakdowns.

Wondering how much it costs to refinish a table? Get average prices, cost factors, and tips to help you budget and choose between DIY or hiring a pro.

If you’re looking into refinishing some furniture, here are some common furniture refinishing questions you can expect to discuss with a pro.

Wondering how much it costs to reupholster a chair? Learn about average prices, key cost factors, and ways to save on your chair reupholstery project.

Have a piece of furniture that doesn’t work in your space or needs a refresh? Learn how to paint furniture at home with these simple steps.