
•
Discover average window screen replacement costs, key price factors, and ways to save and budget for your window screen project.
There will be no screen left behind when you’re done with this DIY

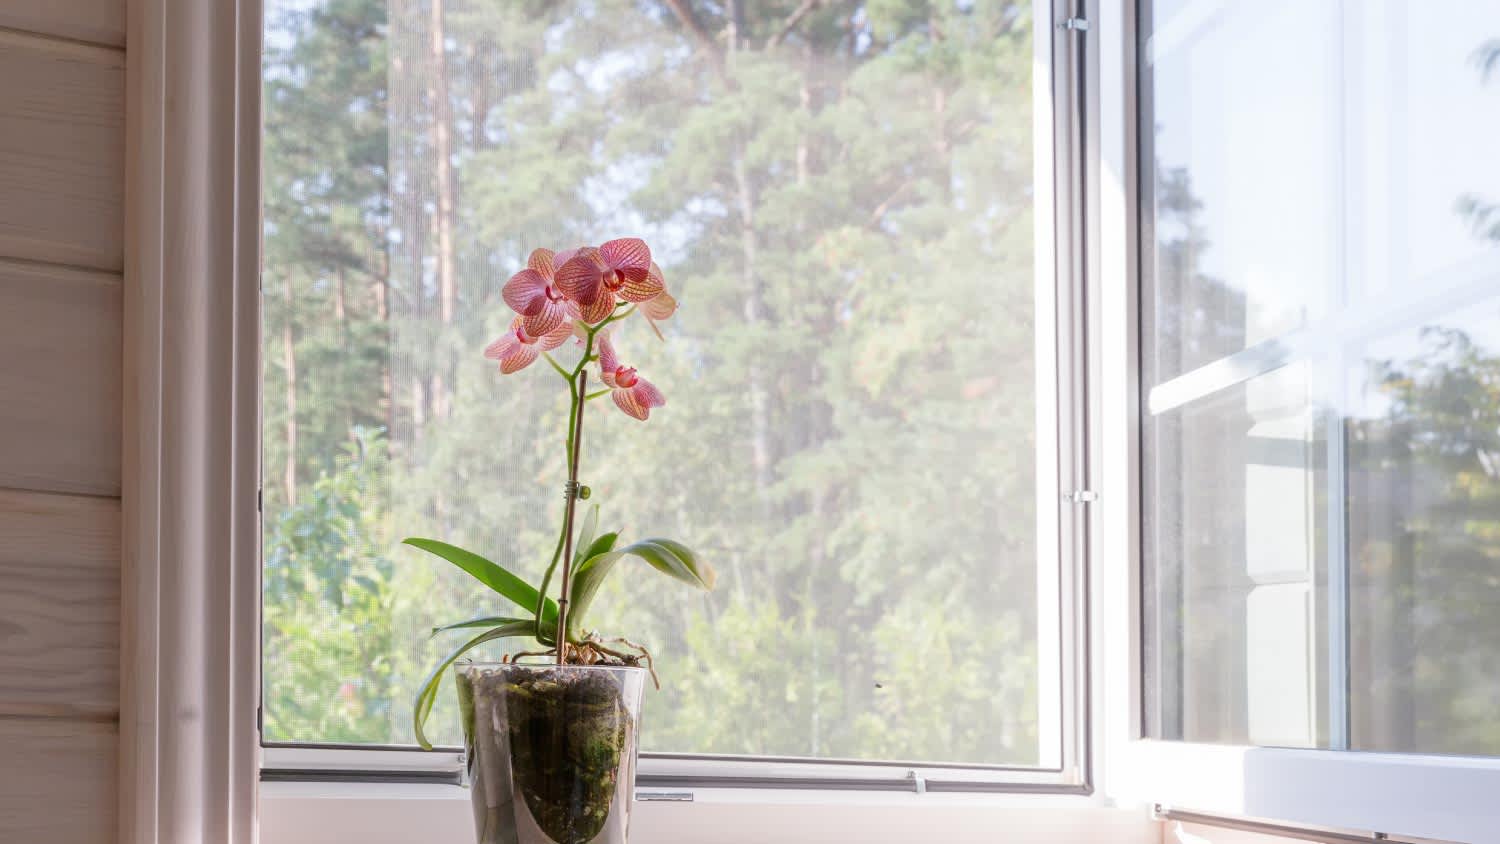
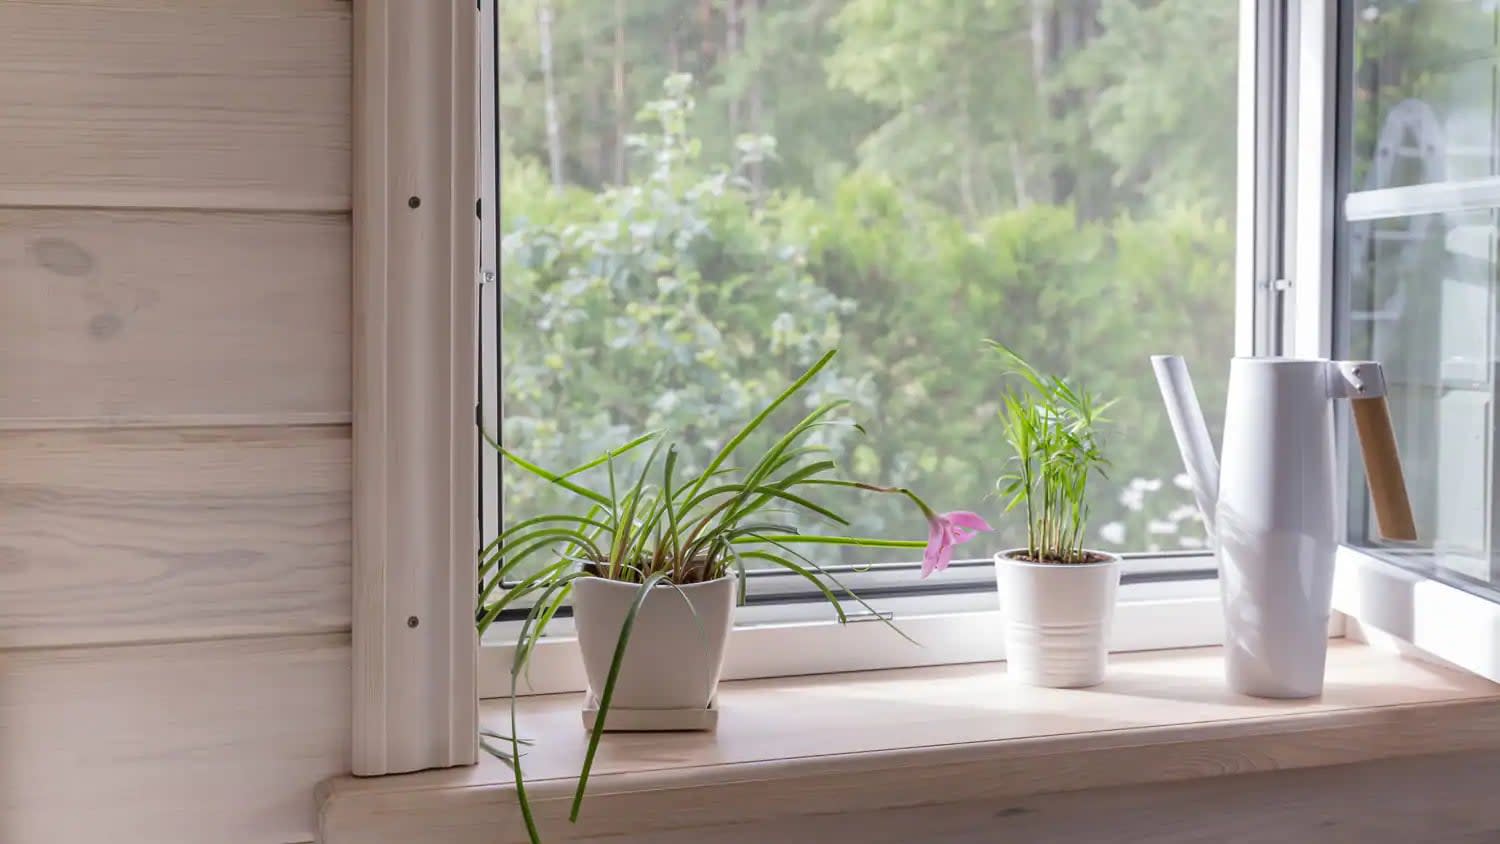
Window screens do so much more than keep the bugs out. They welcome fresh air, block leaves and dust, and even reduce the glare from the sun— making your home more comfortable year-round. Some are even designed to filter out allergens, like pollen, but over time, those hardworking screens can get dirty, damaged, or just worn out. If it’s time to clear, remove, or replace yours, this guide will walk you through getting your window screen off in seconds.
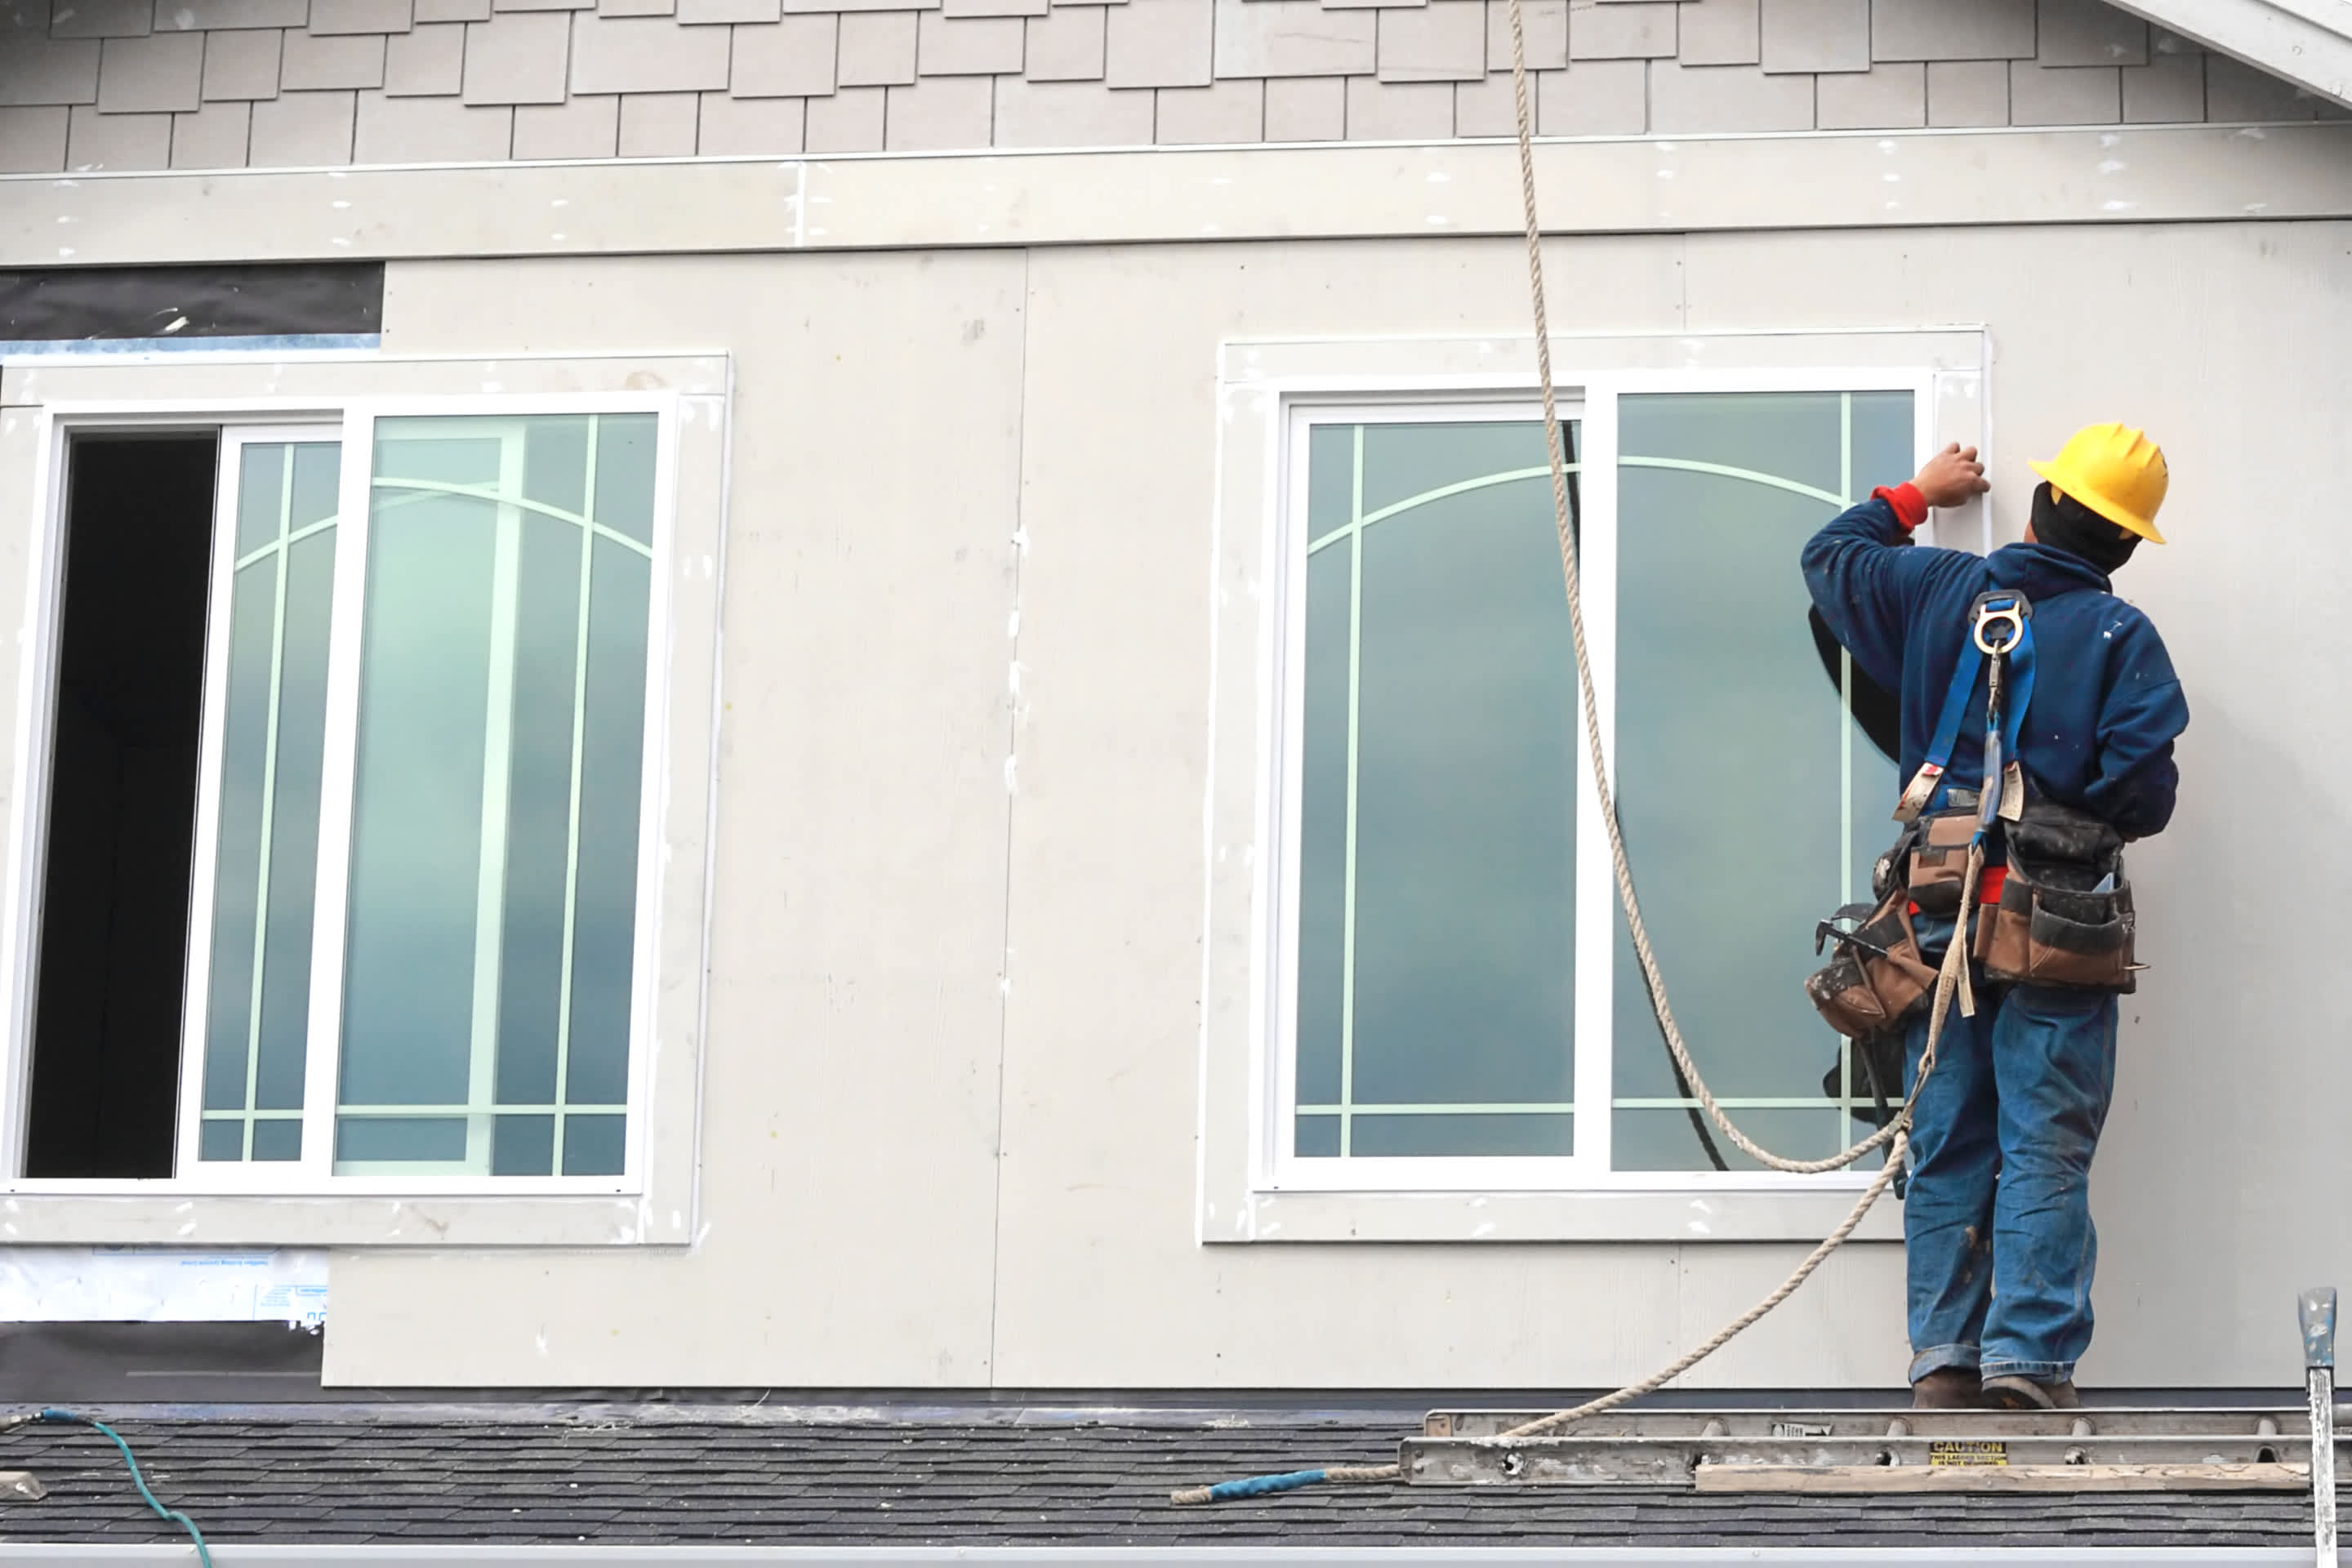
Complex, high-risk projects demand more than typical DIY projects. They require time, specialized tools, and trained expertise to make sure the job is done safely and correctly. We made it easy for you to find a local pro—with our skilled network, you'll get the job done without the stress of doing it yourself or significant safety risks.
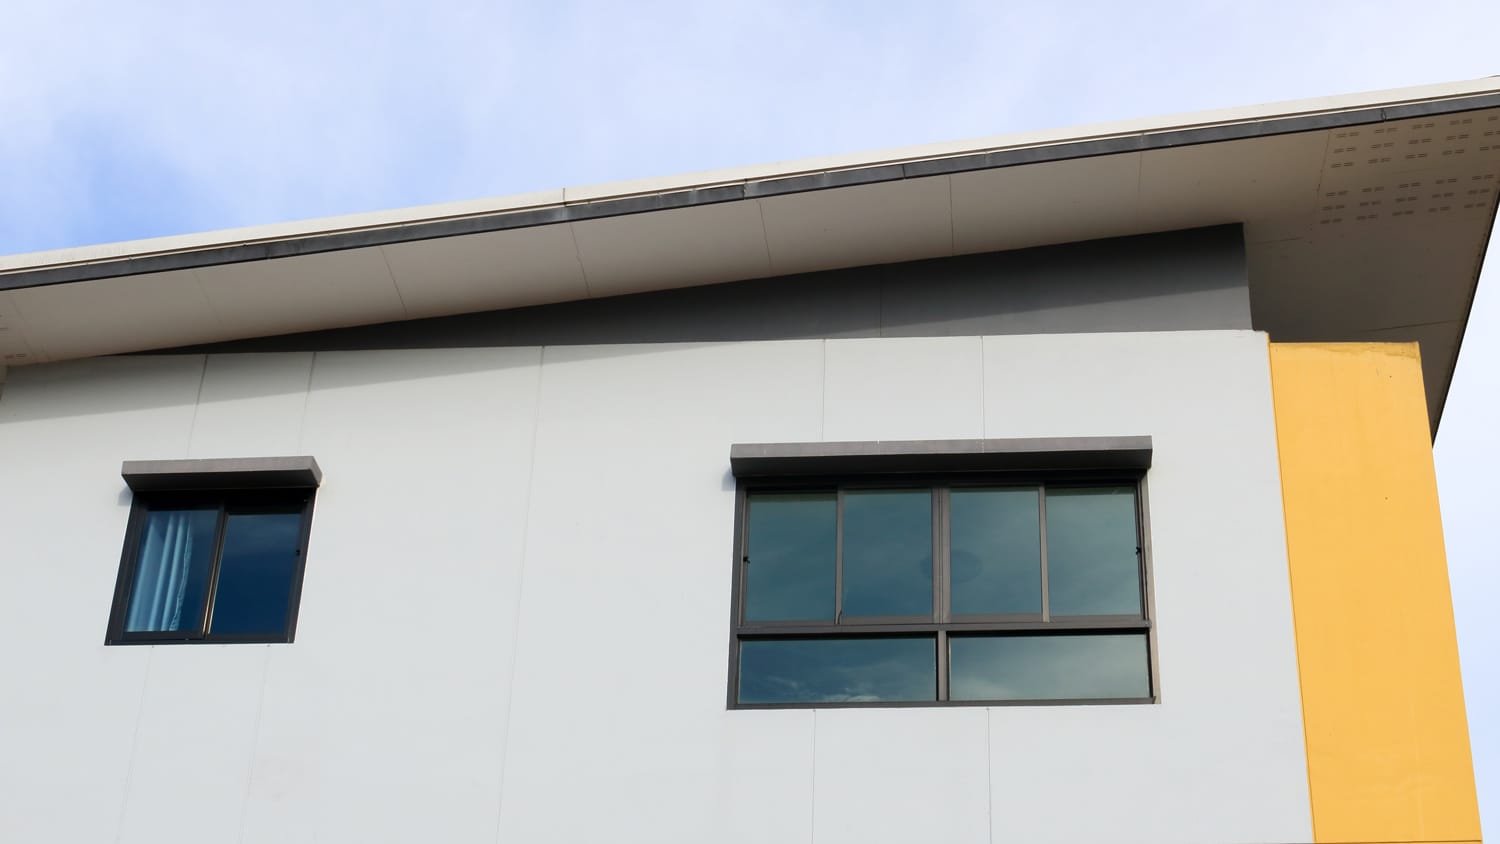
Getting the screen off your window starts with knowing exactly what type of window you’re working with. It’s a step that gets skipped way too often, and that’s usually when things go sideways with bent frames, broken tabs, or a window screen that won’t budge. Different windows have different screen setups—some pop out easily while others are locked in place with clips or tracks. Here’s a quick breakdown of the windows you may have around your home:
Double-hung windows: The most popular type of window, double-hung windows have two sashes that slide vertically. The screen usually sits on the outside, covering the bottom sash. They’re typically held in with spring-loaded clips or small tabs along the edge of the frame.
Single-hung windows: The setup is nearly identical to double-hung windows, but only the bottom sash moves.
Sliding windows: These windows open side to side, and the screens usually slide in a track or lift out from one side. You’ll often find them in kitchens, basements, or rooms where you want a more panoramic view.
Casement windows: Hinged on the sides, these windows open outward with a crank. The screens are mounted on the inside and are usually fastened with small latches or tabs around the interior frame.
Knowing which window you have saves time, avoids damage, and makes removing and popping that screen back in easier later on.
Start by lifting the bottom sash of your double-hung window—just enough to give yourself room to work.
Take a look along the sides of the screen frame. You’ll see spring clips or tabs that keep the screen snug inside the window frame. These are what you’ll need to disengage to get the screen out.
Gently push inwards on one side of the screen where the spring clips are located. This should compress the springs and release the edge from the window track. Many double-hung windows also have small tabs at the bottom of the screen—usually one on each side. Push these tabs toward the center of the screen. Doing this helps pop the screen out of the frame more easily.
If the spring clips are stubborn, use a flathead screwdriver to nudge them inward, but take it slow to avoid damaging the frame or scratching anything.
With the clips compressed and the tabs released, pull the bottom edge of the screen toward you. Tilt it slightly as it starts to come free from the window frame.
Now that the bottom is loose, lift the screen upward, angling it slightly, and pull it out carefully.
Slide the lower sash up just enough to give yourself access to the screen. Since the upper sash doesn’t move in a single-hung window, all your working space comes from the bottom.
Take a good look at the top and sides of the screen frame. You'll find spring-loaded clips or small pins holding the screen in place. While this part is similar to double-hung windows, the screen on a single-hung version could have differences in how it’s secured, especially at the top near the fixed sash.
Apply, light steady pressure to the side of the screen with the clips or pins. This might mean pushing the frame inward (to compress a spring clip) or sliding out pins, depending on the style. If the clips are at the top, you’ll need to gently press the upper portion of the screen inward to loosen it and vice versa if the clips are on the bottom. A flathead screwdriver can help nudge any stubborn spring clips inward.
Once the retainers are disengaged, tilt the bottom edge of the screen toward you. Because the top sash is fixed, you may need to tilt it more than you would with a double-hung window.
With the bottom edge free, slide the screen out of the window frame.
Slide the moveable window sash to one side. You want it fully open so you have enough room to reach the screen with both hands.
Look at the edges of the screen frame, particularly along the top and bottom corners. Sliding window screens are often held in place with small latches, spring clips, or rollers. These may be tucked just inside the track, so you might need to look from an angle to see them.
How you release the screen depends on how it’s secured.
For spring-loaded clips, you’ll need to press inward toward the screen frame. You might feel some resistance before a soft click as they release.
Latches might need to be flipped, slid, or pulled. If they’re on the sides, the key is to move them horizontally inward, so some need to be pushed toward the center of the screen while others are pulled away from the track. Watch how they move and don’t force it.
Lastly, rollers often have small levers or tabs. To release the tension, these may need to be pushed up or down or pulled toward the middle of the screen.
Once the mechanism is released, lift the screen. Raise it just enough for the bottom edge to clear the track. If it doesn’t move easily, double-check that the latches or rollers are fully disengaged.
With the screen out of the track, pull it gently toward you and away from the frame.
Crank the window until it swings fully open. Casement windows operate on a hinge, and you need the entire opening to remove the frame.
Casement screens are usually held in place by interior retainers like latches, pins, or, in some cases, small clips. These are typically spaced along the sides or top and bottom of the screen. Before pulling at anything, figure out exactly what kind of mechanism you’re working with so you know how to approach it.
Latches and pins are the most common type of hardware for casement windows. Latches may need to be flipped or rotated. Pins can be pulled straight out.
Spring clips are less common in modern casement windows, but they often appear in older or steel-framed units. To compress the clips, lightly push inward or slide the screen to one side.
Once all the retainers are disengaged, pull the screen straight toward you. It should come free with minimal resistance. If it gets caught on anything, recheck the latches or pins. And that’s it. Your window screen is ready for cleaning, replacement, or storage.
Removing a window screen might seem like a quick five-minute task, but the wrong move is how screens end up bent, scratched, or tossed aside. A little patience and a few good habits can save you a lot of hassle—not to mention an extra trip to a home improvement store for a new screen. Here are a few common mistakes to steer clear of:
Forcing a stuck screen: Check for hidden latches, debris in the track, or tight corners before applying pressure. Gently wiggle the screen or use a flathead screwdriver to help nudge it free.
Grabbing the mesh instead of the frame: Always handle the screen by its frame. The mesh can tear easily, especially if it’s older or sun-damaged.
Lose small hardware: Keep a small dish or container nearby to collect pins, clips, or tabs.
Scratch the window frame: If you’re using tools, avoid direct contact with the frame. Add painter’s tape to protect finishes in tight spots.
Skip cleaning the tracks: After the screen is out, wipe down the window tracks. It helps the screen slide back in place.
Assume every screen is built the same: Even windows from the same manufacturer can use different screen attachments. Treat each one like it has its own setup.
Overlook existing damage: Before reinstalling, check the frame and mesh for tears or missing hardware. A damaged screen won’t sit right or keep insects out.
Remove the screen from the wrong side: Most screens are meant to come out from the inside, and rarely, the outside. Look at the frame and screen edges before starting. Forcing it from the wrong side can bend the frame or damage your window.
If you’re unsure or have specialty screens that require extra care, it might be worth calling in a window screen replacement professional.
For most homeowners, popping out a window screen costs next to nothing, but not every screen job is that straightforward. Exterior-mounted screens, sun screens, or anything high up might require ladder work or extra care. If you have a lot of windows, your windows are tricky, or you don’t feel like risking a bent frame or a fall, it might be a sign to call in a window screen replacement professional. Yes, professional window screen replacements cost more—typically $20 to $50 per window—but remember, professionals come with tools, experience, and insurance.
Positive experience. As previously stated, the replacement/repair could not be completed (no fault of the plumbing tech) b/c misinformation was rec?d by property management maintenance. Thanks to the plumbing tech for your efforts. Appreciate you!
 The Waterworks
Carpet repair done well. Scheduling was easy. Showed up on time.
I would recommend this company to anyone! He showed up on time, was friendly, completed a very difficult repair on our dryer vent cover, was responsive, and pricing was extremely fair and competitive. I would have him back to do any of our repairs or cleanings without hesitation!
Everything from initial contact to completion was absolutely top notch. We contacted the business during off hours to leave a message, and the owner still reached out to feel out the issue within minutes. We were scheduled and repaired within 48 hours. I cannot say enough about the...
 Supreme brick & chimney
Ace Fireplace Services came to the rescue for my chimney repair. They were quick to pinpoint the issue and worked their magic to fix it. My chimney is now in excellent shape, and I'm a satisfied customer.
 Ace Fireplace Services
Description says they handle window repair including rotten hardwood - they called me back right away but didnâ t leave a voicemail. I followed up 3 days later and they said they donâ t do that kind of work.
Great guys. Spend a lot of time repairing and prepping our walls before doing the new paint. Home looks great now.
They did an excellent job with the repair, took care of all communication with the insurance company and had car rental service also with a very reliable, quality care
 Three C Body Shop
We recently had our office sidewalk repaired and CT Concrete did an "Outstanding" job. They were quick, friendly and the job is "flawless". I would highly recommend CT Concrete for any of your concrete/sidewalk needs.
Mr. Bunting repaired one broken brace (the "sticks" that connect the legs of a chair to make it stronger), and replaced another on two high end antique replica Windsor chairs I own. The one that was replaced required him to turn a new brace on a lathe to be the same as the missing brace would...
From average costs to expert advice, get all the answers you need to get your job done.
Discover average window screen replacement costs, key price factors, and ways to save and budget for your window screen project.
Discover how much solar screen costs, exploring key cost factors and expert tips to help you budget for solar screen installation on your home.
Are there holes in your screen and a squeak in your hinges? We break down how much screen door repair costs from small fixes to total replacement.

You’re probably already using them, but when it comes down to it, do you need screens on your windows? Learn about the pros and cons of using window screens.
Dusty, dirty, or rusty window screens can make your home look worn out, but cleaning them is easy. Here’s how to clean window screens, no matter how grimy.
Our guide walks you through how to remove window tint from home windows, including peeling the film and wiping away the adhesive.