
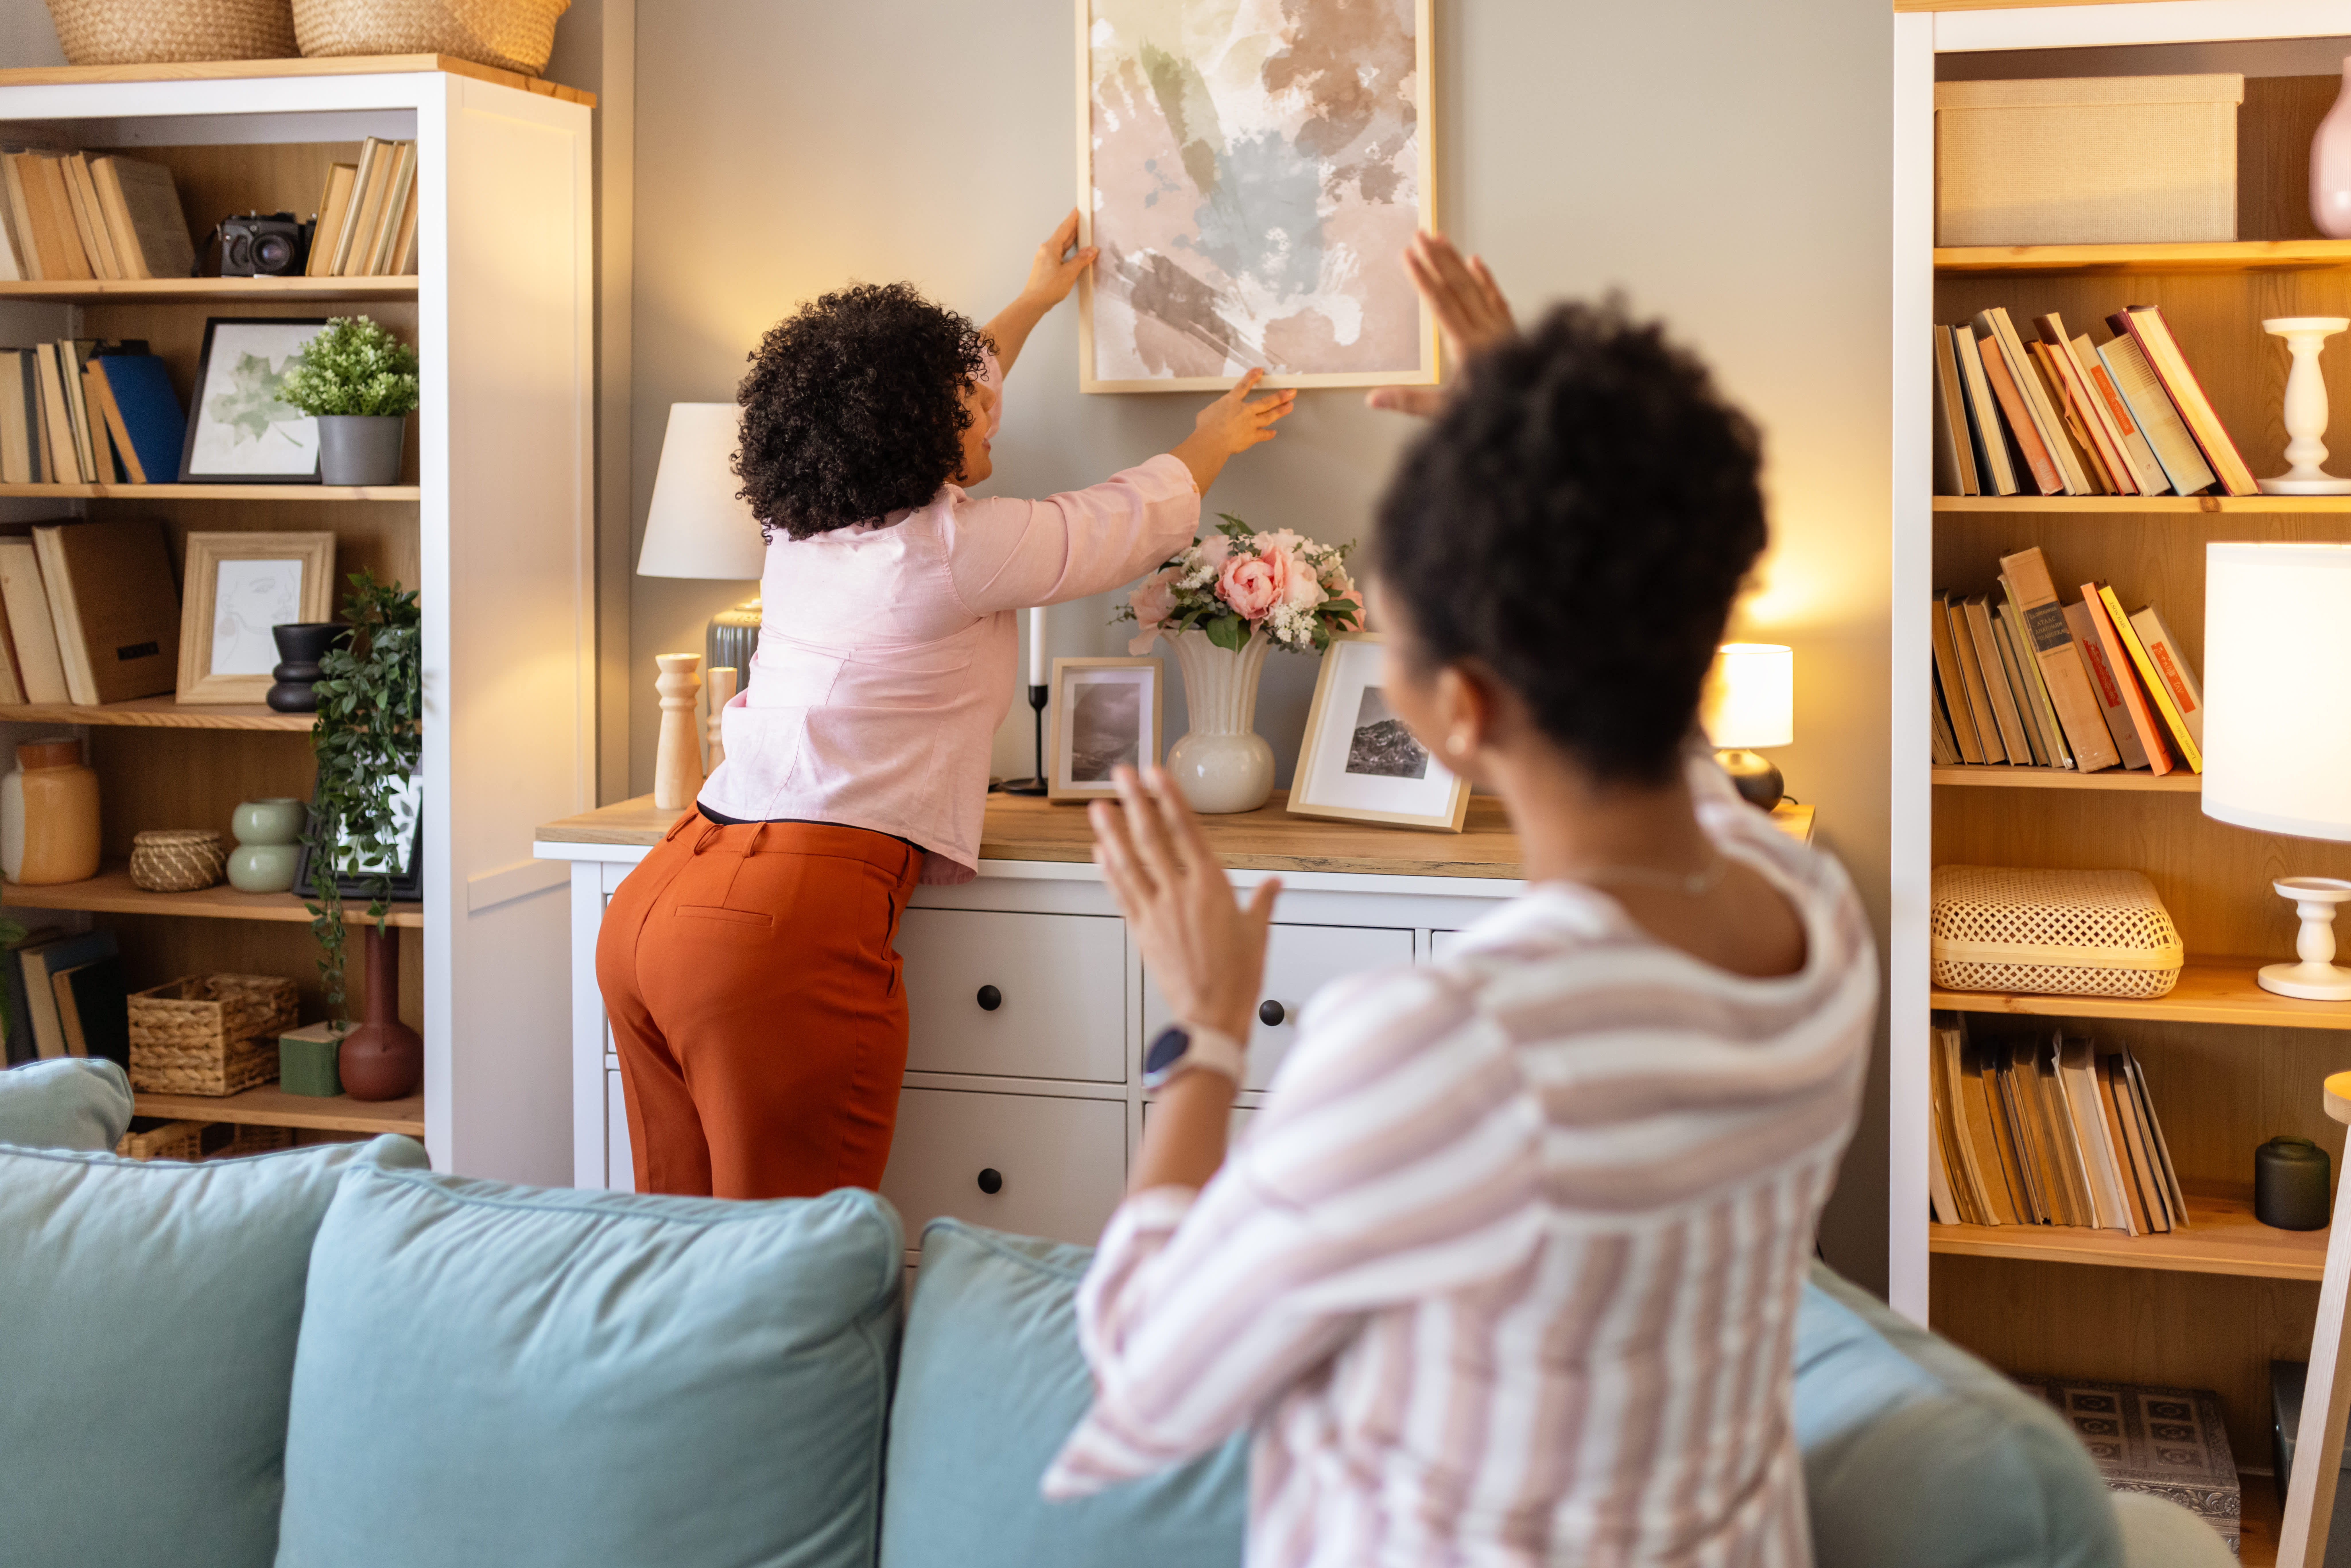
Hanging pictures on the wall is harder than it seems. This guide explains everything you need to know in eight quick tips for hanging pictures.
Isn’t it time to get it off the floor?

You can hang heavy frames with picture wire and two strong D rings, and stainless steel wire holds up to 100 pounds.
Gather basic tools like a drill or driver, screwdriver, hammer, tape measure, level, pencil, plus a stud finder for added convenience.
Measure your frame height, mark one-third down from the top, screw D rings at 45 degrees, then wrap and twist the wire tight.
Hiring a local picture hanging professional helps secure your frames on drywall, plaster, wood, or brick, and keeps them straight and stable.
You printed the photo. You had it framed. And ever since then, it sits there. For weeks. For months. All because it’s daunting to actually put up. But it doesn’t have to be. This guide will teach you how to hang a picture so you can finally get it where it belongs.
Difficulty: Easy (1/5)
Total Project Time: 10–20 minutes
Hanging a picture should not take long at all, but budget a little more time if you’re attaching D rings and wire, laying out a gallery wall, or trying to find a stud.
Cost: $2–$15 for hardware
This cost assumes you already have the necessary tools. If you don’t, you’ll probably spend an additional $50–$75 at a home improvement store for an inexpensive drill and bits, screwdriver, hammer, tape measure, level, and stud finder.
Drill or driver and bits (to drill through studs or plaster walls)
Hammer
Screwdriver
Tape measure
Level
Stud finder (optional)
Pencil
Choice of picture hardware: picture wire, D rings, picture hangers, nails, screws, wall anchors, monkey hooks, or sticky strips
Paper and painter’s tape (optional)

If you’re not quite sure where to hang your picture besides “on that wall,” there are a few things that can help you determine how to properly hang framed pictures and art:
If you have drywall … you may need to use a drywall anchor or drill into a stud for added security.
If you have plaster walls (common in old houses) … you will likely need to use a drill/driver to first create a pilot hole in your wall before inserting any screws or nails.
If you have wood panel walls … you may want to use thin nails or screws—something strong enough to hold up your picture but thin enough to leave a small hole.
If you have brick walls … you’ll want to hammer into the mortar instead of the brick itself.
If you hang your pictures 57 inches from your floor, you’ll place your art at the average height of the human eye. It’s a technique that galleries and museums use. Hang it “on center”—meaning the center of the picture measures 57 inches up from the floor.
Working around existing artwork or creating a gallery wall layout? Check the placement of each picture on the wall by creating faux picture frames out of paper. Cut out the exact frame sizes from paper, and stick them to the wall with painter’s tape. Adjust the placements as necessary, using a level to ensure they’re straight. Mark the top centers of the paper frames on the wall with a pencil.

Picture wire may be one of the best ways to hang a picture. Plus, depending on the type of wire, it can hold large, heavy pictures and paintings. Stainless steel wire can actually hold pictures up to 100 pounds.
While you can string picture wire through existing hooks—typically found on mass-produced frames–these hooks can break easily. The method below discusses how to hang your picture using wire and two strong D rings that you screw into the frame.
Measure the total height of the picture frame using your tape measure.
Divide that measurement by three to place the D ring one-third of the way down from the top of the frame. Mark that measurement on the left rail of the frame before repeating on the right rail.
Example: If your picture frame is 12 inches high, you would divide 12 inches by 3 to get 4 inches. Then you would measure 4 inches down from the top of the frame on the left side and make a mark with your pencil before repeating on the right side.
Screw the D rings in using your screwdriver. Make sure they point upward at a 45 degree angle vs. toward each other. This is to ensure the painting lies close to the wall.
You may need to create a pilot hole first if you have a thick frame. Use a nail to dig a shallow hole into your pencil mark, then screw the D ring in. You can also pre-drill the hole to avoid cracking the frame.
Measure and cut the wire to the appropriate length. To find where to cut the wire, measure the picture frame’s width and then double it. Cut the wire to this measurement.
Note: It seems like a lot of wire, but you’ll be wrapping the wire around itself so you need to make sure you have enough.
Insert one end of the wire through the left D ring. Leave a few inches of excess wire on the end.
Pull the rest of the wire across the picture frame to the right side. Insert the wire through the right D ring. Leave a few inches on the end.
Knot the end of the wire on the left D ring with a few twists. Next, twist another inch or so of excess wire around the wire running across the frame. Cut off any excess.
Hold the wire running across the frame with one hand, pulling it slightly upward. Use your other hand to hold the right side of the wire and keep it taut. Pull the wire up until it’s about 1–2 inches short of the top rail of the frame.
Knot and twist the wire on the right D ring, and cut off any excess.
Picture hangers consist of a hook and nail. Choose a hanger based on how much your framed picture weighs.
Use your tape measure to pull your wire taut. Measure the distance from taut wire to the top of the frame.
Use this measurement to determine where on the wall to place the picture hanger. If you mocked up a layout, use the top centers of the paper frames as a reference point.
Hammer the picture hanger into place. For extra security, make sure you hammer your nail into the stud. For reference, here’s how to find a stud in the wall.
Hang the picture by hooking the middle of the wire onto the picture hanger.
Check to see if your frame is straight with your level, making slight adjustments by sliding the wire along the hook until the picture is perfectly straight.
Use this method if you want to hang a picture that’s up to 50 pounds in your drywall (check the weight rating on the package). This method requires a drywall anchor, a screw, and a picture hanger that fits the screw. It also requires existing hardware on the back of your picture frame.
Measure from the hanging hardware on the back of the frame to the top of the frame using your tape measure. Use this measurement to determine where to place the nail on the wall. Mark this spot with a pencil.
Screw the plastic anchor into your drywall with a Phillips screwdriver or cordless screwdriver with a Phillips bit.
Insert the screw into the picture hanger, then insert the screw into the anchor and screw it in.
Hang the picture on the picture hanger hook using the hardware on the back of the frame.
Note: If you have a plaster wall and need to hang a heavy picture, skip the drywall anchor in favor of a plastic sleeve and a #6 or a #8 pan head screw with a flat-mount picture hook.

Use this simple method if you have a small, light picture. You will need a 1- or 2-inch finishing nail. You will also need existing hardware on the back of the frame to use this method, making it perfect for mass-produced frames.
Measure from the hanging hardware on the back of the frame to the top of the frame using your tape measure. Use this measurement to determine where to place the nail on the wall. Mark this spot with a pencil.
Hammer the nail through the mark you made in the wall. You may need to create a pilot hole first with a drill/driver if you have a plaster wall.
Hang the picture on the nail using the hardware on the back of the frame.
Monkey hooks are a great choice if you want a quick way to hang a picture in drywall. Some styles can even hold up to 50 pounds, making them a decent option if you need to figure out how to hang a heavy picture. Bonus: no tools are required.
Mark on the wall where you want your hook to go with a pencil.
Push the pointed end of the hook into the drywall to create a hole.
Twist the hook right-side up, then push it into the wall until it’s fully inserted.
Brands such as Command make picture hangers that combine plastic or metal hooks with adhesive strips. These are ideal for hanging a picture without nails, and they can attach to a variety of surfaces, from painted walls to concrete to glass. However, they can only be used with small, light frames.
Clean your wall with rubbing alcohol.
Remove the liner from one side of the adhesive strip (red liner for Command hooks), and press the strip against the hook.
Remove the other liner (black liner for Command hooks), and press the hook to the wall where you want your picture to go. Press firmly for 30 seconds.
Once it’s secure, you can hang your picture on the hook. (Command hooks say to wait for one hour to ensure the hook is firmly attached.)
Great job! Friendly, timely and thorough.
 Eco Plumbers, Electricians, and HVAC Technicians
Supreme Brick & Chimney did a great job with a cleaning and inspection of the fireplace! He was efficient, on time, and very pleasant. The space was kept very clean, and the fireplace was spotless when he was done. He also performed a thorough inspection, and did a great job talking us...
 Supreme brick & chimney
Custom Paint Jobs LLC is the go-to choice for all your painting needs. They painted both the interior and exterior of my house flawlessly. Their work speaks for itself!
 Custom Paint Jobs, LLC
They were very helpful with design, very quick to respond, good quality work, and competitive pricing!
 Cooks Cabinets
On time, clean and finished fast. Windows seem sturdy and the finish is good. Caulking was done with no smudges. Would recommend.
 Window Depot USA of Central Ohio
If I could give 10 stars for Kitchen Tune Up, I would. I cannot say enough good things about my experience with Kitchen Tune Up and the entire team involved in the process of my kitchen project. They went above and beyond as far as service and quality with my cabinets, paint, countertops, and...
Beginning with the estimate, Larry and Peyton were super helpful in getting my new condo's interior re-painted. Not only was the job well done, but also done in a super timely manner as promised.
 Five Star Painting of Plain City and Powell
Great job...edging and pre clean up went well with a great job with seal coat. Friendly, efficient and professional.
 All Star Paving and Sealing
We were having 2”x 2” tile installed . There was a small installation error and the new additional replacement tile was from a different lot and the colors didn’t match. Joe assured us that he would rectify everything , which he did without hesitation. We decided to go with the 18” x 36” tile...
 CarifaTile
We live in a condo and had space to add a tall cabinet. The problem was the space was already occupied by our catsâ litter box. We needed to still keep the litter box in that same corner. Beiler Custom Cabinets was able to work with our need and design request. What was created was an...
 Beiler Custom Cabinets, LTD
From average costs to expert advice, get all the answers you need to get your job done.
Hanging pictures on the wall is harder than it seems. This guide explains everything you need to know in eight quick tips for hanging pictures.
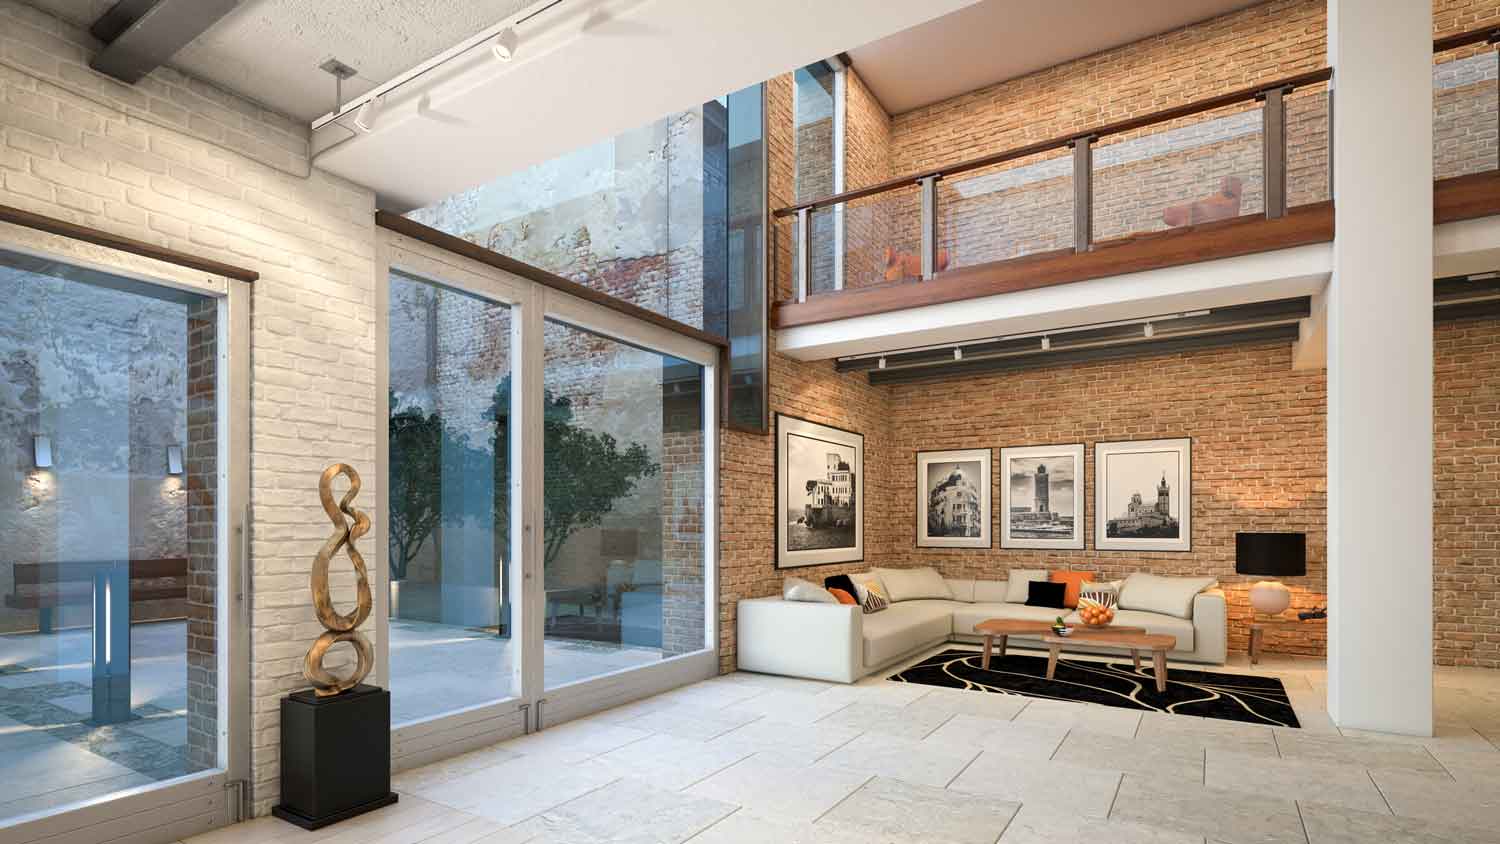
Hanging a picture on a brick wall is a job that you can safely do yourself, as long as you follow the proper steps and have the right tools.
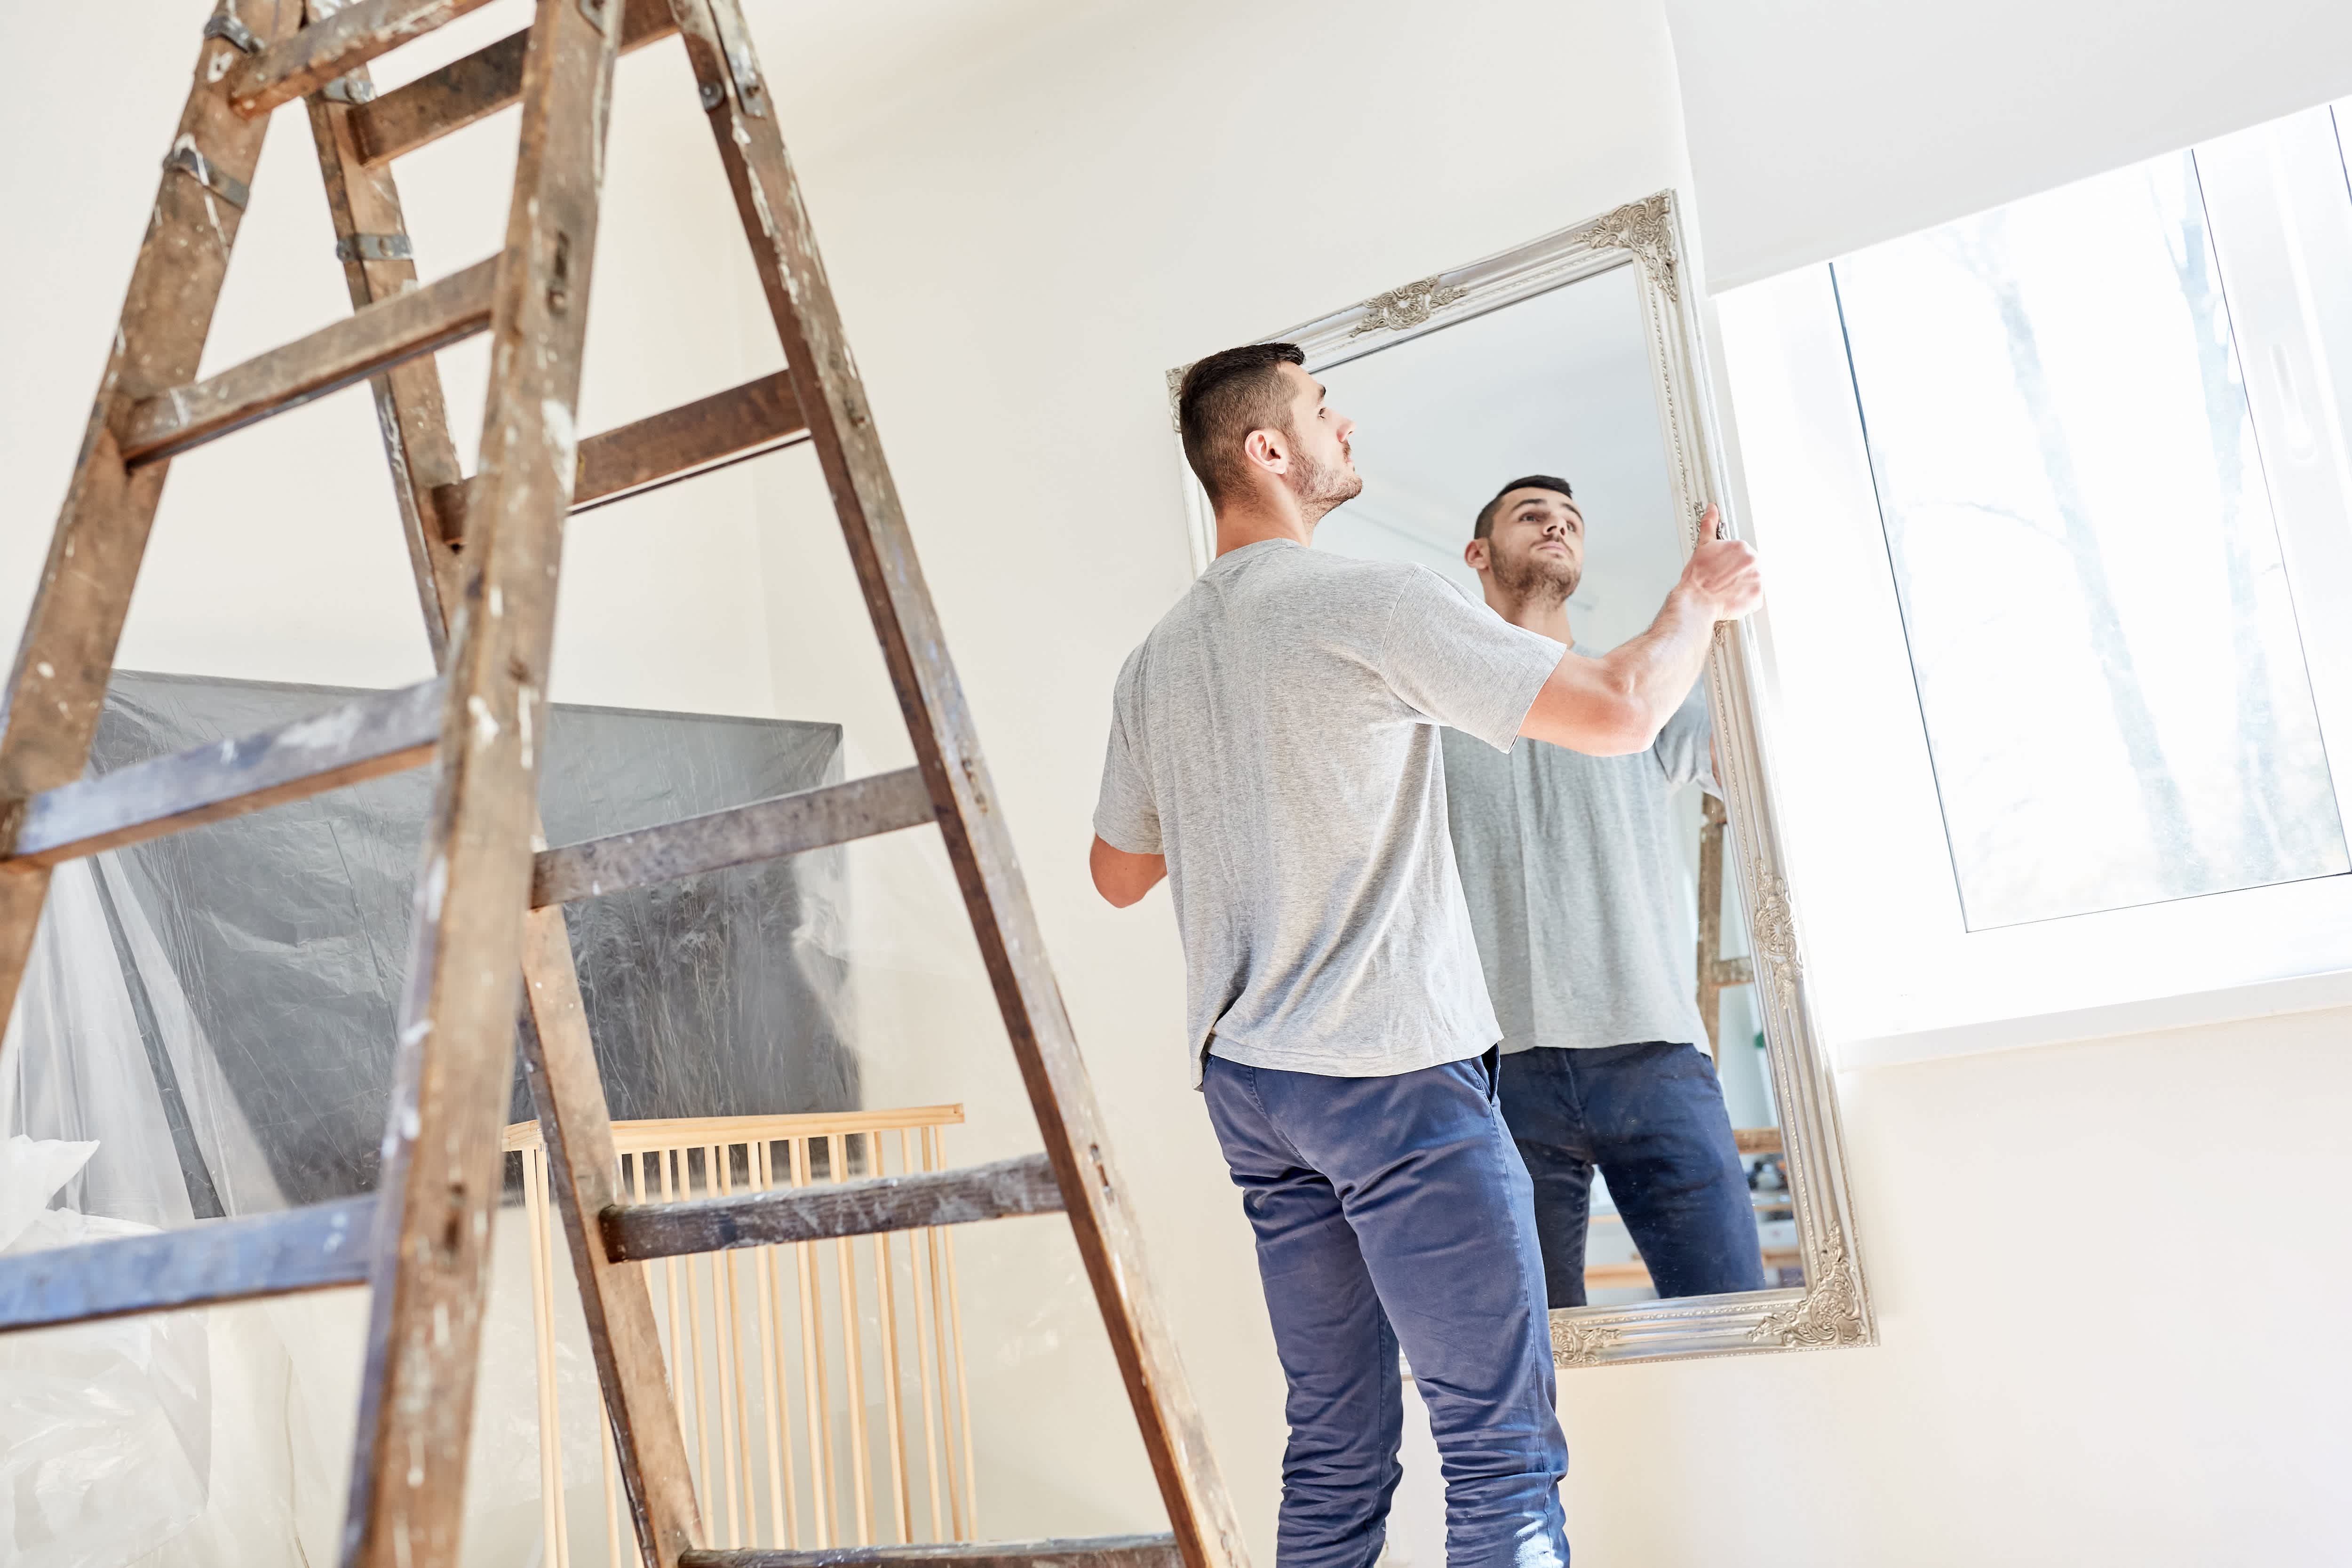
Learn how to hang a heavy mirror securely with this easy 4-step guide. We’ll walk you through all the tips you need to ensure your mirror is safely installed.
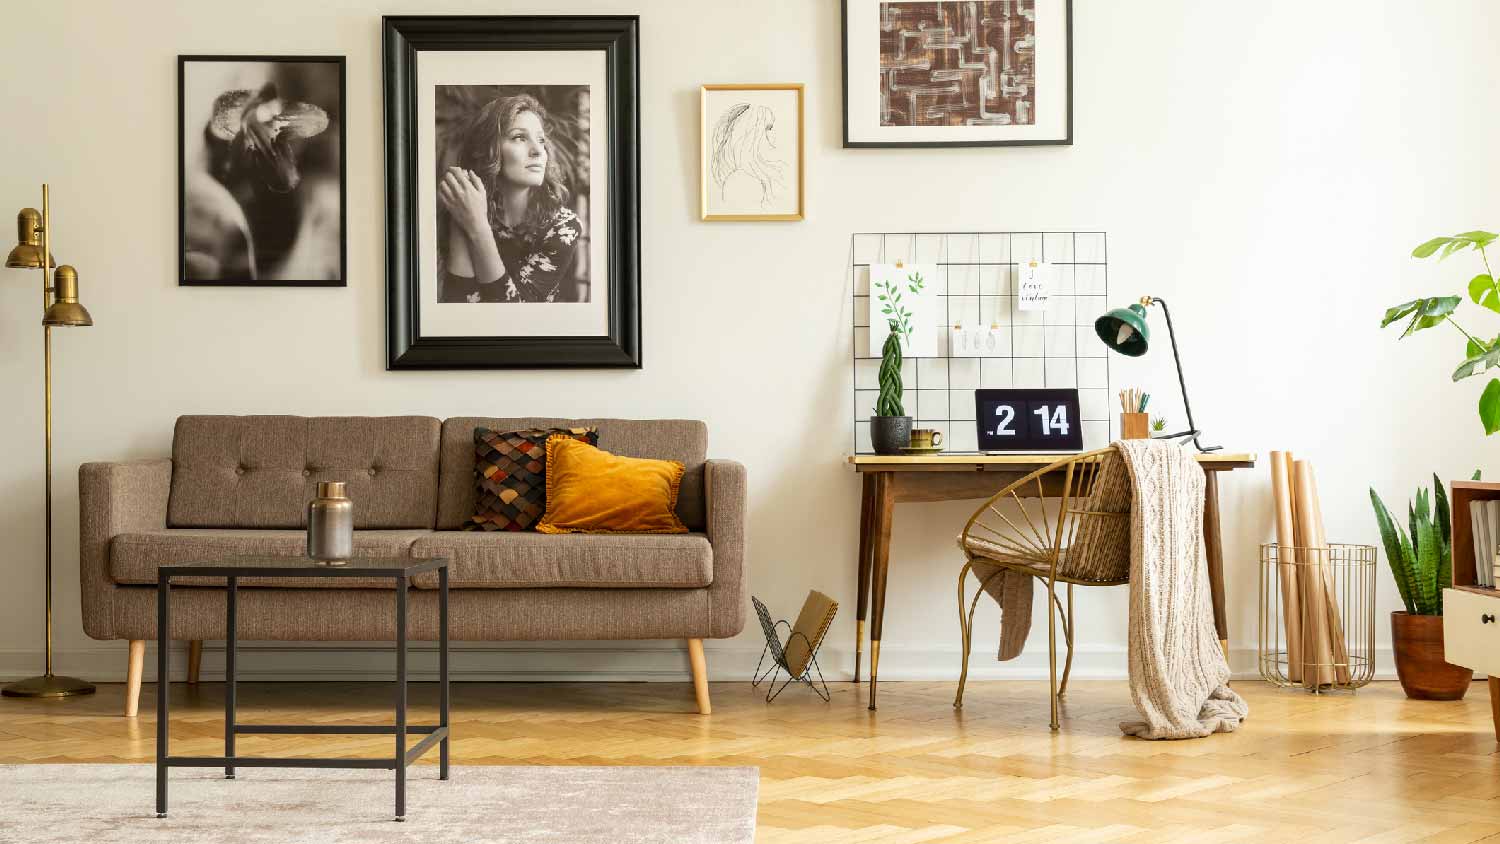
Follow these simple, affordable steps to hang pictures on plaster walls without worrying about the plaster cracking.
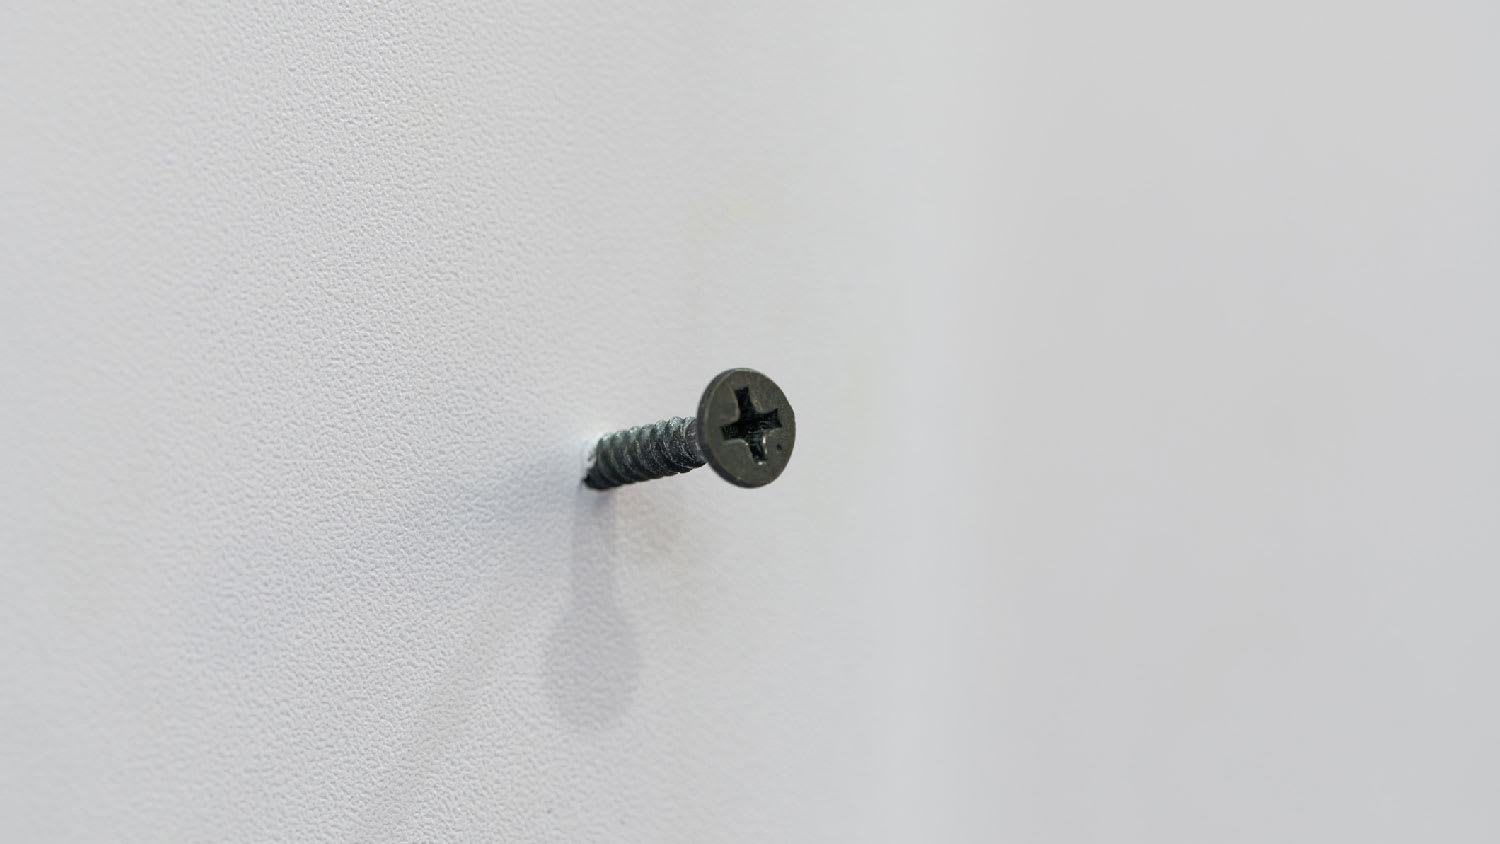
When you’re choosing between drywall nails and screws for a drywall project, definitely take durability, cost, and ease of installation into account.
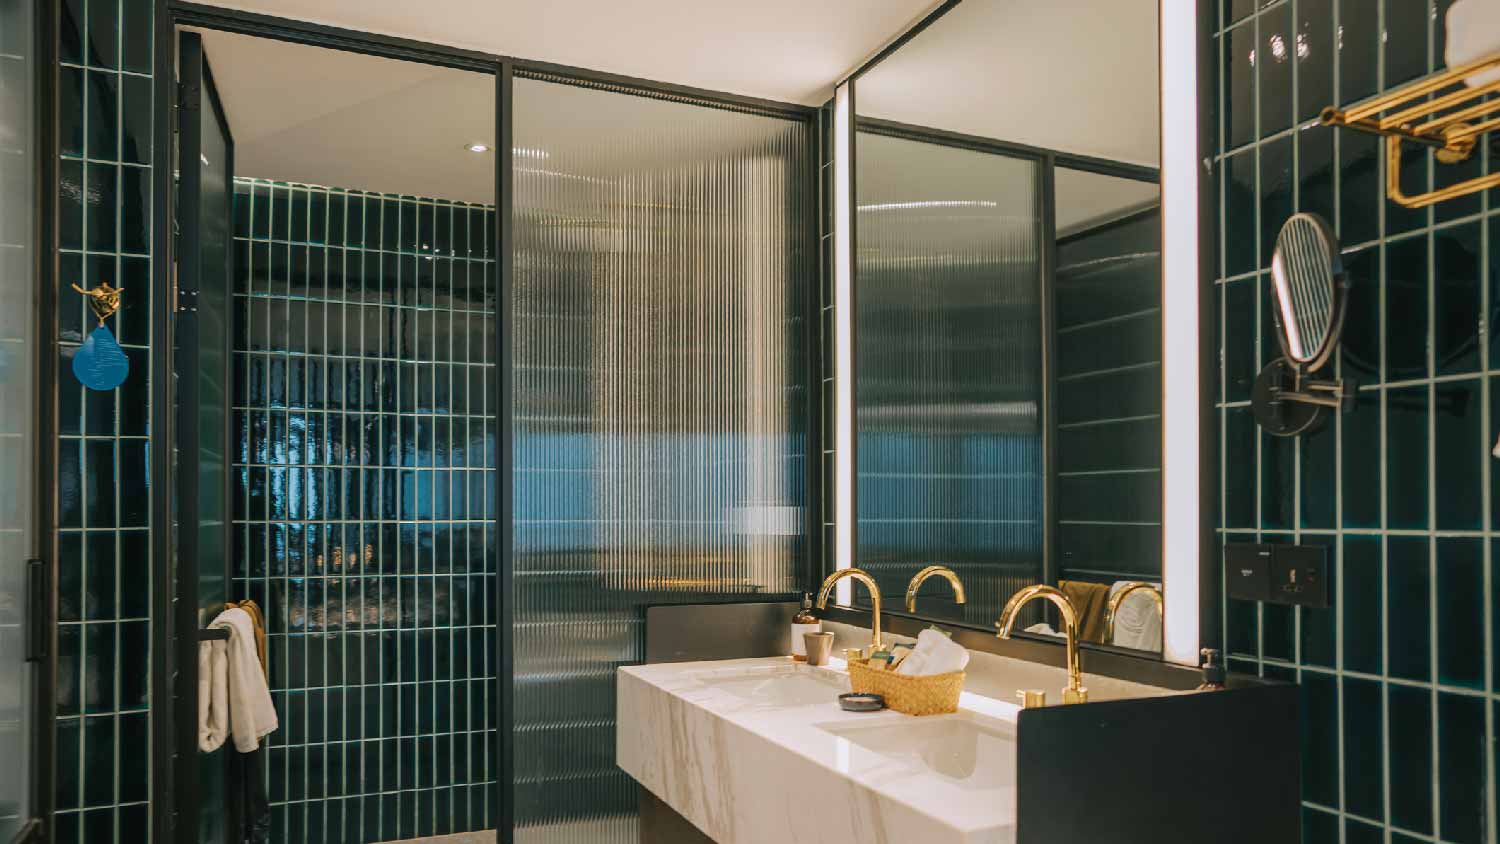
Mirror, mirror, on the wall—how do I hang you so you won’t fall? Get tips and tricks for how to hang a vanity mirror and keep your reflection straight.