
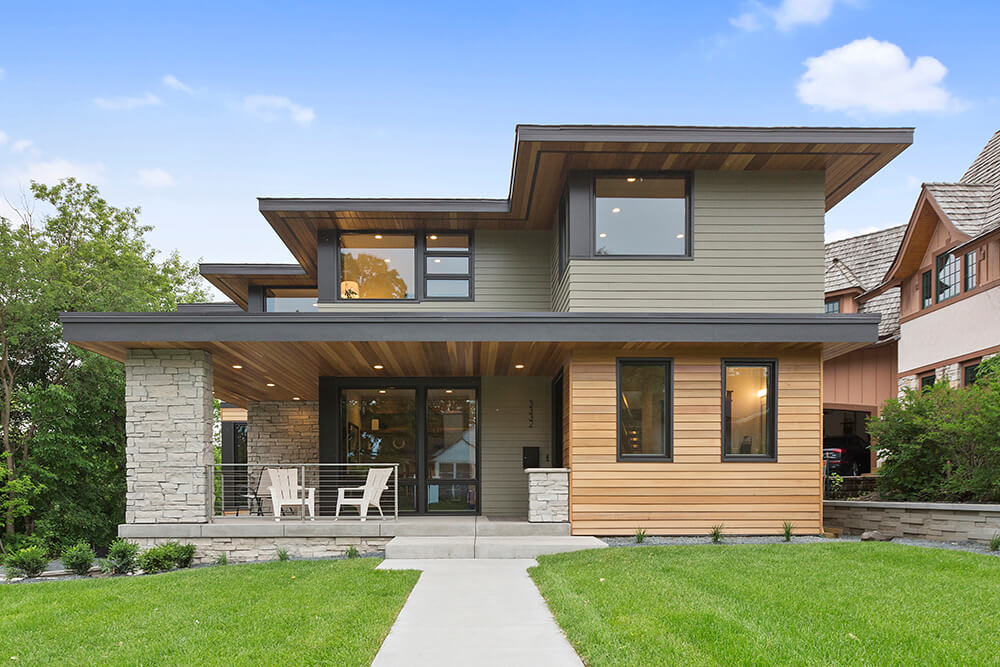
The stone veneer siding cost you’ll pay depends significantly on materials and local labor costs. Learn more about factors that affect the project’s cost.
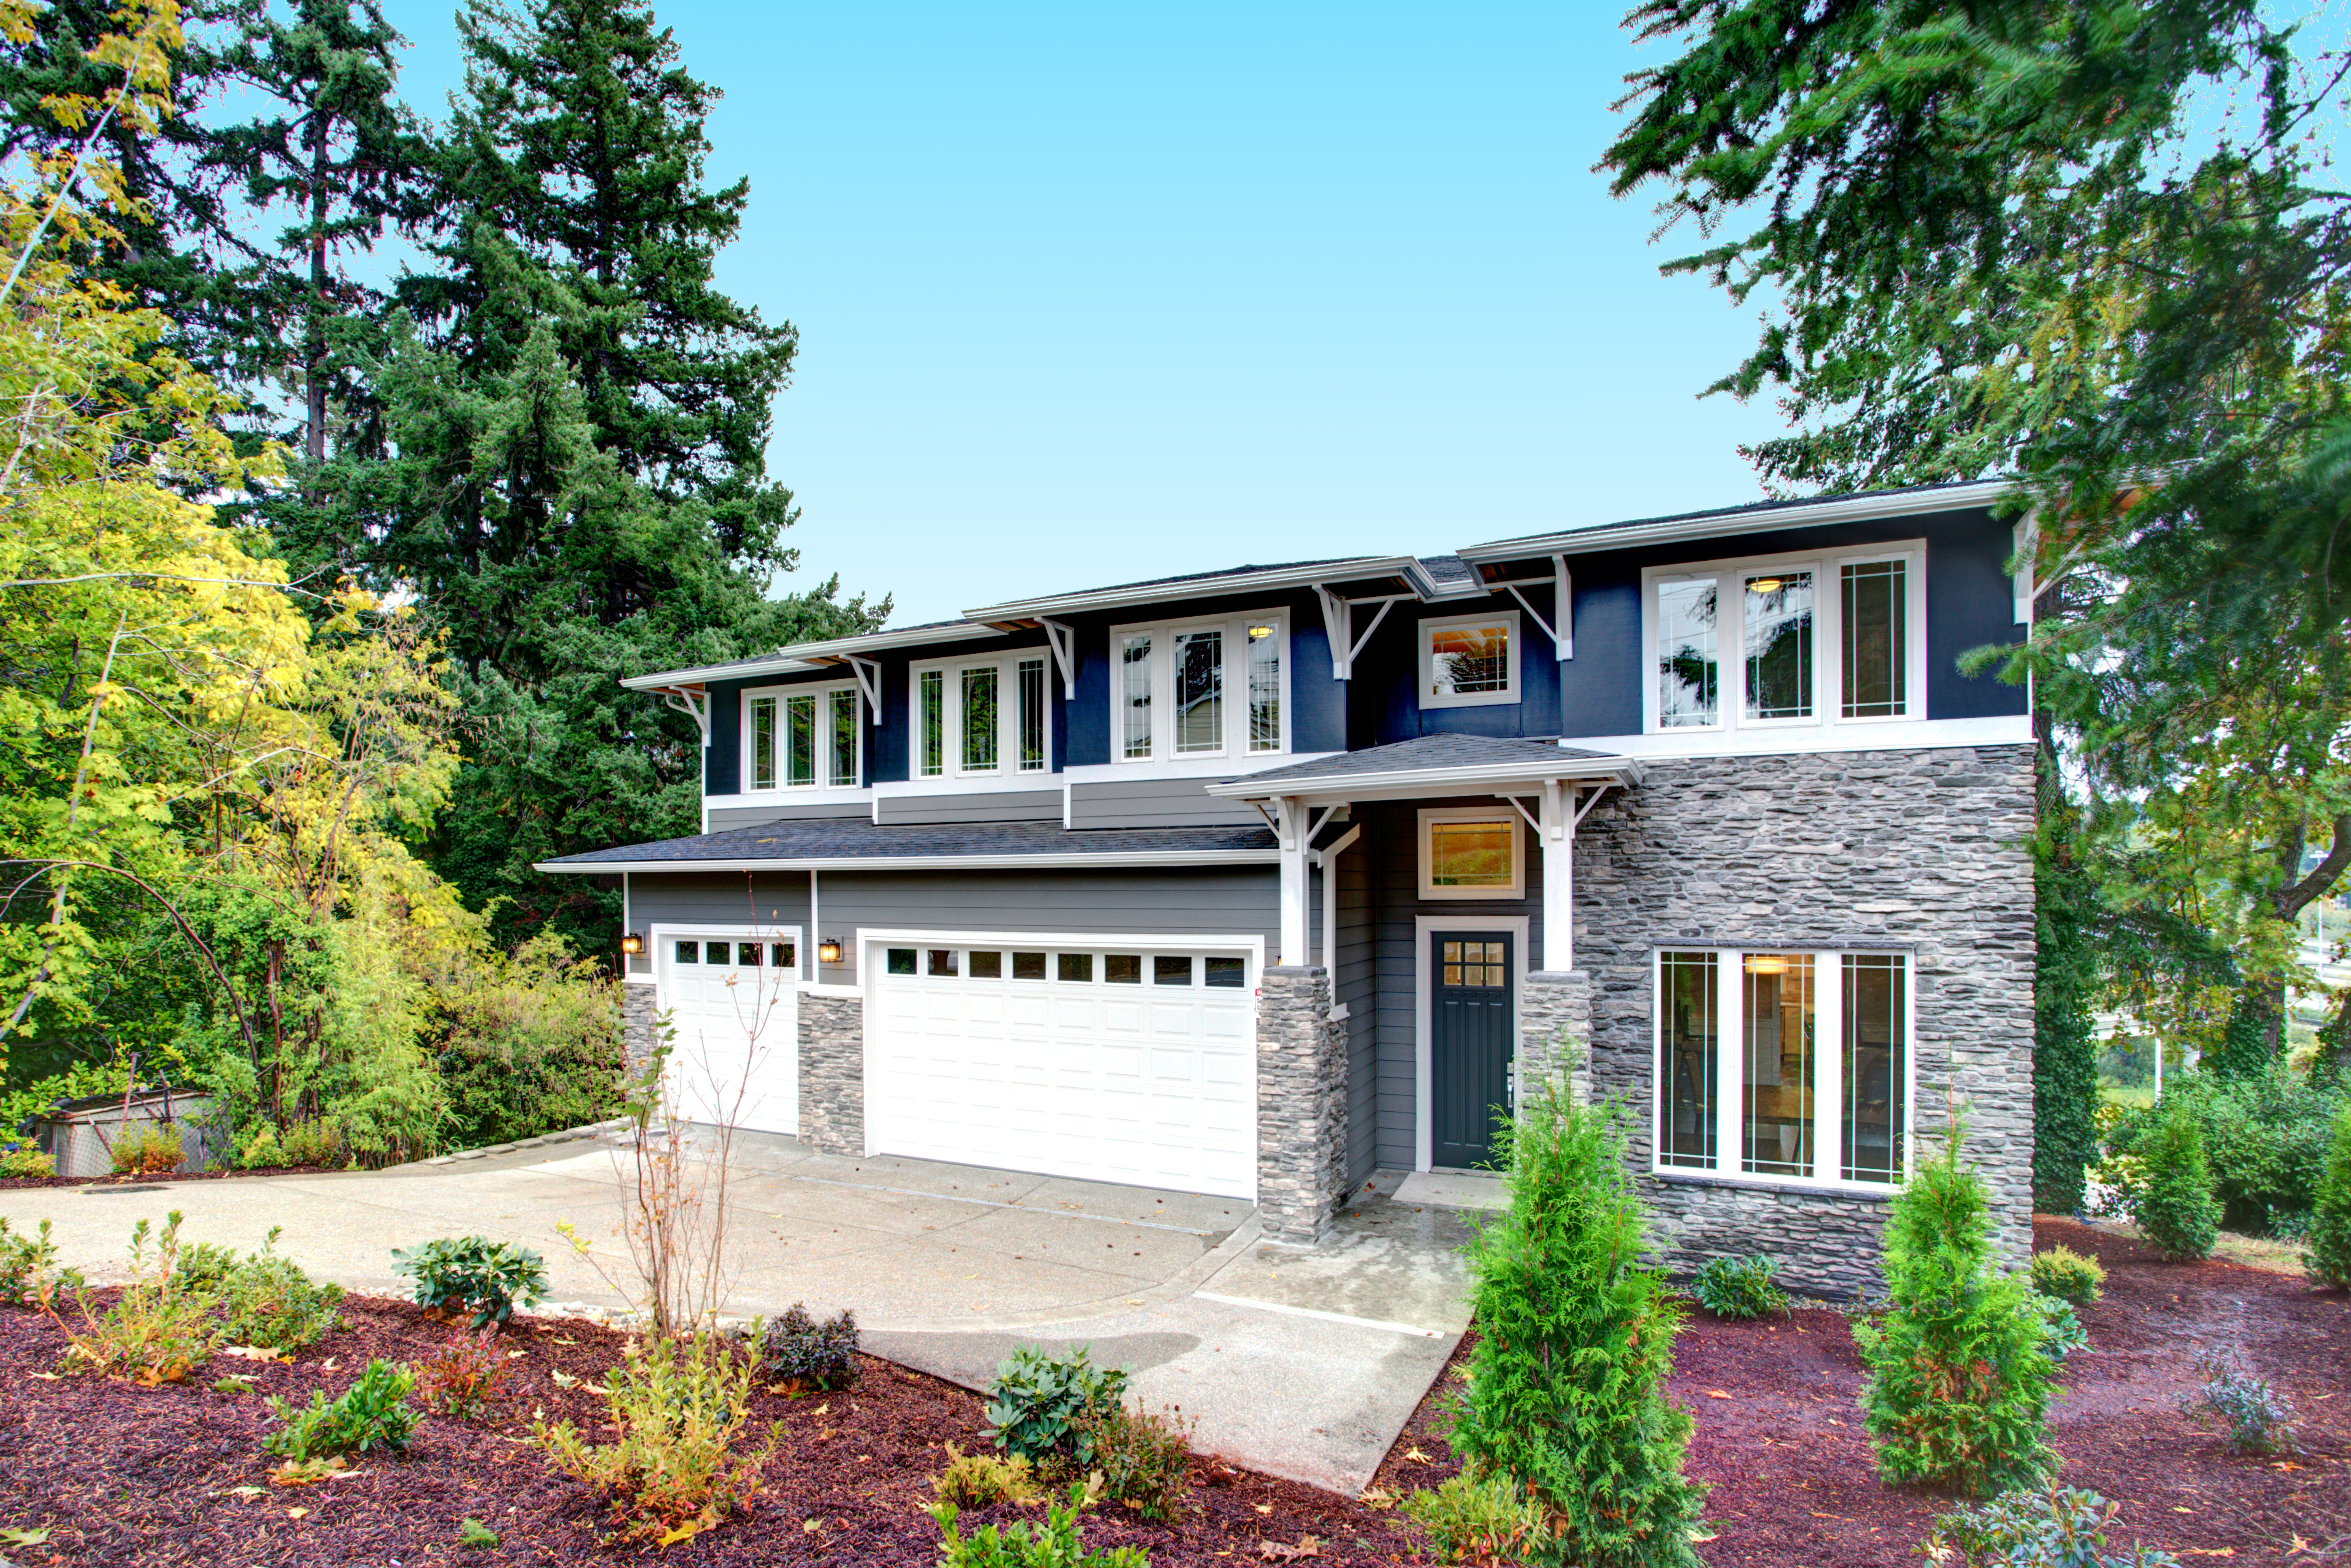
Rock your world (and your house) with new stone veneers

There are lots of great ways to beautify your home, and learning how to install stone veneer is one of them. It’s easier on the wallet and is arguably just as impressive as the real thing. From adding veneers to your entire home exterior, outdoor fencing, fireplaces, and bathrooms, the potential is endless. So roll up your sleeves and level up your masonry skills by following these seven steps.

You’re ready to take on your stone veneer project, but before you get started, here are the things you need to do to prepare.
First things first: check the building codes in your area to see what the requirements are for your materials and installation process. Get all necessary permits, if applicable.
Once you’ve gotten the business part squared away, then you can move on to the fun part of figuring out what kind of stone veneer you want to use. Manufactured stone costs $5 to $8 per square foot for materials only, and faux stone costs $6 to $9 per square foot. The type of stone you choose will have the largest effect on your stone veneer installation costs.
Finally, you can calculate how much material you need to buy for your new stone veneer wall. Figure out the square footage by multiplying the height and length of your wall. Next, subtract the square footage of any windows or doors. Take that final number and add 10% to 15%. You’ll want the extra cushion to account for any mistakes or for the trimming you’ll do during the installation.
Install two layers of grade D moisture barrier, overlapping 6 inches at your vertical seams and 4 inches at your horizontal seams. Overlap 16 inches around the corners.
Once that’s done, install your galvanized metal lath. Secure it into place with galvanized nails or staples on the studs. Just like with the moisture barrier, overlap the lath 16 inches around the corners.
Note that you don’t need to install a moisture barrier and metal lath if you’re installing your stone veneer onto clean and unpainted masonry or concrete surfaces. This includes stucco.
However, if you’re installing your stone veneer on plywood, wall sheathing, metal siding, sheetrock, or fiber cement board, you need to do this step.

Get your stone veneer mortar and prepare it for use. This might include mixing it by hand, or by machine. You’ll know your mortar is the right consistency if it clings to your trowel when you hold it sideways.
Grab your protective eyewear and then use a square, notched trowel to apply ½ inch to ¾ inch of mortar. Next, take a metal rake and make horizontal lines. After you complete the scratching process, wait 24 hours for the mortar to properly set before moving on to the next steps.

While you wait for your scratch coat to dry, you can prepare your stones for installation. If you notice that your stones are dirty, this is a good time to clean them off with water and let them dry completely.
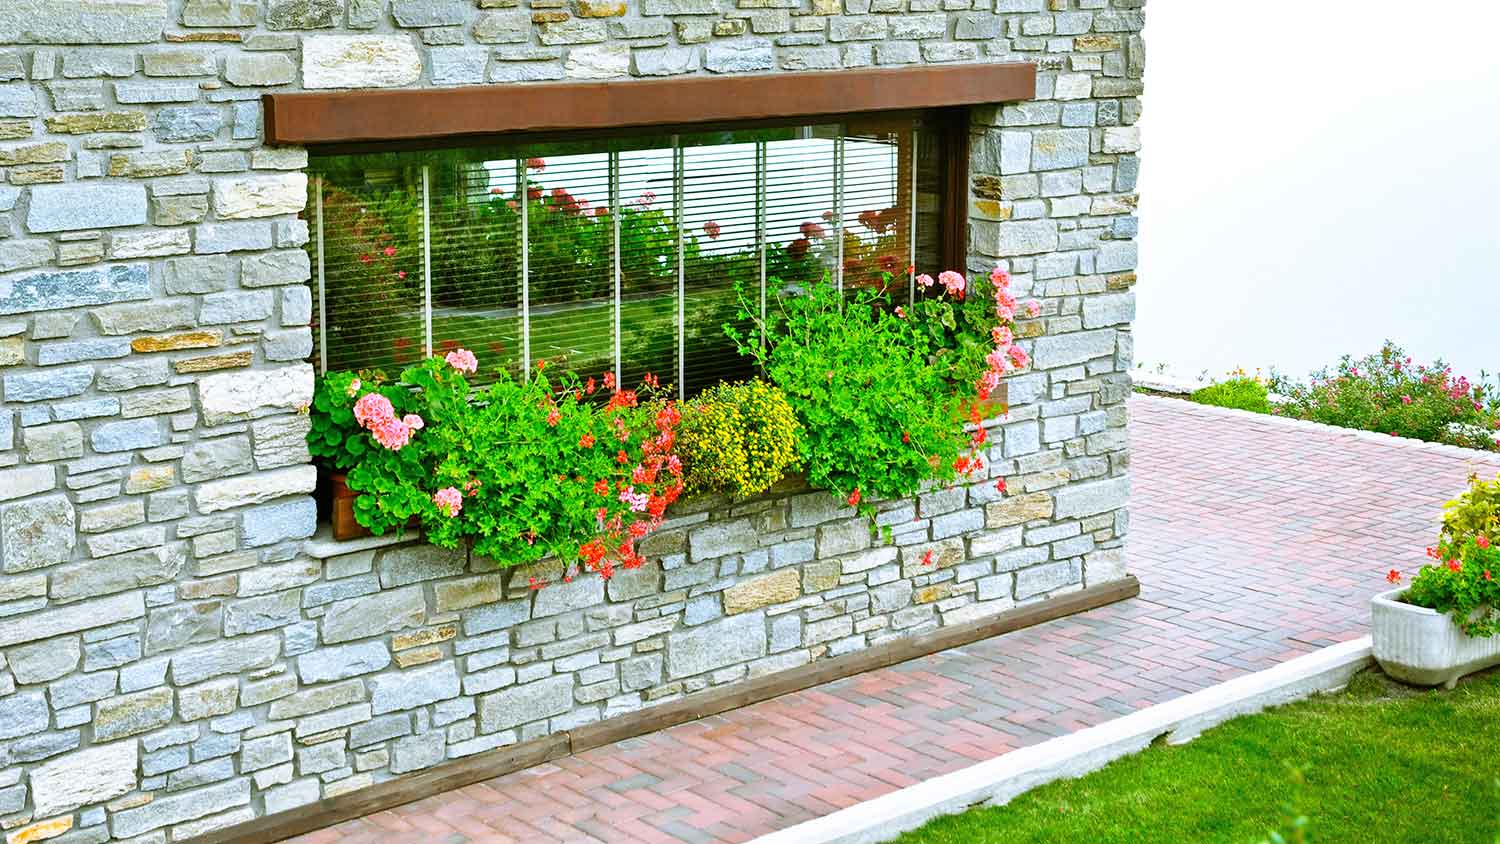
Also, you should plan your installation ahead of time by laying out your stones on the ground and deciding which piece should go where. For the most natural look, mix up the shapes and colors of the stones by placing big ones next to small ones and thick ones next to thin ones.
During this step, you may notice that you need to trim some of your stone pieces. You can do this on a skill saw with a dry or wet diamond or masonry blade. For smaller pieces, you can use a mason’s hammer.

After the scratch coat is dried and ready, you can get started on installing the stones. You should start at the corners and then work your way up from the bottom. The lowest stone layer should be 3 inches above the ground.
First, take a sponge or brush and apply some water to the side of the stone. Then, apply a half-inch to a 1-inch layer of mortar to the back of the stone. Take the stone and press it into the wall.
When you push the stone into the scratch coat, move it to the right and left a little and apply firm pressure.
Repeat these steps for each stone piece. Take care to space the stones evenly from one another for a clean, finished look.

Depending on your vision, you may want to color the grout. If you decide to do this, you can mix in liquid cement color into the grout.
For the grout, you can use veneer stone mortar. Put it in a grout bag and start filling in the joints. Fill in the gaps with about a ½-inch layer.
Allow the grout to dry until it’s thumbprint hard. This means that if you press your thumb onto the mortar, that it leaves a thumbprint. Then, use a joining tool to get rid of any excess mortar. Use the tool to also smooth out the grout.
If your stone veneer wall is outside, make sure to install kick-out flashing by your gutters to ensure proper drainage. Failing to do so can cause moisture to seep into the walls which will later cause rot and other water damage.
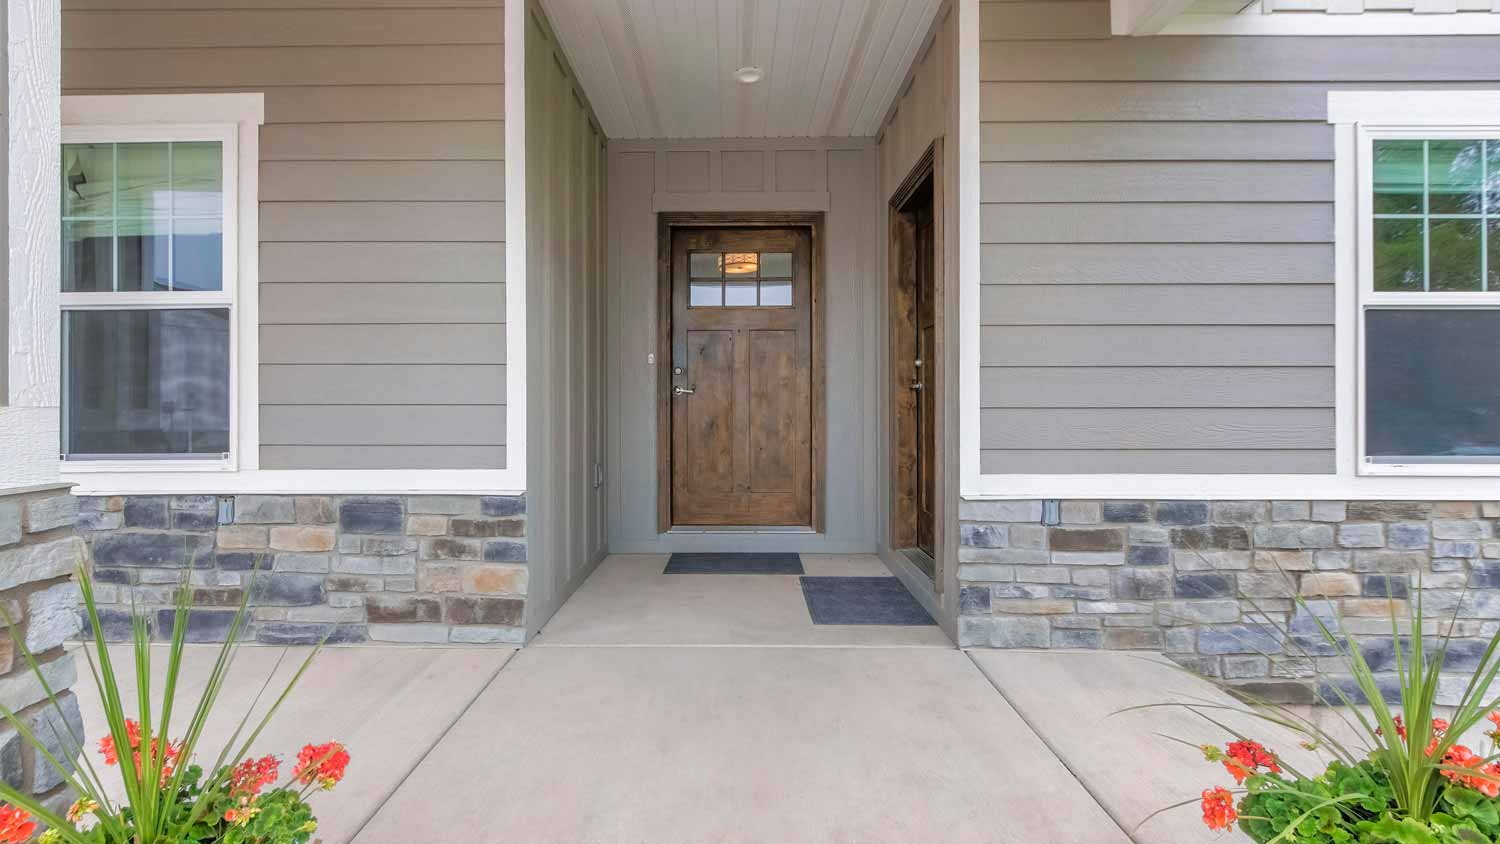
Clean the stones with a soft-bristled brush. Then, apply sealant for the stone if necessary. It’s a good idea to seal stone veneers anywhere that you expect moisture. That means that any outdoor walls, pool areas, showers, and bathrooms require sealing.
Installing a stone veneer is certainly a project that handy DIYers can tackle, but it’s not as easy as it may seem. Besides the technical finesse, you’ll need a bit of a designer’s eye in order to figure out the best layout for your stones. If you think you have what it takes, then you can cut down quite a bit on stone siding costs because you can just pay for the materials.
Mistakes during installation can cause lots of headaches and hits to your wallet later. Particularly, it’s important to know how to install stone veneer on exterior walls. If the installation is done incorrectly, you can have moisture issues that can cause extensive damage.
Failing to install kick-out flashings, not installing joints properly, or even failing to properly install the moisture barrier and metal lath are all issues that a novice masonry DIYer may make.
Avoid any issues and hire a stone veneer company near you to get the job done right the first time. They can help you choose the best type of stone for your home and budget, and you won’t have to break a sweat.
The guys at PaveWay are top notch. From the estimate to the job being completed,all was done in a timely and professional manner. I myself was a DOT Engineer Inspector(know what to look for) and got to talking with Cameron and he himself was a Contract inspector for a few years,same job as...
 All Star Paving and Sealing
I highly recommend KTM construction! I will look no where else for anything that needs to be done, in or out side of our property. The level of craftsmanship is 5 star service across the board! The level of detail, knowledge and professionalism is 5 star service across the board! Ken is a...
I purchased the "Big Deal": $199.00 for exterior pressure-washing of one- or two-story home up to 2,000 square feet. They cleaned the siding only. I wasn't aware when I bought the Big Deal that they would not do any other surfaces other than the siding (i.e. sides of the gutters or stucco). I...
 Complete Home Services
This brownstone is historical and the carpentry work is very detailed. I was very happy to secure a company in NY and living in OH to complete the request. Wood work on this brownstone has been existing since approximately 1888 and West side did a GREAT JOB. I will not be able to...
 Westside Home Improvement
Nice group of workers, very friendly. Day 1 covered everything before starting, seemed very organized. Things seemed to be going great. Day 2 they didn't show up until around 10:00a.m. and work crew was cut in half, was told they had another job. Day 3 they didn't show up until around...
 CertaPro Painters of Columbus
The work went great! Couldn't ask for better. Joel set a work start date. About the time of the storms that may have been associated with Sandy. He was half a day late. They set up on a Thursday. On Friday they had a full crew at work. By Monday they were finishing up. Now, the best...
 NJW Construction
A few months ago, a tree branch fell across my car, leaving a series of dents across the hood and driver's side fender. I took it to Rife's after reading the Angie's List reviews. Rife's did a great job! My car looks like new. And they made the process as easy as possible. When I came in...
 Rife's Autobody Inc
I received an email from Angie's List offering Car Detailing 4 U's services for $99. Coming from Angie's List, I expected this to be a highly dependable and qualified company that was known for doing exceptional work. I set the appointment for them to come to my home. They were arrive at...
We first had Mark fix the back patio and liked his work so much we had him make a brick patio on the side of the house. When we decided to change our concrete walkway to brick, we wanted Mark to do the job because his prices were fair and he did such good work on t he other two projects.
 Mark Monnette Masonry
I was very pleased with the cost and end result. I truly expected this job to cost me 50% more than it did. When you factor quality and cost, I would highly recommend Mark's services and plan to use him in the future. The best part was, I asked Mark to match the paint color in one section...
 Fresh Touch Custom Painting Inc.
From average costs to expert advice, get all the answers you need to get your job done.
The stone veneer siding cost you’ll pay depends significantly on materials and local labor costs. Learn more about factors that affect the project’s cost.
While a stone wall typically costs thousands of dollars, the value it brings to your home can raise its value both aesthetically and monetarily.
Typical stone siding costs can surpass $100K, but the huge ROI potential may be worth the investment. Get the full cost breakdown of labor and materials here.
Not sure who to hire for stone veneer siding installation? Compare installers, learn how pros work, and choose the right expert with confidence.
Stunning stone siding without the expensive price tag can be achieved. What is stone veneer siding? Learn all about this appealing option.
Which type of veneer is best for your home: stone vs. brick siding? We’ll explore the pros and cons of both.