
•
Discover the slate roof cost for your home. Learn about installation prices, cost factors, and tips to save on your slate roofing project.
Time to roll up your sleeves


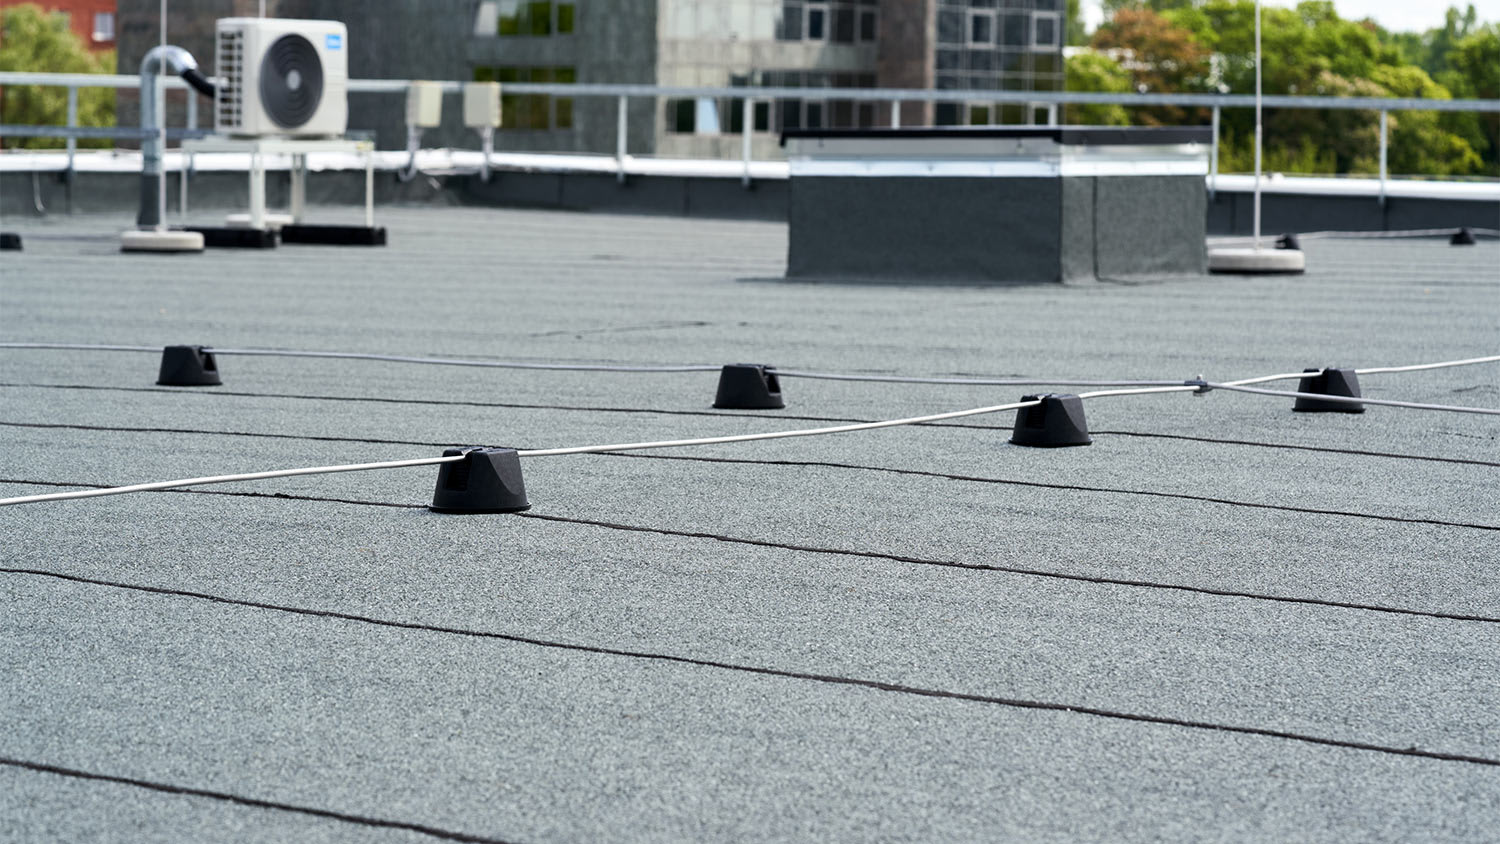
Roll roofing is a budget-friendly, flat roofing material made from mineral-surfaced, oil-based asphalt that comes in 100 square feet rolls. It’s easier to install than traditional roofing materials, available in several different styles and provides up to 10 years of waterproofing and durability. Read on to learn how to install roll roofing on your home in a day.
Roll roofing requires a clean base layer, such as bare wood sheathing. Roof sheathing is another name for roof decking, or the structural base for your roof that is often composed of wooden beams. Remove your current roofing materials before you add your roll roofing. Homeowners with roofing experience can remove shingles themselves, but we recommend hiring a local roof repair company to handle the task if you don’t have prior experience.
Before installing any roofing, it’s important to know the ins and outs of local building ordinances as well as your roof's pitch. Roofs that are 12 inches vertical, with a 1-inch decline (1:12 pitch), or those that are (2:12 pitch) are good candidates for rolled roofing. It’s also important to get to know the types of roll roofing to choose the best material for your home. Roll roofing—also known as MSR (mineral-surfaced roofing)—is available in three styles:
Saturated felt: An organic felt base covered in asphalt—provides extra insulation for your roof.
Smooth finish: An organic felt waterproof base. Made from asphalt with a talc coating to keep it from sticking.
Mineral finish: An organic felt base or fiberglass mat strengthened with asphalt. Thicker sheets, with talc on one side and rock particles on the other.

Grab your measuring tape and measure the length and width of your roof’s surface. Multiply each length and width, and add each section to get the total surface area (in square footage). This number will tell you how many rolls you need for your project. You should buy 5% to 10% more material than your roof’s measured area to account for roll overhang, trimming, and covering up your roof’s valleys. Getting to know common roof rafter sizes can also help you confirm your measurements.

Begin by grabbing a push broom and remove all of the debris. As you clean, keep an eye out for loose nails and hammer them down. Afterward, take the time to clean out your gutters or hire a professional to deep clean them before you begin. Lastly, repair any loose or damaged wood or hire a local roofer for any areas in question.
Prepare your materials and lay the roofing rolls out flat by placing bricks on the corners to keep it in place. Secure roofing felt or primer over your bare sheathing to protect against leaks and provide insulation (while underlayment isn’t necessary, we highly recommend it). Next, add a layer of roofing cement to the edges of your roof and attach drip-edge metal flashing. Nail in the flashing to ensure water stays out of your roofing materials. Add a UV-resistant coating to exposed flashing cement.
Pro tip: If the temperature is under 50℉, lay out the roll in a garage to prevent breaking and stiffening.
Roll roofing is typically installed horizontally. So, you’ll want to grab your measuring tape or yardstick and measure 35 inches—the default roofing measurement—up from the bottom edge of the roof. This measurement will identify where your first roll layer goes, so you’ll need to mark a chalk line across the entire roof (ensure it’s straight so you lay your rolls uniformly).
Grab your gloves and a trowel and spread roofing cement along the edges of the roof—make sure it’s 1/8 to 1/4 inch thick. Apply the cement in horizontal sections, always staying below your chalk lines. Finish one area before moving on to the next one. If you don’t want to deal with cement, you can also use a self-adhesive modified bitumen—just keep in mind, it’s very sticky.

Take your utility knife, apply pressure, and cut your roll roofing to fit each section of your roof. Ensure each section is at least 35 inches wide and meets the chalk line when you lay it down.
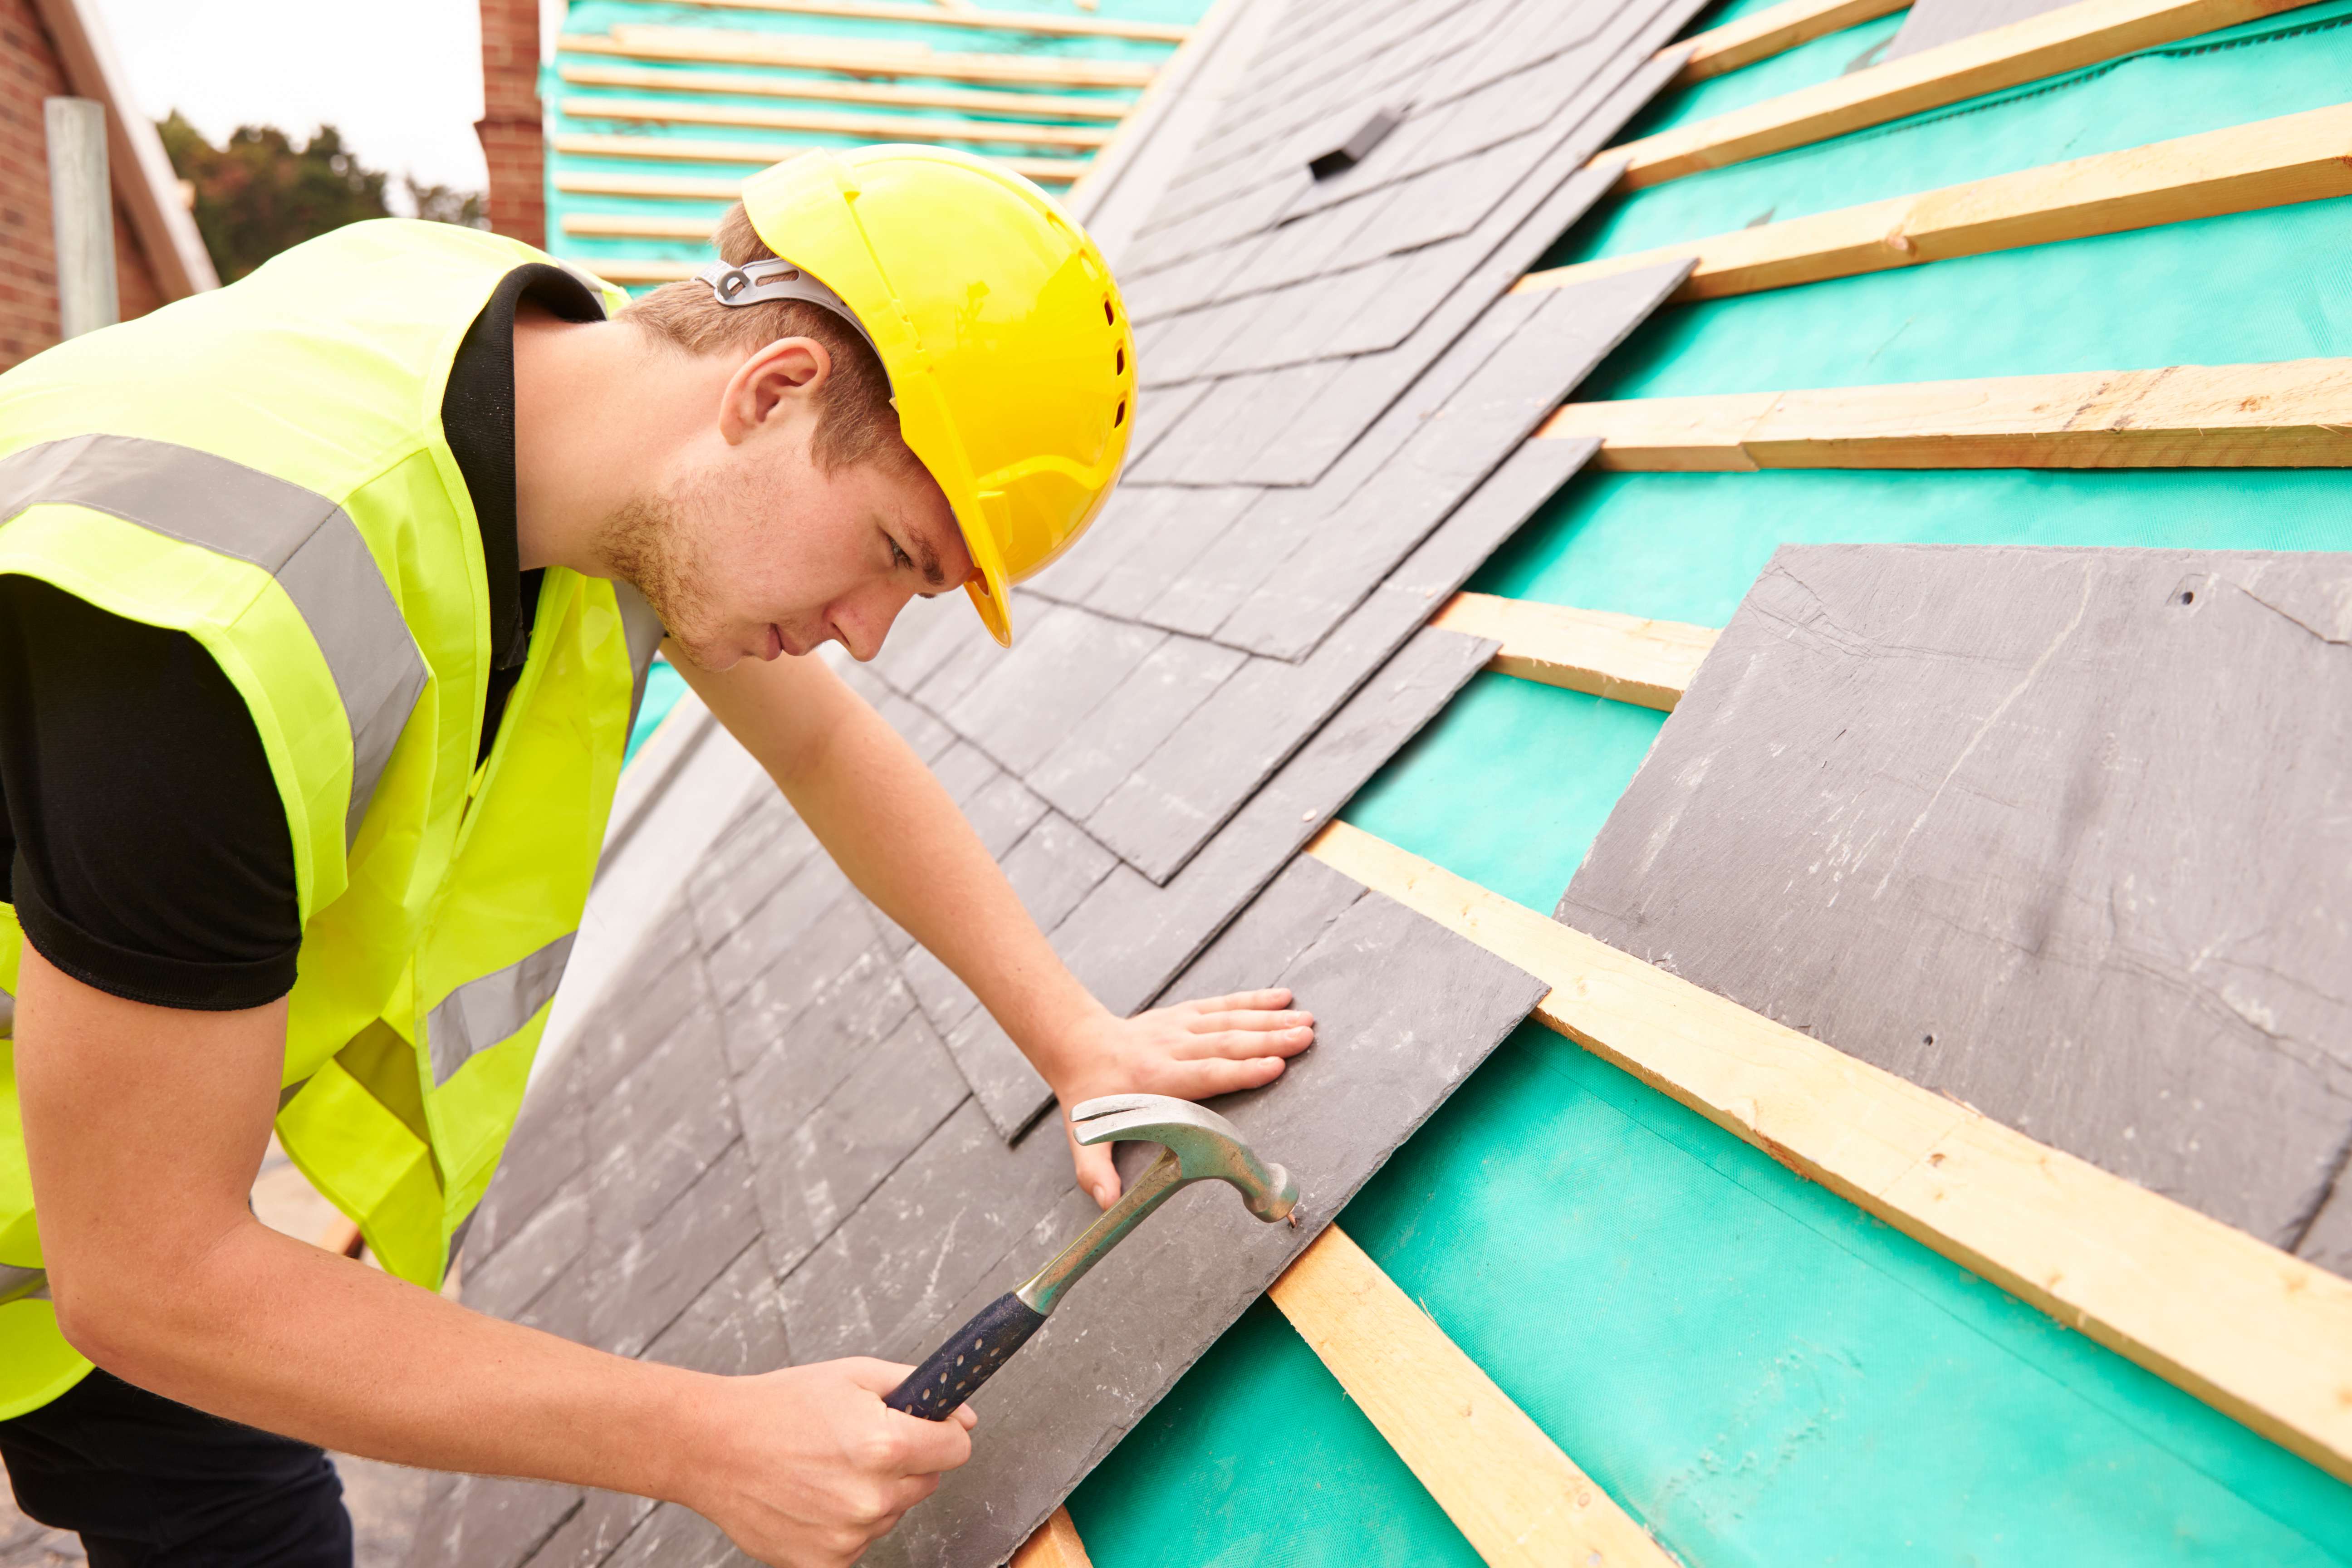
Line up the edges of your roof roll and slowly lay the first layer down, pushing it into the wet cement to secure and stretch out any wrinkles. Gather your galvanized roofing nails and a hammer. Plant your feet on the roll and hammer your nails 6 to 10 inches apart across the roof length, ensuring that they are at least 1 inch away from the edges. As you hammer in each nail, avoid lifting your feet. Instead, push them back down as you nail the roof length—this helps stretch the roll. Seal plumbing vents by cutting a hole in the roll and slipping it over the vent. Finally, spread with cement and add boot flashing to keep the roll secure.
Make a new chalk line 32 in. up from the bottom and across your roof above the first 35-inch layer so you can overlap the layers (this way, rain can’t seep through any cracks). Next, grab your trowel and spread another layer of roofing cement across the roof and below the chalk line. Cut your roll, and apply the second layer the same way as the first, making sure the first 6 inches of the second layer overlaps the first layer.
Hammer in your nails (keep the first and second layers together) and spread the roll as you go. Overlay the valleys (where two slopes meet) with an 18-inch cut of roll and add roofing cement before laying the piece down. Seal the top layer edges with cement when all roll roofing is down. Apply roofing sealant over all the nail heads to protect them from the elements.
Walk the entire roof and seal all nails with cement (this will keep them from coming loose).
Take your razor knife and trim any excess roll roofing along your roof’s edges. Seal the edges with another layer of cement.
Once the cement has dried (check your manufacturer's can for drying instructions), you can move on to the final step of your project—cleaning your roof.
To do this, take your push broom and thoroughly clean any dirt, debris, loose nails, and mud off your roof. When you’re back on the ground, take a hose and spray down the roof—never use a hose while you’re on the roof, as it poses a slipping hazard.
When your roof is clean, you can pat yourself on the back for a job well done!
DIYers with prior carpentry and roofing experience can save between $1,500 to $3,000 in labor and materials by tackling this project themselves. DIYers can also save on removing and disposing of old roofing materials, which could run between $1 to $2 per square foot.
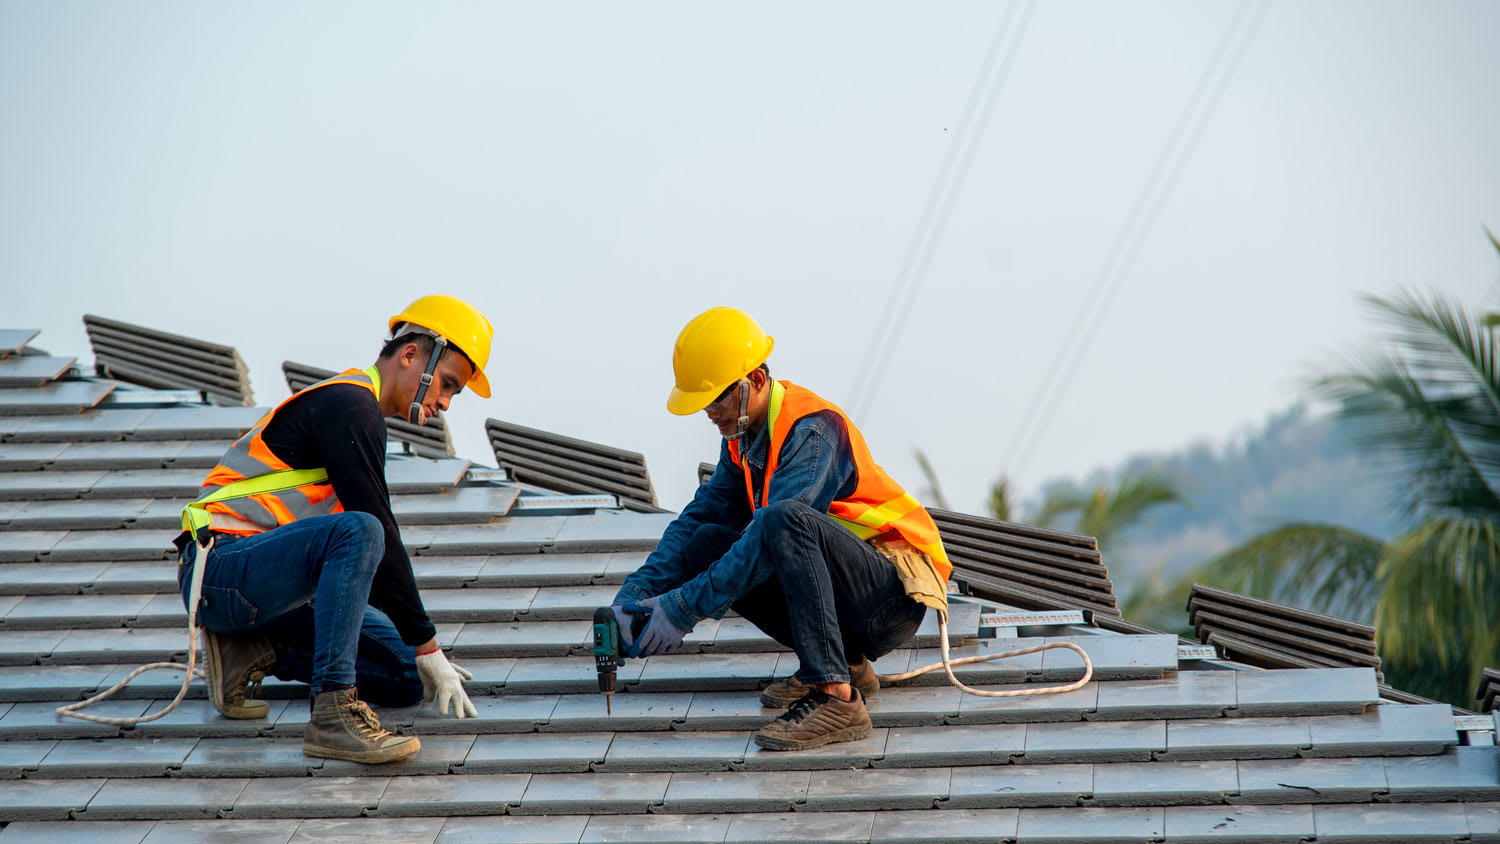
Installing roll roofing requires a lot of skill and prior experience that most homeowners may not have. To ensure the job is done right, homeowners should hire a local professional roofing contractor for the following reasons:
Pro roofers understand safety regarding ladders, heights, and how to navigate a roof properly.
Pros come prepared with licensure, insurance, warranties, and roofing compliance codes.
Pros have the proper equipment for old roofing removal and disposal.
Without proper installation, you could face major leaks, cracks, insulation, and weatherproofing issues.
Pros always work in a team of at least two. Homeowners can seriously injure themselves if they try to tackle this project solo.
Pros know the ideal weather conditions to head up onto your roof and have the proper clothing and shoes for the job.
Elisa Greenberg contributed to this piece.
Mitchell and the crew were top tier i am so happy with my new roof
D1 Roofing delivers outstanding service from beginning to end, backed by a strong warranty and expert teams. I highly recommend them for their excellence in meeting and surpassing expectations with unmatched communication. Choosing D1 Roofing was flawless decision
This place took $25,000 for a flat roof job with a five-year warranty and never returned to fix the leaks that were caused by their work. These people are not professionals and should not be doing this type of work. They incorrectly changed the pitch of the roof, and caused more damage than...
The technician was very professional and friendly. He answered all my questions and was very thorough. He left the fireplace area very clean . He inspected from the roof and advised me as to other work that might need to be done. There was no pressure there. I was very satisfied with the...
 Supreme brick & chimney
I am really impressed with their timeliness and turnaround. Mitchell came out, and we decided to move forward with their pricing. Our roof was on within a week, and we could not be happier with their team! Amazing company, great prices and honest, dependable craftsmanship. I highly recommend...
Manuel Calvillo is the best option in the area for roofing and you won't be disappointed.
They damaged multiple items on my property, including a marble slab used as a table top, tried to hide it, and refused to pay or replace. Arrived day one without a ladder to access roof & delayed a day. Left a mess in back yard; didn't wear face masks; no show by owner to property to see damages
I've hired Gary/Cherokee Roofing for two different homes, work quality, responsiveness, and completion have been great both times. And the prices quoted were very competitive. I would definitely hire again.
Lyle did a great job removing asbestos shingles from our front porch roof. They worked together with our roofer to make sure that the new roof was able to be installed on the same day that Lyle removed the asbestos shingles.
 Lyle Environmental
Bradley Builders did a good job replacing the roof on our front porch. They color-matched the existing shingles on the rest of the house and installed a metal ridge roll since we live in a historical neighborhood. They did the job while we were out of town. When we got back, everything was...
 Bradley Builders, Inc.
From average costs to expert advice, get all the answers you need to get your job done.
Discover the slate roof cost for your home. Learn about installation prices, cost factors, and tips to save on your slate roofing project.
Installing a tile roof costs an average of $7 to $25 per square foot. Learn what factors affect the cost of a tile roof, including size, material, and style.
Discover how much it costs to install a drip edge, exploring how factors like your roof’s size, height, and layout affect your final costs.
Roof flashing is an important part of your roof. If you're doing a lot of roofing DIY projects, read this guide to learn how to install roof flashing.
Unsure who to hire for flat roof installation? Learn when to call a flat roofing contractor vs. a general contractor, and how pros work.
Wondering who to hire to install a slate roof? Learn when to call a slate roofing contractor, what to expect, and how to move forward with confidence.