
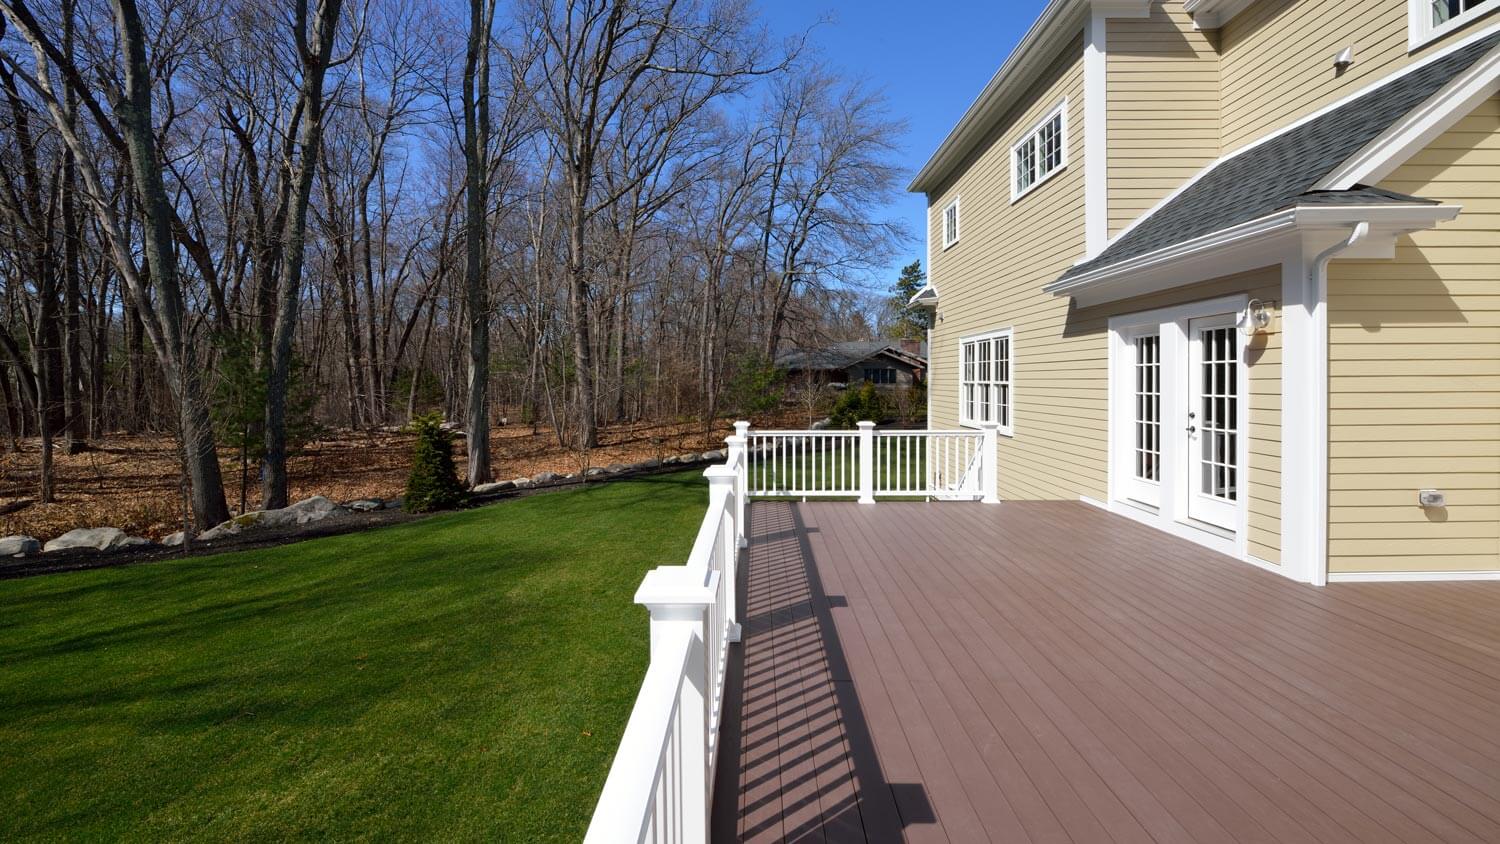
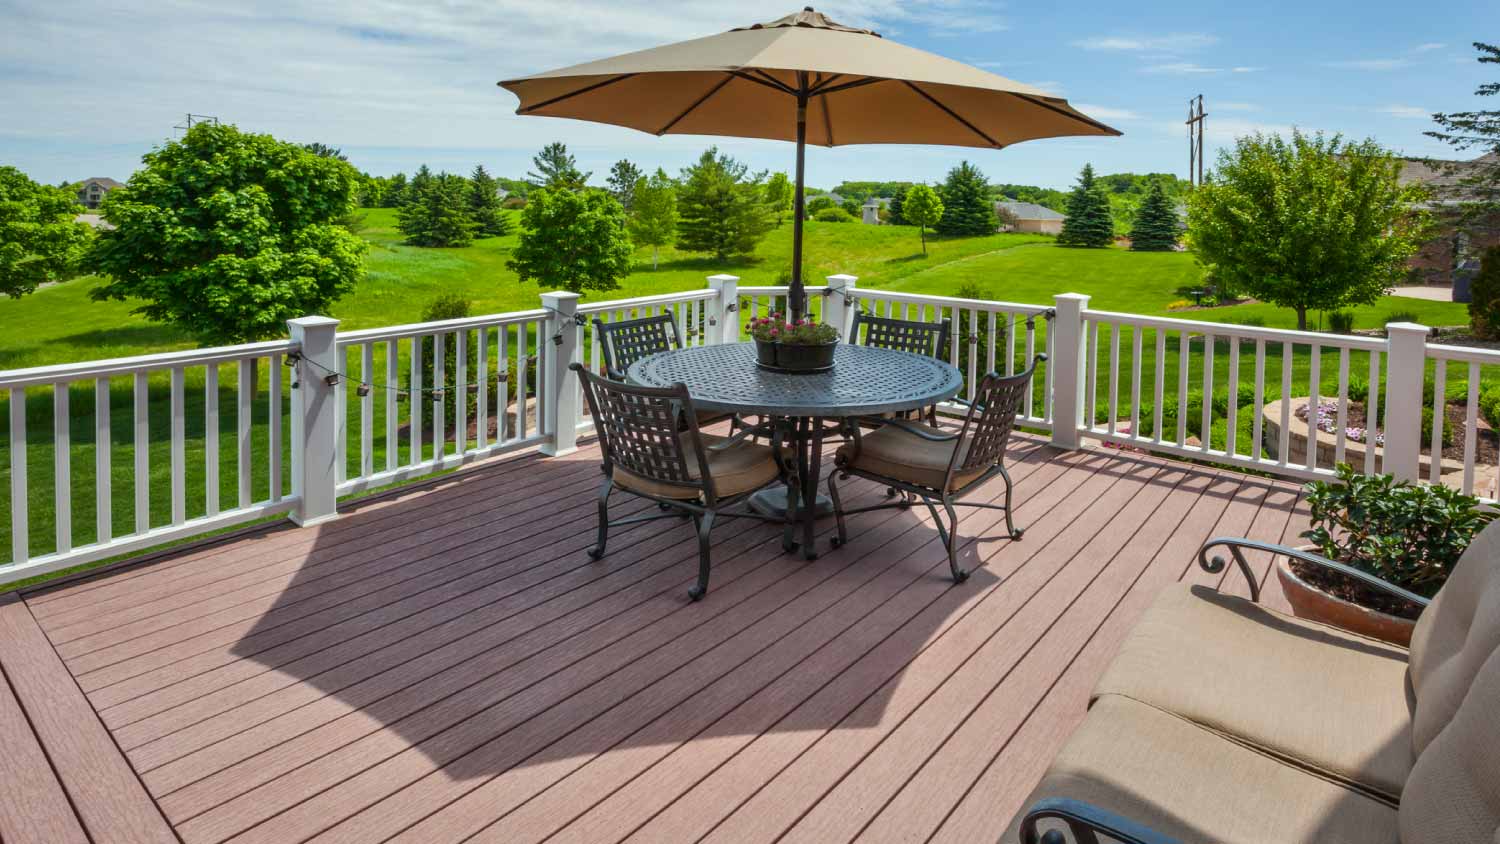
Building a composite deck can increase your home’s appeal and value. Composite decking costs depend on the size of your deck, the materials, labor, and more.
DIY-savvy homeowners can build a low-maintenance deck in a few simple steps
 - Derek Rose.png?impolicy=thumbnail)
Composite decking installation requires a solid frame with joists spaced no more than 16 inches apart, so your deck stays level and secure.
Expect to pay $5,400 to $11,500 for professional installation, with average costs around $8,500 depending on your deck size and materials.
You'll need to attach start clips to your joists, then snap each composite board into place using the hidden fastener system provided.
Hiring a local deck building professional keeps your installation on track, handling everything from frame inspection to hidden fastener placement and final trim work.
Is your backyard hangout space looking worse for wear? Swap old wood decking and learn how to install composite decking for a wood look that’s easy to clean. When you finish your composite deck, less maintenance will give you more time to relax and enjoy the outdoors. Learn more about building a composite deck with simple power tools and basic DIY carpentry skills.

Make sure you have everything you need before building a composite deck, including a solid deck frame and all the necessary tools and materials. Consider the following prep steps:
You’ll need a solid frame with a maximum 16-inch joist span for composite decking. If you don’t already have a frame, follow our guide for how to build a deck to frame the structure and set posts in the ground. Adhere to local building codes when adding any kind of deck to your home.
If you have a frame in place, get under it with a flashlight and inspect weight-carrying joists and posts for rot, cracks, or pulling. Make sure joists are level and plane them down with a power hand planer if not.
Take length and width measurements to calculate your deck’s square footage. Since decking is sold by linear foot in various dimensions, you’ll need to multiply the length and width of an individual board to find its board area. Divide your deck’s square footage by the board area and round up by 10% to account for waste. This result is how much decking you’ll need.
You’ll also want to purchase synthetic balusters and handrails to match your decking. Many composite decking kits come with these materials and a hidden fastener system that automatically spaces boards for drainage and makes them easy to remove if needed. You’ll also need drills and saws to install and cut each board to length.
With your decking board, balusters, and handrails ready, the last thing you’ll need to prepare for your DIY composite decking is tools. Below are a few tools for the project:
Power drill
Hand saw
Hammer
Framing square
Jigsaw
Circular saw
End nippers
Utility knife
Level
Goggles
Face shield
Tape measure
Pencil
Chalk

Composite decking kits differ slightly between brands, but most contain similar parts, and you assemble them roughly the same way. Your kit will likely have specific instructions which you should follow closely for the best results. However, the process below is universal and will help you know what to expect.
If you have a frame made from pressure-treated lumber, strengthen its rot resistance by rolling butyl tape over the top of each joist before installing decking.
Here’s how to protect your composite decking frame:
Choose a dark-colored tape that won’t be noticeable through the gaps between the decking boards.
Determine how much joist tape you need using a joist tape calculator.
Carefully press the tape across your joists.
Use a utility knife to cut the tape.
Start clips mark where you’ll push your first board. For each linear foot of decking material, you’ll need 0.75 start clips.
With that in mind, here’s what you need to know to fasten the starter clips to your joists:
Start on the side of the frame that sits against your home. If you’re installing composite decking on a floating deck, you can start on any side.
Position a start clip flush with the edge of the frame on top and in the center of the joist.
Using one composite decking screw per clip, fasten each start clip into the frame.
Your first decking board is perhaps one of the most important parts of laying your deck because it sets up the rest of your deck. Be meticulous when completing this step to install your deck correctly.
If you have a downspout to account for, use a jigsaw to cut a hole for it on your first board. Wear protective gear like goggles and a face shield when using power tools.
Push the decking board into the start clips so that they fit tightly into the board’s side groove.
On the opposite side of the board, where the board meets each of the frame’s joists, push a clip prong into the exposed side groove.
Screw these clip prongs into the first board through the center of the joists.
Ensure your board is straight and securely attached before moving on to the next steps.
Get your puzzle skills ready because this next step involves connecting the decking boards on your frame. Here’s how to attach your composite boards:
Cut your next decking plank to length using a circular saw.
Secure another start clip.
Push this board into the clip you just attached so they fit tightly into the side grooves.
As with your first row, screw clip prongs into the opposite side of the row.
The clips should automatically space your boards for proper drainage, but ensure the space between each board is at least ⅜ inch apart to accommodate for heat expansion.
Repeat this process to install the boards until you have only one board left.
Your outer decking board may not need to be full width, so follow these steps to attach the outer decking board correctly.
Measure and cut along the length of the deck if needed, notching it to fit around any posts as necessary.
Use chalk or a pencil on the final joist to mark where the edge of your last board will lie by adding the width of your remaining two boards and the width of the gap between them.
Use the markings to line up and attach starter clips at each end of the frame and on top of joists at regular intervals, like when you attached the first board.
Depending on the clip design, you may need to use end nippers to remove the spikes from one side.
Click a board in place against these clips.
Then, clip prongs onto the next-to-last board.
It’s time to fine-tune your new deck. Wear protective gear like a face shield and goggles when using a saw to avoid getting debris in your face, then follow these steps:
Snap a chalk line across your deck boards in line with the edge of the frame where the boards are hanging off.
Use a screw to fasten a straight-edged board along your line to act as a saw guide.
Guide a circular saw along the straight edge to trim your decking to length.
Remove your straight edge and fill the screw hole with wood putty.
Many composite decking products are not the same color through the board, so you’ll want to cover the ends to give your decking a flush finish. Here’s how to add a finish to composite decking:
Measure and cut your composite fascia pieces to size using a saw.
Screw the pieces onto the ends of your frame at regular joist intervals to cover the exposed frame and composite ends.

Composite decking is a long-lasting material and resists many types of damage typical to natural wood. However, even low-maintenance decking needs proper care to stay looking new. Use these tips to clean and maintain your composite decking.
Minimize moisture: Redirect downspouts and dryer vents away from the deck and by clearing away standing puddles with a mop or floor squeegee.
Ventilate your deck: Ensure there’s at least 6 inches of unobstructed airflow underneath your deck.
Proper mulch storage: Don’t store organic mulch on, under, or against your deck.
Add protection: Use woven rugs and avoid mats that have a rubber backing, which can trap moisture.
Mind the gaps: Unclog gaps between boards when leaves or grass build up.
Weekly maintenance: Sweep often to prevent debris from getting caught in gaps, especially during autumn.
Regular cleanings: Scrub and rinse your deck with mild water, soap, and a gentle scrub brush if sweeping won’t remove dirt, grease spills, or salt build-up.
The total cost to install composite decking ranges from $5,400 to $11,500, primarily based on the size of the deck and the type of composite decking used. For a medium-sized deck of 360 square feet, homeowners pay $8,500 on average. The easiest way to gauge the cost of a project is by measuring the square footage, as composite decking installation costs between $15 and $32 per square foot. Other possible cost factors include deck permits, demolition fees to remove an existing deck, and leveling and grading a yard to accommodate a deck.
Hiring a professional deck builder will ensure your composite decking installation goes smoothly and quickly. Plus, while you might save on labor, DIY mistakes can lead to costly repairs and even personal injury. Be sure your substructure can support the weight without shifting before attempting to DIY. If you decide to hire a pro, get at least three quotes, read online ratings and reviews, and get an in-person consultation before you make a decision.
One of my old tall evergreen trees was suddenly leaning toward the busy street in front of my house. I submitted a request for an emergency tree inspection, and Alejandro, owner of Cajete Tree Service, contacted me immediately and arrived to look at it just 20 minutes later. We agreed the...
1 tree was cut down and 5 others including a large willow tree were trimmed. The Grant Tree Service men were professional and cleaned up afterwards. The cost of the 6 trees were affordable. I am very happy with the results. I would hire them again.
Archie did a good job cleaning up the driveway before he laid down the sealer. It looks good. He was gracious and even helped me bring up my groceries. His rate was comparable to another company who came out to give me a quote and he talked to me personally rather than just text me a quote...
We have bought and sold numerous times over the past 50 years. Sherman Hall and Top Line are top notch. Thorough and detailed, he explains every possibility, probability, and eventuality. High class and pleasant. The best.
 Top Line Home Inspections, LLC
D1 Roofing delivers outstanding service from beginning to end, backed by a strong warranty and expert teams. I highly recommend them for their excellence in meeting and surpassing expectations with unmatched communication. Choosing D1 Roofing was flawless decision
Couldn't ask for a better company. Josh and Dee were Very professional, efficient, courteous and takes major pride in their work. They will travel to come to your home and will still give you a fair price. They are honest and trust worthy. Their focus is on their work and their work is...
 Supreme brick & chimney
Window Depot did an amazing job on my deck. I wasnt sure what I wanted to do, but their composite decking was affordable and will last a long time. I am excited to have family over, and I am no longer embarrassed by my backyard. Jeff and the ground crew were polite, respectful, and caring for...
Wonderful. I am going to have them remove and replace my driveway in the spring.
 All Star Paving and Sealing
We were having 2”x 2” tile installed . There was a small installation error and the new additional replacement tile was from a different lot and the colors didn’t match. Joe assured us that he would rectify everything , which he did without hesitation. We decided to go with the 18” x 36” tile...
 CarifaTile
Maple Tree Service should serve as a mentor for other business! Customer service was superior and beyond expectation. Response to request was prompt. The representative was very courteous and proud of the company. Quote was given during initial visit and work date established. A follow up...
 Maplewood Tree Service
From average costs to expert advice, get all the answers you need to get your job done.
Building a composite deck can increase your home’s appeal and value. Composite decking costs depend on the size of your deck, the materials, labor, and more.

Ipe decking costs vary based on size, construction, finish, and whether you hire a professional. Learn more about how to budget for this project.
The cost of expanding your outdoor space with an elevated deck depends on the project size and the materials used. Plan your project budget with this guide.

When designing a dream deck, knowing the pros and cons of composite decking vs. wood decking is helpful. We’ve broken down the differences to help you decide.
Know the best materials for decks for different styles, colors, maintenance, climates, wood decking, regular decking, and pool decks.
You can DIY a floating deck with the right layout, materials, and installation method. Here’s everything you need to know about how to build a floating deck.