
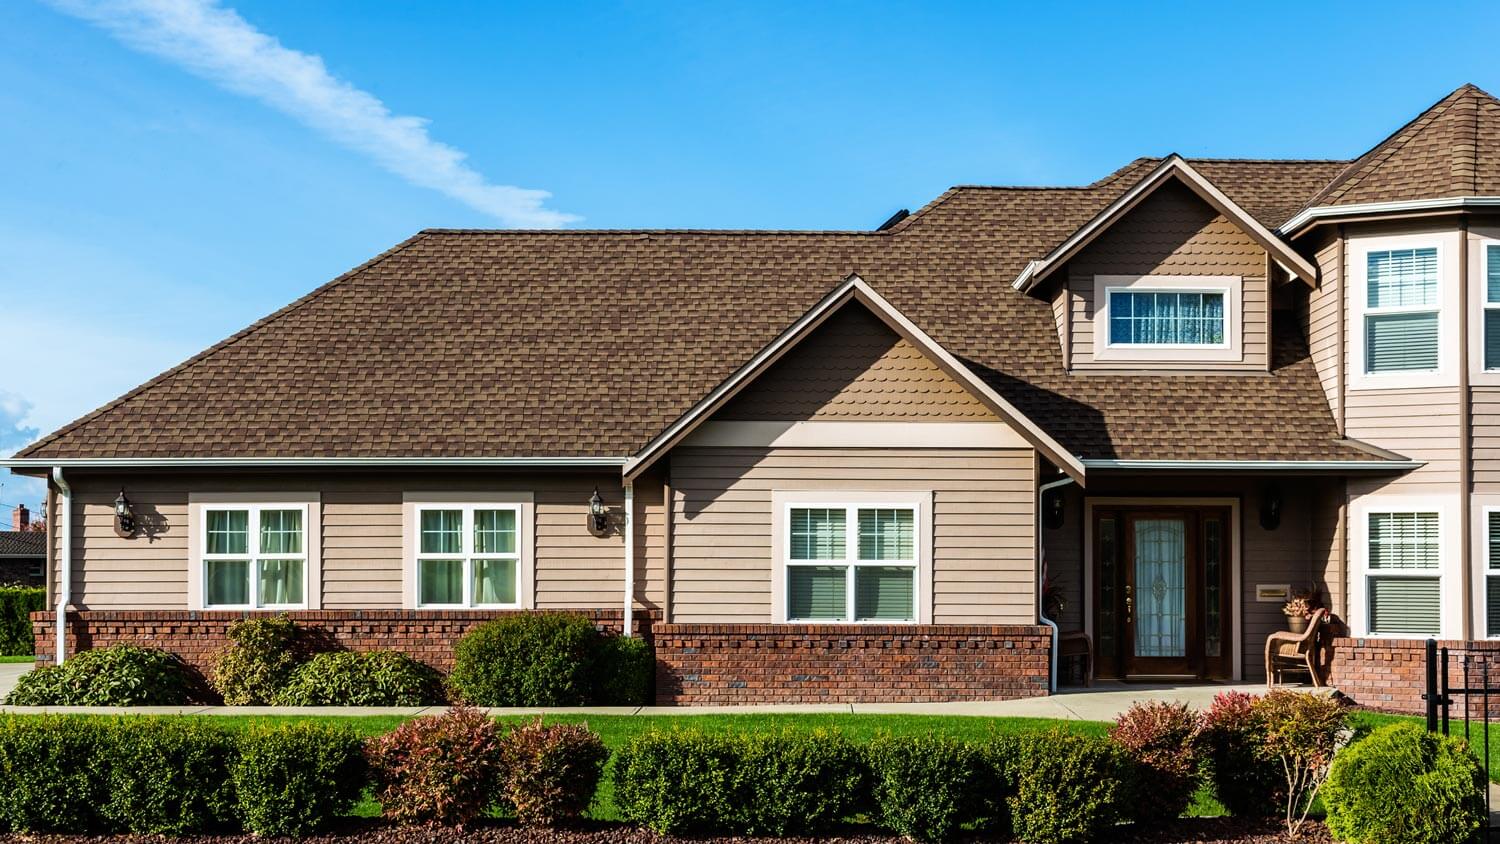
Aluminum siding costs between $4,500 and $19,000 on average, depending on the style, square footage, and local labor rates. Keep reading to estimate your budget.
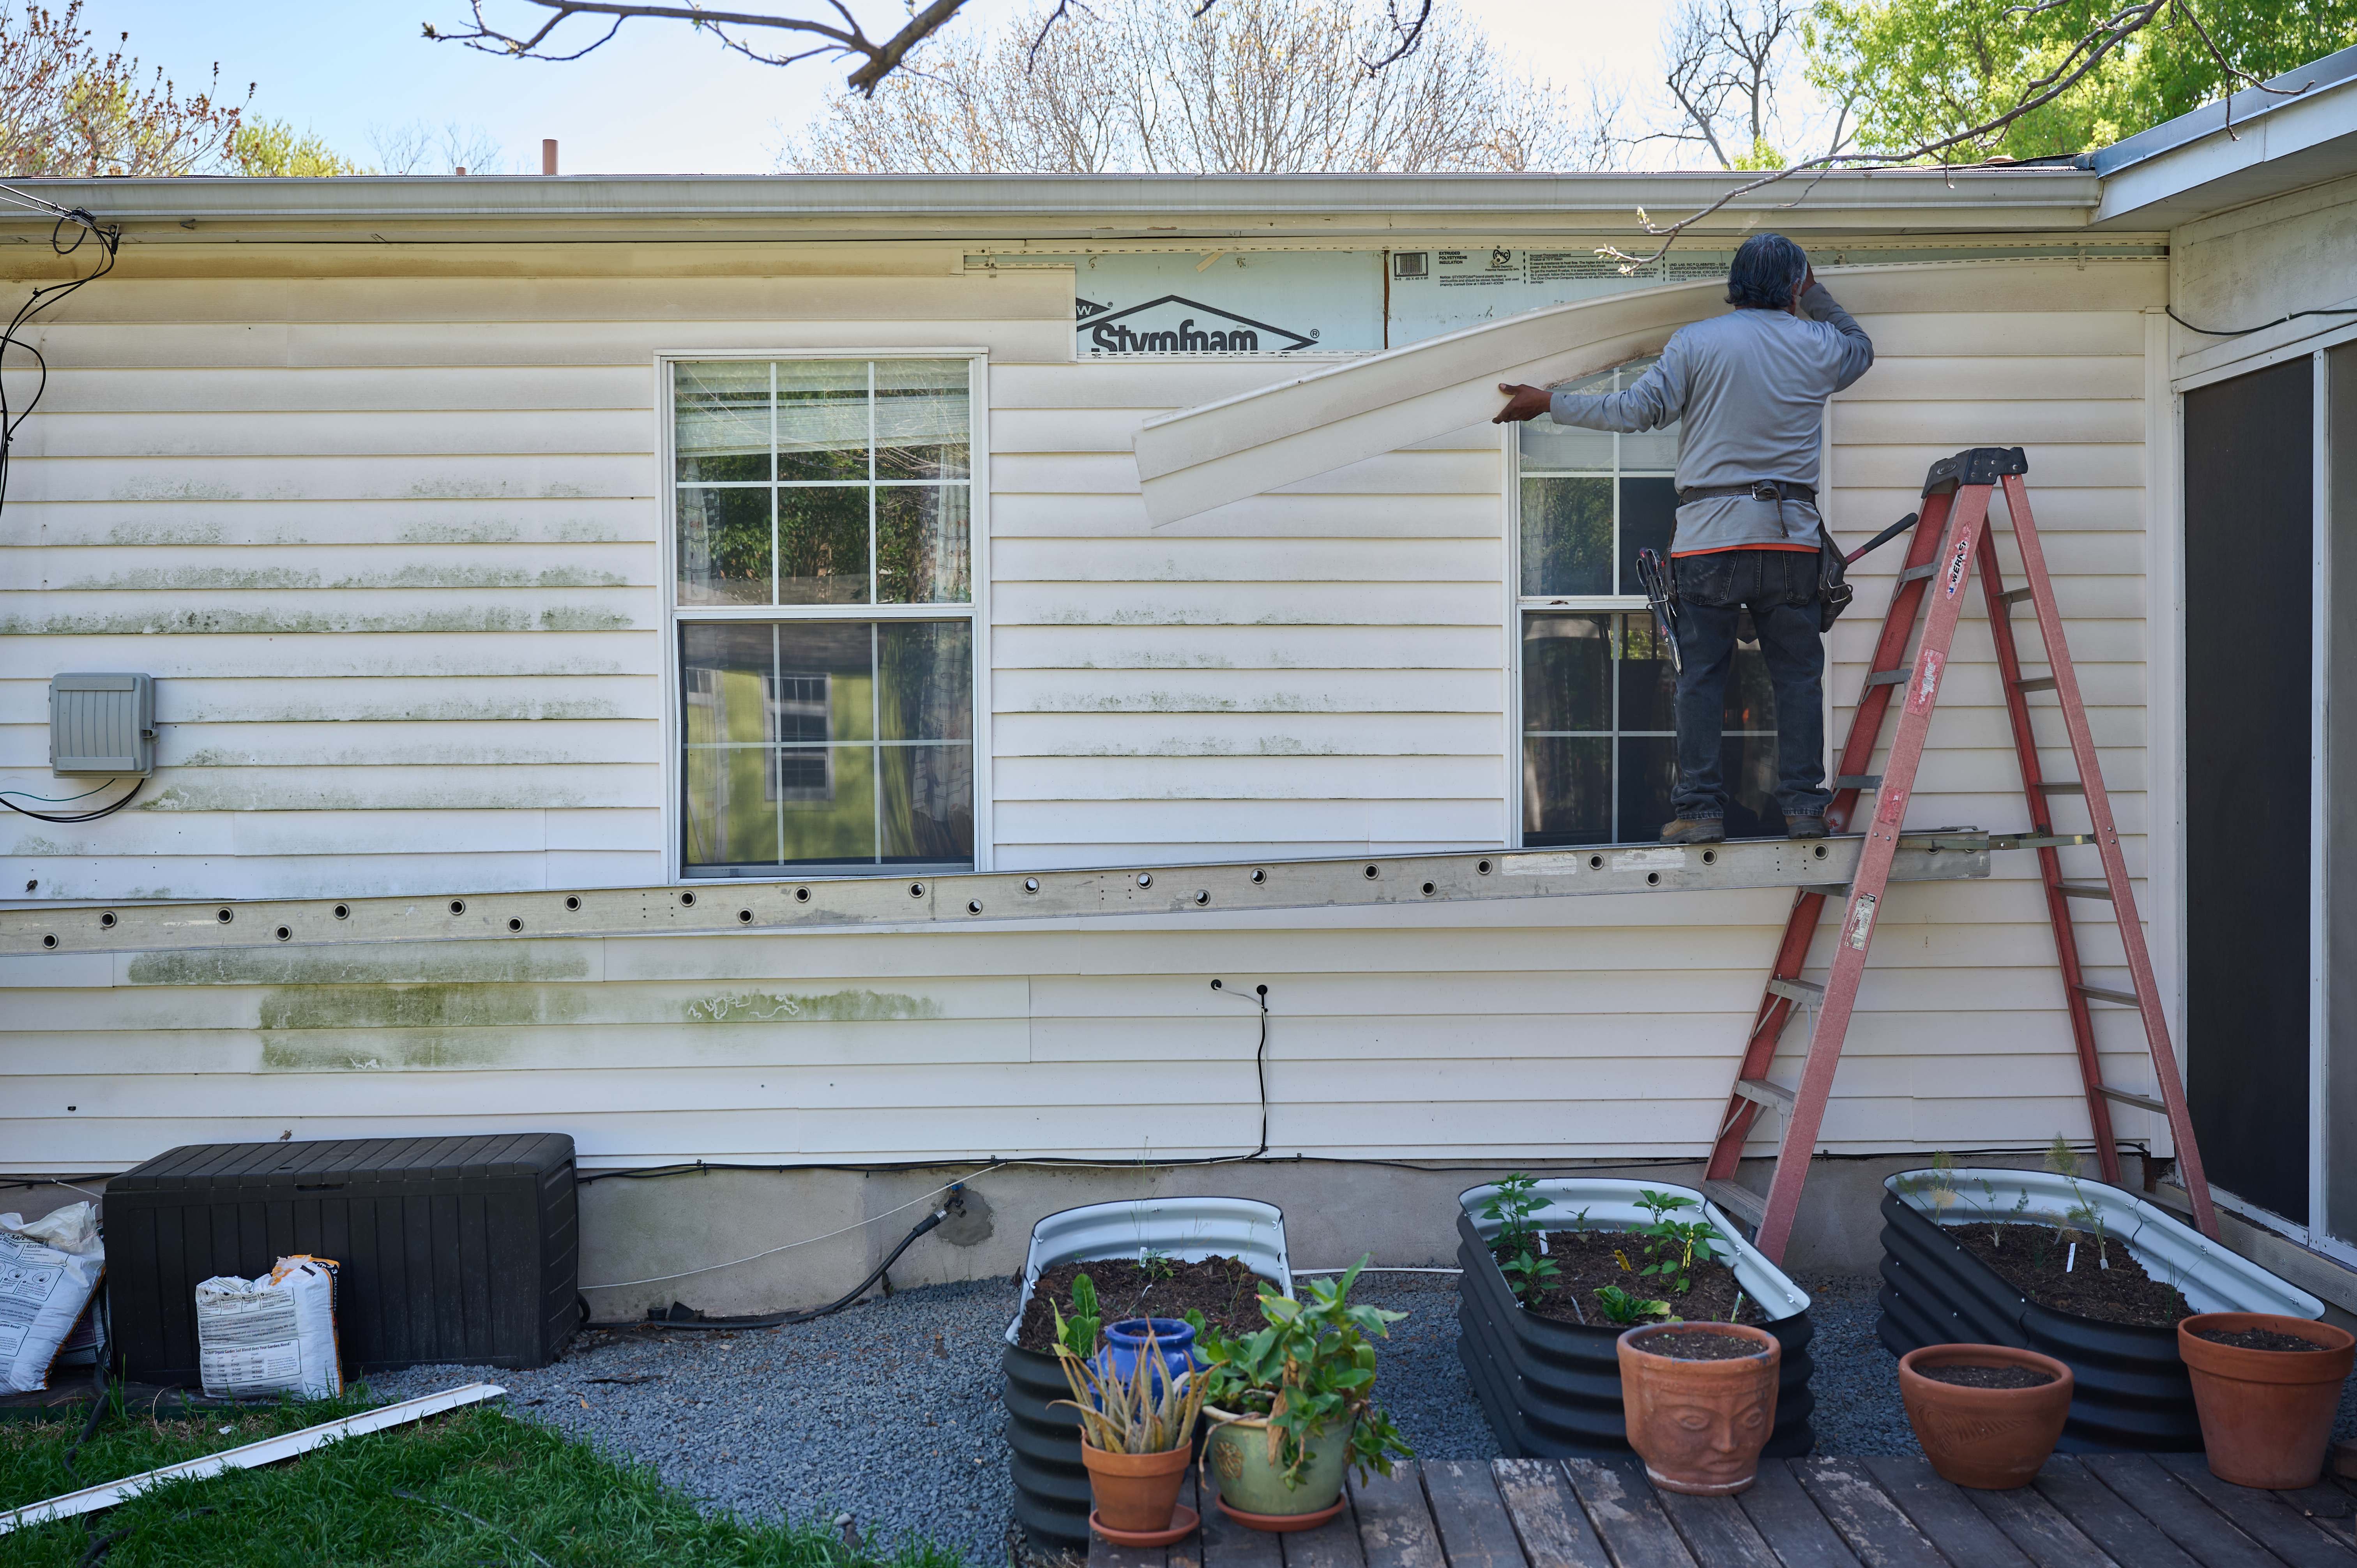
Installing aluminum siding on your own is doable if you have the tools and a little patience

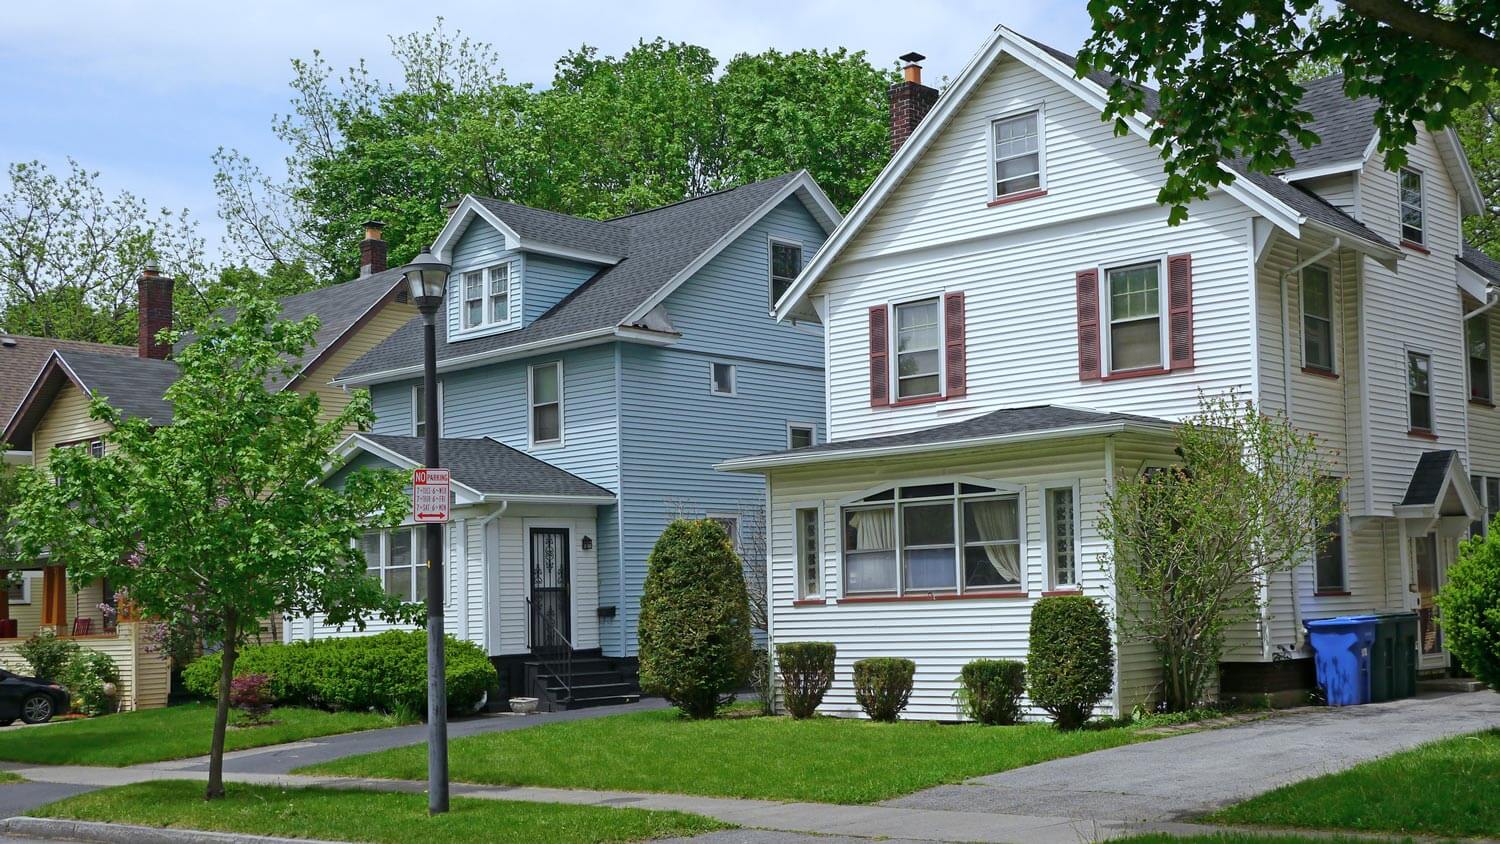
Half a century ago, you could drive through most neighborhoods and run out of fingers counting all the homes with aluminum siding. It’s since become less popular with the introduction of vinyl siding. Despite its tendency for chipped paint and to dent easily, aluminum siding still offers a number of benefits—it is long-lasting, won’t rust, and comes in a wide variety of colors. And, if you’re a particularly skilled DIYer, it’s possible to install without calling up your local metal siding contractor. Below, we’ll walk you through how to install aluminum siding by yourself.
Just keep in mind: The project will take several days if you’re re-siding your entire house in aluminum. Before removing your existing aluminum siding, purchasing replacement siding, and dedicating a week or two to installing new siding, consider whether your current aluminum siding actually needs to be replaced or if repairing aluminum siding yourself might get a few more years out of it.
Before you can install aluminum siding, you’ll need to remove the existing siding. Here’s how to remove aluminum siding, but note that the steps will differ if you’re removing another type of metal siding already in place.
You’ll also want to remove gutters, downspouts, vents, water fixtures, and anything else that might get in the way during the installation. You’ll need to reinstall these after the project is completed; if you’re not sure how, you can find a gutter installation company near you to reinstall the gutter system.
Finally, examine the exterior walls after removing the siding and scrape off any old paint or caulk. Hammer in or remove stray nails.
Note: Wear protective eye goggles, gloves, and ear plugs as needed, especially when making cuts with a circular saw.
Start by nailing waterproof sheathing over the entire exterior wall, if necessary, cutting around doors, windows, and other openings. Then, install a ⅜-inch foam board underlayment, which ensures a smooth surface to which to install your aluminum siding. Use nails to affix each foam board piece perfectly straight, with no gaps in between.
Start your install by hanging corner posts on all wall corners (outside and inside corners). Hammer nails in the top of each of the uppermost slots (one on each side), leaving ¼ of an inch of a gap between the top of the corner post and the soffit. Leave a small (1/32 of an inch—about the thickness of a dime) gap between the head of the nail and the actual corner post trim to allow for expansion and contraction.
Continue nailing down the post, with nails in the center of each slot rather than the top. The bottom of the corner post should overhang the bottom of the aluminum portion of the wall (where you’ll install the starter strip) by ¾ of an inch.
You may need more than one corner post for particularly tall walls. If so, overlap the two corner posts by 1 inch when you stack them
Next, you’ll need to install footer trim (called the starter strip) at the bottom of each of the exterior walls. Snap a chalk line along the wall to follow for your installation, and use a level to make sure it’s straight across.
Hammer the nails into the center of the slots, not the top, which will allow for movement as needed. Again, leave a 1/32-inch gap between the nail head and the footer trim to allow for expansion and contraction.
Under the eaves, install F-channel trim across the wall. When installing the actual aluminum siding panels, you’ll slide the top sheet under this trim. Follow the same guidelines about nailing: center of slots and a minute gap between the nail head and the trim.
Install self-adhesive flashing around windows and doors. Further protect these openings by sealing any gaps with caulk.
After your openings are sealed and the caulk has dried, install J-channel around windows and doors. Measure the perimeter of the openings and cut the J-channel to size using tin snips. Each channel should be 2 inches longer than the opening dimension.
For the bottom channel, cut 1 inch out from the ends before installing. For the side (vertical) channels, cut rain tabs. At the top, notch out 1 inch on each side and cut rain tabs on each end. Install these so that water will run down the channels and away from the house—not into it.
Nail at 12-inch increments when hanging this trim. Again, leave a small gap so the trim hangs from the nails rather than be completely fixed to the wall.
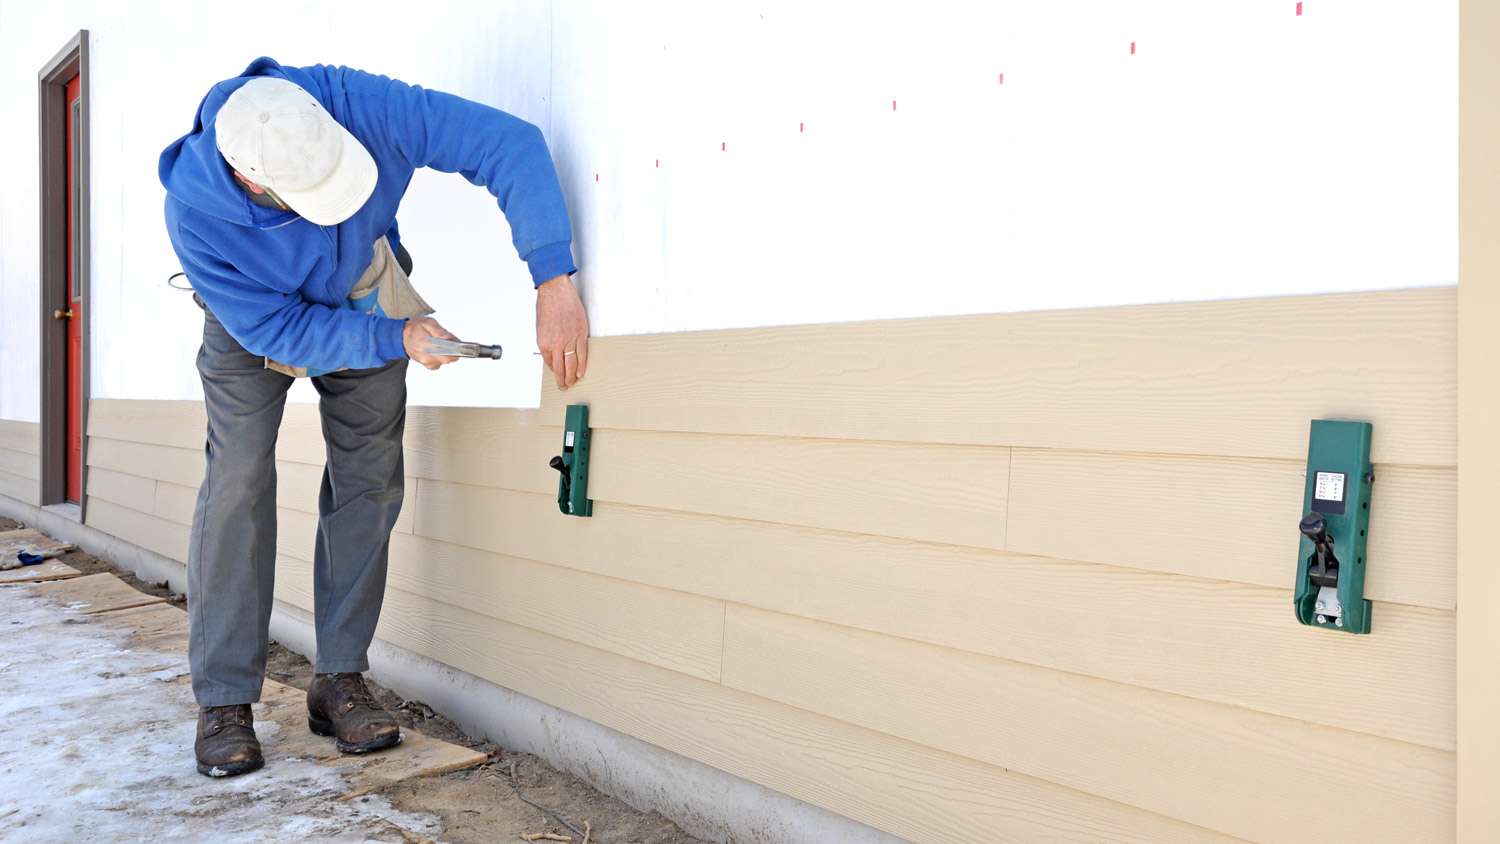
You’ll start at the bottom of the wall and work your way up. Slide the aluminum siding panel into the starter strip installed in step 3. It’s designed so that the first row will interlock into the starter strip. Slide the panel nearly all the way to the corner trim (leave about ¼ inch of a gap for expansion), and lock it into place. If needed, add additional siding panels to the first row, overlapping by 1 inch. Use your circular saw to cut siding panels to size as needed.
Continue installing the aluminum siding up the wall. Each panel is designed to lock into the panel beneath it.
Use a circular saw to cut pieces around openings (windows, doors, air vents, etc.) as needed.
You may need to cut the top piece of aluminum horizontally so it fits into the F-channel installed at the top of the wall. Fasten the top row into the row below it, then slide the top of the panel into the F-channel.
Knowing how to install aluminum siding is the first step to a DIY install—but knowledge is only half the battle. You’ll need all the proper tools, confidence on a ladder, an understanding of exterior siding (and how to prevent water damage), and plenty of time for the project. If you’re willing and able, handling the project yourself dramatically reduces the cost to install aluminum siding.
To speed up the time-consuming project, consider asking some friends or family to help. Alternatively, get quotes from siding contractors near you—and hire the best professional to tackle the job. It’ll cost more, but you won’t have to lift a finger (beyond dialing up the contractor).
The guys at PaveWay are top notch. From the estimate to the job being completed,all was done in a timely and professional manner. I myself was a DOT Engineer Inspector(know what to look for) and got to talking with Cameron and he himself was a Contract inspector for a few years,same job as...
 All Star Paving and Sealing
I highly recommend KTM construction! I will look no where else for anything that needs to be done, in or out side of our property. The level of craftsmanship is 5 star service across the board! The level of detail, knowledge and professionalism is 5 star service across the board! Ken is a...
I purchased the "Big Deal": $199.00 for exterior pressure-washing of one- or two-story home up to 2,000 square feet. They cleaned the siding only. I wasn't aware when I bought the Big Deal that they would not do any other surfaces other than the siding (i.e. sides of the gutters or stucco). I...
 Complete Home Services
This brownstone is historical and the carpentry work is very detailed. I was very happy to secure a company in NY and living in OH to complete the request. Wood work on this brownstone has been existing since approximately 1888 and West side did a GREAT JOB. I will not be able to...
 Westside Home Improvement
Nice group of workers, very friendly. Day 1 covered everything before starting, seemed very organized. Things seemed to be going great. Day 2 they didn't show up until around 10:00a.m. and work crew was cut in half, was told they had another job. Day 3 they didn't show up until around...
 CertaPro Painters of Columbus
The work went great! Couldn't ask for better. Joel set a work start date. About the time of the storms that may have been associated with Sandy. He was half a day late. They set up on a Thursday. On Friday they had a full crew at work. By Monday they were finishing up. Now, the best...
 NJW Construction
A few months ago, a tree branch fell across my car, leaving a series of dents across the hood and driver's side fender. I took it to Rife's after reading the Angie's List reviews. Rife's did a great job! My car looks like new. And they made the process as easy as possible. When I came in...
 Rife's Autobody Inc
I received an email from Angie's List offering Car Detailing 4 U's services for $99. Coming from Angie's List, I expected this to be a highly dependable and qualified company that was known for doing exceptional work. I set the appointment for them to come to my home. They were arrive at...
We first had Mark fix the back patio and liked his work so much we had him make a brick patio on the side of the house. When we decided to change our concrete walkway to brick, we wanted Mark to do the job because his prices were fair and he did such good work on t he other two projects.
 Mark Monnette Masonry
I was very pleased with the cost and end result. I truly expected this job to cost me 50% more than it did. When you factor quality and cost, I would highly recommend Mark's services and plan to use him in the future. The best part was, I asked Mark to match the paint color in one section...
 Fresh Touch Custom Painting Inc.
From average costs to expert advice, get all the answers you need to get your job done.
Aluminum siding costs between $4,500 and $19,000 on average, depending on the style, square footage, and local labor rates. Keep reading to estimate your budget.
The cost to paint aluminum siding depends on several factors, including type of paint and labor cost. What are the pros and cons of DIY or hiring a painter?
Siding replacement costs around $11,000 on average, but several factors influence what you’ll pay. Our guide breaks down all the siding cost factors.
Cleaning your aluminum siding can give your home a fresh new look. Use this guide to learn exactly how to clean aluminum siding from start to finish.
One afternoon of bad weather can leave your aluminum siding with dents, scratches, and holes. Learn how you can repair aluminum siding in a few short hours.
When it comes to aluminum vs. vinyl siding, both are strong opponents. Vinyl is more low maintenance, while aluminum is more durable. Read on to learn more.