
•
Wondering how much it costs to refinish a table? Get average prices, cost factors, and tips to help you budget and choose between DIY or hiring a pro.
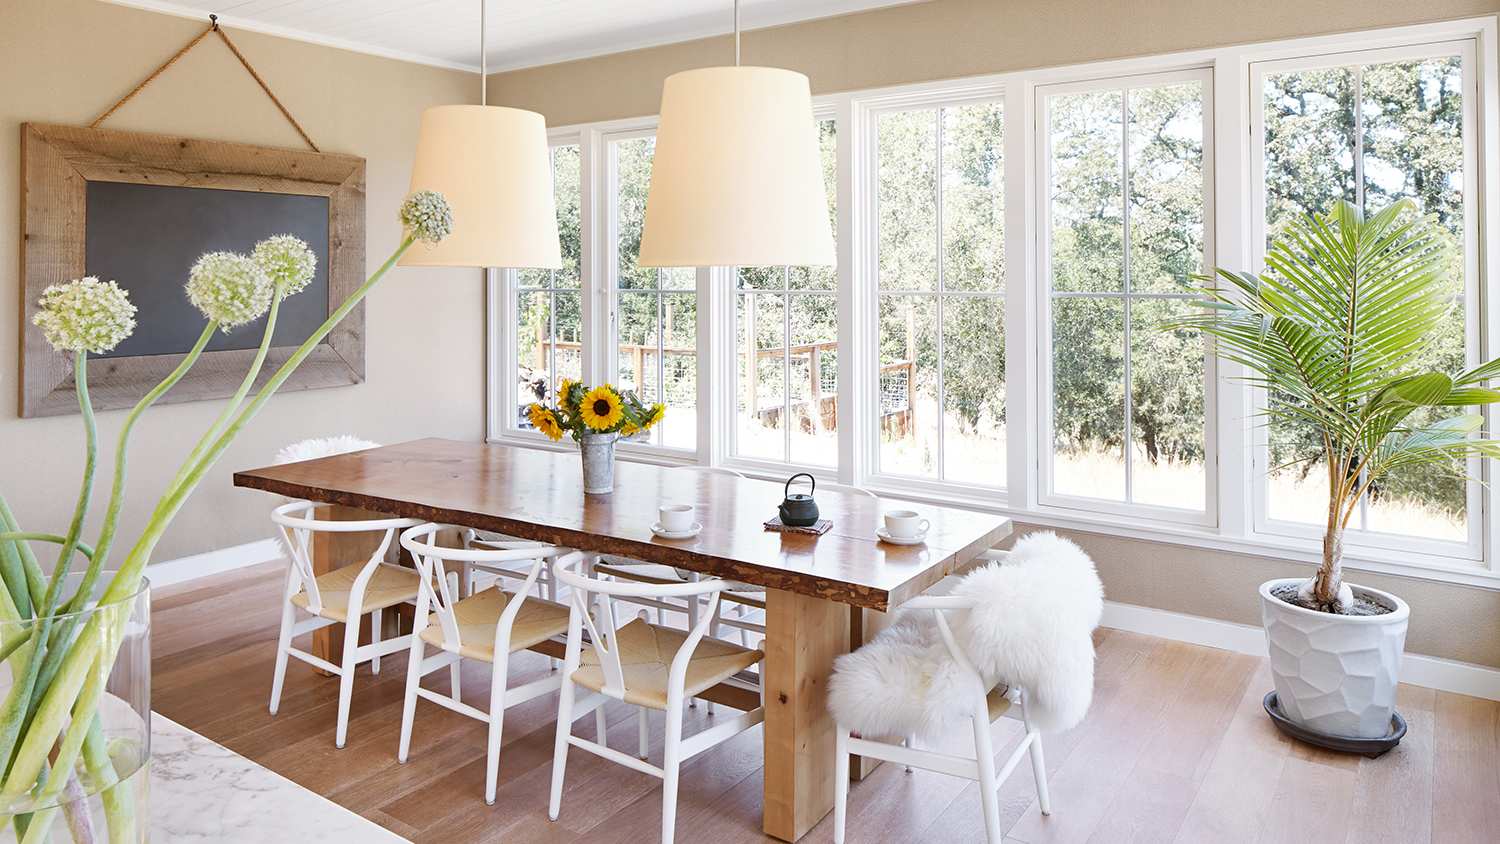
Perk up your coffee table with these creative DIY ideas

Coffee table makeover ideas like distressing, spray painting, or applying chalk paint let you refresh your table without replacing it completely.
You can use simple techniques like lime wash or glazing to transform your table's finish and match your living room's style.
Sanding, priming, and sealing your coffee table properly helps your new finish last longer and protects against stains and water damage over time.
Hiring a local furniture refinishing professional provides expert help with stripping, staining, and sealing when your table needs more extensive restoration work.
Maybe your coffee table is damaged, worn, or out of style. Or perhaps it no longer meshes with the design of your living room. Before you replace it or send it to a furniture refinisher, consider giving it a new look. Read on for some inspiration from clever design bloggers, and then try your hand at a DIY coffee table makeover.
Blogger Kristine of The Painted Hive found a coffee table on eBay that was the ideal size and shape, plus it only cost $25. The only problem: it was ho-hum design-wise.
To give it some character and make it fit into her cottage-style living room, she decided to distress it—a process that only took her a few hours.
Kristine began by lightly sanding the base of the table and then applying two coats of white acrylic paint. Next, she distressed the paint by hand with a sanding block and sandpapers with various grits, then rubbed the table with steel wool. “Don't worry about it being perfect,” Kristine says. “The more haphazard things appear, the more naturally distressed your furniture will look.”
Next, she applied a finishing glaze of brown craft paint mixed with clear acrylic sealer. Finally, she sanded, stained, and sealed the top, being careful not to sand so much as to expose the wood veneer surface.
Blogger Suzannah of Create/Enjoy transformed her coffee table dramatically—with very little effort. Inspired by a faux bamboo gold and glass table, she decided to glam up a $15 dark green and black enamel coffee table that she found on Craigslist.
After a thorough coat of spray primer, she covered the metal portions of the table with gold spray paint. “I love how fast and easy it is to transform things [this way],” she says.
When a client asked Steph and Michelle, the mother-daughter duo behind Sunny Side Design, to refinish a thrift store table, they weren’t optimistic. “At first glance, we thought it was too far gone to refinish,” Steph and Michelle recall. Along with the remnants of a nail head border, it featured a chipped finish, water damage, and a rough top.
Over a couple of days, though, they filled in all of the nail holes, sanded and cleaned the surface, and applied white chalk paint.
After the paint dried completely, they distressed the table using fine sandpaper. “It’s best to do this by hand to better control the amount of distress you would like,” Steph and Michelle said. Then, the mother-daughter team finished the table with three coats of a satin finish polyurethane.
Aiming for a coastal vibe, Lindsey, the blogger behind Repurpose and Upcycle, decided to makeover her “drab” dark wood table.
She began by cleaning and stripping the surface. Since it was heavily stained and sealed, she needed to use a paint stripper three or four times to remove the finish.
Then, with a lint-free rag, Lindsey applied lime wax in the direction of the wood grain. After about 30 minutes, she buffed the surface with a clean lint-free rag. “Be careful not to buff too much because you don't want to remove the finish,” she said.
Overall, Lindsey advises choosing furniture made of wood with a large open grain, such as oak. “The lime wash finish won’t show up well on wood with a smaller grain, like maple,” she explains.
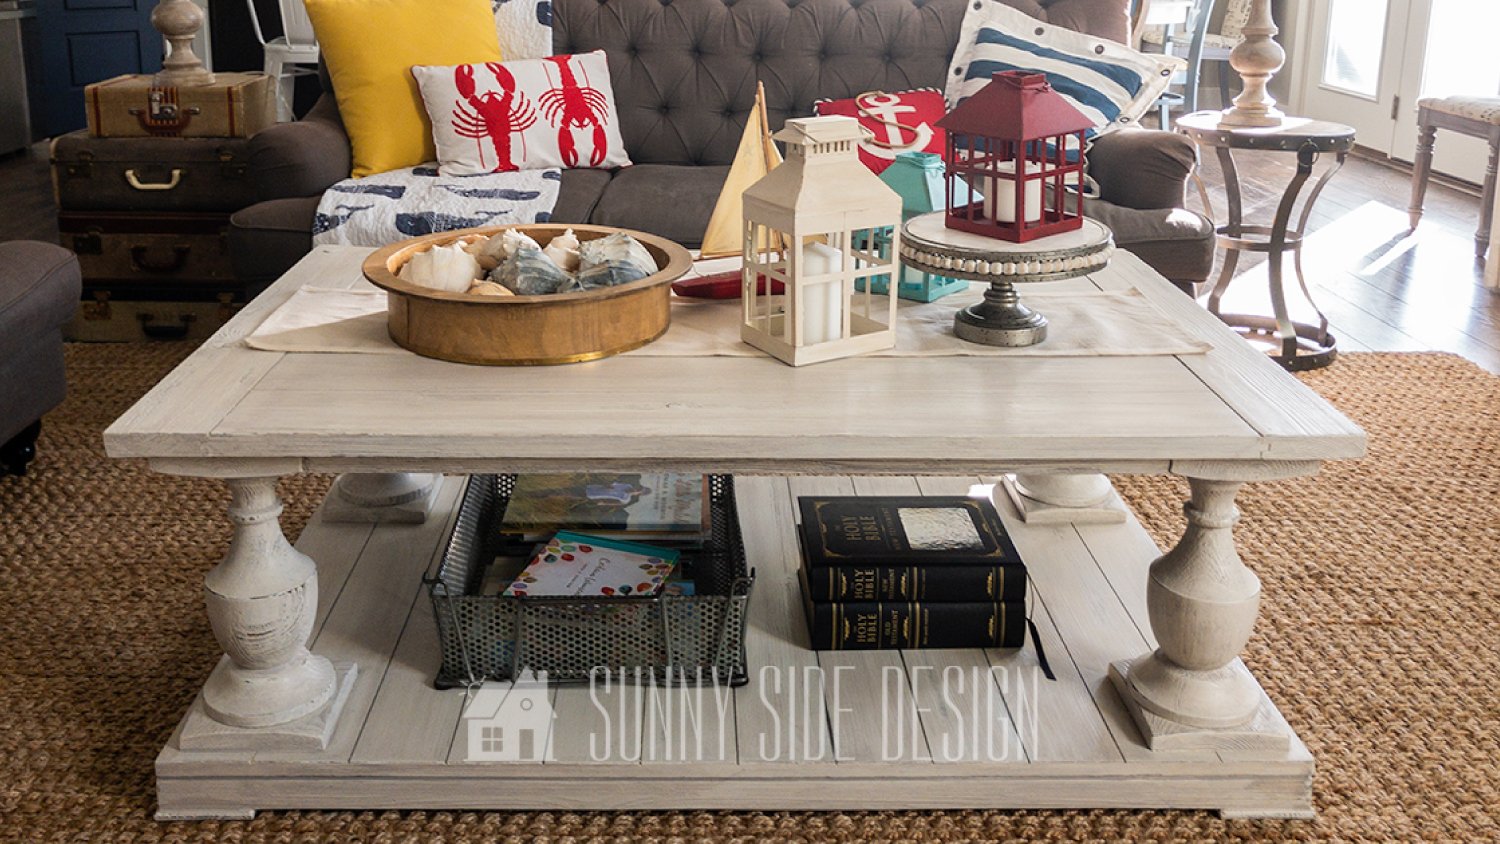
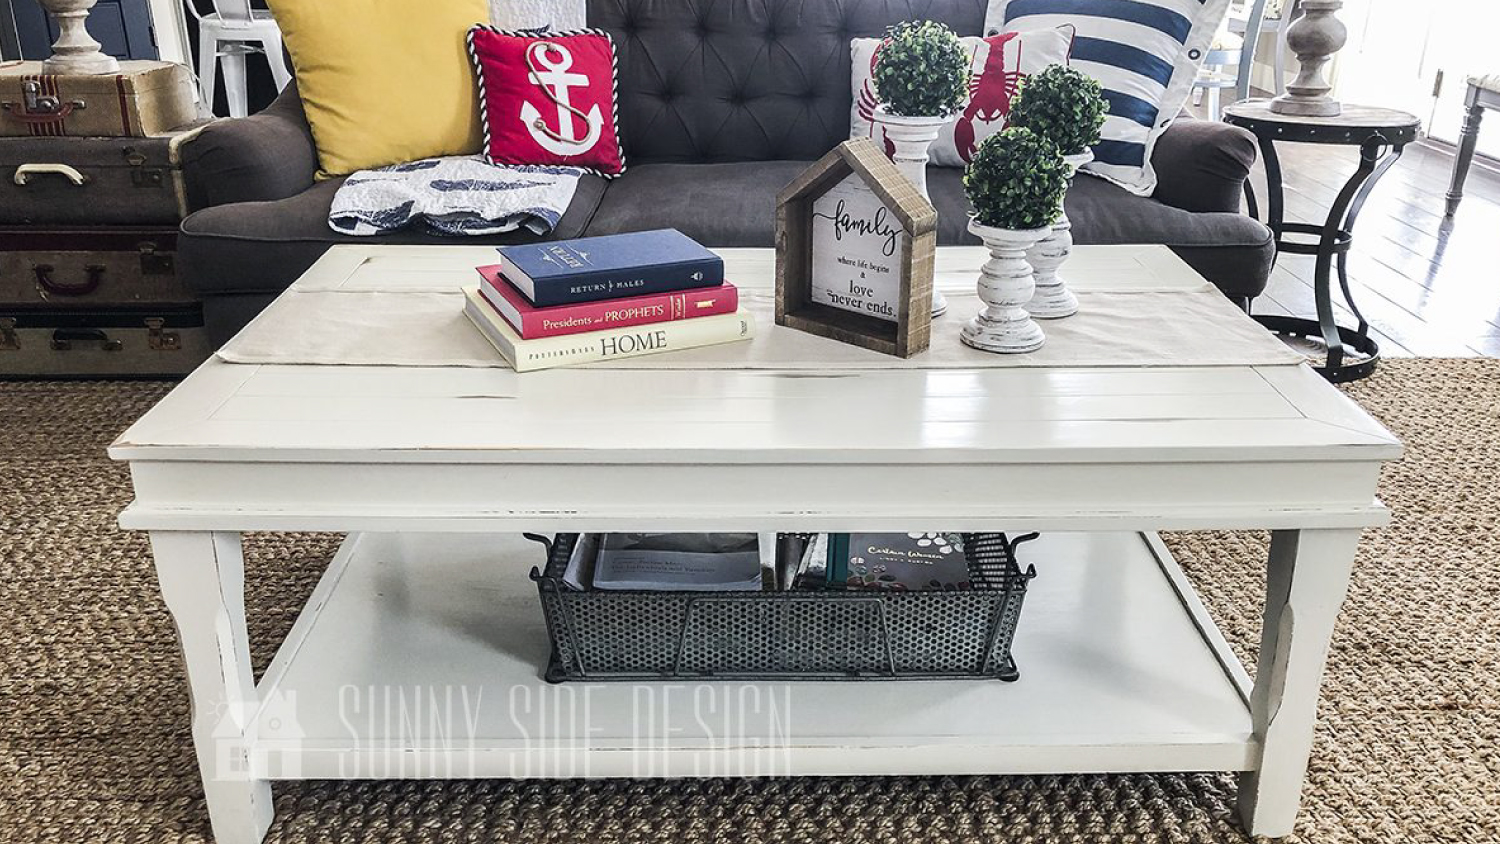
The Sunny Side Design bloggers Steph and Michelle said the $75 coffee table they found in their local classifieds section had good bones. “We loved the shape and planked surface and knew we could transform it to a light and airy coastal look,” they said.
After a light sanding, they added two coats of white chalk paint. Once dry, they applied a mixture of four parts glaze to one part light gray acrylic paint to add depth and dimension to the finish. “The glaze extended the drying time and thinned the paint slightly,” Steph and Michelle explain.
They lightly sanded the table once the glaze dried, achieving an aged, driftwood-like patina. Then, Steph and Michelle applied a clear wax and buffed the surface. “When using chalk paint, it’s important to seal your piece,” they said, “otherwise the paint can stain or discolor over time.”
We have bought and sold numerous times over the past 50 years. Sherman Hall and Top Line are top notch. Thorough and detailed, he explains every possibility, probability, and eventuality. High class and pleasant. The best.
 Top Line Home Inspections, LLC
Supreme Brick & Chimney did a great job with a cleaning and inspection of the fireplace! He was efficient, on time, and very pleasant. The space was kept very clean, and the fireplace was spotless when he was done. He also performed a thorough inspection, and did a great job talking us...
 Supreme brick & chimney
Custom Paint Jobs LLC is the go-to choice for all your painting needs. They painted both the interior and exterior of my house flawlessly. Their work speaks for itself!
They were very helpful with design, very quick to respond, good quality work, and competitive pricing!
On time, clean and finished fast. Windows seem sturdy and the finish is good. Caulking was done with no smudges. Would recommend.
If I could give 10 stars for Kitchen Tune Up, I would. I cannot say enough good things about my experience with Kitchen Tune Up and the entire team involved in the process of my kitchen project. They went above and beyond as far as service and quality with my cabinets, paint, countertops, and...
Beginning with the estimate, Larry and Peyton were super helpful in getting my new condo's interior re-painted. Not only was the job well done, but also done in a super timely manner as promised.
 Five Star Painting of Plain City and Powell
Great job...edging and pre clean up went well with a great job with seal coat. Friendly, efficient and professional.
 All Star Paving and Sealing
We were having 2”x 2” tile installed . There was a small installation error and the new additional replacement tile was from a different lot and the colors didn’t match. Joe assured us that he would rectify everything , which he did without hesitation. We decided to go with the 18” x 36” tile...
 CarifaTile
We live in a condo and had space to add a tall cabinet. The problem was the space was already occupied by our catsâ litter box. We needed to still keep the litter box in that same corner. Beiler Custom Cabinets was able to work with our need and design request. What was created was an...
From average costs to expert advice, get all the answers you need to get your job done.
Wondering how much it costs to refinish a table? Get average prices, cost factors, and tips to help you budget and choose between DIY or hiring a pro.
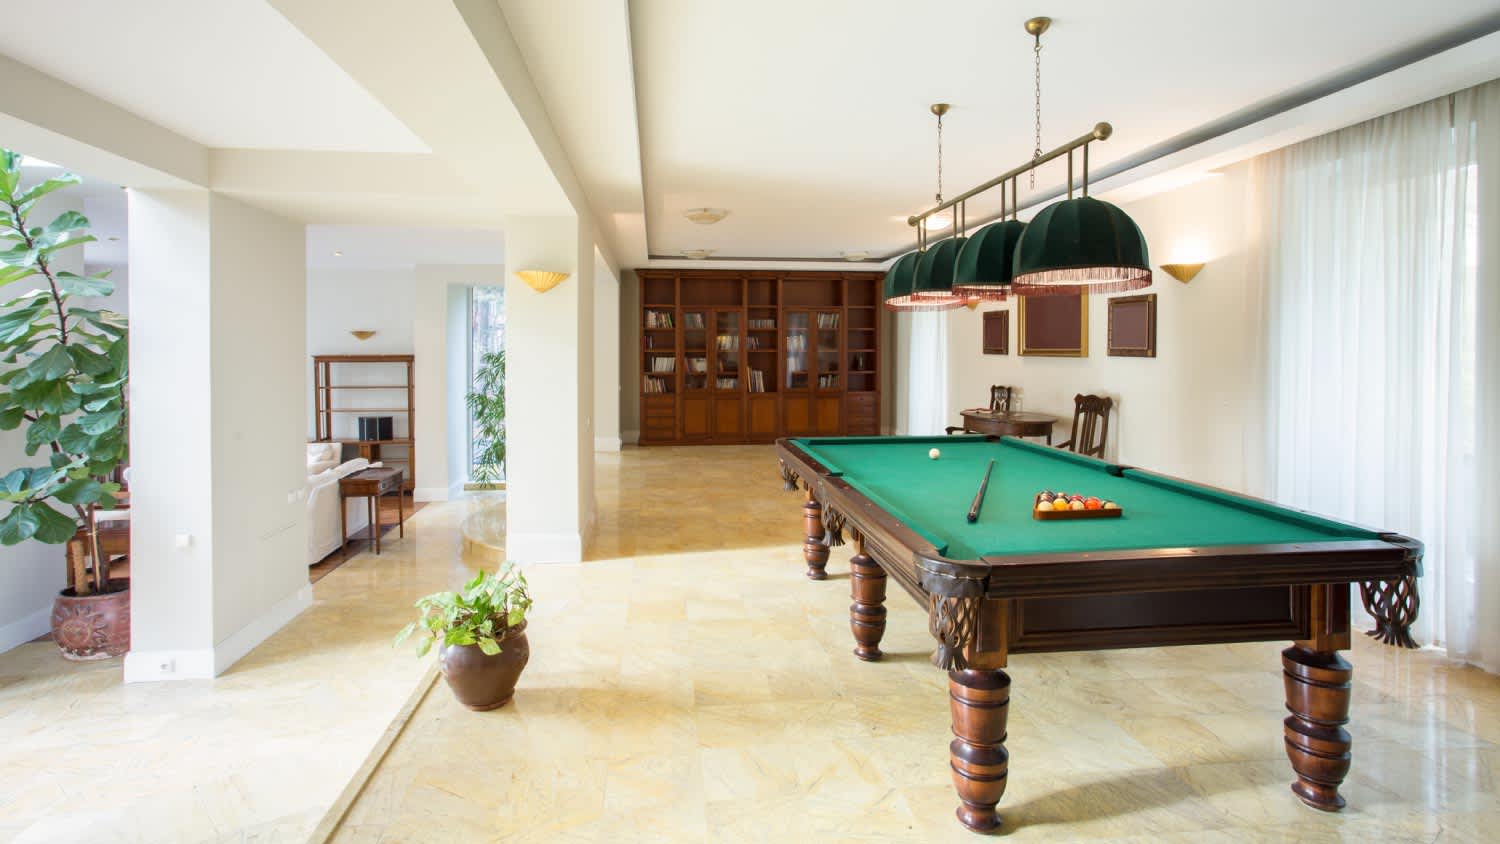
If you’ve ever tried moving a pool table, you know it’s a big undertaking. Here’s an overview of what factors into the cost to move a pool table.
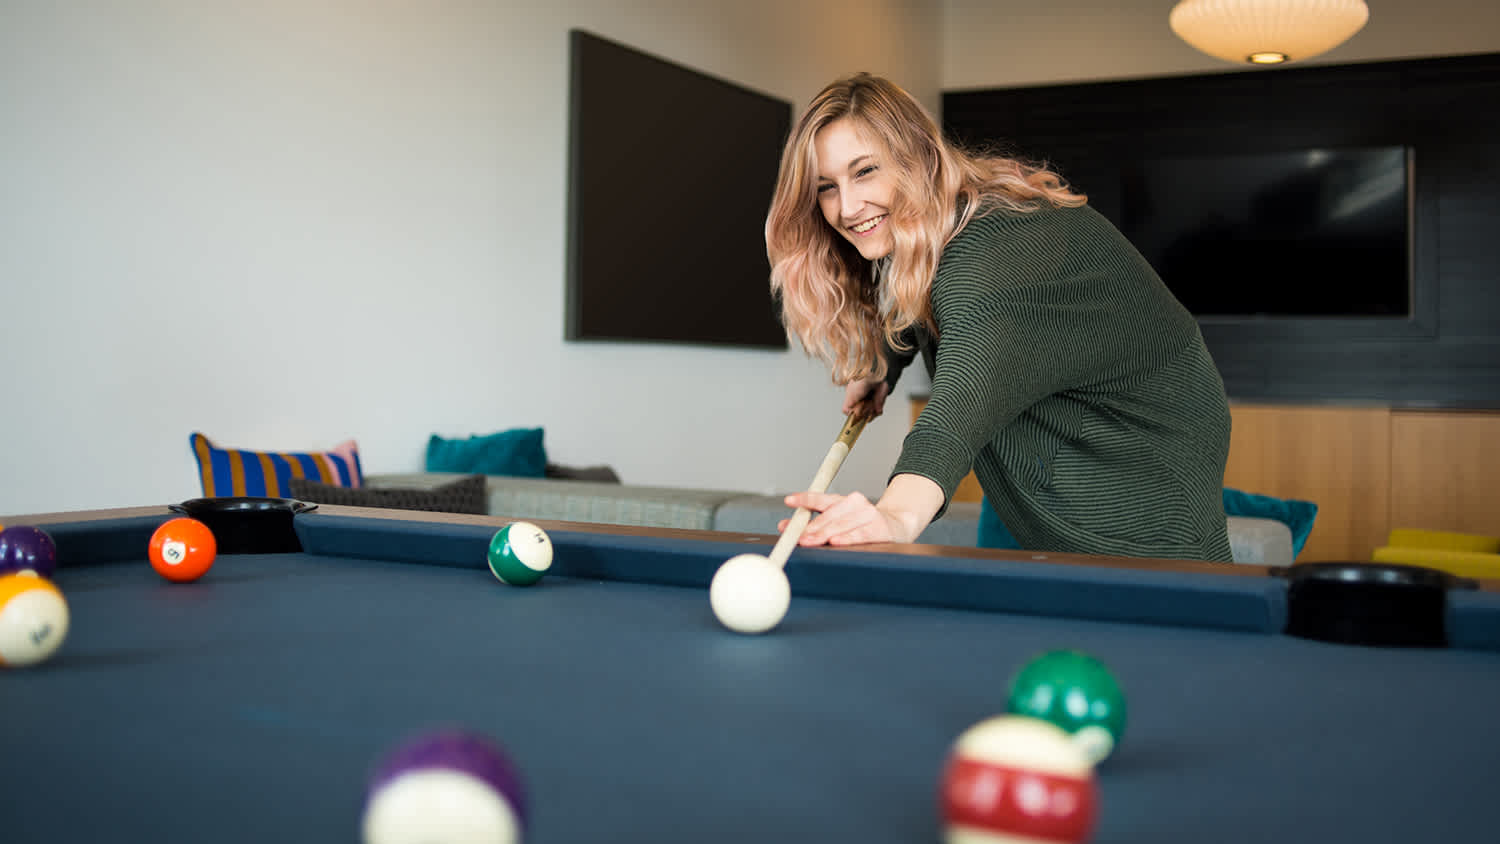
Learning how much it costs to refelt a pool table is the first step to getting your game back in top shape. Here's what to know about each type of table.
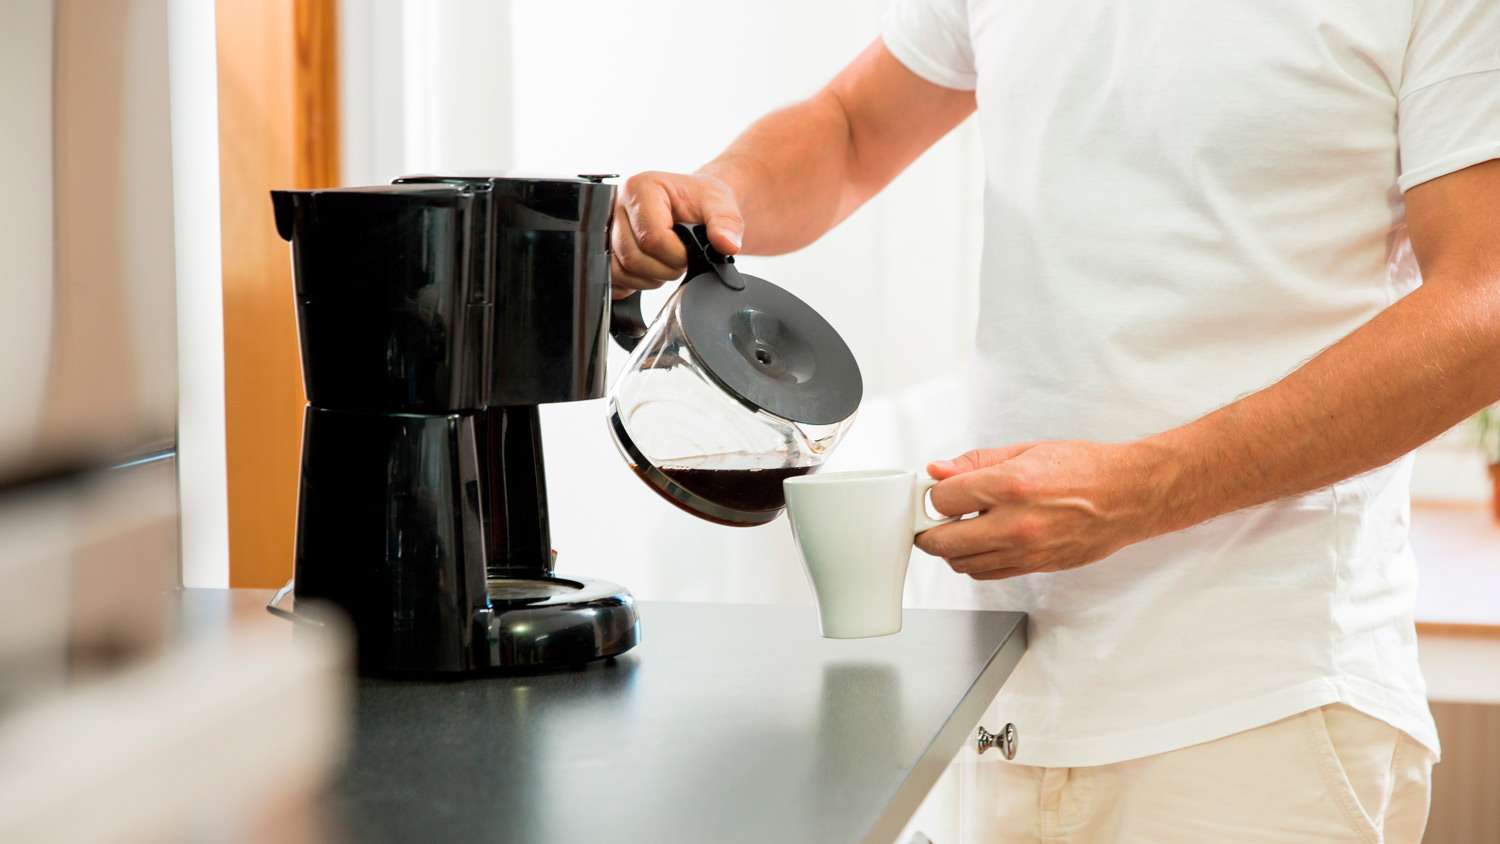
Up your home coffee-making game by keeping the machine clean (and safe from buildup) from brew to brew. We cover both daily and monthly instructions to clean out your coffee maker for tastier and healthier morning cups of joe.
A dining room table is an important component of your home. Learn nine popular types of tables to find one that’s perfect for your family.
Want to build a farmhouse table that’s both stylish and sturdy? With a few tools and some hard work, you can tackle this task on your own.