
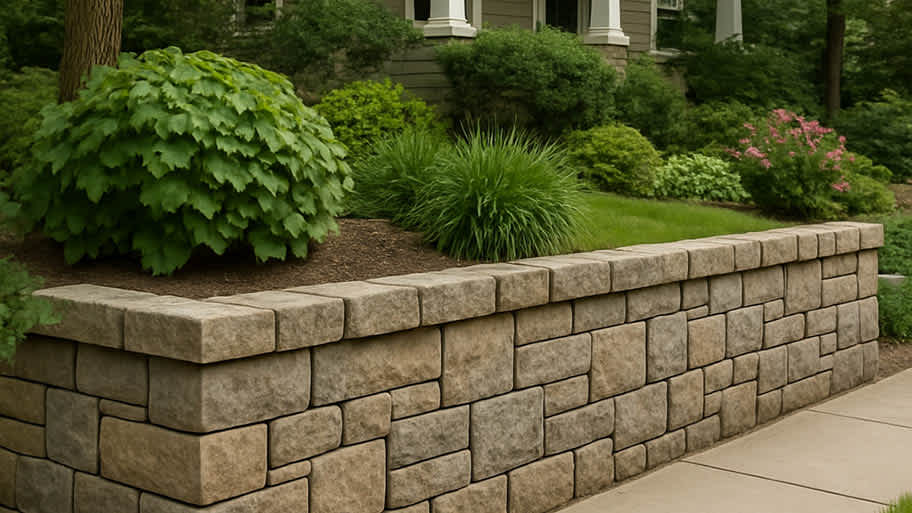
Kick erosion to the curb with an eye-catching retaining wall. Retaining wall costs vary based on the material, but this guide will help you budget.
Are you cut out for wall stencils? Here are top tips to guide your project

Practicing your wall stenciling technique on foam board before starting the wall helps you test color combinations and build confidence with the process.
Expect to pay $50 to $100 for DIY supplies including quality paint, stencils, foam rollers, and painter's tape to complete your project.
Securing your stencil with painter's tape or spray adhesive prevents paint from bleeding under edges and keeps your design sharp and precise.
Hiring a local interior painting professional takes the pressure off when you want a flawless accent wall without spending hours on intricate stencil work.
A gorgeous stenciled accent wall can transform a space—whether it’s your bathroom, nursery, or living room. From floral designs to animals and geometric patterns, here are expert tips for how to stencil a wall that adds plenty of personality.
If this is your first time with wall stencils, consider tackling a basic wall without intricacies. A good option is a wall that doesn’t have any windows or doors. Also, opt for a smaller space over an enormous wall in your family room. Stenciling around unique areas and across large spaces is doable, but takes time, care, and practice.
If you’d rather have a professional tackle your home painting project, consider hiring a local interior painter to do the job for you.
Get a feel for painting with a stencil before you put it on your wall.
To see if you like your color combination, paint a foam board the same color as your accent wall, then practice painting your second color on top. Set the stencil on the foam board and secure it down with painter’s tape or adhesive, then brush or roll your paint over the stencil. Move the stencil across the foam board to get a feel of how the pattern will come together on your wall.
Ensure you have the background wall color you want and make any touch-ups to your paint as needed. You’ll also want to remove outlet plates, switch plates, baseboards, and crown molding, or tape around them to protect them.
Depending on the stencil you’re using, you may want to start in the middle of the wall and build your design out from there. To find your center point, measure the width and height of your wall and mark the middle point with a pencil. Another option is to start your stencil pattern in the upper left-hand corner of the wall.
No matter where you start, use a level to straighten your stencil and ensure it’s placed evenly on the wall. Your stencil may have guides to help you align the stencil across your wall, but use a level every few stencils to ensure you’re staying in line.

Secure your stencil to the wall with painter’s tape or spray adhesive. Keeping your stencil in place as you paint ensures your design looks sharp and precise.
Too much paint can create globs, bleed under your stencil, and smear your design. Instead, use a small amount of paint when rolling or brushing it onto your stencil. Dab your roller or brush on a paper towel before painting to get excess paint off.
Use light pressure when painting back and forth to ensure full coverage and a crisp stencil pattern. Gently remove your stencil from the wall. Wipe off your stencil with a damp rag—or, even better, paint remover—if there’s excessive paint before you move it to a new spot. A clean stencil helps avoid splotches and unevenness.
When your stencil is ready, place it in the next spot, typically to the right, left, or bottom of your first stencil.
The edges of your wall and corners can be tricky when stenciling. You might not be able to squeeze in a full stencil pattern at the end. Instead, focus only on the part of the wall where you’re stenciling.
You can either adhere the stencil so it fits the space with the part of the stencil draping over another area, or you can cut your stencil to fit the space. Consider using a small paintbrush in tighter areas for more precision (instead of a roller).
Many walls and ceilings can be uneven in certain spots. If you’re cutting your stencil, such as in the corner next to a door frame, start at the larger areas of the wall then move to the smaller spaces. You want to avoid ending up with a cut stencil that doesn’t reach the width or height of the area.
Stenciling a wall takes time—longer than wallpapering or painting a solid color. Depending on the size of your wall, stenciling might take a few hours or 15.
No matter how long it takes, perfection shouldn’t be your goal. Once your entire wall is finished, it’s difficult to notice small imperfections. Instead, you’ll be marveling at your masterpiece!
Custom Paint Jobs LLC is the go-to choice for all your painting needs. They painted both the interior and exterior of my house flawlessly. Their work speaks for itself!
Beginning with the estimate, Larry and Peyton were super helpful in getting my new condo's interior re-painted. Not only was the job well done, but also done in a super timely manner as promised.
 Five Star Painting of Plain City and Powell
From average costs to expert advice, get all the answers you need to get your job done.
Kick erosion to the curb with an eye-catching retaining wall. Retaining wall costs vary based on the material, but this guide will help you budget.
Retaining wall repair cost can vary widely based on the age and condition of the wall being restored. Learn why finding the right pro is important for getting the job done.
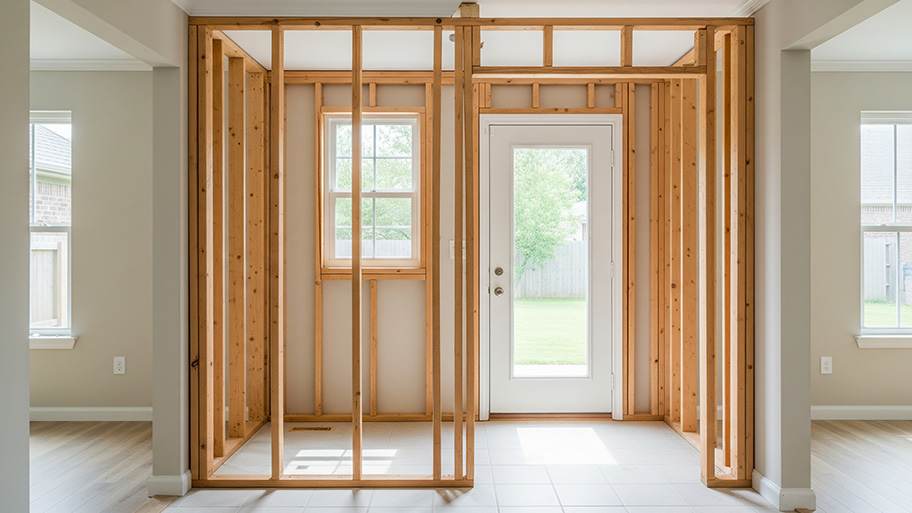
Sometimes, all your home needs is a new wall to make a room or provide an updated function to an existing space. Learn how much it costs to install a new wall.
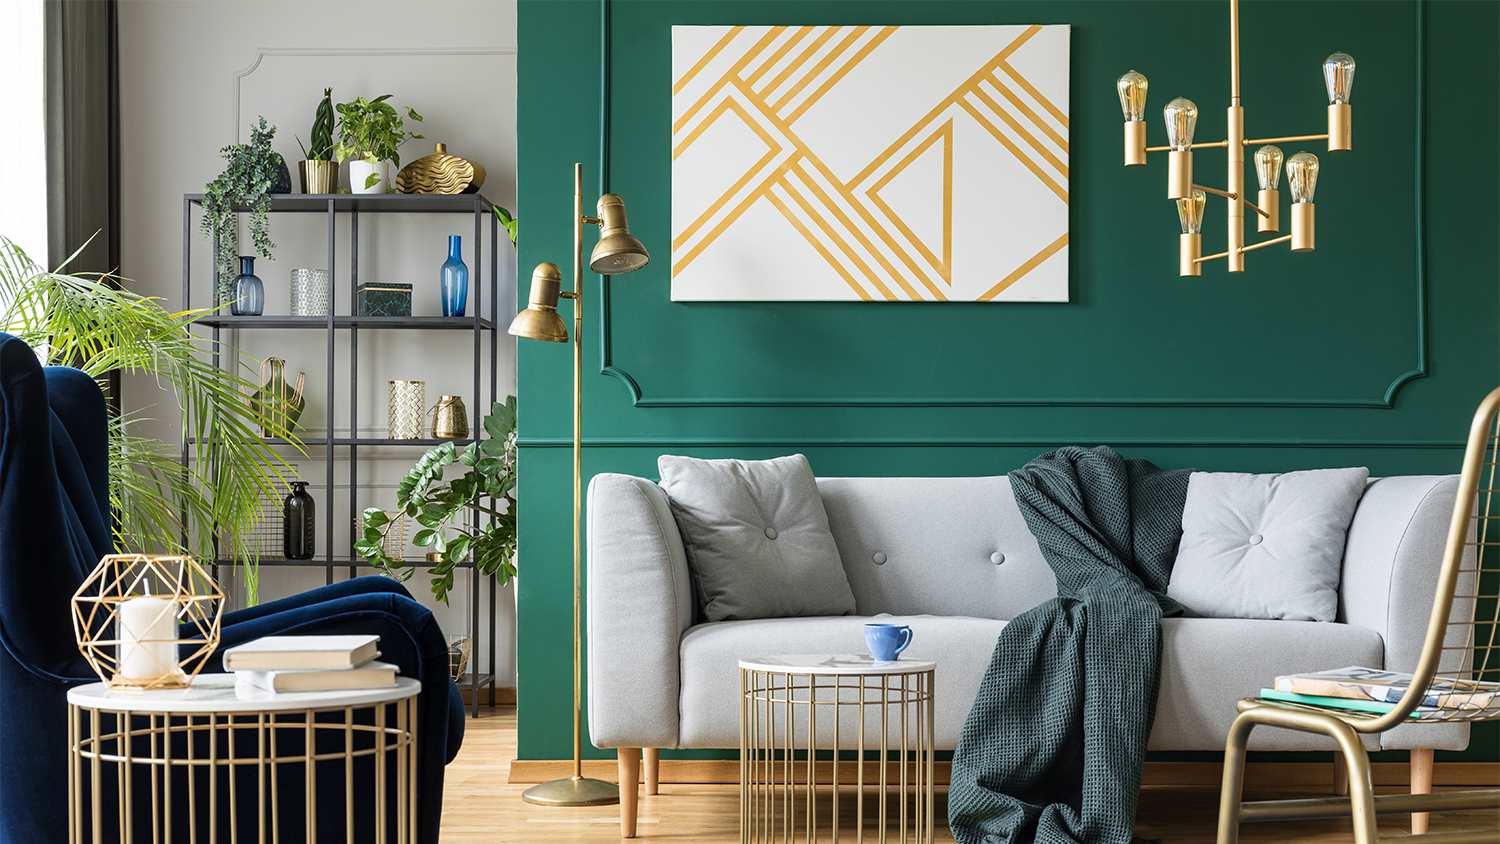
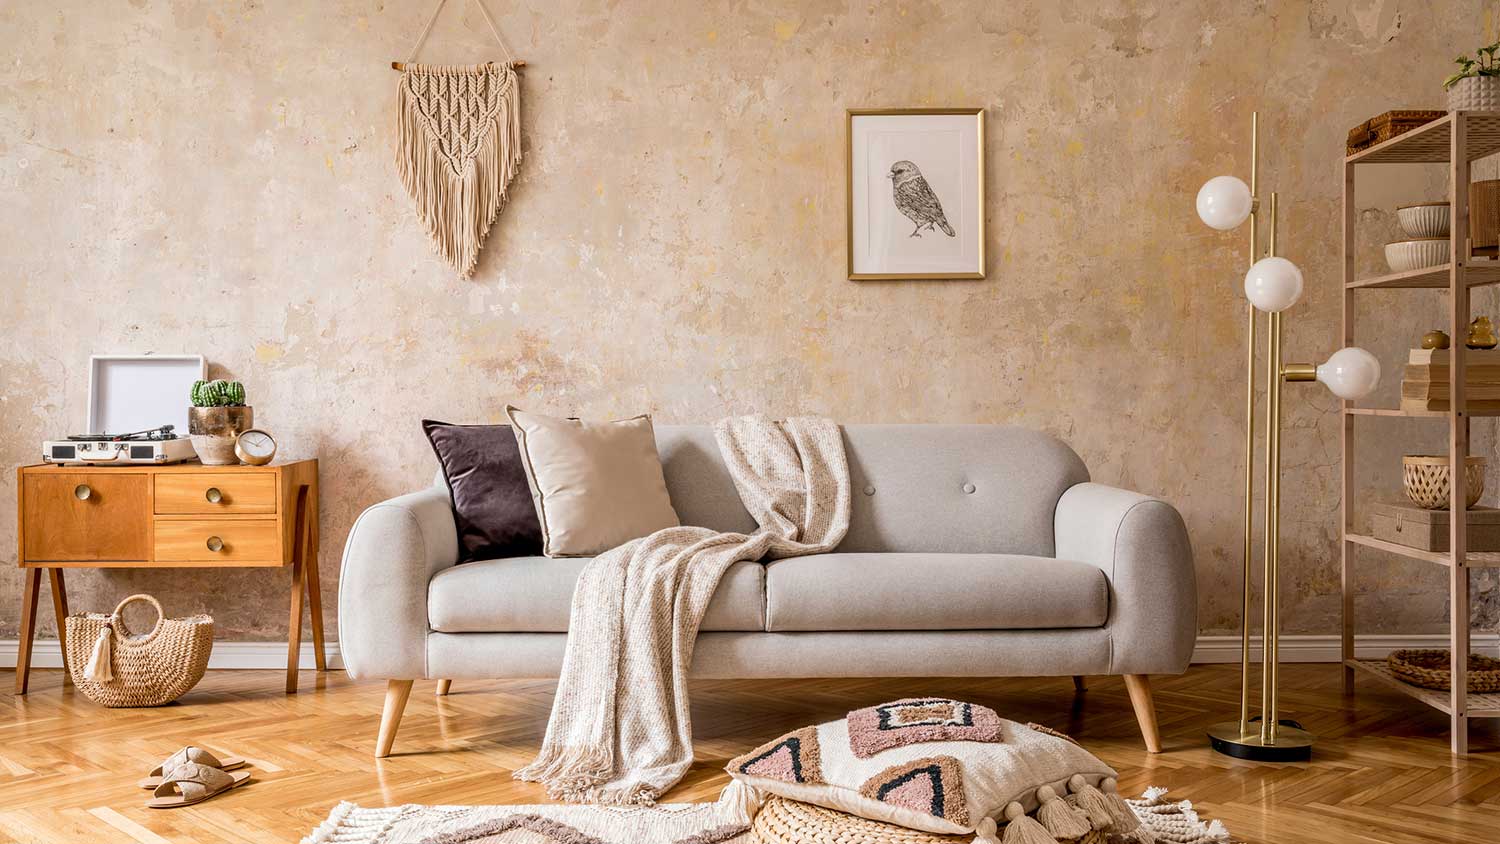
When it's done right, a feature wall can add style, personality, and depth to your space. Check out these aspirational feature wall ideas.
These creative paint techniques can help you create a show-stopping aesthetic with a few supplies and a free afternoon. Try these wall painting techniques today.

Want a quick and easy way to improve the look of your walls? From wood to paint to wallpaper, here are some different wall covering ideas to upgrade your space.