
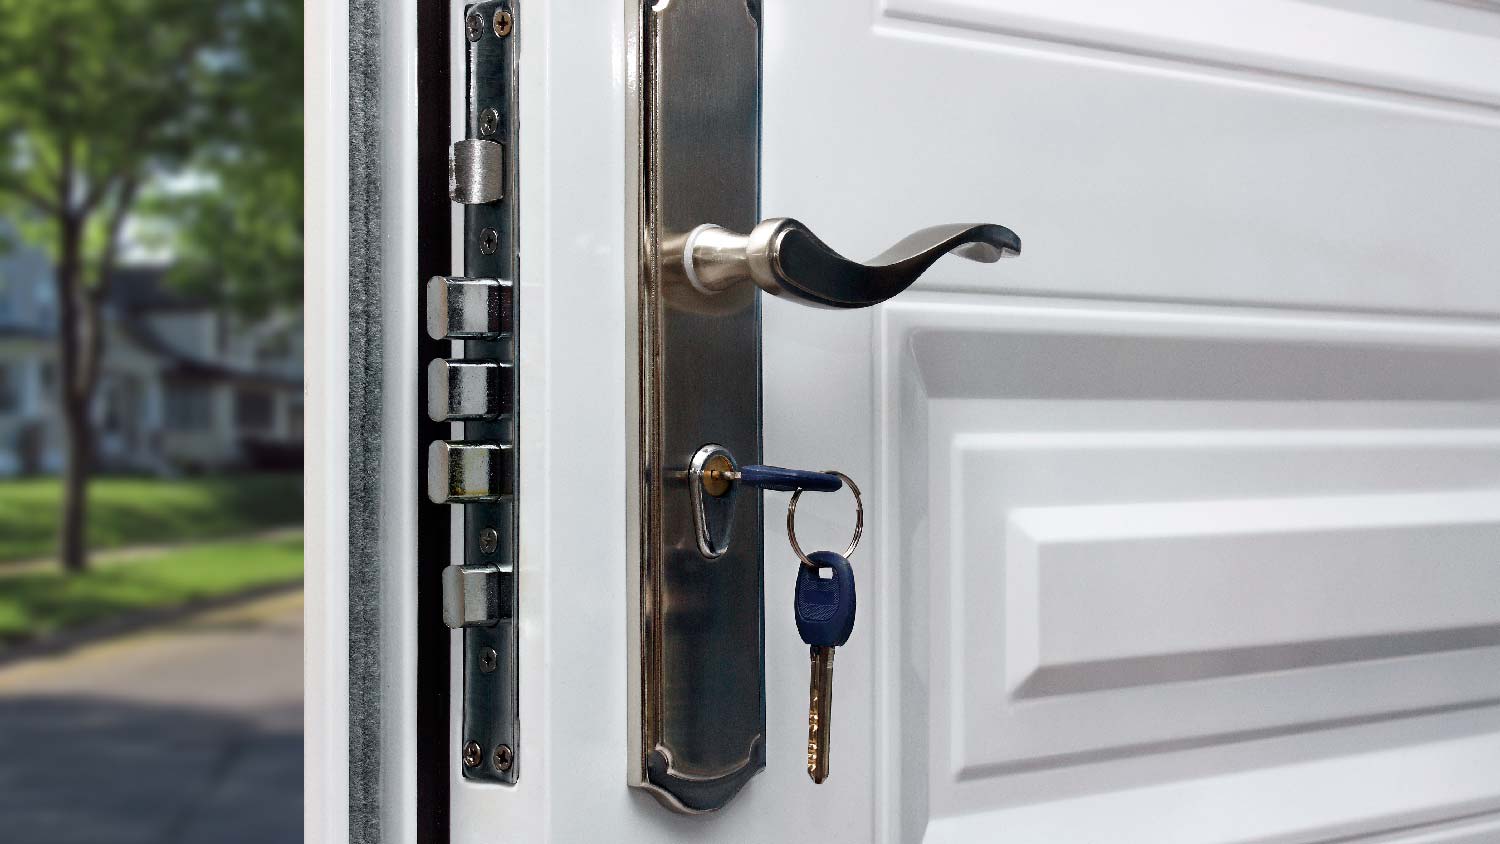
Discover the average security door installation cost, key price factors, and expert tips to help you budget for your home’s safety upgrade.
What you need to know before you can get your foot in the door

A door installation checklist keeps your project organized by covering pre-installation prep, frame checks, hinge placement, and finishing touches for a successful installation.
Expect to pay $360 to $1,200 for professional door installation, with labor alone ranging from $350 to $1,500 depending on your project's complexity.
Your installation requires precise measurements, proper frame fitting, level hinge placement, and adequate drying time between painting and hanging to ensure smooth door operation.
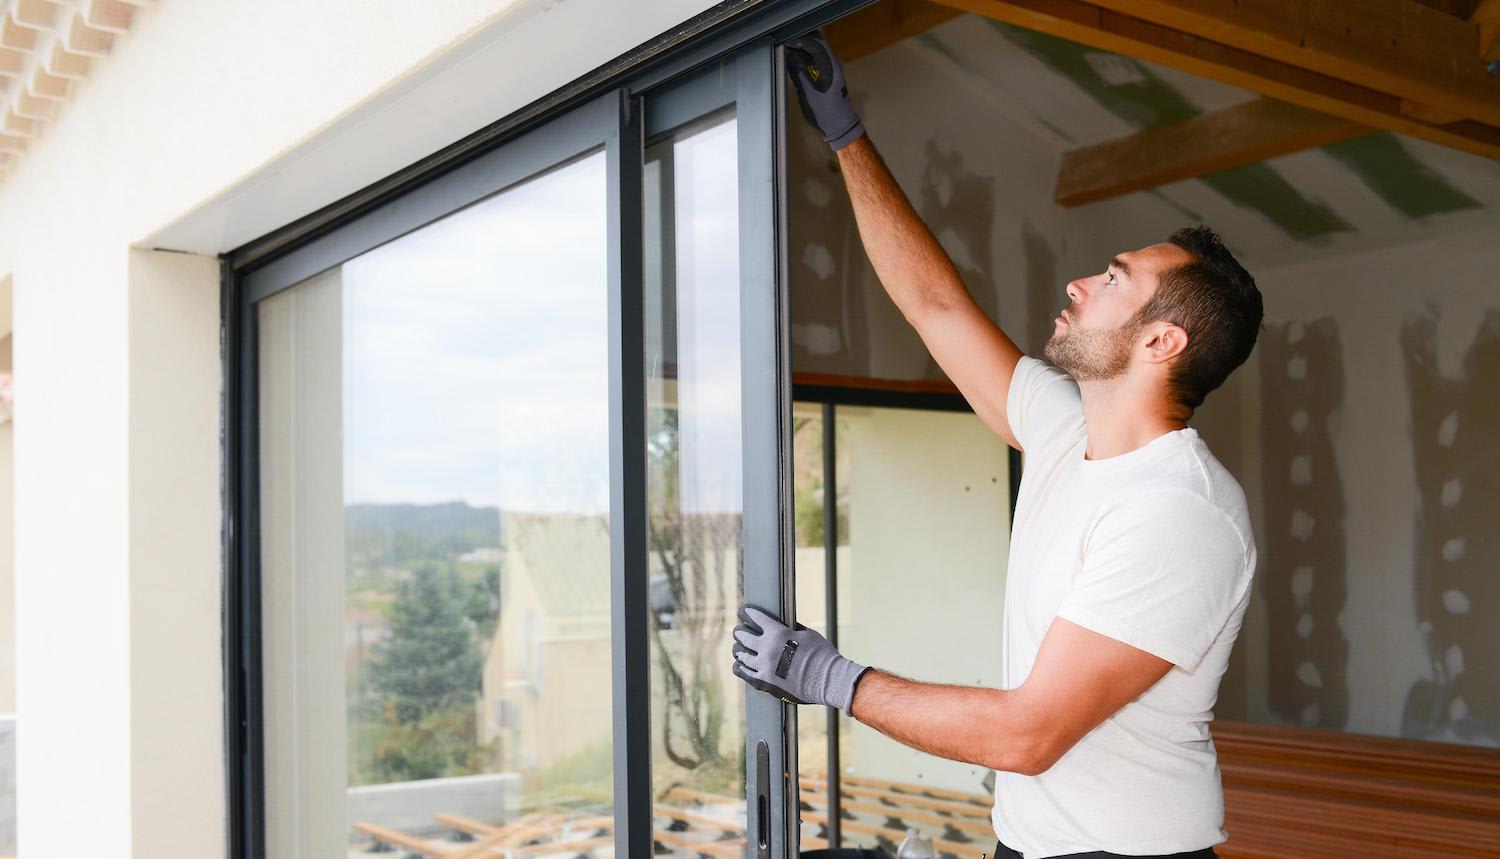
Hiring a local door installation professional removes the guesswork from frame adjustments and hinge work, keeping your doors level and properly fitted throughout installation.
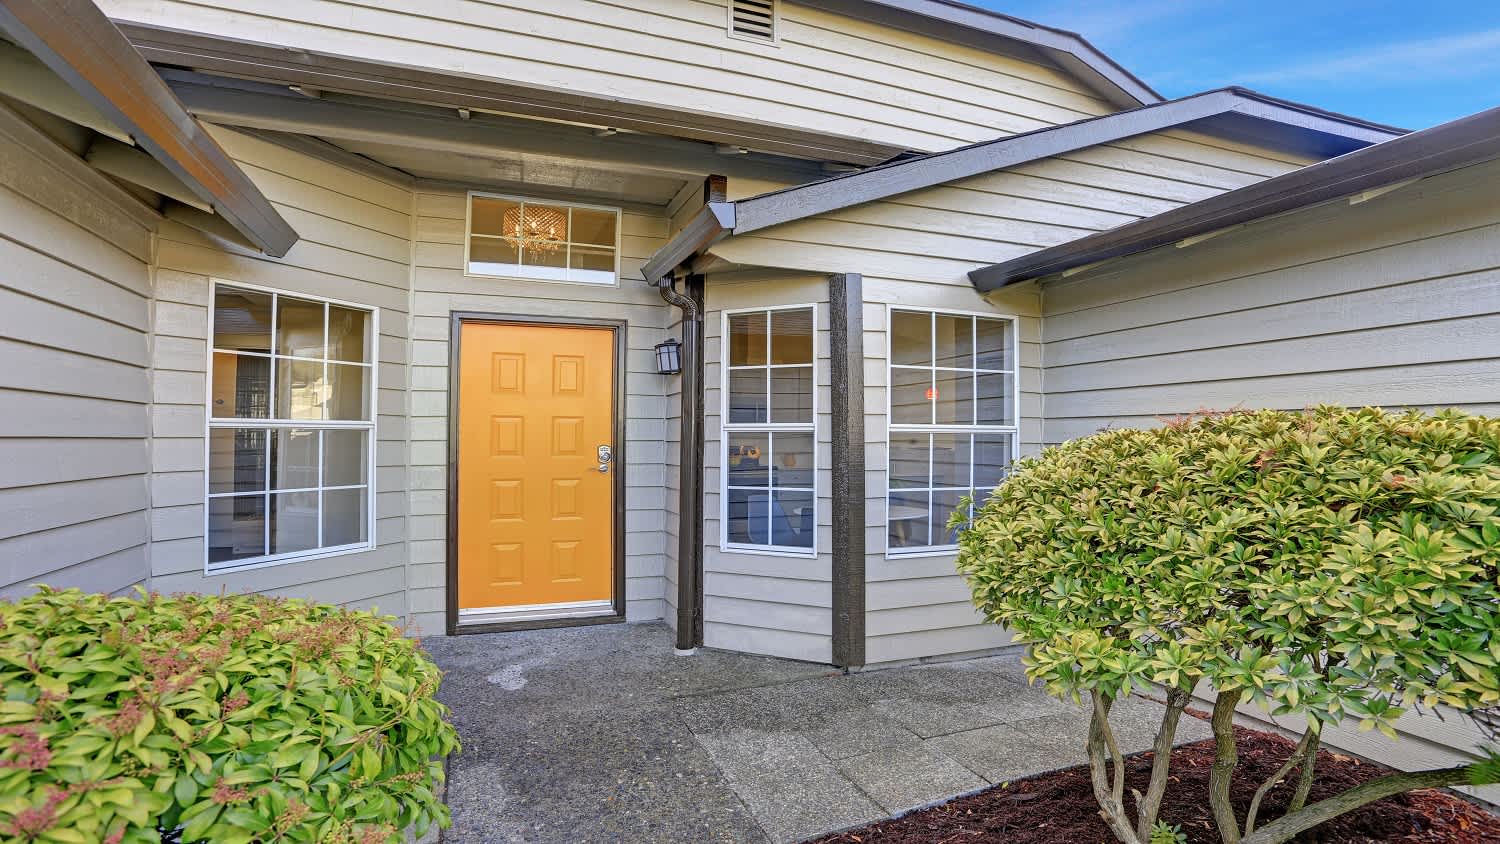
If a door in your home no longer opens and shuts as it should, it’s likely time to consider a replacement. Swapping out this home feature for another may seem easy enough, but plenty of potential door installation problems can arise. But following the correct steps will ensure your project is a success.
This door installation checklist outlines what you need to know to navigate this process smoothly, including when you’re better off letting a pro handle the job.

When it comes to how to hang a door, there are quite a few tools and supplies you’ll need to gather first. That includes the door itself and the hinges it will sit upon, as well as a new door frame and insulation. However, here's a full list of all the supplies you should gather ahead of time.
Screwdriver
Door stoppers
Pencil
Straight edge
Protective gear (safety goggles, ear protection, mask, full-length clothing)
Electric planer
Circular saw
Tape measure
Flat-edge chisel
Wooden mallet
Drill and drill bits
Hole saw
Level
Fine-grit sandpaper
Hinges
Screws
Drop cloths/tarps
Painter’s tape
Foam insulation
Doorknob set
Door frame
Door trim
Door
Paint
Paintbrush
Stain
Correctly prepping to install a door is just as if not more important than the door installation process itself. That will include everything from clearing and protecting your space and yourself, to additional construction—like removing the existing trim and doorframe and building new ones from scratch if the originals are no longer in a good state.
Remove furniture and obstacles from the surrounding area
If installing an exterior-facing door, aim to work in clear and relatively cool conditions.
Protect your floor with drop cloths and/or tarps; protect the surrounding walls with painter’s tape.
Remove the old door.
Gently remove door trim and set aside to reuse later if it’s in good condition.
Remove the door frame if necessary—for instance, if it’s warped, cracked, dented, or there are signs of mold in the wood.
Fill space between frame and wall with foam insulation and allow time for it to cure (between eight and 24 hours).
You should budget about two days for a project like this. On the first day, plan to make sure your new door fits into its frame and make any adjustments if necessary. Now is also the ideal moment to paint or finish your door so it will have plenty of time to dry thoroughly and be ready to hang on day two.
Measure the door frame and mark where cuts will be necessary on your new door.
Use tools like a circular saw and electric planer to cut your door down to the right size.
Verify that the door fits the frame and continue cutting until it does.
Cut a doorknob hole if one isn’t already present.
Use fine-grit sandpaper to smooth cut edges.
Paint or stain the door and let it dry (wait a full day for best results).
Use a pencil to mark where hinges will go and a chisel to clear out space for them.
Use a drill and wood screws to apply hinges to the frame. Keep a level handy to ensure they are installed evenly.
Install hardware.
Attach the door to the hinges and use a door stopper to keep it steady while you work.
Alternatively, skip this DIY work and find out who installs doors instead.
Once you’re done installing, it’s time to start cleaning—but not before giving your new door a test run to ensure it functions properly.
Double-check that the door works as it should and make any fixes if necessary.
Reapply the door trim.
Remove protective tarps, sheets, and tape.
Clean up the surrounding area and anywhere affected by construction.
Return furniture and belongings to their rightful place.
Periodically grease hinges and hardware to limit damage down the line.
Wipe down your door on a weekly or biweekly basis.
Repaint or refinish when the current coat fades or shows signs of decay (approximately every two to three years).

The cost to install a new interior door ranges from $360 to $1,200. If you choose to hire a trained hand, expect 50% of the total expenses to cover the labor fees of a professional door installer. They typically charge a minimum of $350 for the most basic installation, and you can expect to pay even more—up to $1,500 or more for labor alone—if additional construction is required, like installing a new door frame or adjusting a wall opening.
Choosing to DIY a project like this is the more cost-effective option, as you can save as much as half on overall expenses by going it solo. The downside of DIY is that you’re responsible for all the work and anything that goes wrong in the process. Most times, it's worth spending more on hiring a professional door installer near you to avoid potential headaches.
Terrible experience. Walls/trim/floors/cabinets/doors all have drip marks, overspray, etc. Tiling at the fireplace had to be redone by another vendor due to incorrect and shoddy install by Profect. Contractor had his children in our house while he was on site without prior authorization or...
 Profect painting & exteriors
Jason has helped me with multiple household projects, with the most recent being new door installation. He has always showed up on time and organized and has done an incredible job! Jason is very professional and he's now my go-to for anything around my house that needs to be fixed or...
Company came to look at my garage door that was off track. They also said I needed a brace on the other garage door. They put the door back on track, and I paid to install the brace. The technician told me I needed a new garage door opener, and it would cost $1000. Red flags went off in...
 Precision Overhead Garage Door Service
On Sunday 2/26 I requested quotes via Angi from 4 refrigerator repair businesses. Northwest Appliance responded to me Monday morning (2/27) and my refrigerator was repaired by noon the same day. Great communication, they did everything they said they would. The technician had the parts on...
Excellent customer service and knowledge. I was recommend to him from my neighbour. My front door and window came in great and were installed beautifully perfectly, I m very satisfied with their excellent work, so decided to order one more big bow window for my living room. I cant wait for...
Called ahead and worked quickly to install keyless locks on vintage wooden doors.
Scott did not get appropriate access to the property prior to the scheduled inspection which required us to come back later in the day to complete it. He also, unprofessionally, knocked on a neighbor?s door in his attempts to reach someone with access. His overall report was fine though the...
Door Depot was very responsive - they came out the day after my call to assess my needs, then returned at my convenience to complete the work. They arrived early, and the work was completed in a shorter period of time than estimated. Very pleased with the results. I would definitely use them...
 Door Depot LLC
Replace garage doors: Fast response, competitive estimate, timely work done well.
Jeremiah did an awesome job cleaning 28 windows inside and out! He was fast, efficient and now I have a beautiful view again. This was a Groupon for $139 for 20 windows, but I had 28 windows/doors cleaned, so there was an extra $6 per window. Totally worth it.
 Complete Home Services
From average costs to expert advice, get all the answers you need to get your job done.
Discover the average security door installation cost, key price factors, and expert tips to help you budget for your home’s safety upgrade.
Whether you’re installing a new door or replacing an existing one, the cost of door installation varies based on location, door type, framing needs, and other factors.

Are you looking to upgrade an old door in your home? Use this interior door installation cost guide to estimate the project's total cost and learn how to save.
Learn how to hire a door installer, from finding qualified pros to questions to ask. Get expert tips for hiring the best door installation contractor.

Keep your home's doors functioning perfectly and looking their best with this door maintenance checklist that breaks down chores by weekly, monthly, and seasonal categories.

Learn how to find and hire a qualified sliding door installation pro. Get expert tips on questions to ask, qualifications to check, and what to expect.