

•
Discover the cost to install landscape lighting. Learn about average prices, key cost factors, and ways to save on your outdoor lighting project.
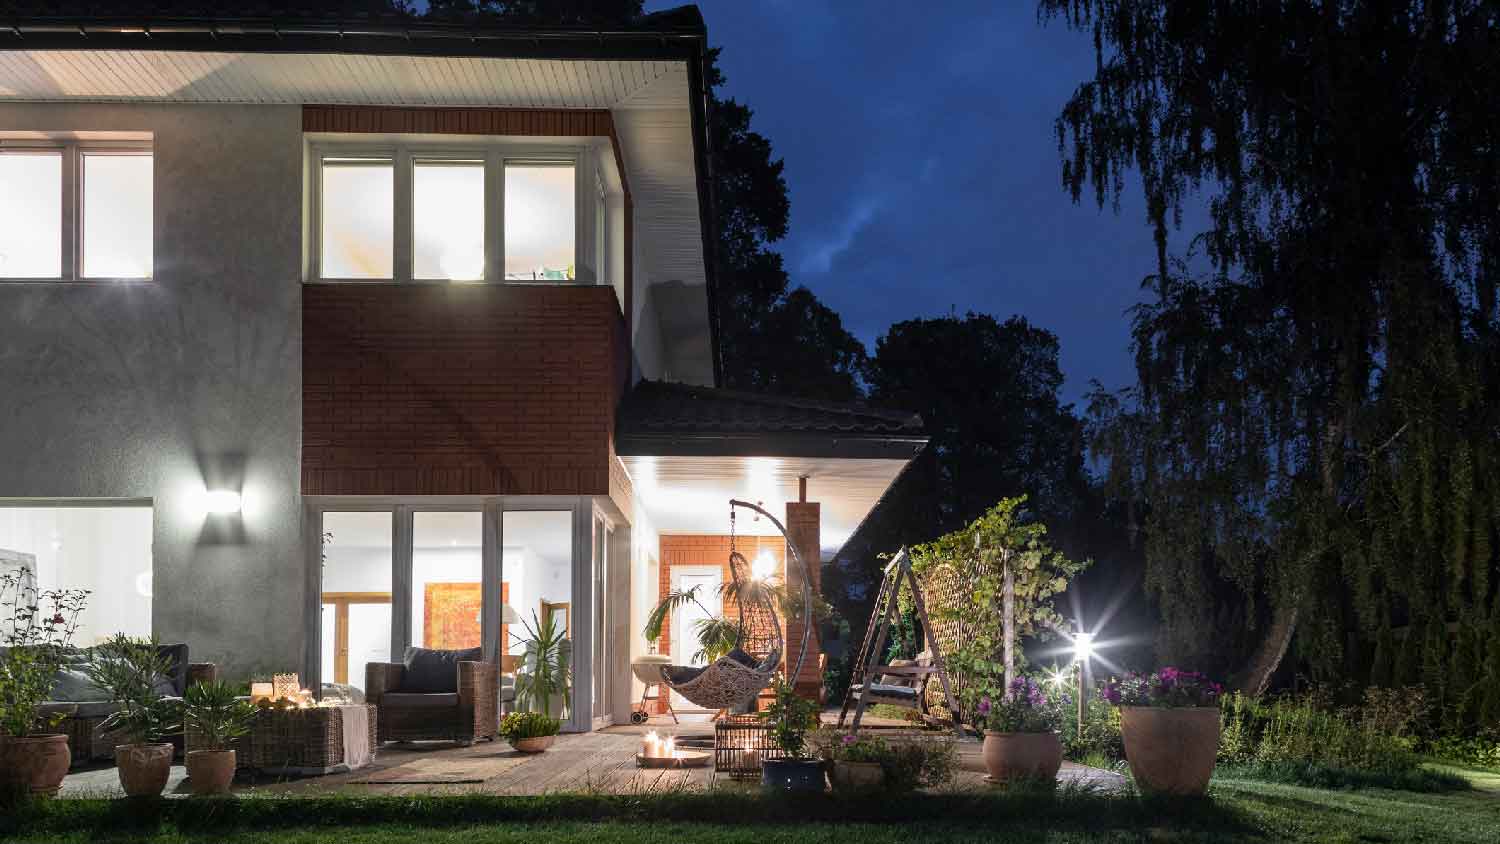
Level up your light game


Updating your outdoor lighting is a simple way to increase the curb appeal of your home. A well-lit exterior means fewer chances of stumbling in the dark, and bright lights increase the security of your property. If you have some electrical experience, you can learn how to install an outdoor light fixture today.
However, if you don’t have electrical experience, you should hire a local outdoor lighting pro instead of trying to do it on your own. Working with electricity is very dangerous and should only be done by people with experience and training.

There are many outdoor lighting options available, from smart security lighting to trendy wall lighting. Whether you want to install lighting in a brand new spot or simply want to replace an old fixture, here are the nine steps to get it done.
Whether you’re installing outdoor lighting for the first time or replacing an existing fixture, you’ll start by turning off power to the main circuit breaker. Use a multimeter or a voltage detector tool to double-check that there is no power before you get started. This step only takes a few minutes and is a potentially life-saving measure, so don’t skip it.
If you’re replacing an existing lighting fixture, skip to step 5.
If you’re installing a brand new lighting fixture, figure out which junction box you’ll use for the light switch. Most likely, you’ll use the one closest to the door for convenience. Remove the cover to get to the wiring.
Decide where you want the light outside, and install the mounting block. Drill a hole through the siding and wall, and feed electrical wire until it reaches the junction box for the light switch.
Connect the new electrical wire with the existing electrical wiring.
Connect the ground wire to the green screw.
Take the black wires and twist them together.
Install a wire nut. Do the same for the white wires.
Reinstall the faceplate on the junction box.
Now, you’re ready to install the lighting fixture outside.
If you’re installing a brand new lighting fixture, skip to step 6.
If you’re replacing an old fixture, start by removing the lightbulb, and then remove the mounting screws. There are usually two of them on either side of the fixture. You may be able to loosen the screws by hand, or use pliers if necessary.
Next, if there is caulk along the edges of the fixture, put on safety goggles and cut the caulk away with a utility or putty knife. Once that’s done, you can tug at the fixture until it pops out, and then follow these steps:
Remove the ground wire by loosening the green screw.
Unscrew the wire nuts on the ground wires, black wires, and white wires. You can save the wire nuts to reuse later.
Unscrew the old bracket and remove it.
Whether you’re starting from scratch or replacing an existing fixture, your new light fixture will come with a new bracket. Use a level to make sure it’s nice and straight, and make sure that the screw holes are positioned correctly for the fixture. Tighten the mounting posts and the bracket very well.
Slide the grounding wire behind the green nut and tighten.
Wrap the bare copper ground wire from the light fixture to the ground wire from the junction box.
Screw on a wing nut, and wrap it in black electrical tape. The tape will ensure that moisture won’t leak inside.
Next, take the black wires and twist them together.
Attach a wire nut and wrap it in electrical tape.
Repeat the same process with the white wires.
When you’re done, push the wires back into the junction box.
Take the new fixture and place it onto the bracket.
Install the screw caps and tighten them with pliers.
Use clear, silicone outdoor caulk and caulk the top and sides of the fixture. You can leave the bottom undone so that any moisture has a way to drain.
Screw in a new lightbulb before installing any covers and additional pieces of the lighting fixture.
“A lot of landscape lighting is low voltage these days, as LED lights don’t need much energy to work,” says Bob Tschudi, Angi Expert Review Board member and general contractor in Raleigh, NC. “A low-voltage system just plugs into an ordinary outlet and can power not only pathway lights but strong accent and spotlights.”
But if you want to do a DIY outdoor lighting project without doing any electrical work, choose solar. Solar lights in landscaping are a great way to bring your yard to life without making a dent in your electrical bill. These lights require no hard wiring so you only need to know how to mount and install them on your house exterior, on your fence, or in your yard. Solar outdoor lighting fixtures range from $10 to $200 or more, depending on the design and quantity.
If you have some electrical know-how, you will likely find that replacing a lighting fixture is a reasonably straightforward task. If you install the lighting fixture on your own, the main cost will be the new fixture. These cost $20 to $200 or more. The caulk and lightbulb will run you $10.
On the other hand, hire a pro if you have a complex installation in mind or if you have zero electrical experience. It’s also a good idea to call and vet an outdoor lighting designer if you’re replacing the fixture as part of a major overhaul.
By hiring a licensed and reputable electrician, you can be confident that the work is done correctly and safely. You should never attempt to do electrical work if you are inexperienced, as it can be dangerous or even life-threatening. Basic outdoor light fixture installation costs $70 to $200 for the labor, plus the cost of the lighting fixture.
Sara Coleman contributed to this piece.
From average costs to expert advice, get all the answers you need to get your job done.
Discover the cost to install landscape lighting. Learn about average prices, key cost factors, and ways to save on your outdoor lighting project.

If there's one thing your outdoor parties and barbecues need, it's a bit of light. These outdoor lighting questions will help you light up the night.
Get transparent landscape lighting repair cost info. Learn what impacts price, compare repair vs. replacement, and find ways to save on your project.

How do you choose between the many types of outdoor lighting when planning for your space? Learn about each kind in this quick outdoor light guide.